Tub & Tile Makeover Rust-oleum
Tub & Tile Makeover using the Rust-oleum kit. We loved doing this and are sharing all our tips and tricks!

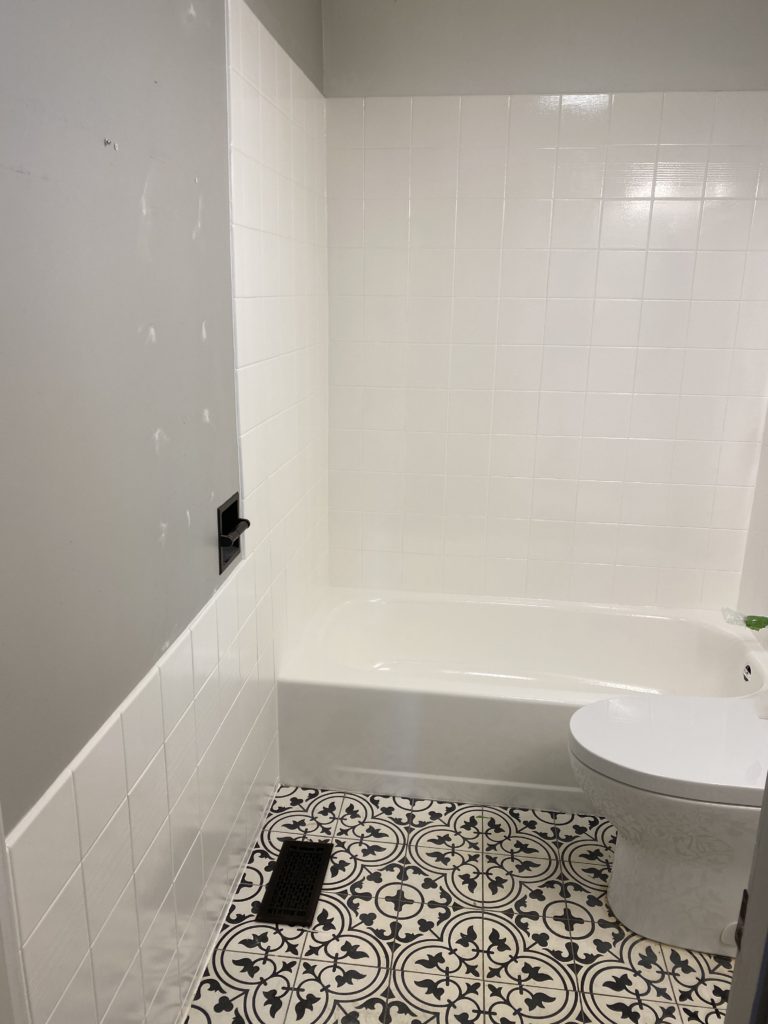
Now that you saw the after, let’s get to the BEFORE and see all the process of how we did this tub & tile makeover using the rust-oleum kit!
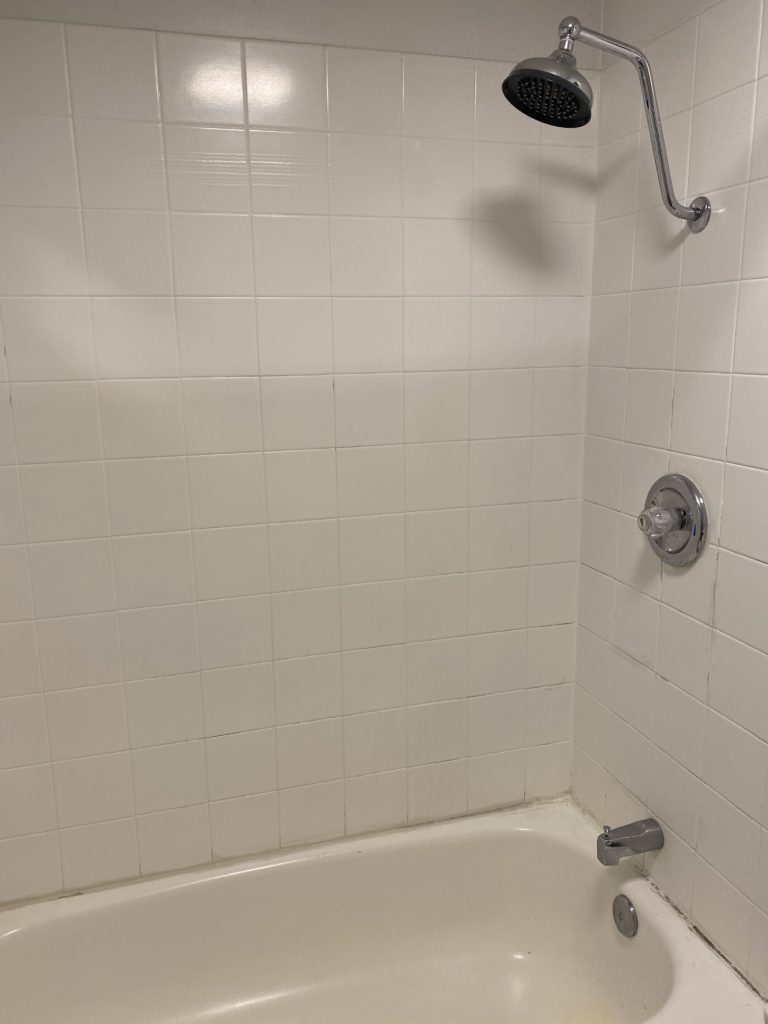
Before we begin, this tub and tile was done over 11 years ago – before we bought our house. It held up amazing… until just recently and really it was the caulk area where I used some charcoal powder that stained it. ( Lesson learned don’t use that in the shower just grab a charcoal toothpaste)
What you will need for the Tub & Tile makeover :
Rusto-leum Tub & tile kit
* I would buy 2 kits – like the pack linked just in case.
Respirator
goggles
Caulk remover tool
Caulk
Sander
Cleaner ( we used bleach & water)
Painters tape
Small paint roller and foam rollers ( get a few extra)
Paint stick
Paint tray
Paint Brush
*** NOT needed in most cases – Grout
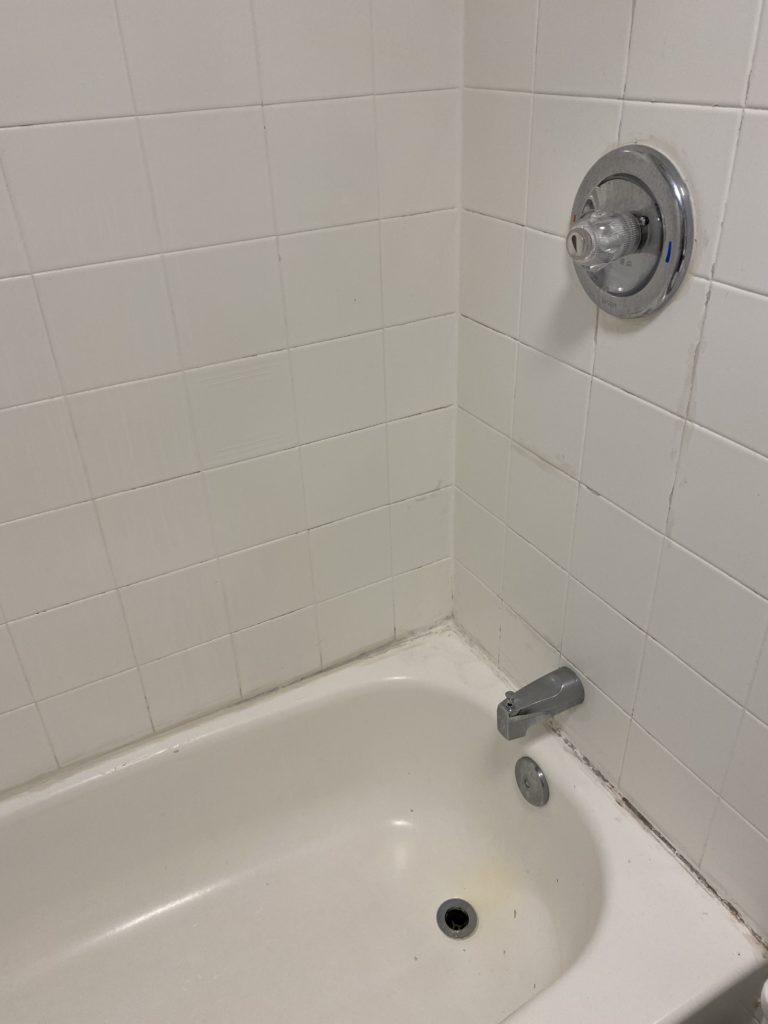
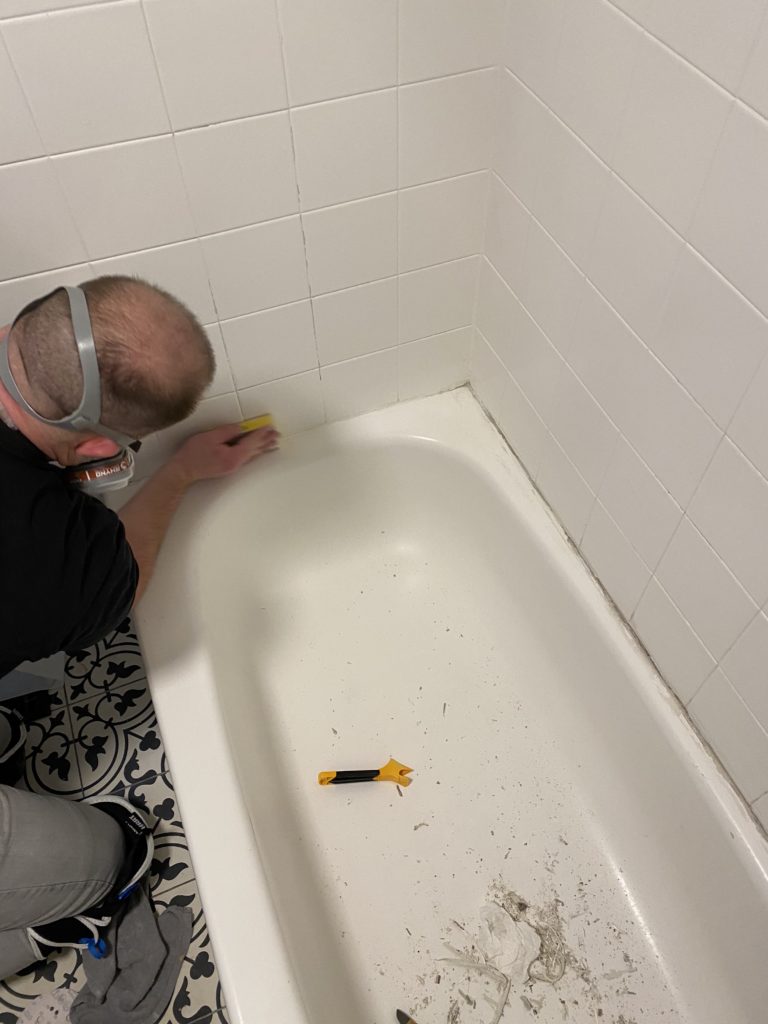
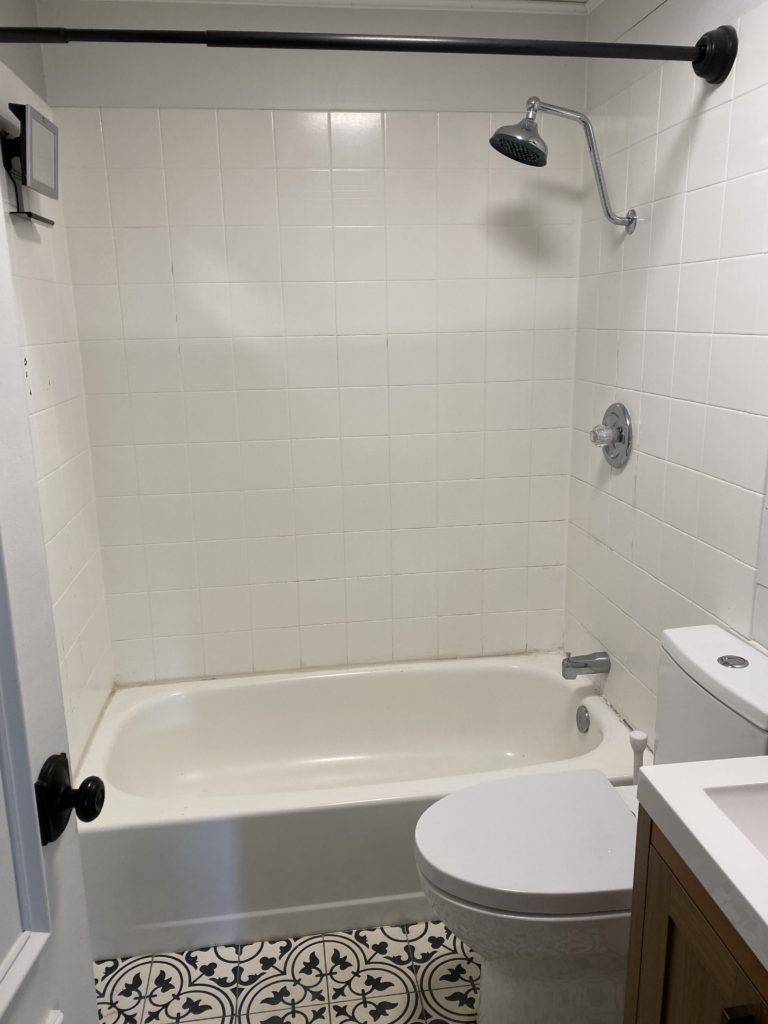
First step remove all caulk using your caulk removing tool. Get your mask/respirator on now – you will want it for the whole process trust us!
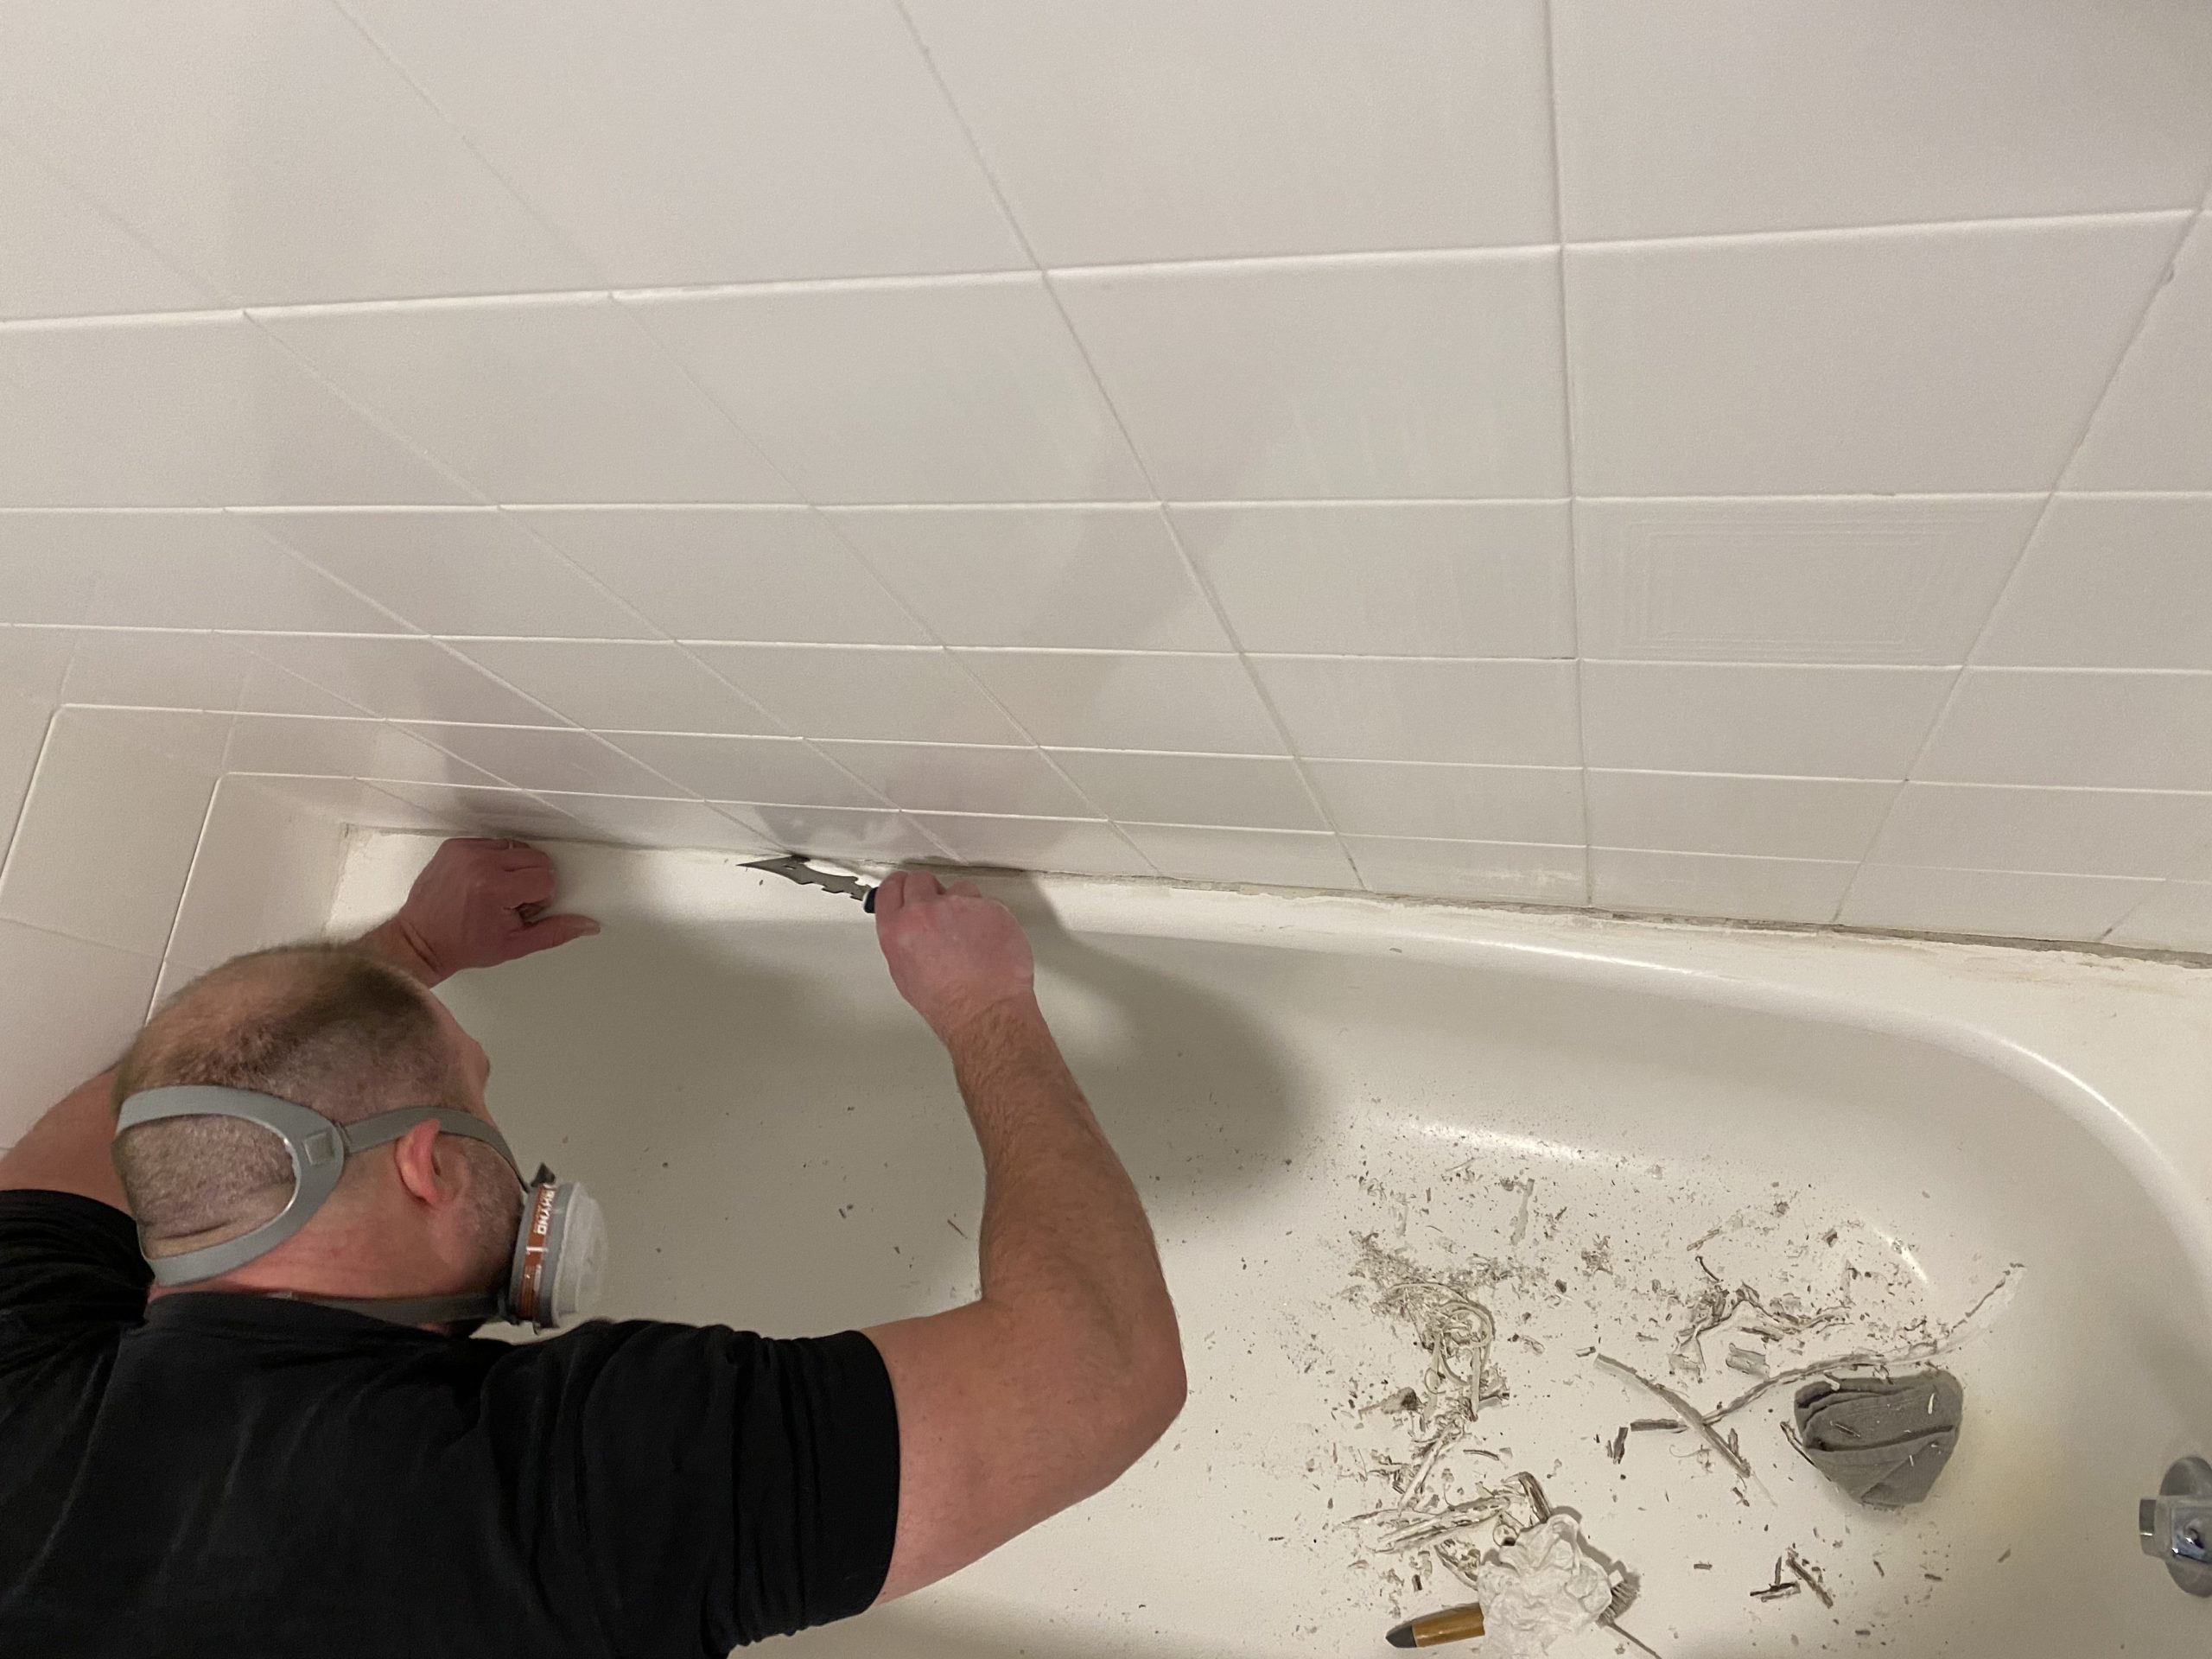
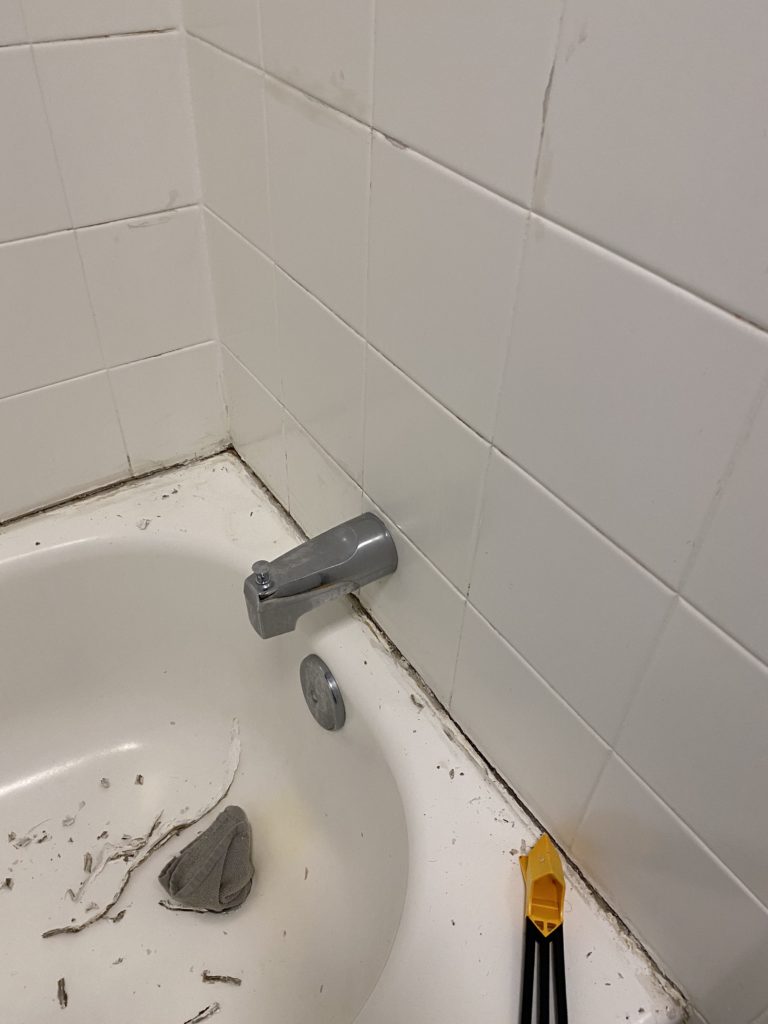
Keep going until the caulk is completely removed.
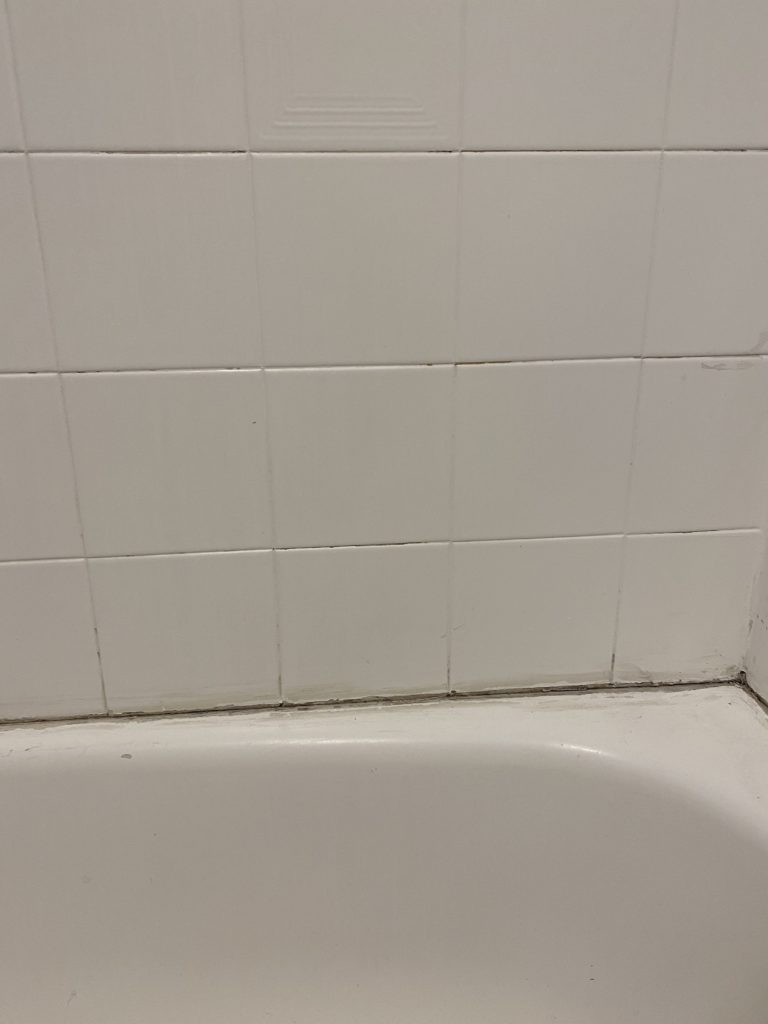
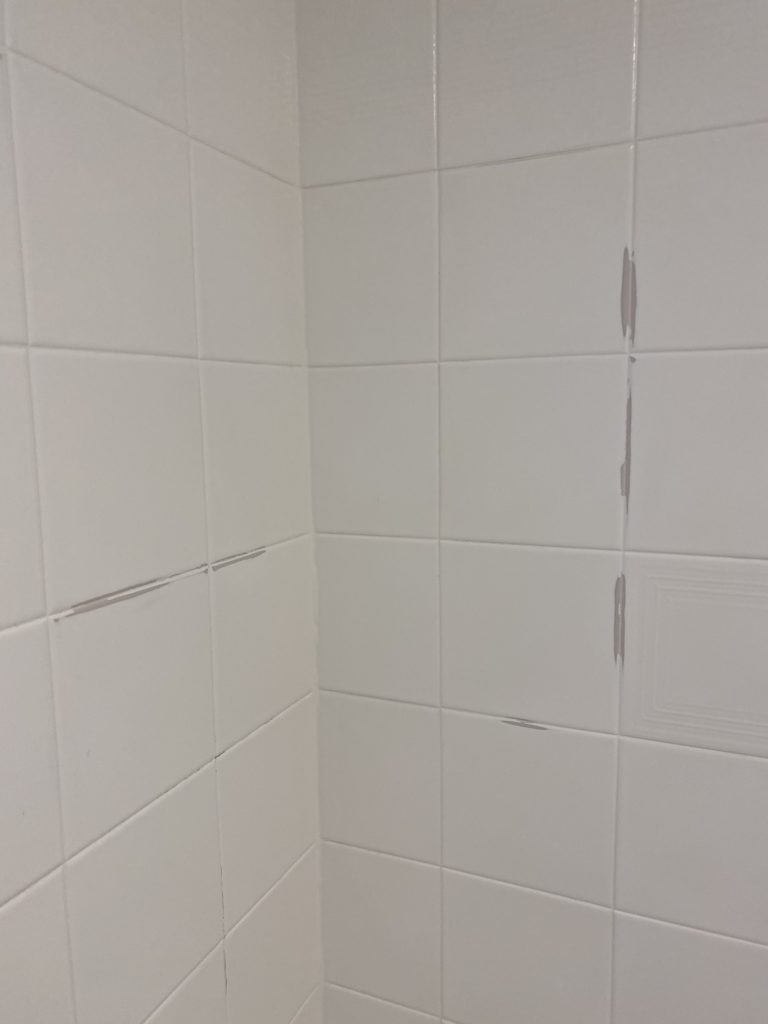
You can see in this photo and the next few that our space was missing the actual grout, so we knew we needed to grab some to fill it in. I am so excited for this tub & tile makeover!
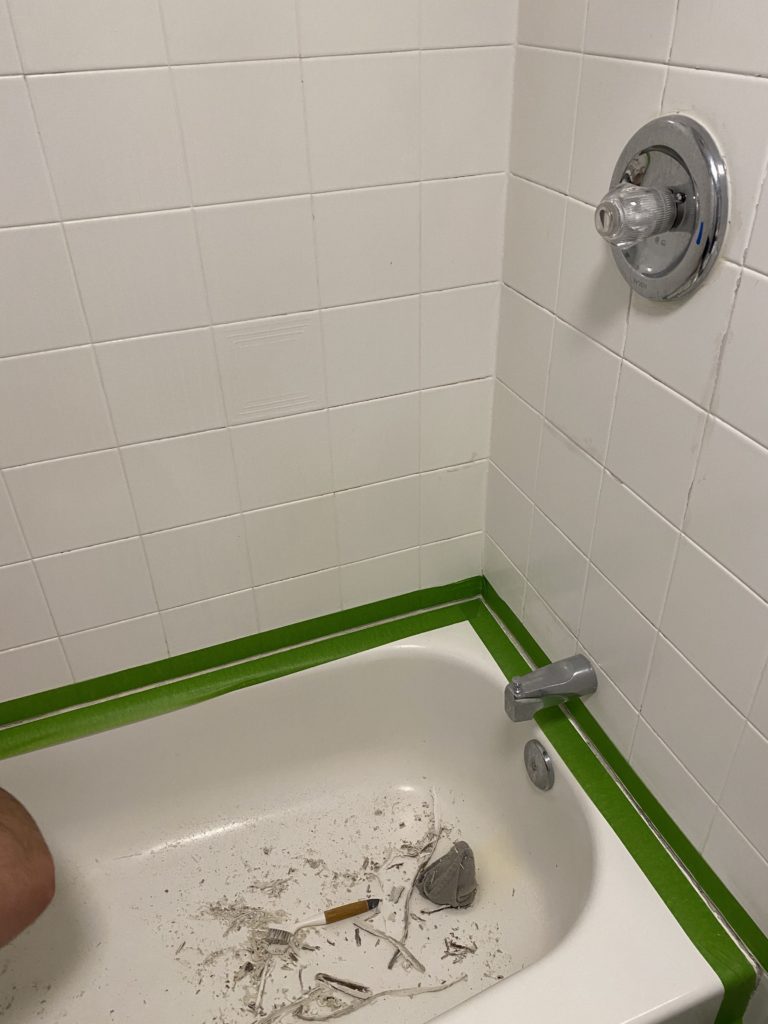
We taped off the area for the grout and replaced it. Remember most won’t need this and you can just use new caulk.
We peeled off the tape, and here you go fresh grout! Make sure to take off any of the fixtures, curtain rod, etc.
It is time to break out your sander, we used a drywall one we just love those and our electric sander. Use what you think is best. You will want to go over any peeling or chipping spots till smooth. For the rest of your tile surround or bath you will want to sand it all lightly.
Once you are complete you will then wipe it all down with a rag. Then use your cleaning solution and make sure there is no dust or debris. Clean, clean and clean some more!
* You can see more details on how to prep on the box, this is what we decided to do.
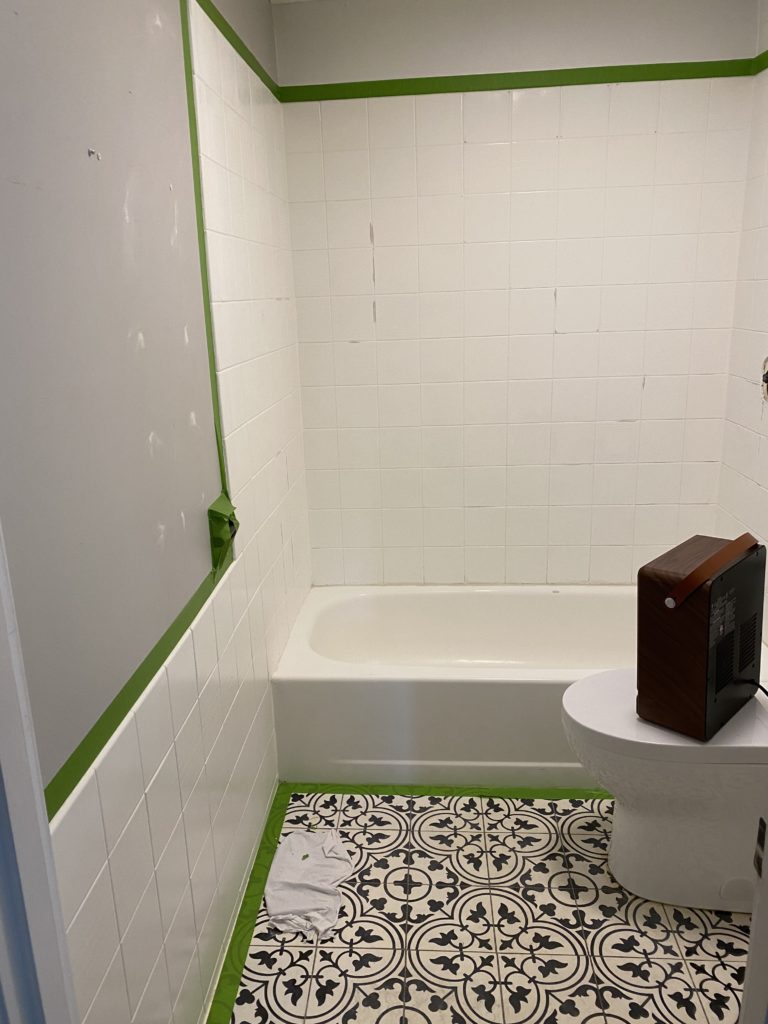
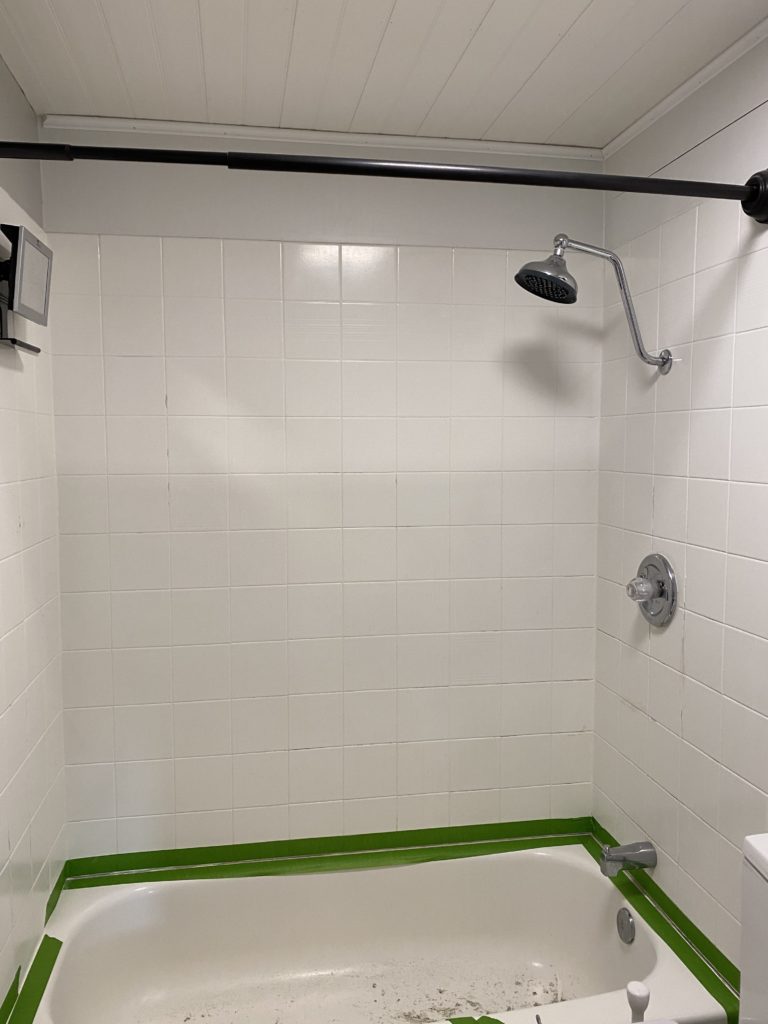
Next it was time to tape off your space. We did bring a heater in here and made sure we dried out the area completely. Not messing around here!
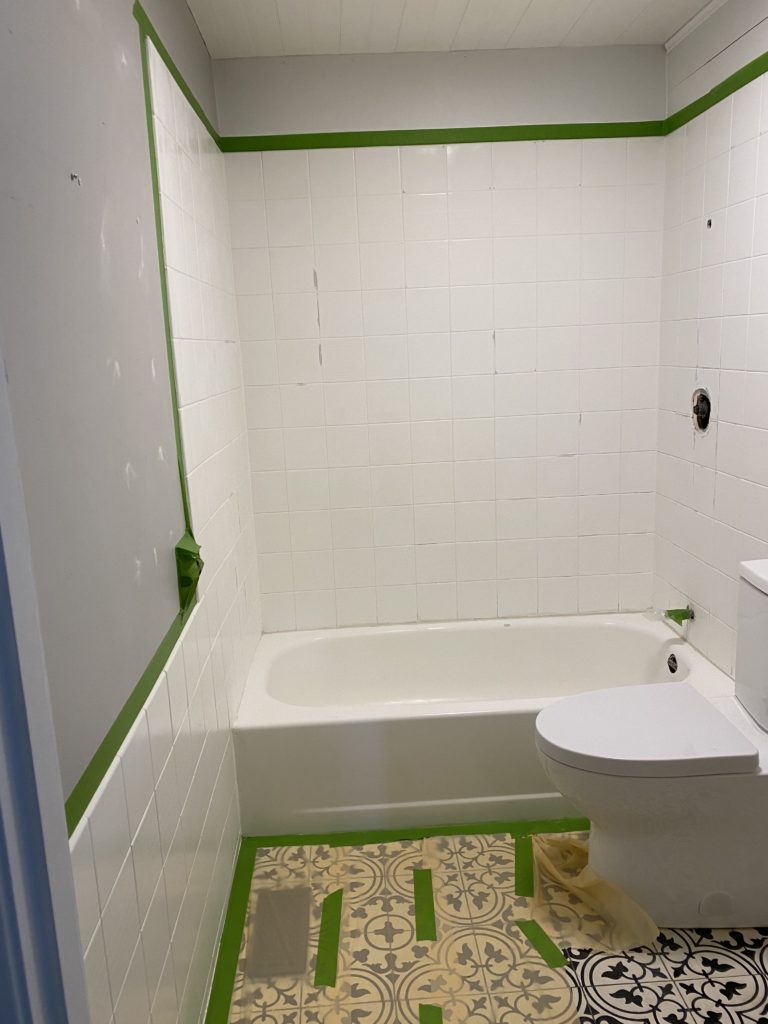
Make sure your floor is covered also, you don’t want to get this on them.
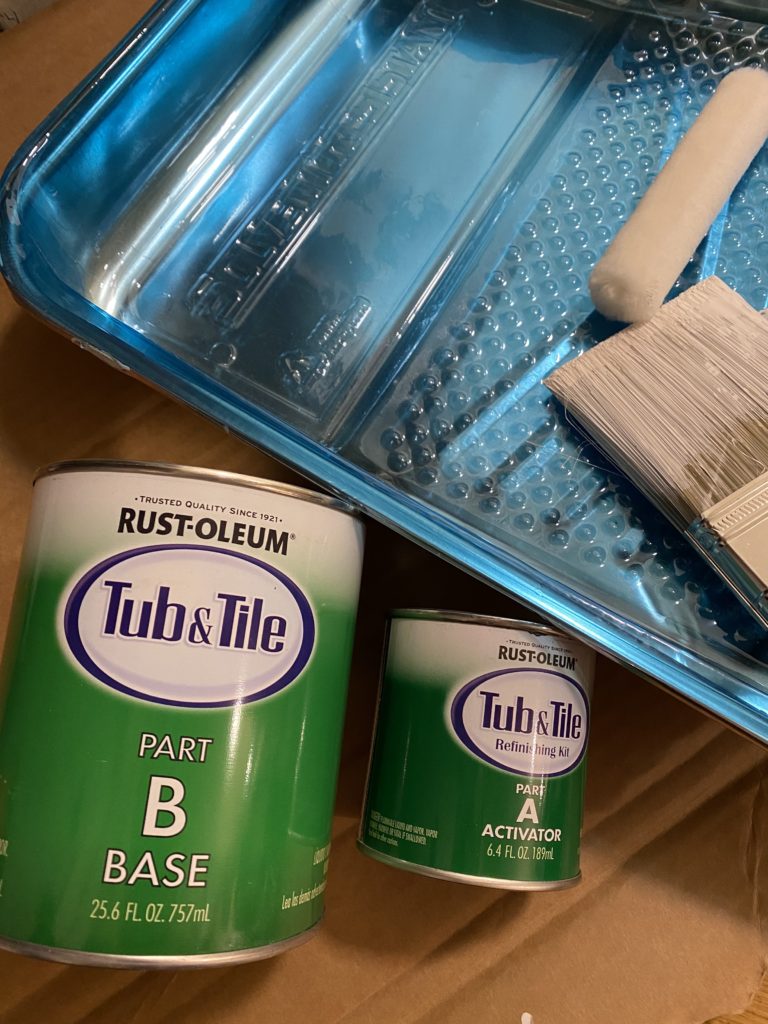
Here is your kit! It has two parts and its time to mix!
Are you ready to start the tub & tile makeover kit? EEK!
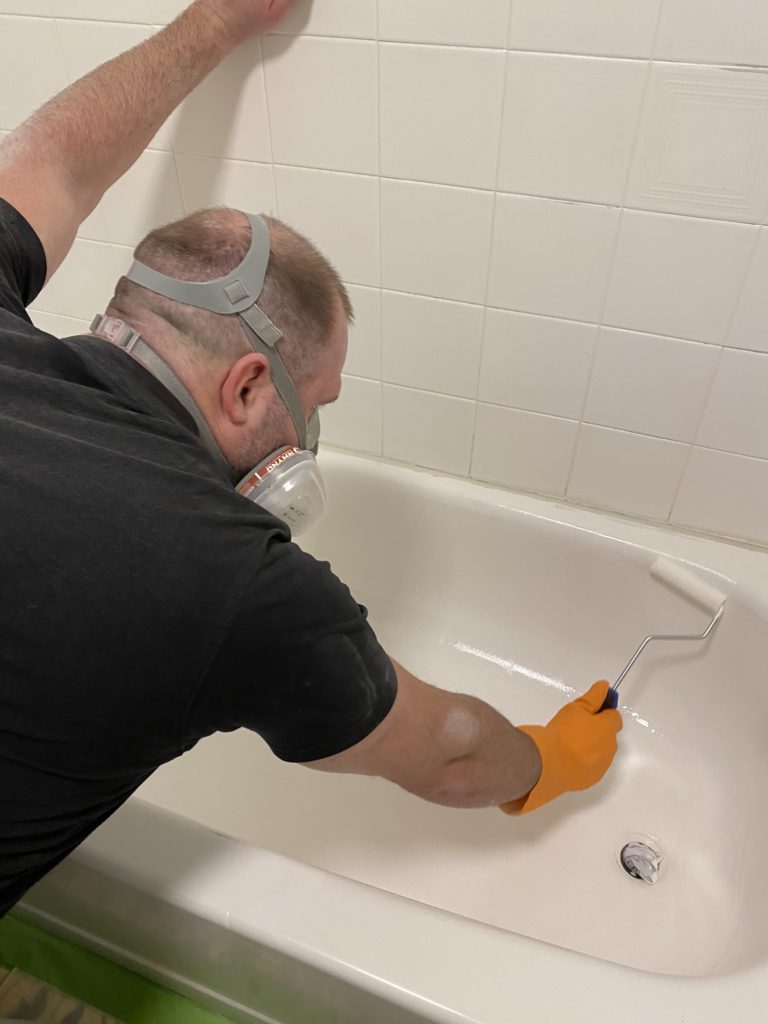
Now that your tub & tile makeover kit is mixed, it is time to just pull the bandaid and get started. You will want to work quick, not use to much or to little. ( It is pretty forgiving and you can roll over it if right away) At first we tried the brush and roller – but the roller is the way to go. Keep a brush on hand in case!
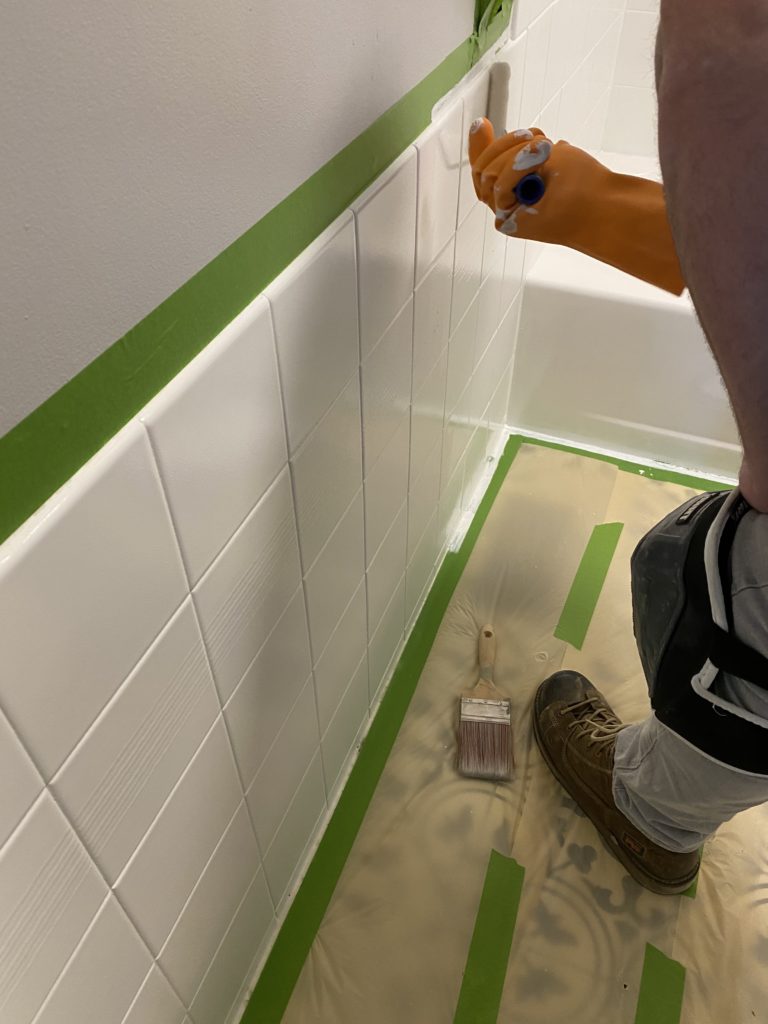
Just keep going over it all and you will be amazed at the transformation.
This is ONE coat. It is VERY Stinky – I would recommend doing this when you can have ALL windows open … fans on… and make sure to have a second bathroom. You can’t use the shower for at least 3 days.
Now that you used the first kit, you do need to wait at least an hour for it to dry. ( We waited a few to be safe) Then sit back and look at the beauty – but maybe not for to long remember the smell.
You will repeat the process one more time and tada a NEW bathroom!
** As soon as it is done make sure to remove the painters tape – triple check it all for no drips and fix anything if needed.
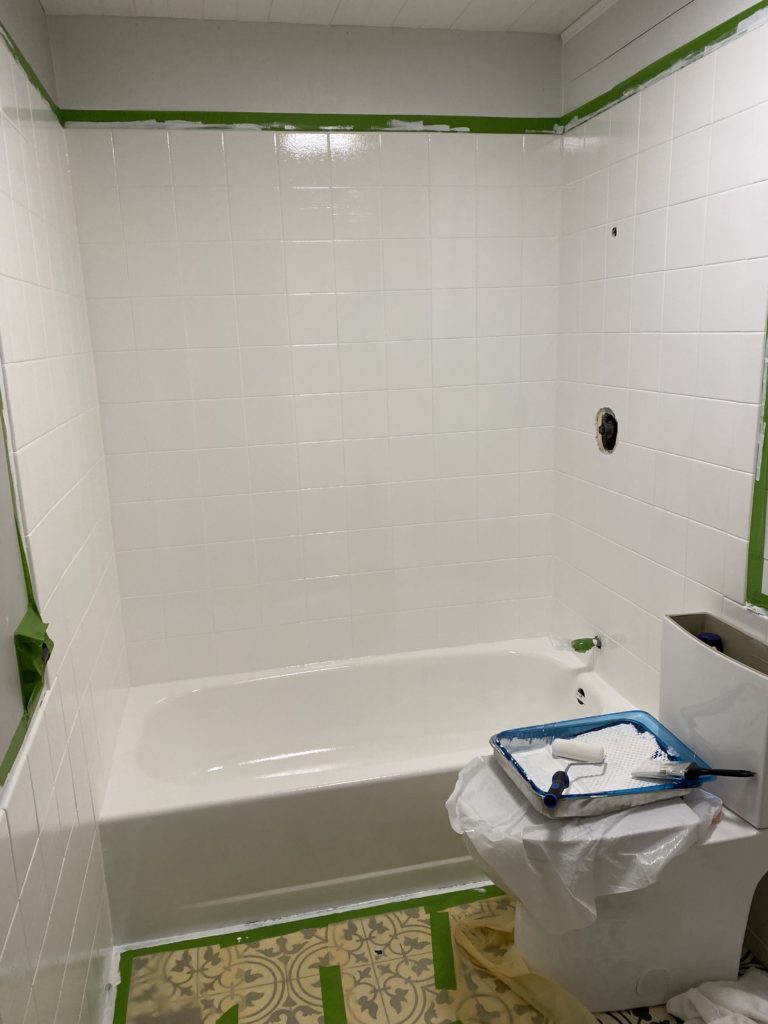
Here it is 2 coats and a bathroom thats almost complete!
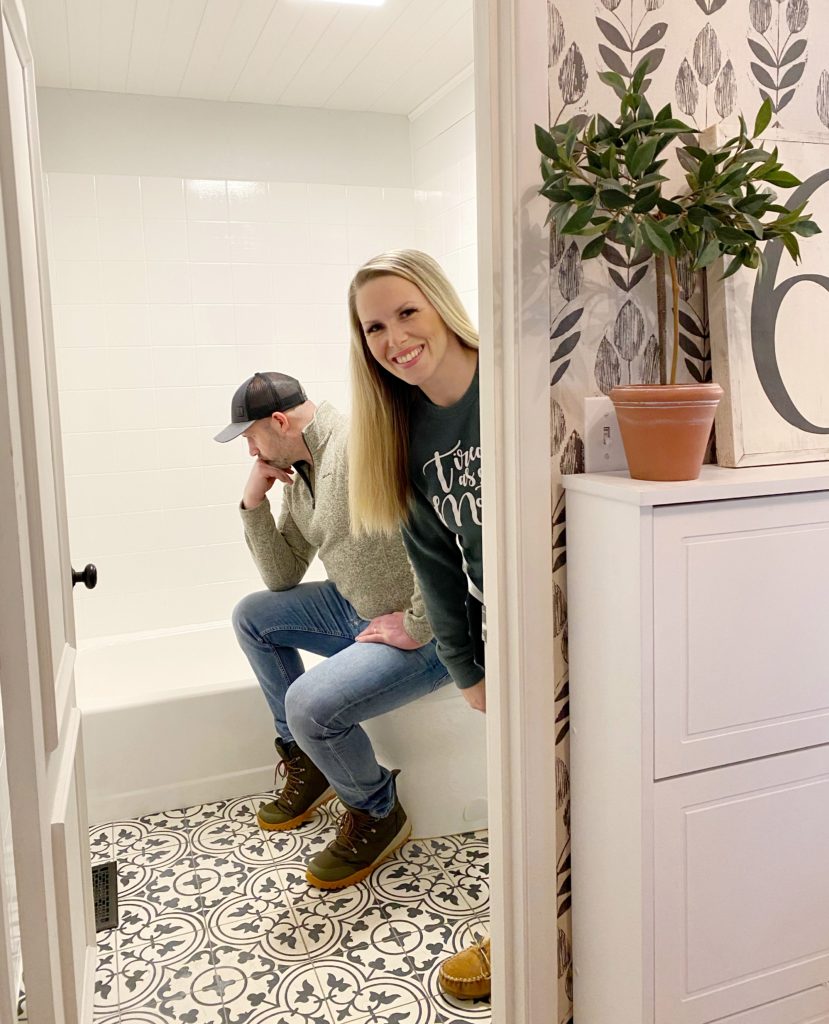
Yes, we had to get a photo in the bathroom 😛 And yes this is our ONLY bathroom for 6 of us – and no its not bad.
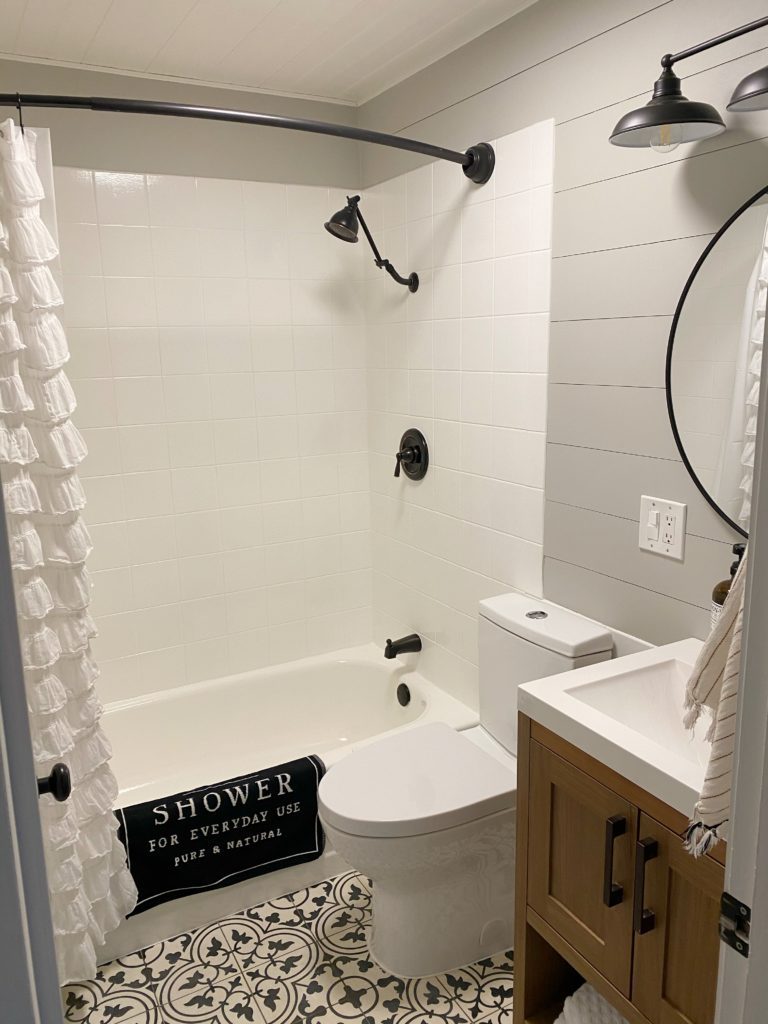
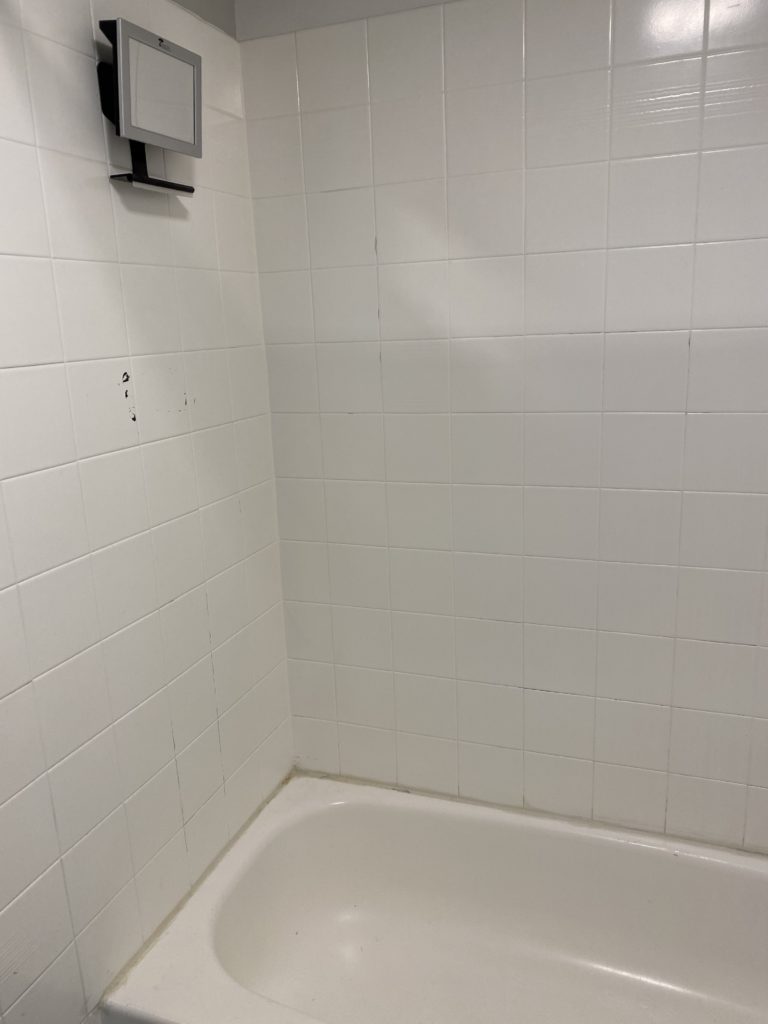
Here it is all complete!! Look at that before and after, well really all the up close I shared. We are so thrilled with how it turned out and we would do it again in a heartbeat! We do have one extra tub & tile makeover kit 😉 so maybe one day!
I think I went over all the questions, feel free to ask any more!
Like this post? Save it on Pinterest. Follow me on Pinterest.


Am I correct in understanding you can change the color of your tile with this??? We have a shower we want to remodel. Would we use the kit on the shower pan too? Thank you!
Yes!! You can change the color – this was done over 11 years ago and looks to be a brown tan color! We did the whole entire thing.