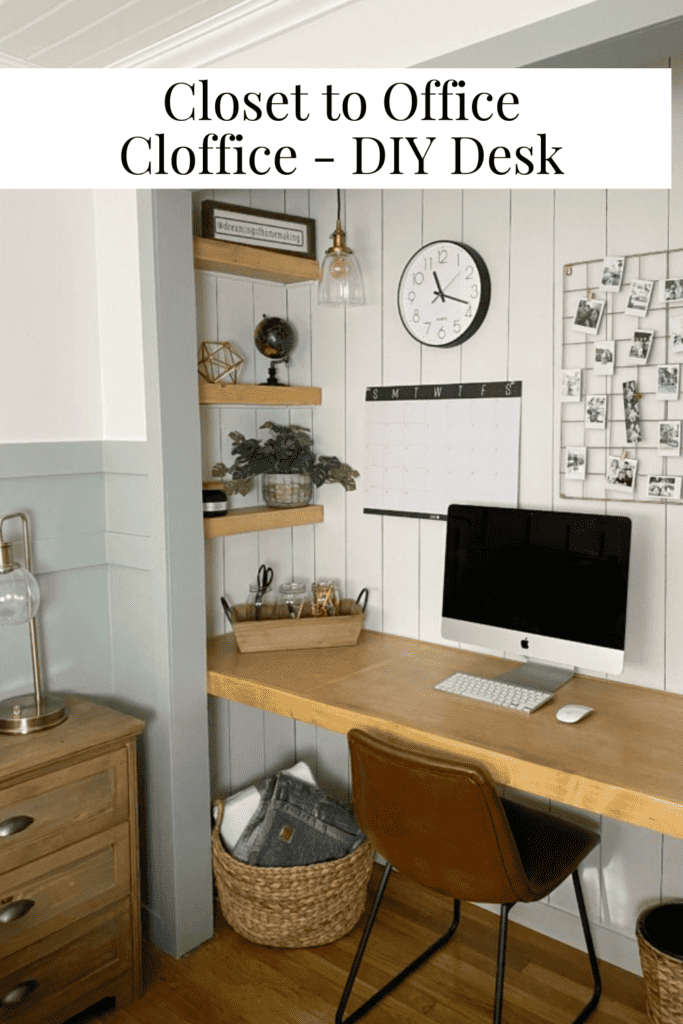
Closet to Office – Cloffice – DIY Desk
Closet to Office yes please! Cloffice for the win! Let me show you how we did this DIY desk and other DIYS to complete this space.
When we redid this space, we never knew how much use this space would get. James went from using this space twice a week to full time! It has been so incredible and we love the transformation. Let me show you what all went into this space!
DIY NIGHTSTAND
SHARPIE VERTICAL SHIPLAP
DIY SHIPLAP CEILINGS
BEST GREEN PAINT
FOR THE BIG QUESTION I ALWAYS GET, BUT WHERE IS YOUR CLOSET?? CHECK OUT THIS POST HERE
SUPPLIES FOR DIY DESK
1×3 Pine Board
4×8 Maple Sheet
Brad Nailer ( Don’t forget battery if you don’t have)
Wood Glue
Miter Saw
Circular Saw
Tape Measure
Level
Stain & Sealer
* furring strip for support
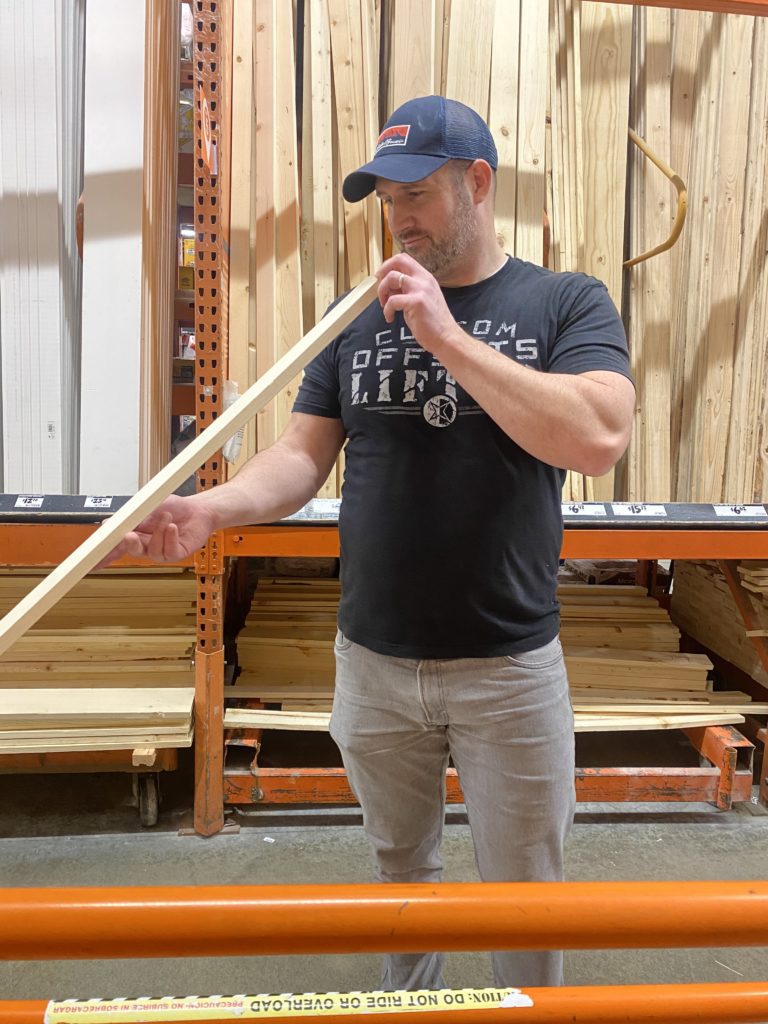
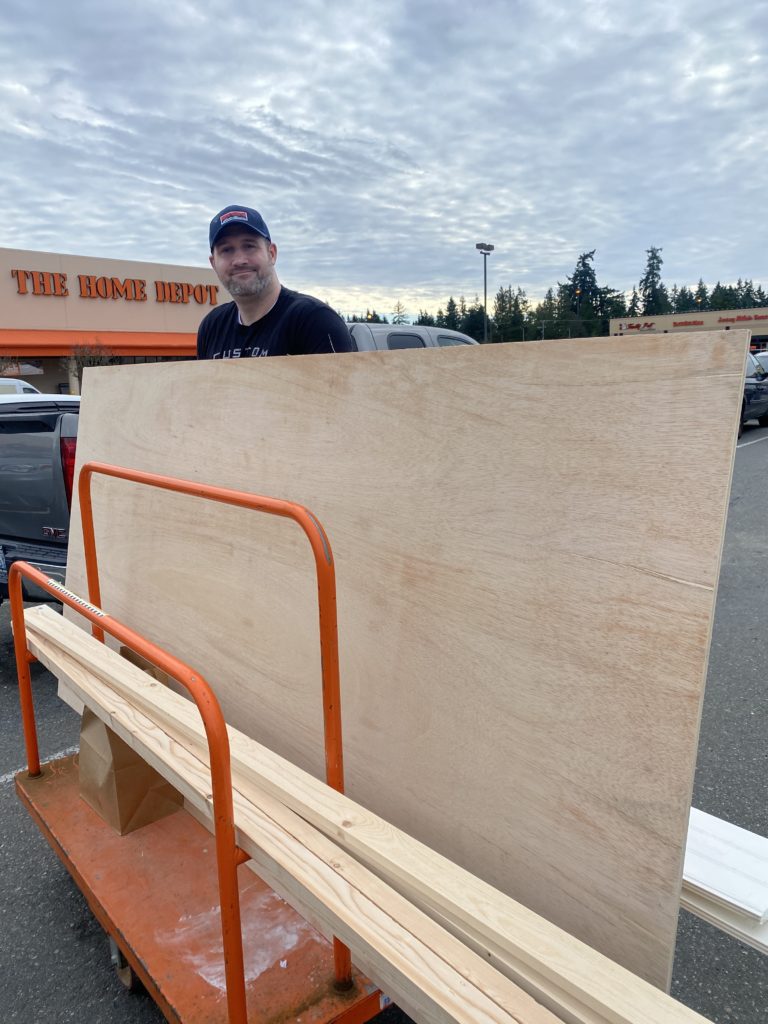
Make sure you get the perfect straight boards, if you buy wood you know how easy that is…. now let’s get it home to start!

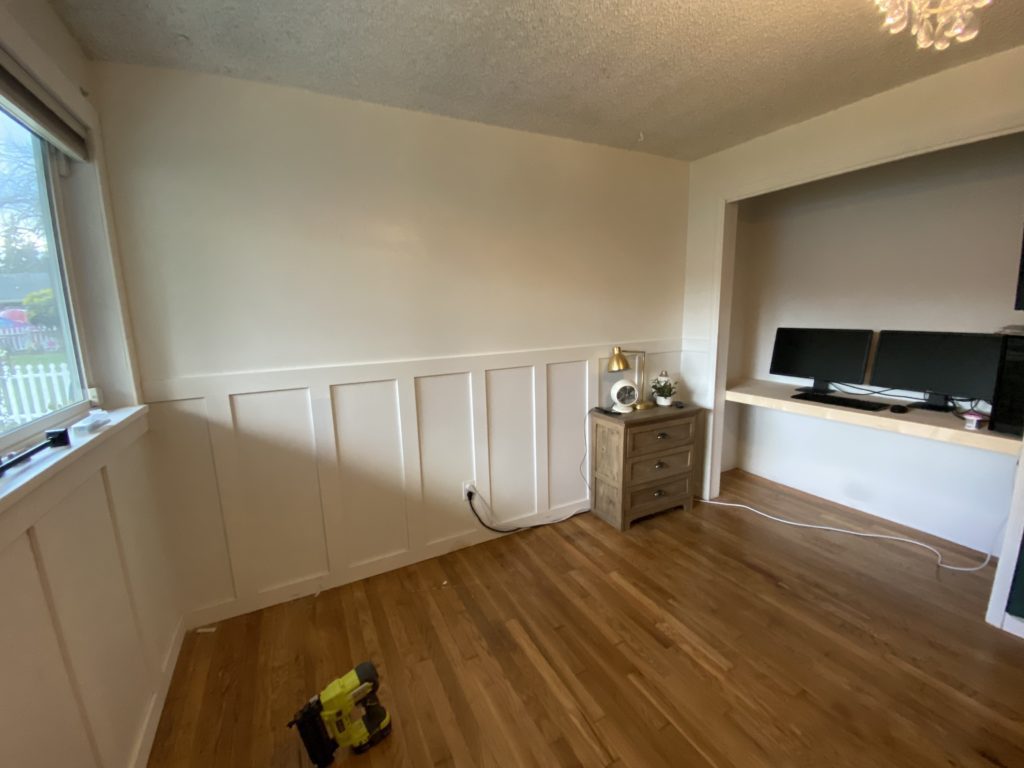
Here is the before of the space, now let’s transform it!
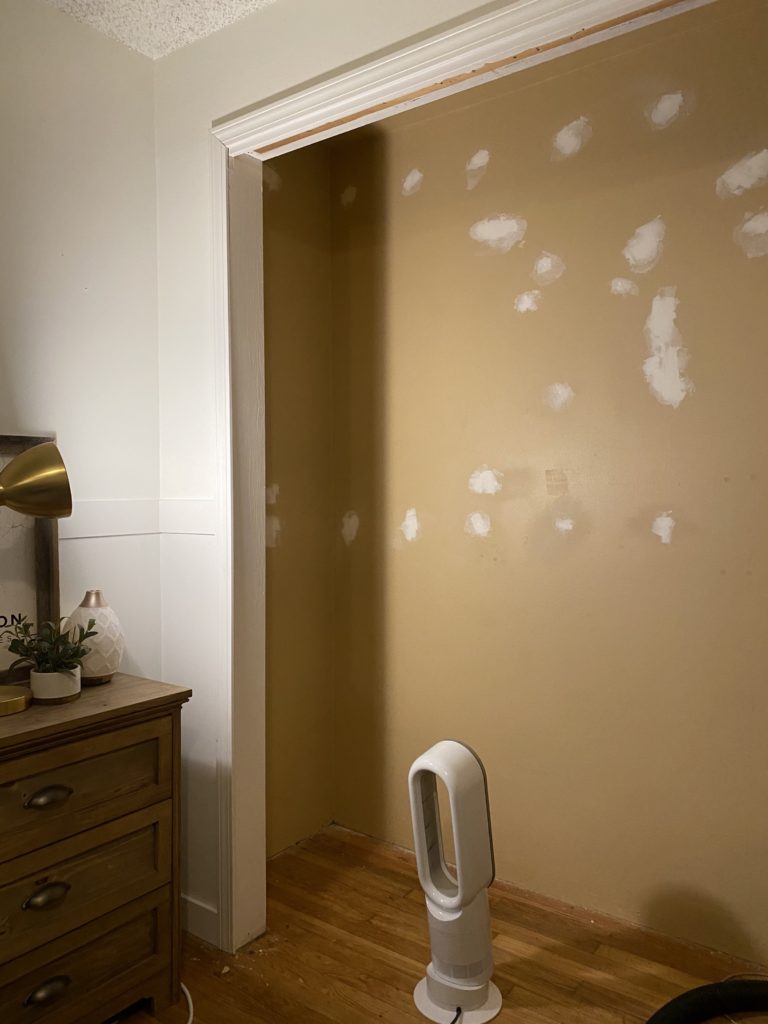
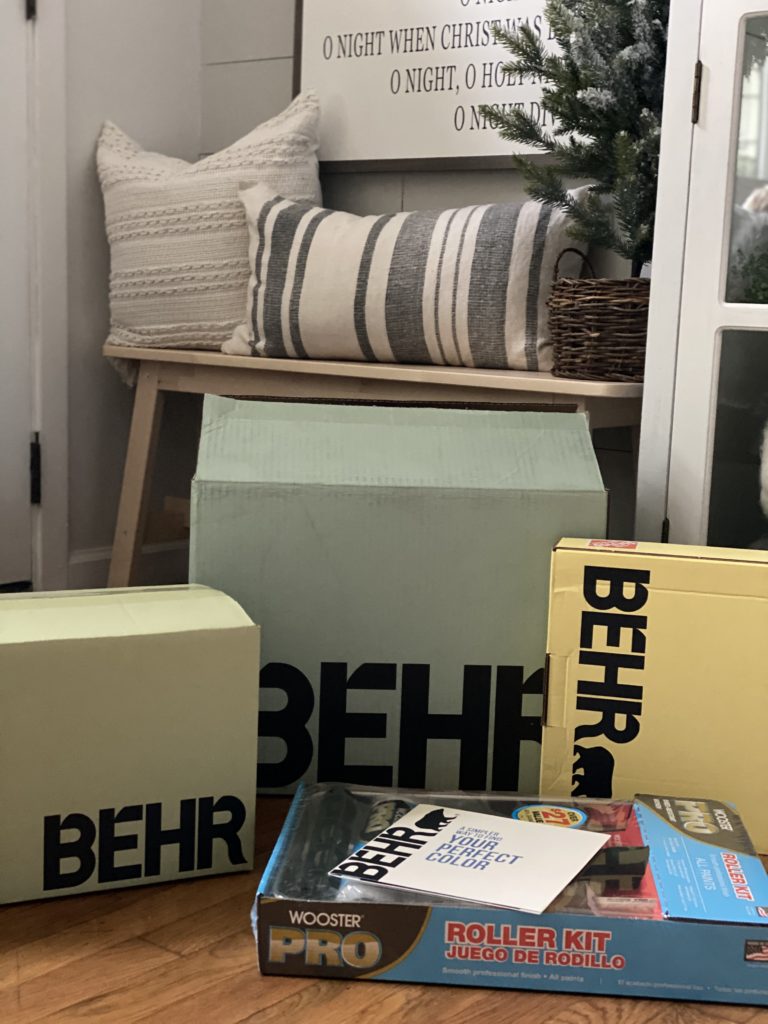
First it was time to fill the holes, and I got my delivery of BEHR paint!

While I was busy painting James built the desk… I am about to show you what I was able to capture – the real life behind projects you are normally so caught up in it … it’s hard to capture!

While I wish we had a garage, we don’t and we always make due. So the truck is our working space for this! Get your miter saw out and lets get ready to build our DIY desk!
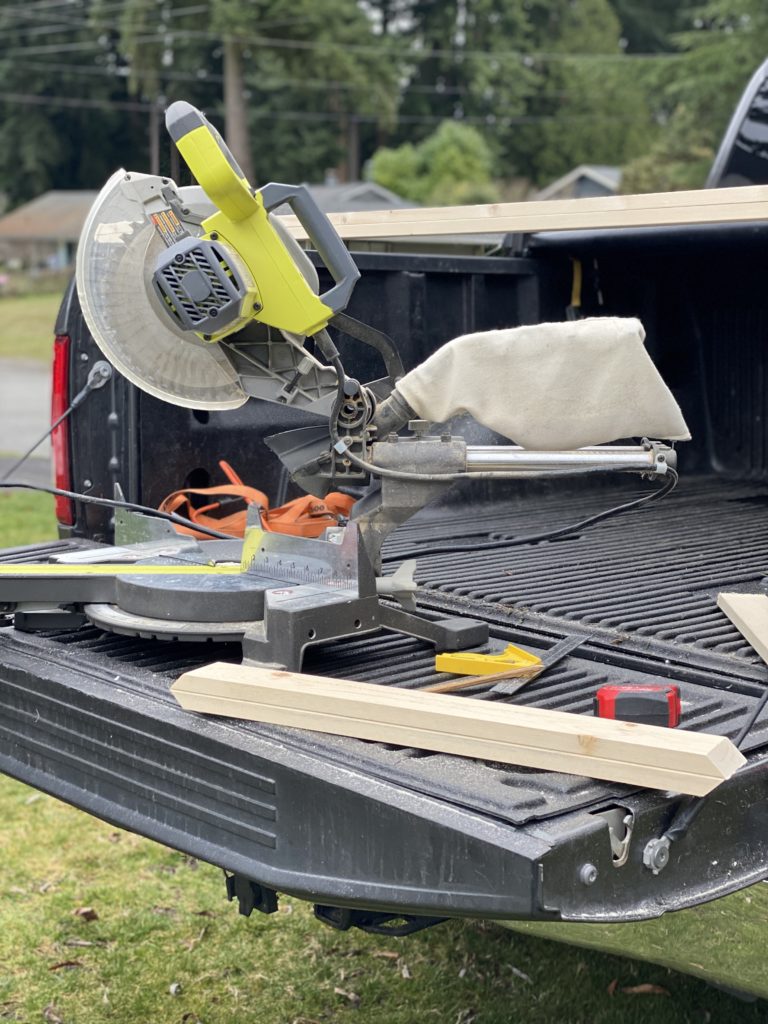
Measure the size of your space and what you want your desk. Then take your miter saw and cut your wood to 45 degrees. Cut all 4 pieces.

Use your wood glue to make it extra secure and brad nail each end till its secure.
You will attach the three sides.
Once you get the base together, its time to cut your piece of maple with your circular saw. You will need to make it so it fits inside your base.
When it is cut, make sure it fits. Using a sander will smooth out any rough edges. Then it is time to use wood glue around the edges and then brad nail the last piece.
** WE ADDED SUPPORTS TO IT**
Here is a photo of it in its place. We added 7 supports we used what we had on hand but you can use this HERE
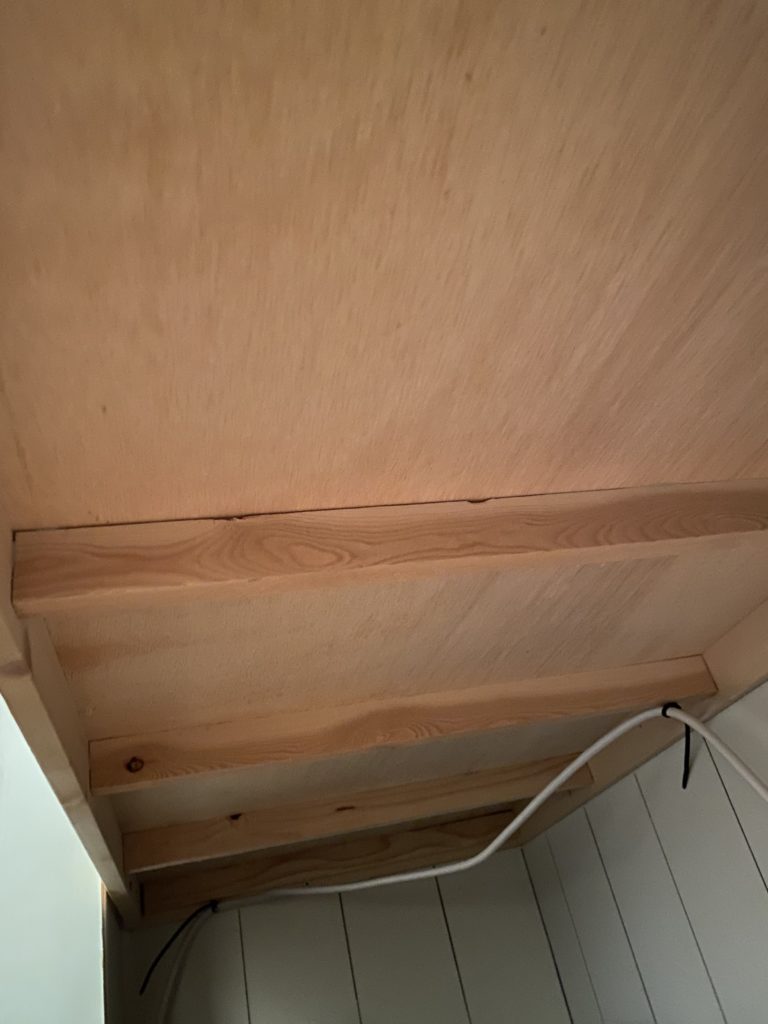
We attached these with a brad nailer you can use wood filler to fill in any holes.

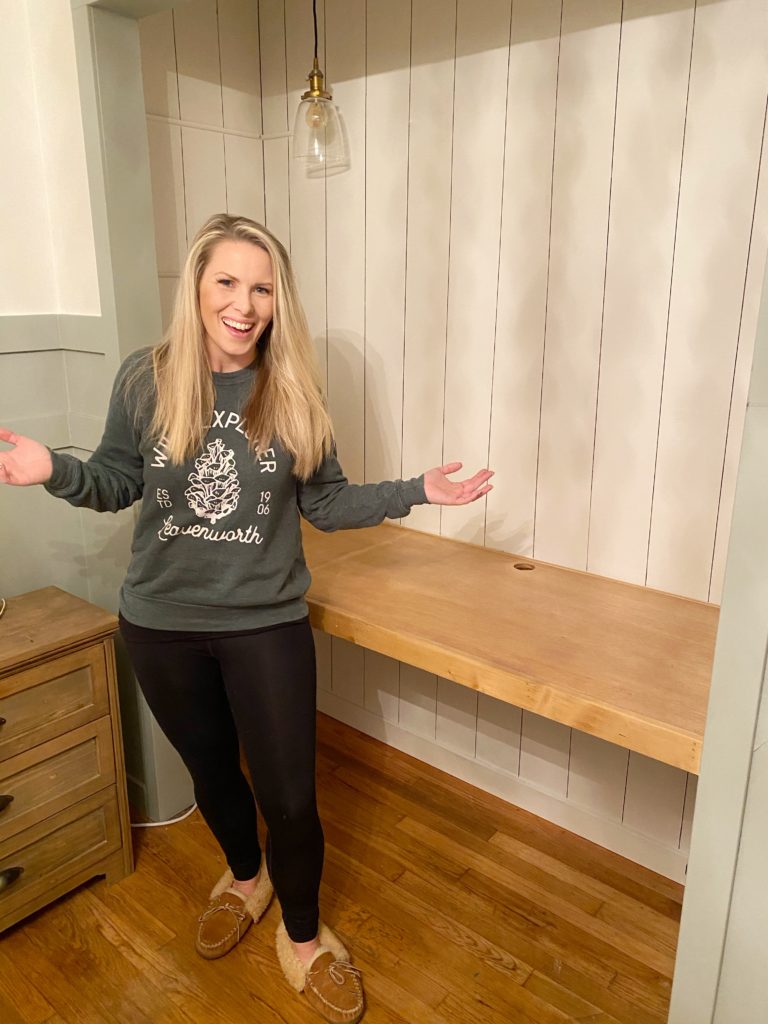
Here it is complete! Now it’s time to put it in its place!
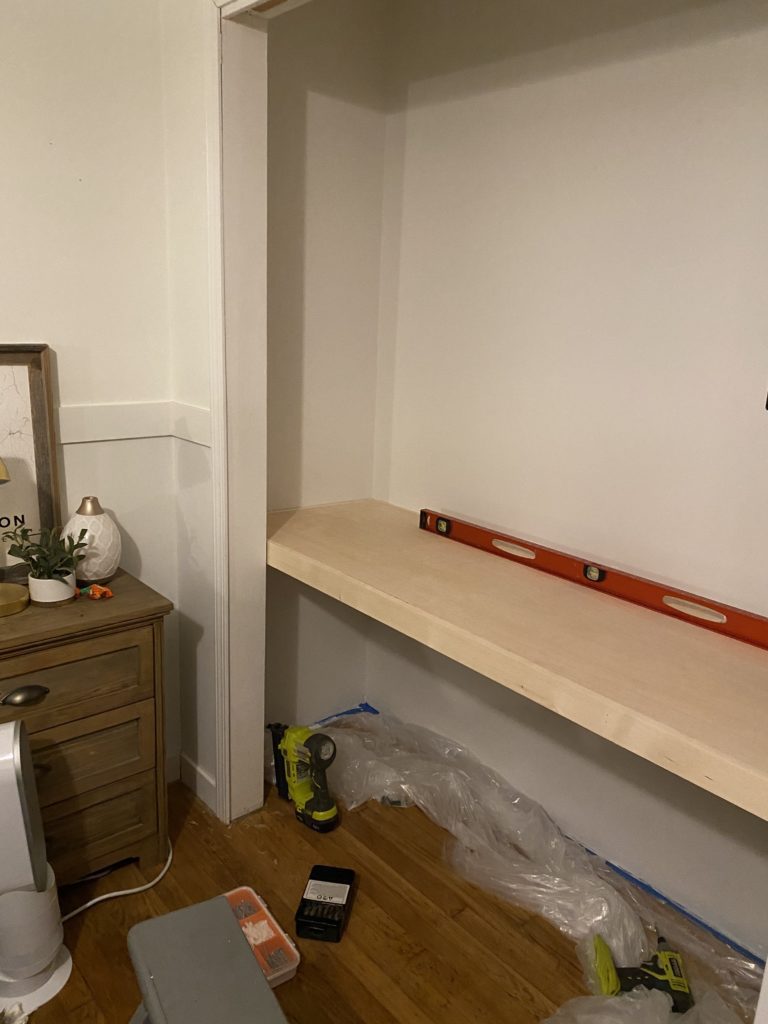
It was pretty snug, but we wanted to make sure secure! We put screws in each side and tested it out! Now we see it fits… are you ready to transform the whole room??

Do you see anything new?? Our DIY desk is in…but the room is GREEN and has an extra layer of board & batten!
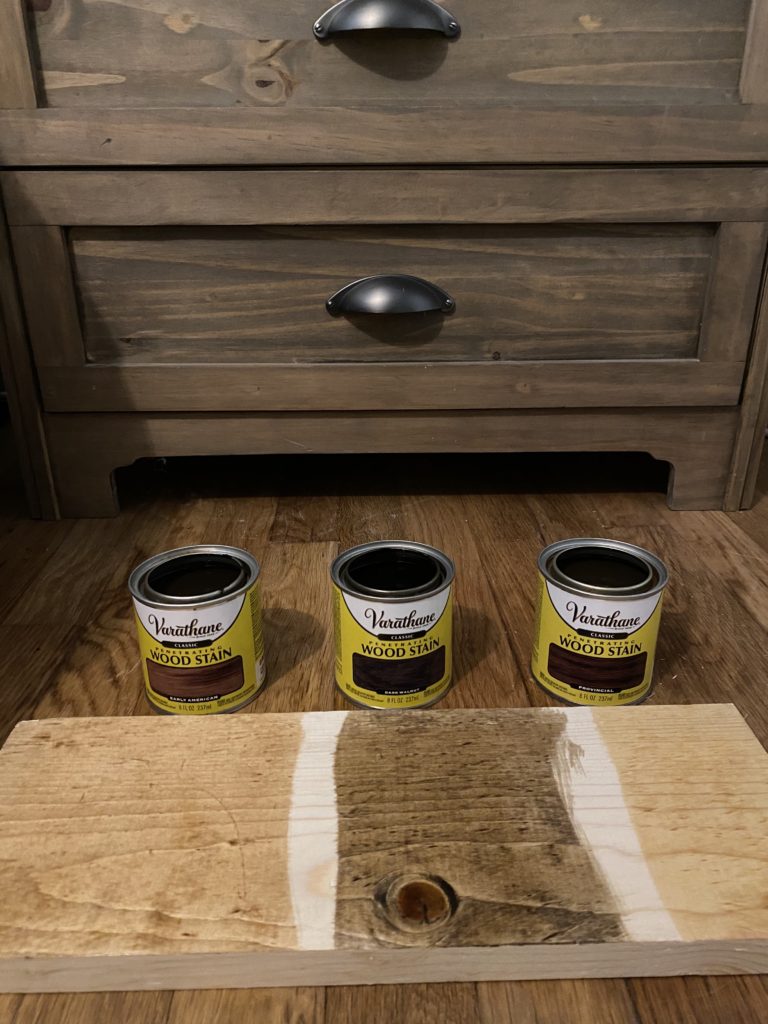
Time to pick a stain! Here are the ones I tried!

I tried the stains, but I feel I am the worst with them I did the color I love but sanded it down lightly.
*Just remember when sanding test on a piece of wood that is the exact same as what you are working on.
You saw earlier I added some vertical shiplap – this you can see here with the SHARPIE! * It wasn’t a regular one!


We added some shelves, and now it is complete! Let me show you the whole space.
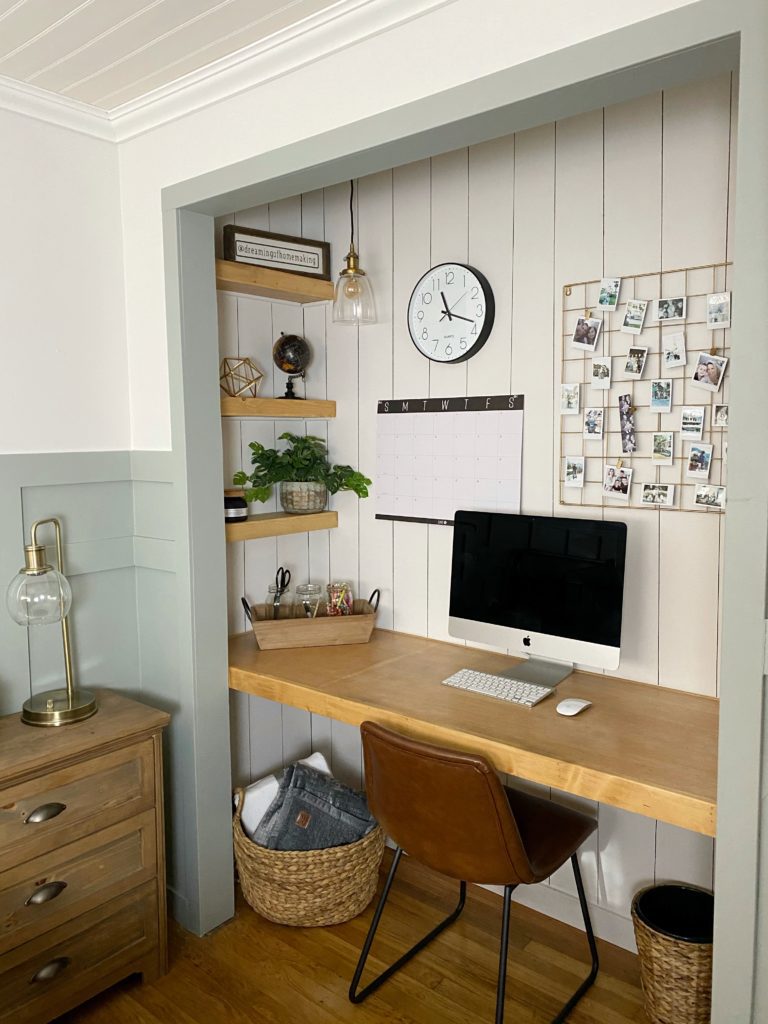
Tada! I hope you liked this little DIY! I hope it gave you some direction – I wish we documented it better.. you can see a little more on the video on Instagram HERE. Check out these blog posts below to see more DIYS!
Like this post? Save it on Pinterest. Follow me on Pinterest.