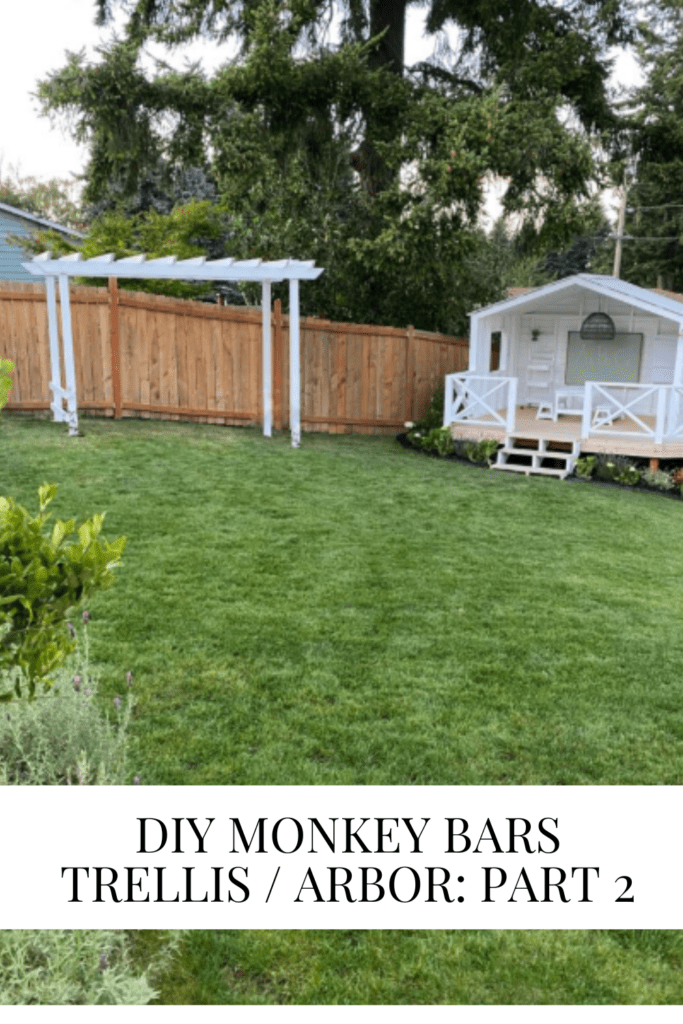
DIY Monkey Bars / Trellis / Arbor: Part 2
Is it an Arbor / Trellis? Well, it may look like that but its monkey bars! Today I will share how we added the finishing touches!
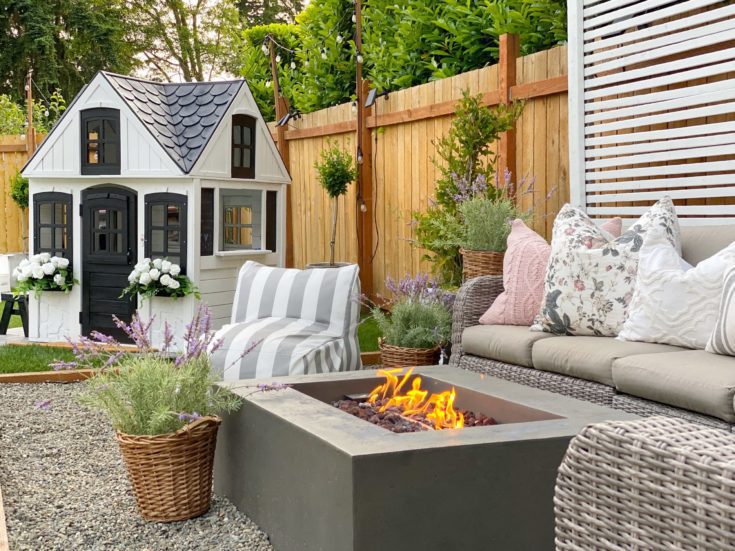
When we planned on doing a new space for the kids, we wanted to have it be something they can grow with. We asked each what they wanted and as you will see as this space transforms we have done just that.
Zoe’s favorite thing to do at the park or school is monkey bars, so naturally that was a must!
You can see how we did PART 1 HERE.
HOW TO COMPLETE YOUR MONKEY BAR WITH A TRELLIS :
Supplies :
2×4’s
Screws
Drill
Miter Saw
Saw Horses
Sander
Level
Waterproof sealant caulk
Paint
Paint brush, tray etc.
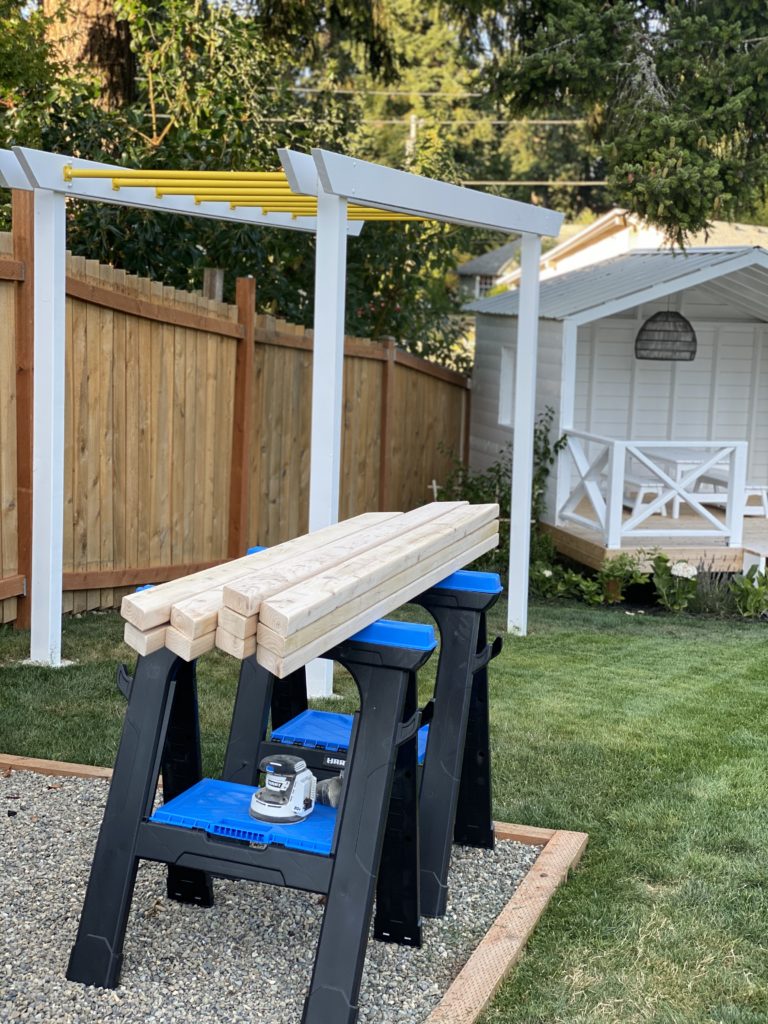
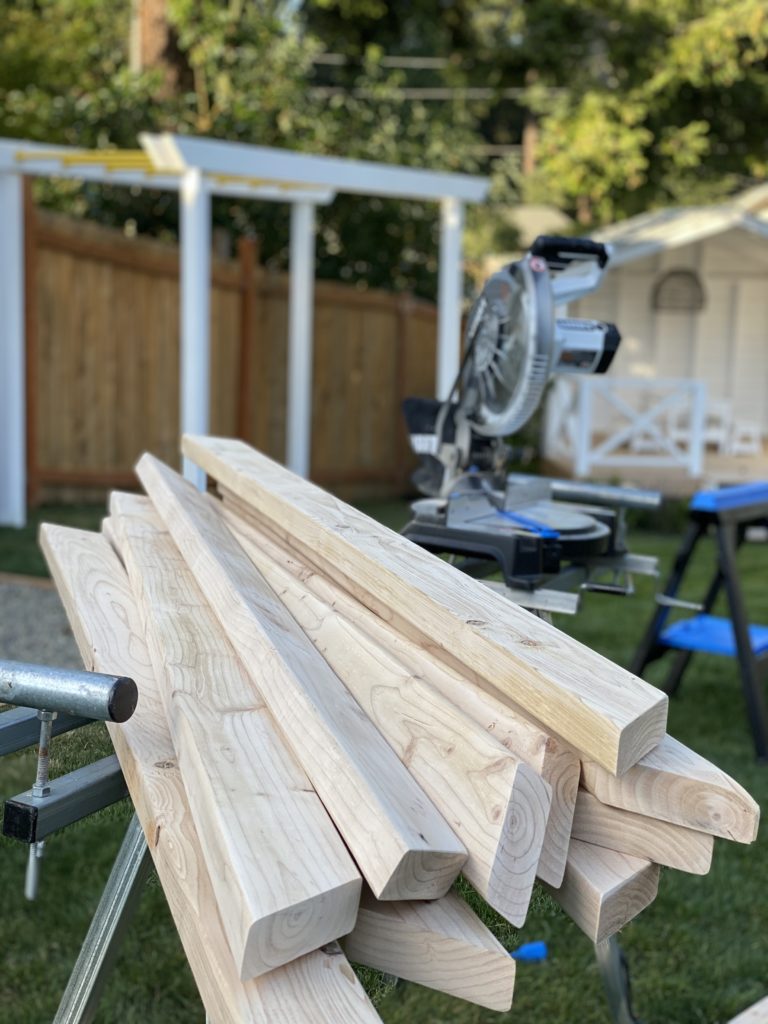
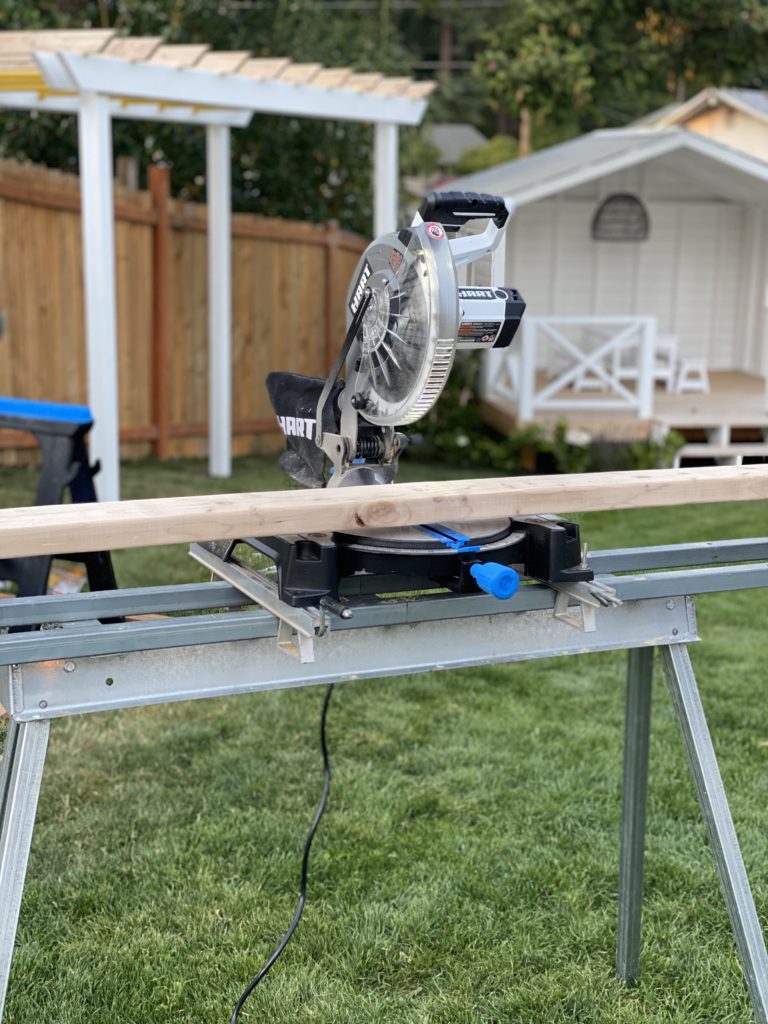
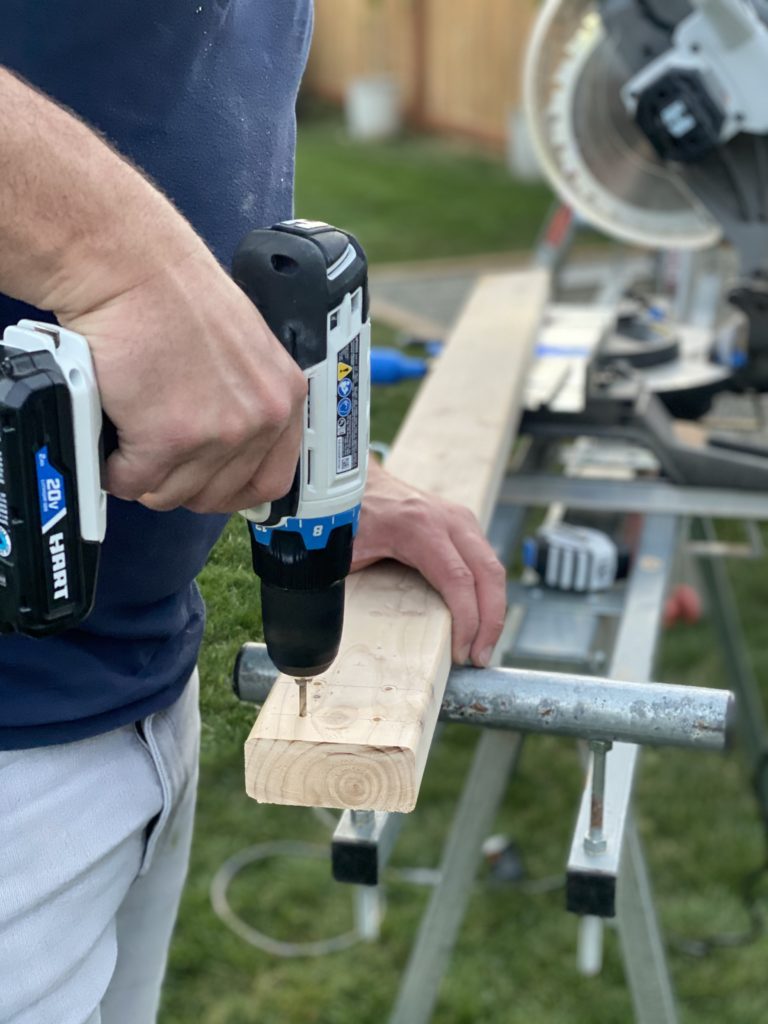
First you will take your 2×4’s and figure which angle you want to cut them at. We wanted to match our pergola on our deck so we did the same.
I wish I got a photo of me cutting them, but thats what happens when I am doing the DIY.
I used the miter saw, and cut each one. Afterwards it was time to place them on the saw horses and sand each lightly.
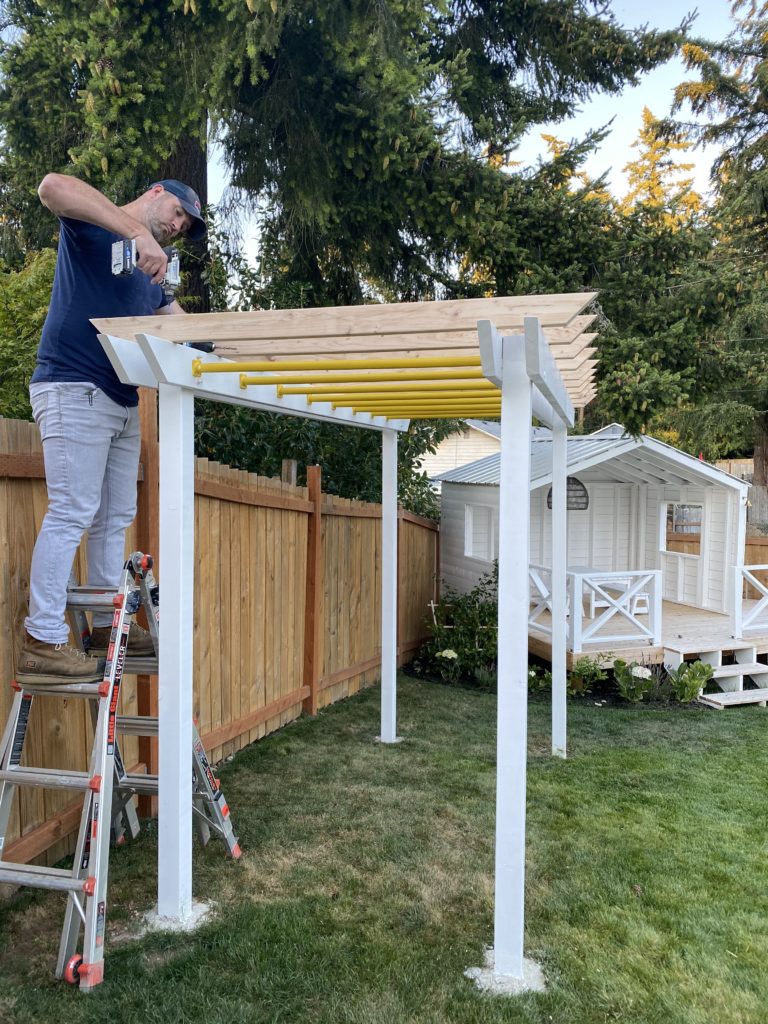
Next we placed the 2×4’s where we wanted. We did measure and space them out – it will be all on preference.
There are many ways you can attach the trellis, since ours was cosmetic we didn’t worry about adding brackets.
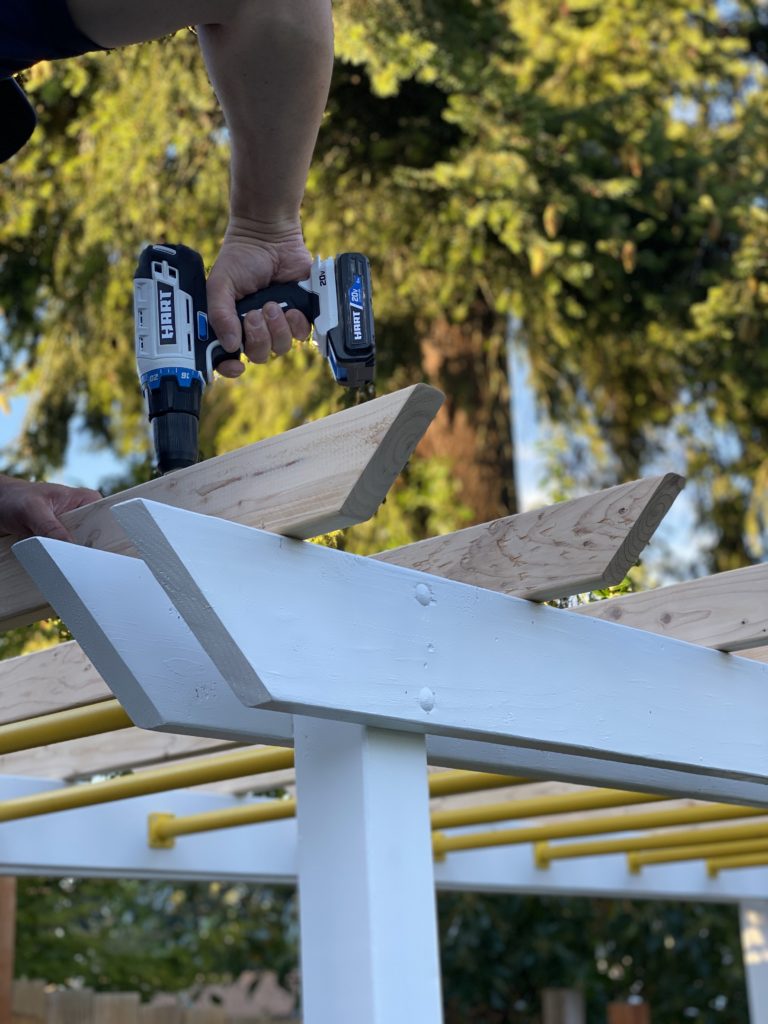
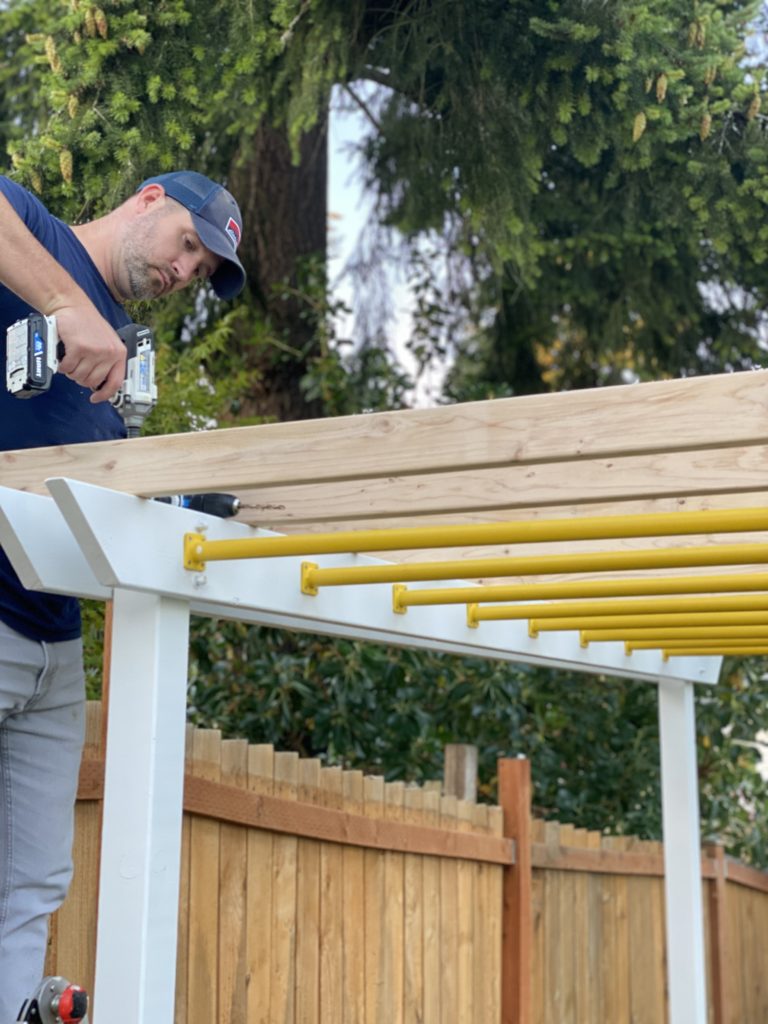
First we made sure to pre-drill each hole.
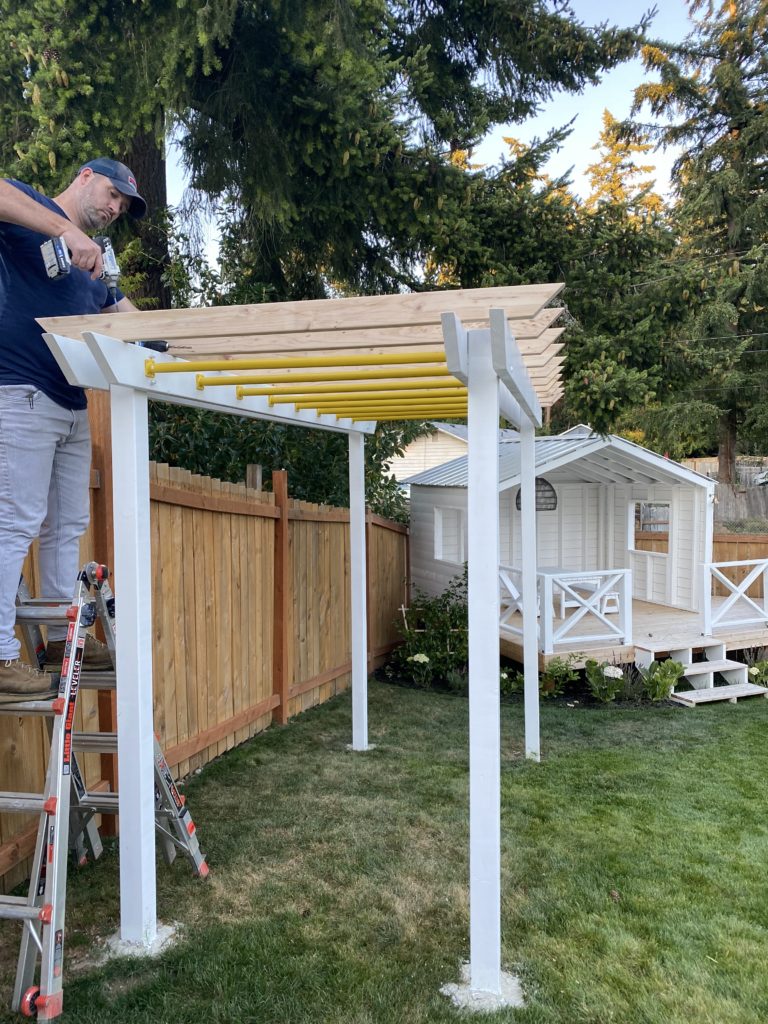
Once it was pre-drilled we put a screw in each one and attached them.
Repeat till complete.

Make sure that you fill each hole on top with a waterproof sealant caulk.
Now that it is all secure it is time to paint.
I have said before, it’s always best to paint first… but here I am. Time and space always win.
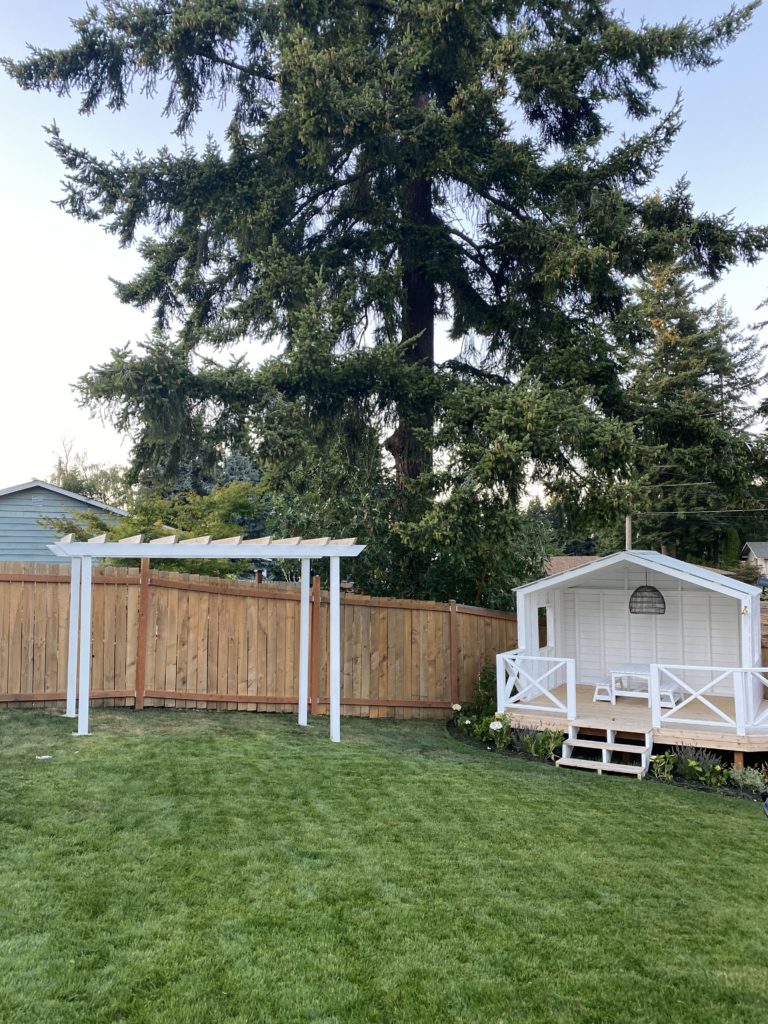
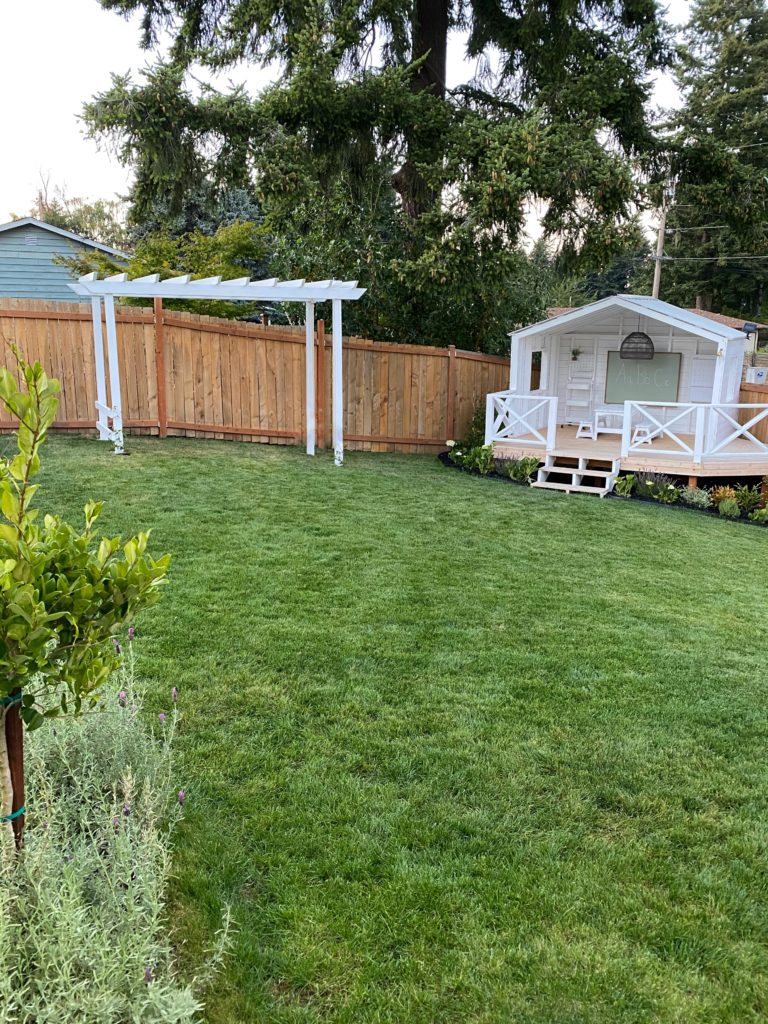
I love that looking from this angle, you would never know its a monkey bar. I will be adding some vines to give it more of the trellis / arbor look.
Before we paint we can’t forget about adding the ladder.
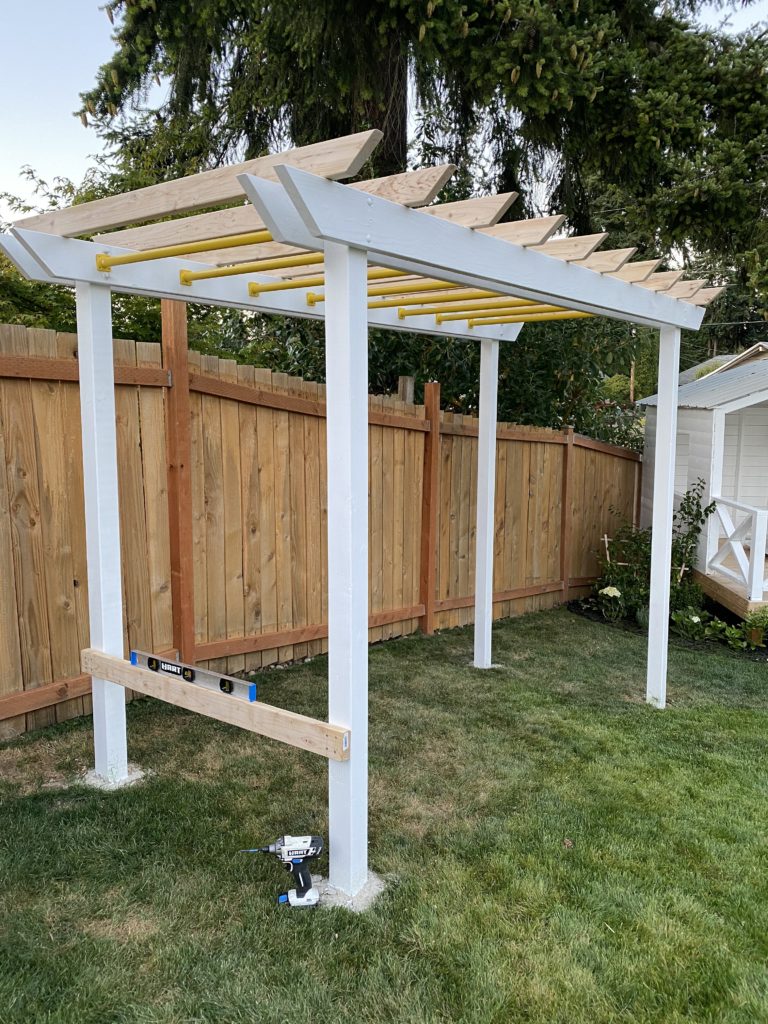
Here we used once again a 2×4. Make sure it is level, and we like to predrill each hole.
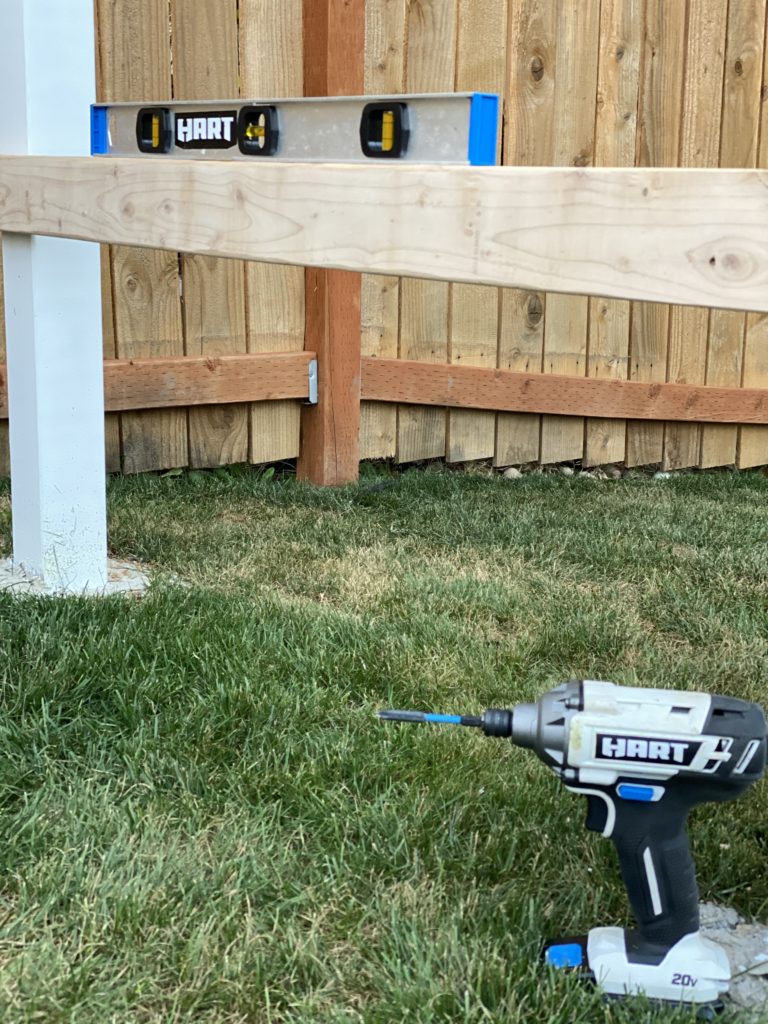
Once level, screw each side in.
Then you will repeat. Your ladder may vary for your size of space and kids using it, two was sufficient for us!
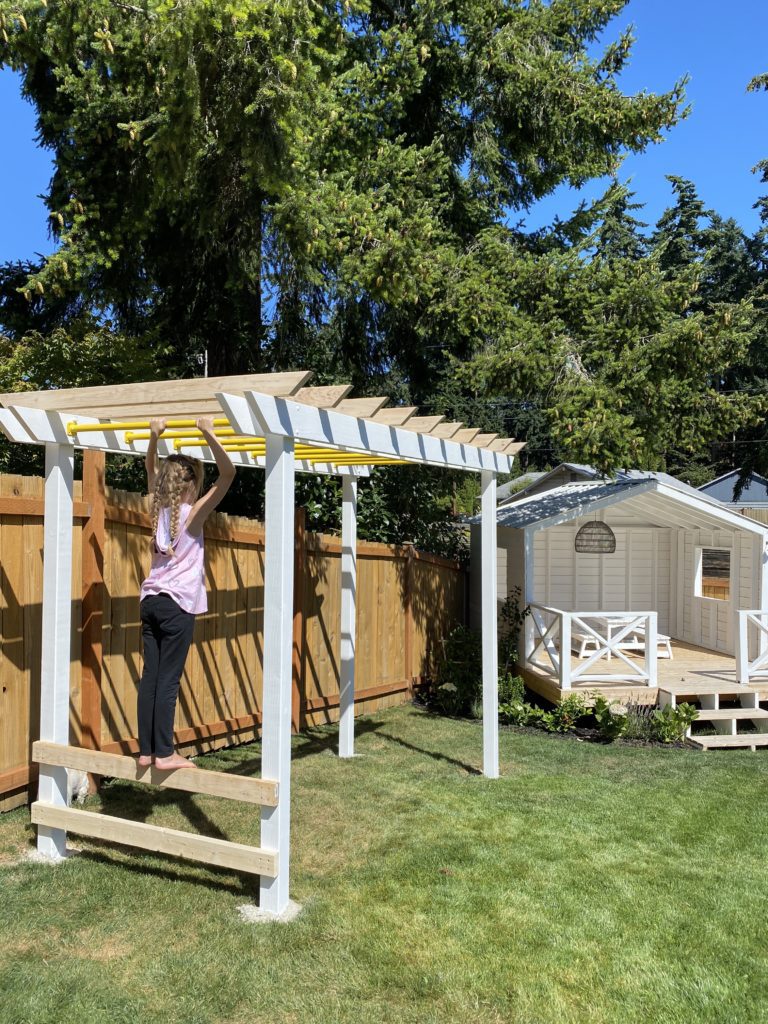
Before we paint, Zoe had to try it out!
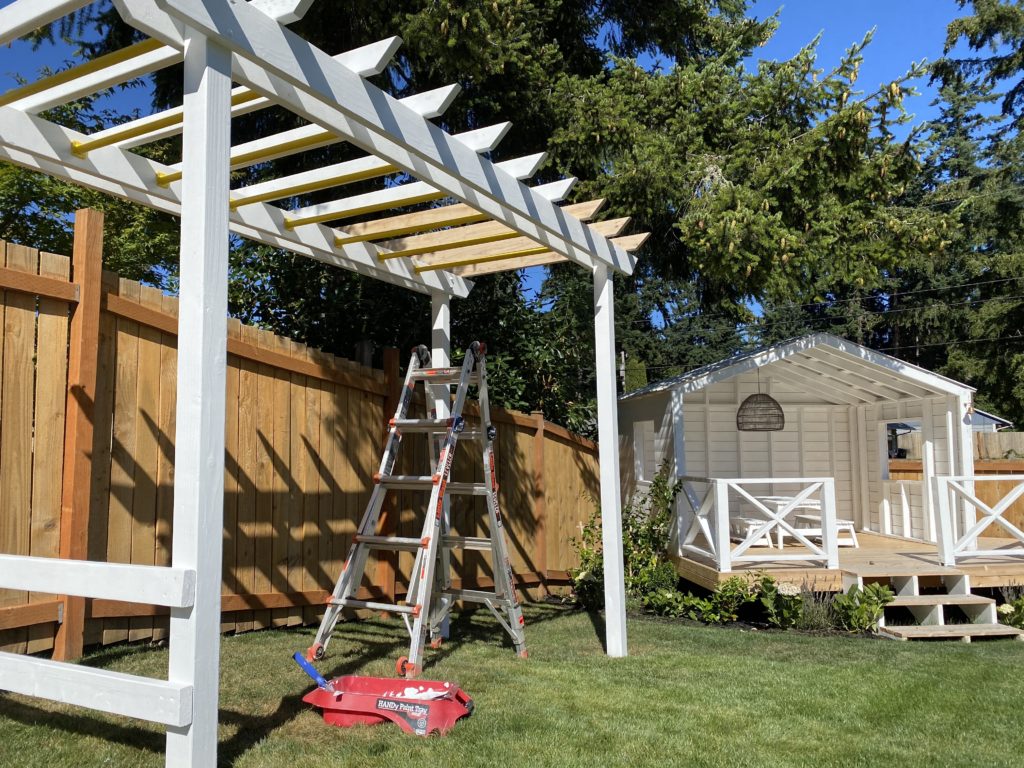
Painting time – did I mention that you should paint first 😛
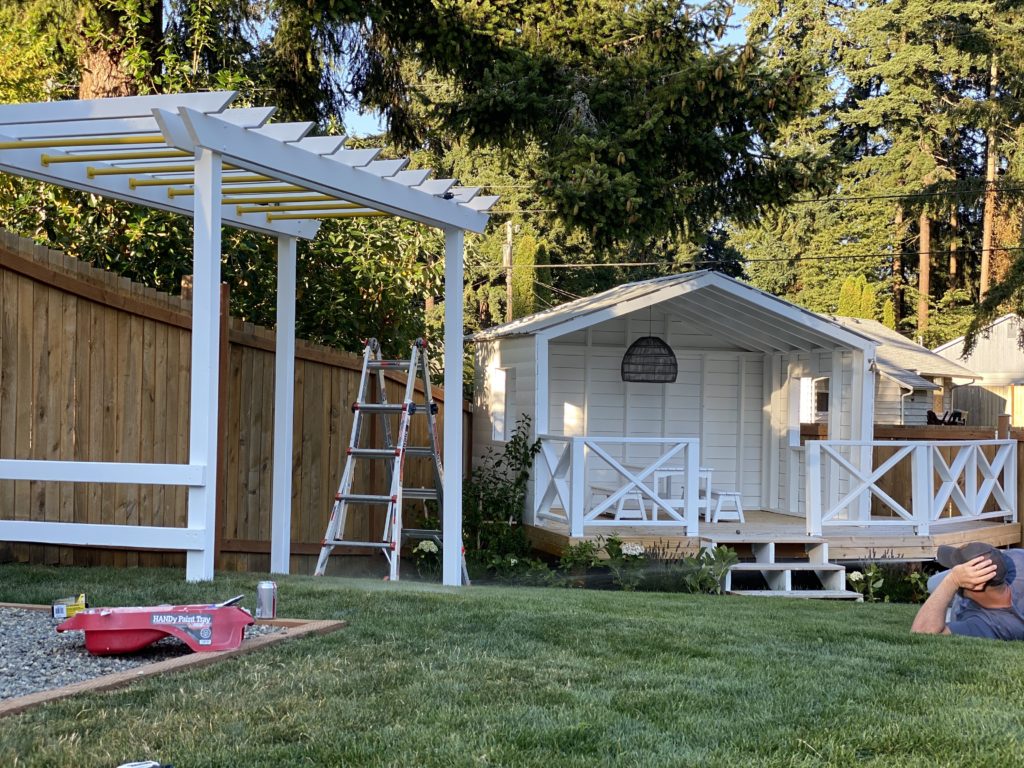
It really wasn’t to bad… James got the best part to watch!
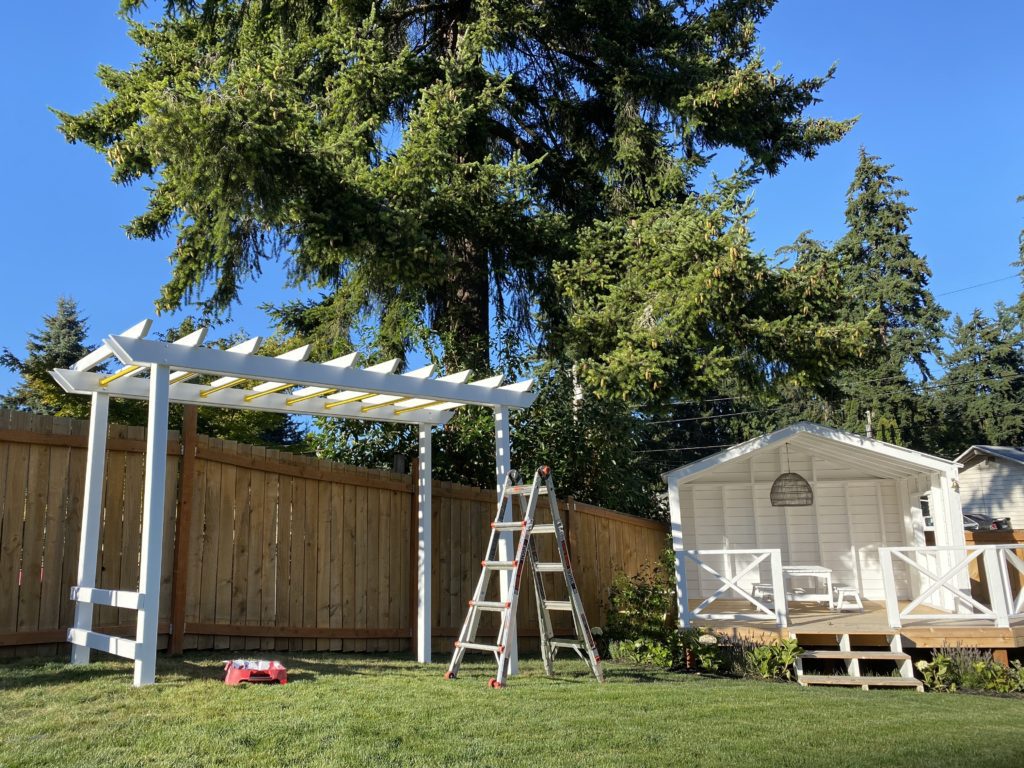
It is coming together!!
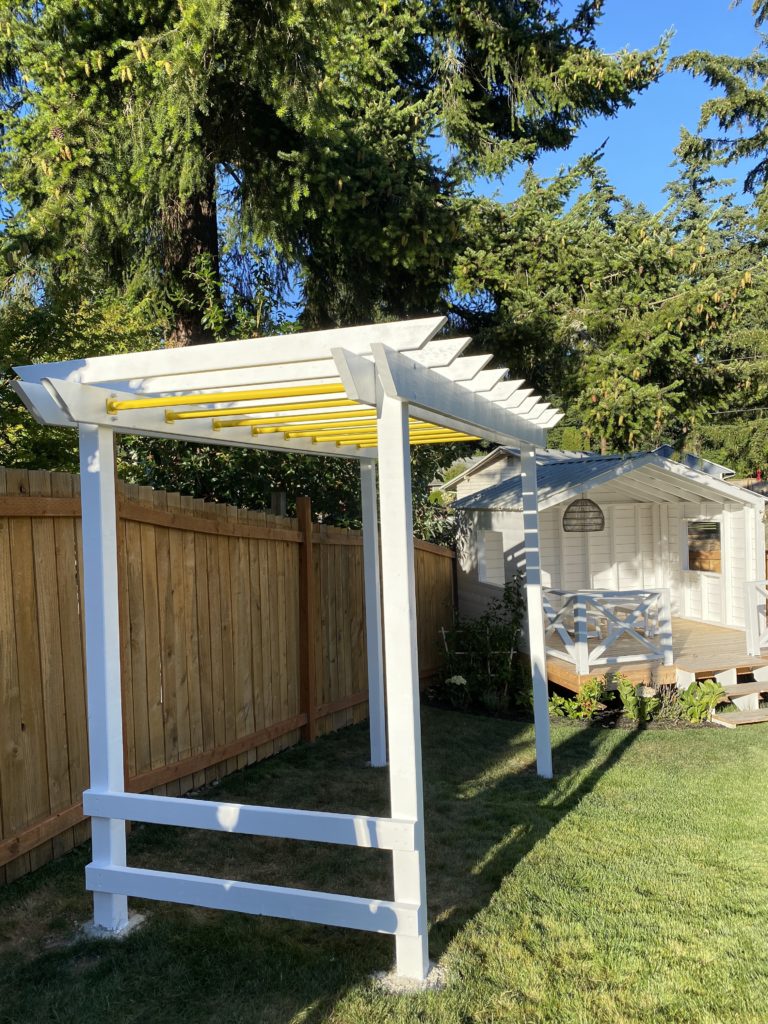
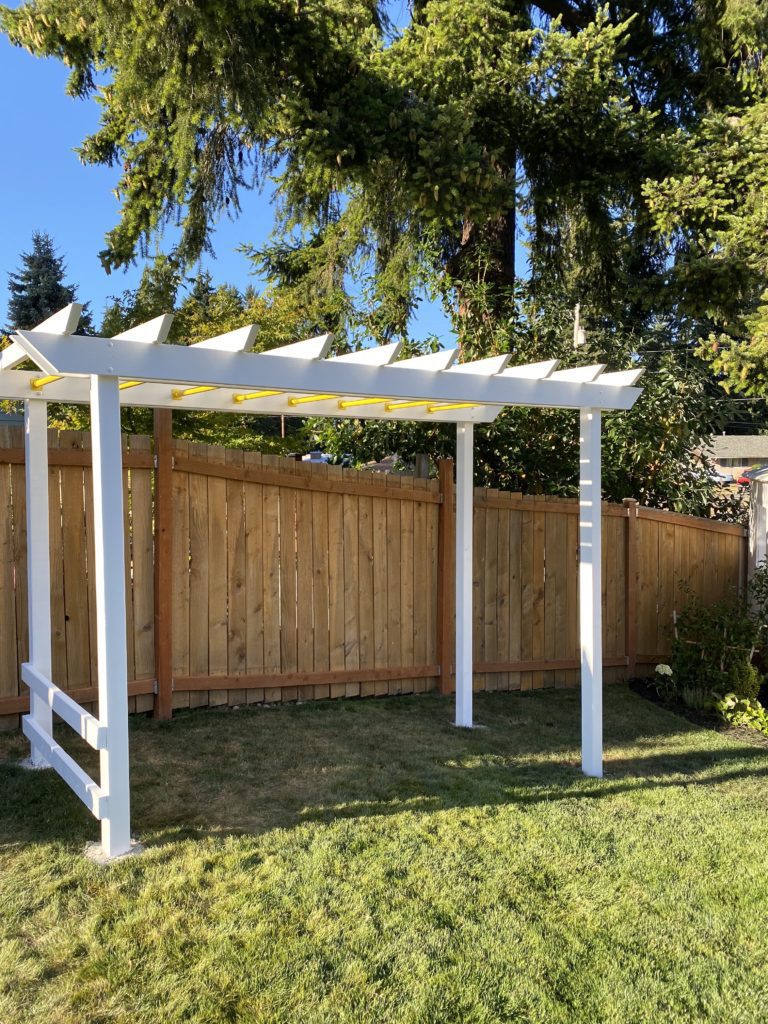
Here it is, but guess what?? It isn’t done yet! Stay tuned for the FINALE!
Like this post? Save it on Pinterest. Follow me on Pinterest.