DIY Wood Shiplap Hood Vent
 I am so excited to share with you this DIY Shiplap Hood Vent that we made using a Broan range hoo d. We will be sharing all our tips and tricks, along with what we would have done different!
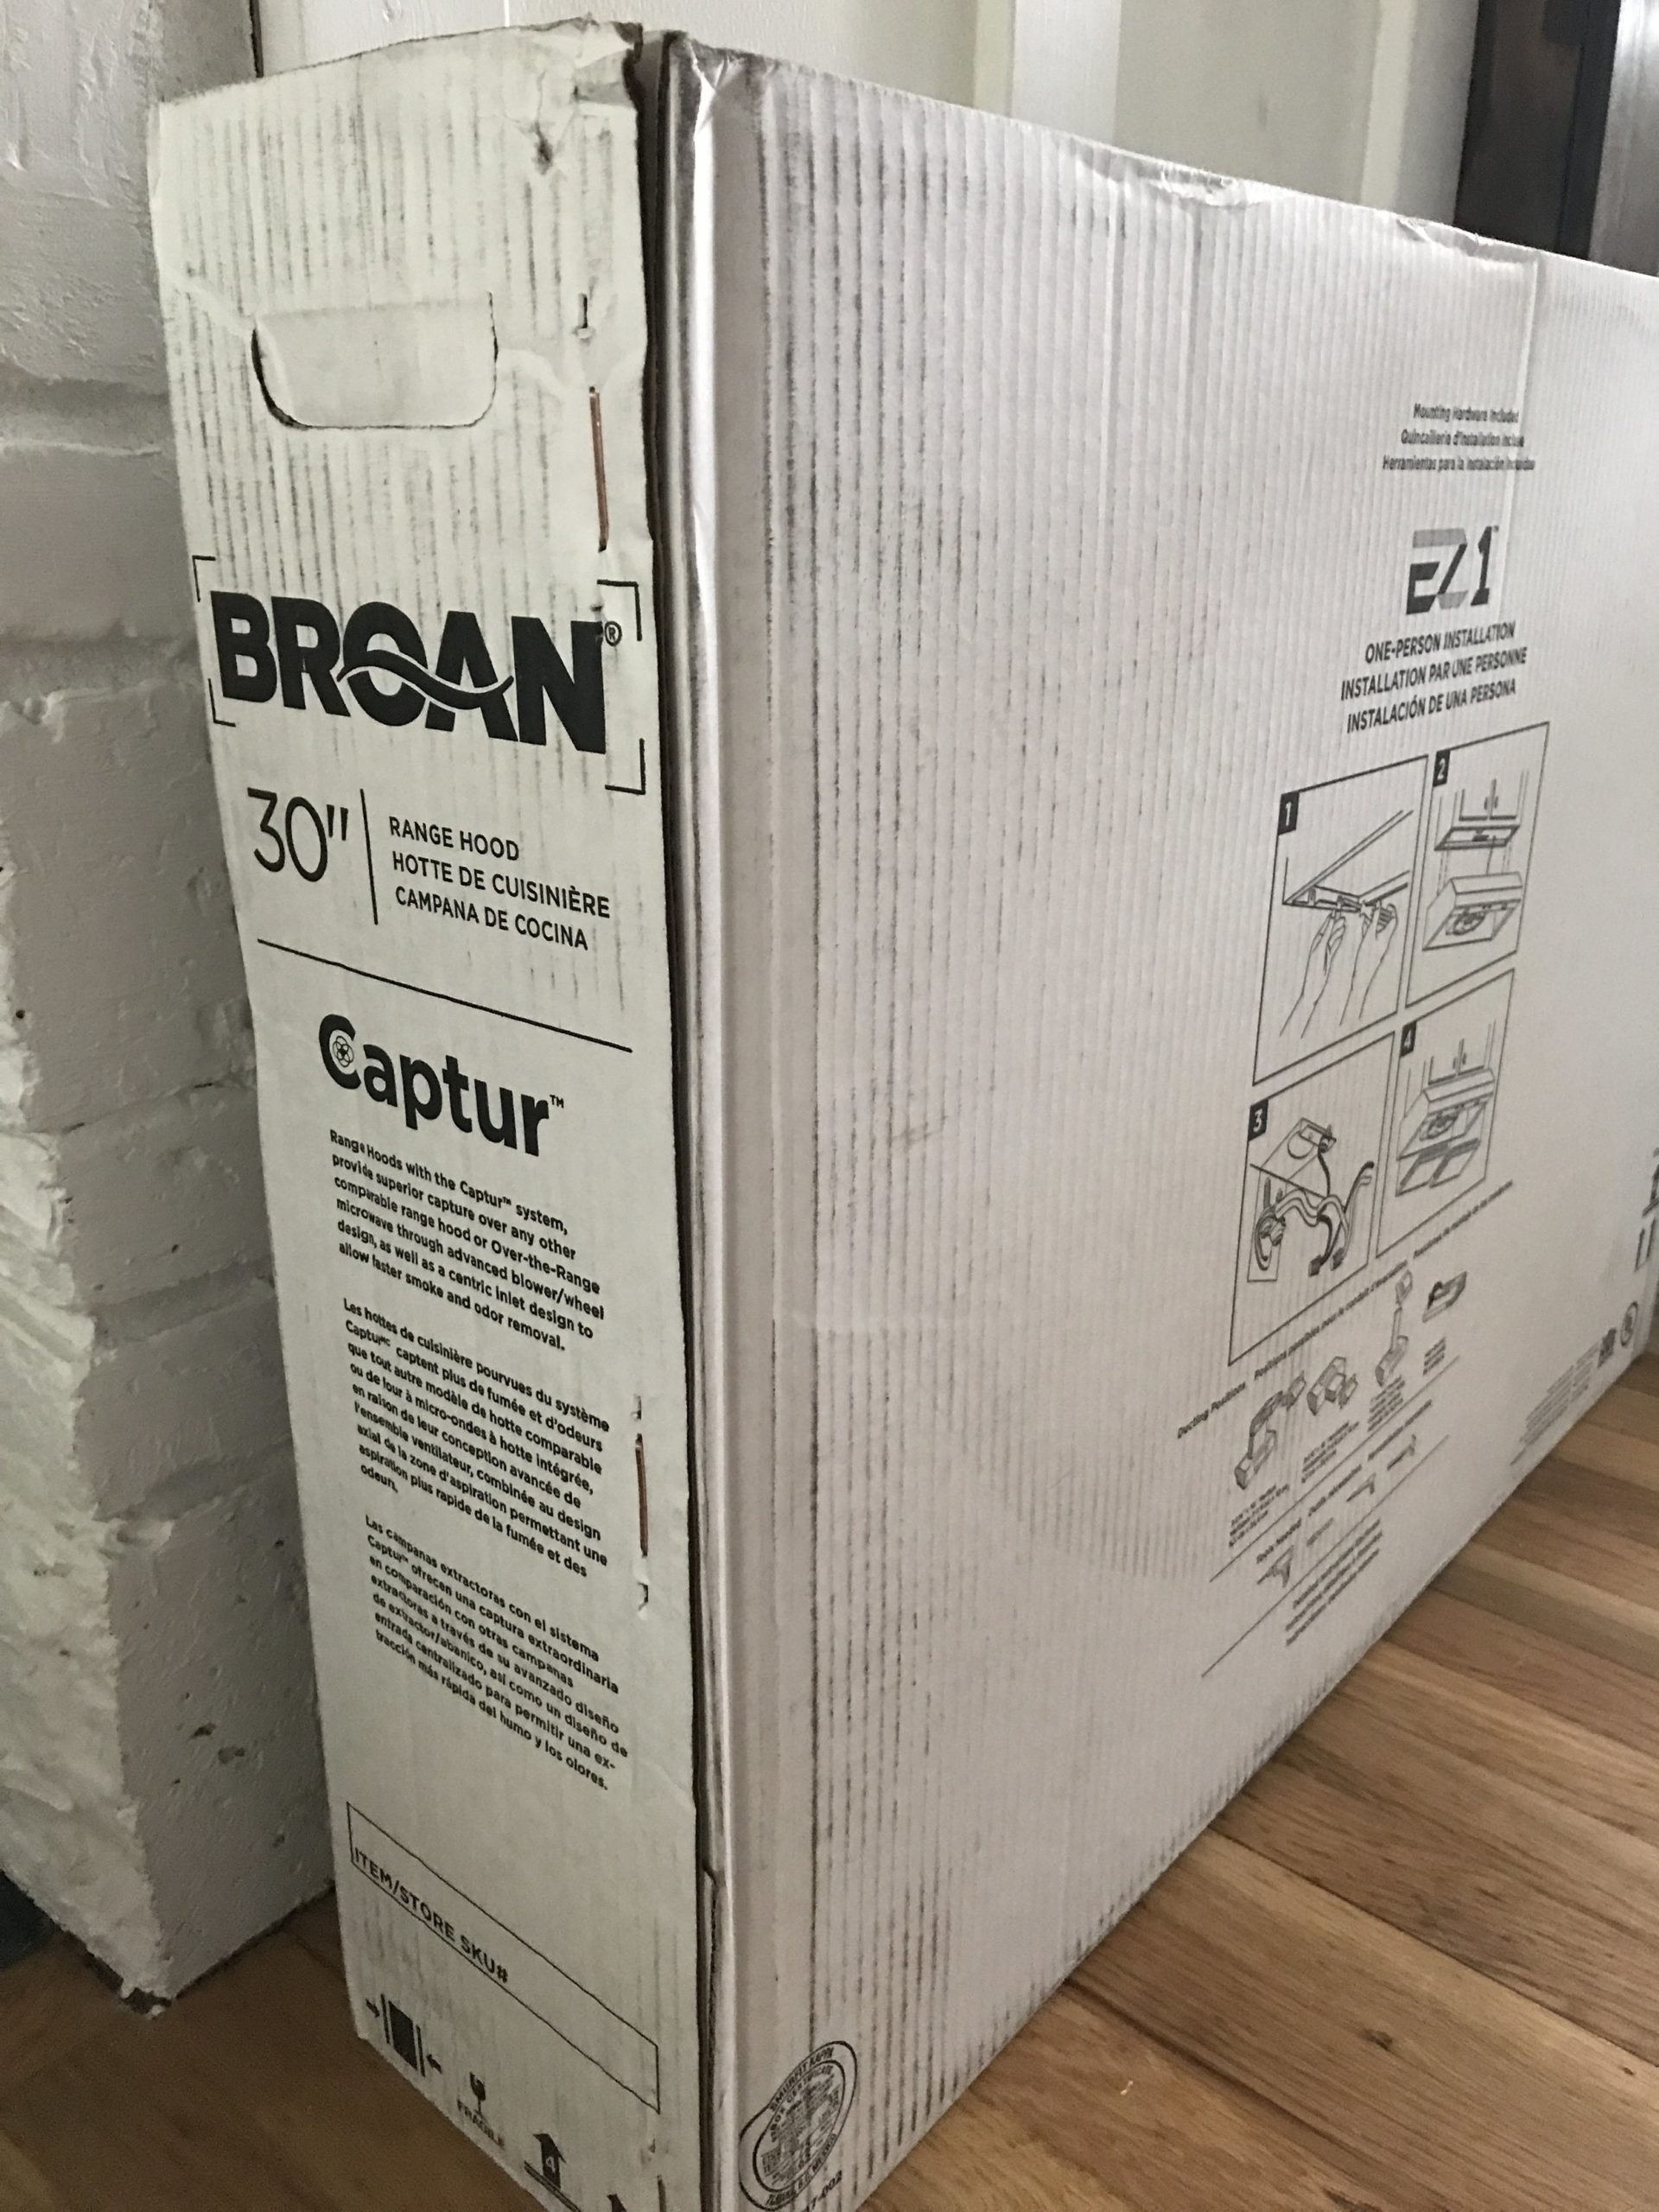
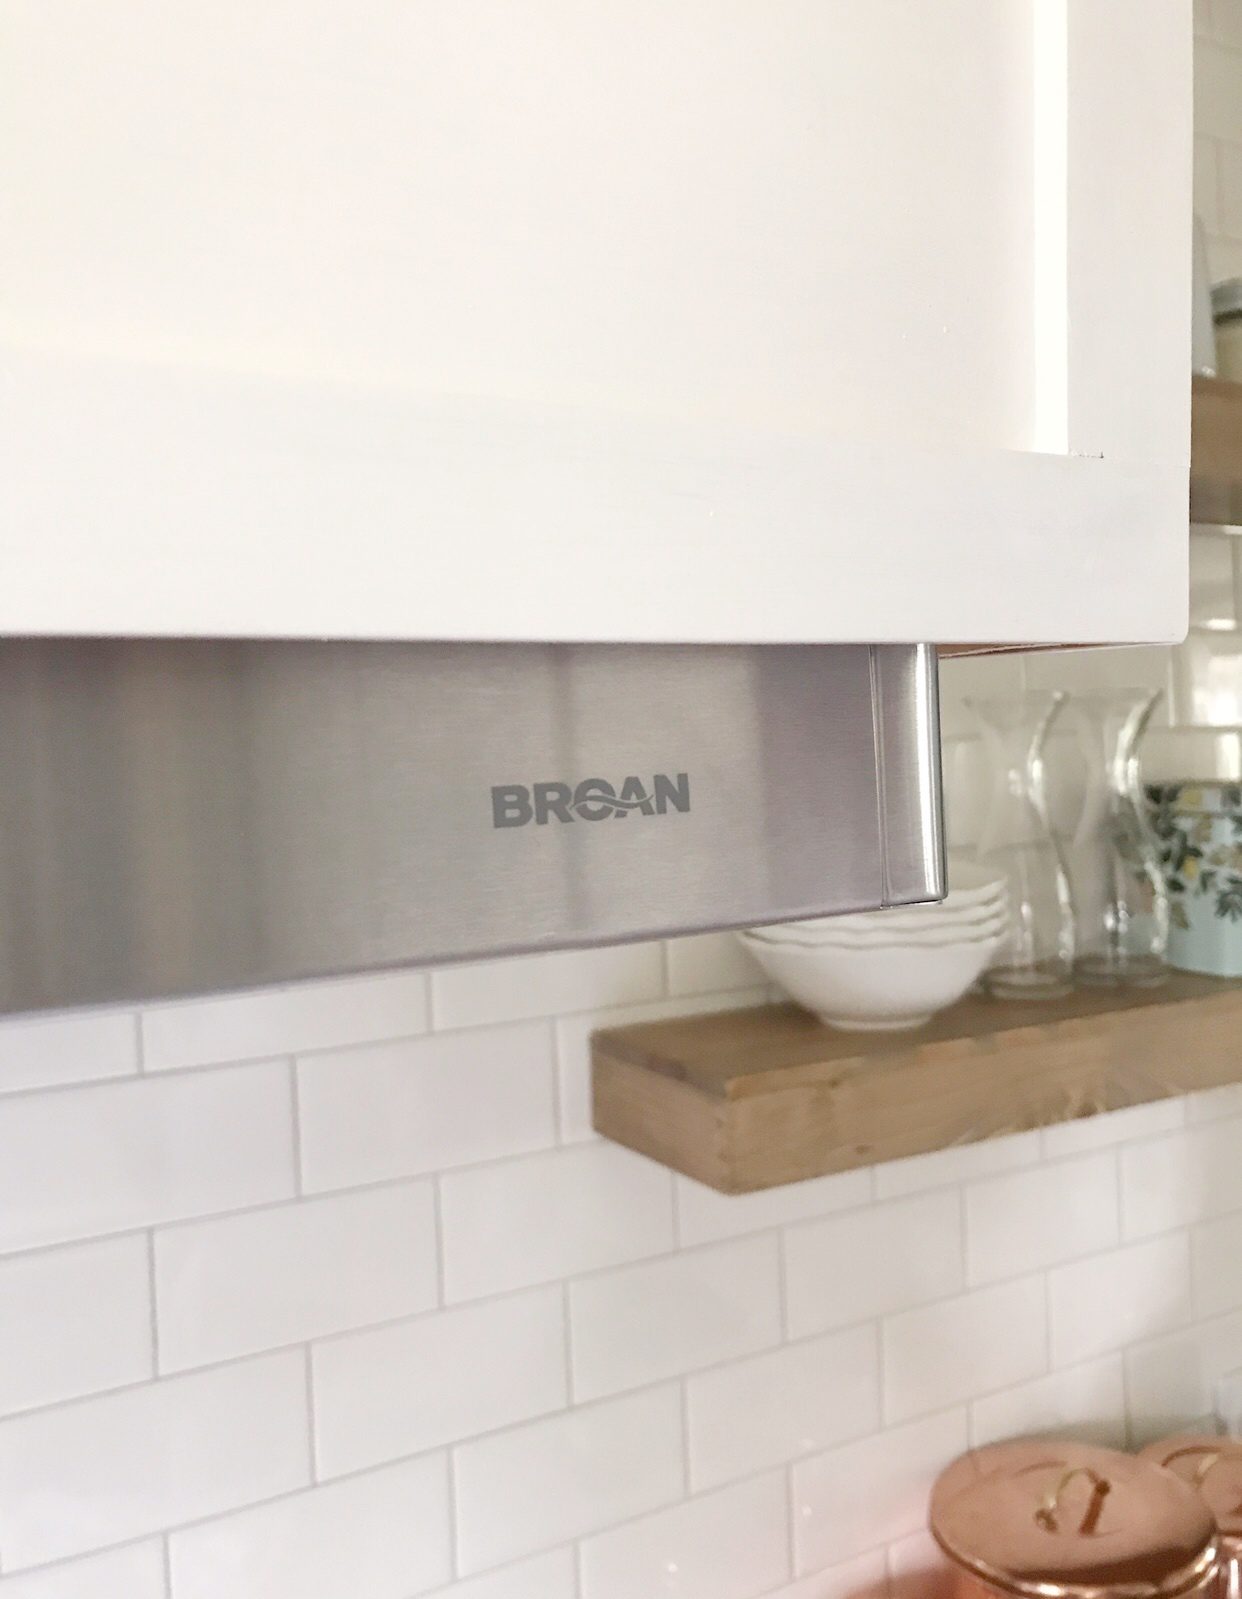
First we ordered THIS Broan range hood, and it was everything we wanted and more! I loved that it has led lights, and the buttons that are easy to use. One big thing for me was the option to be non ducted!
Here you can see the before, now it’s time to build!
These are the supplies we used :
Broan 30” Corteo Range Hood
Wood Glue
Screws
Brad Nailer, Brad Nails, Saw, Drill
1 Sheet Plywood
1x4x8
2x2x8
1/4-in x 1-3/8-in x 8-ft
1/4-in x 1-3/4-in x 8-ft
1 Sheet 1/8 inch underlayment – cut down
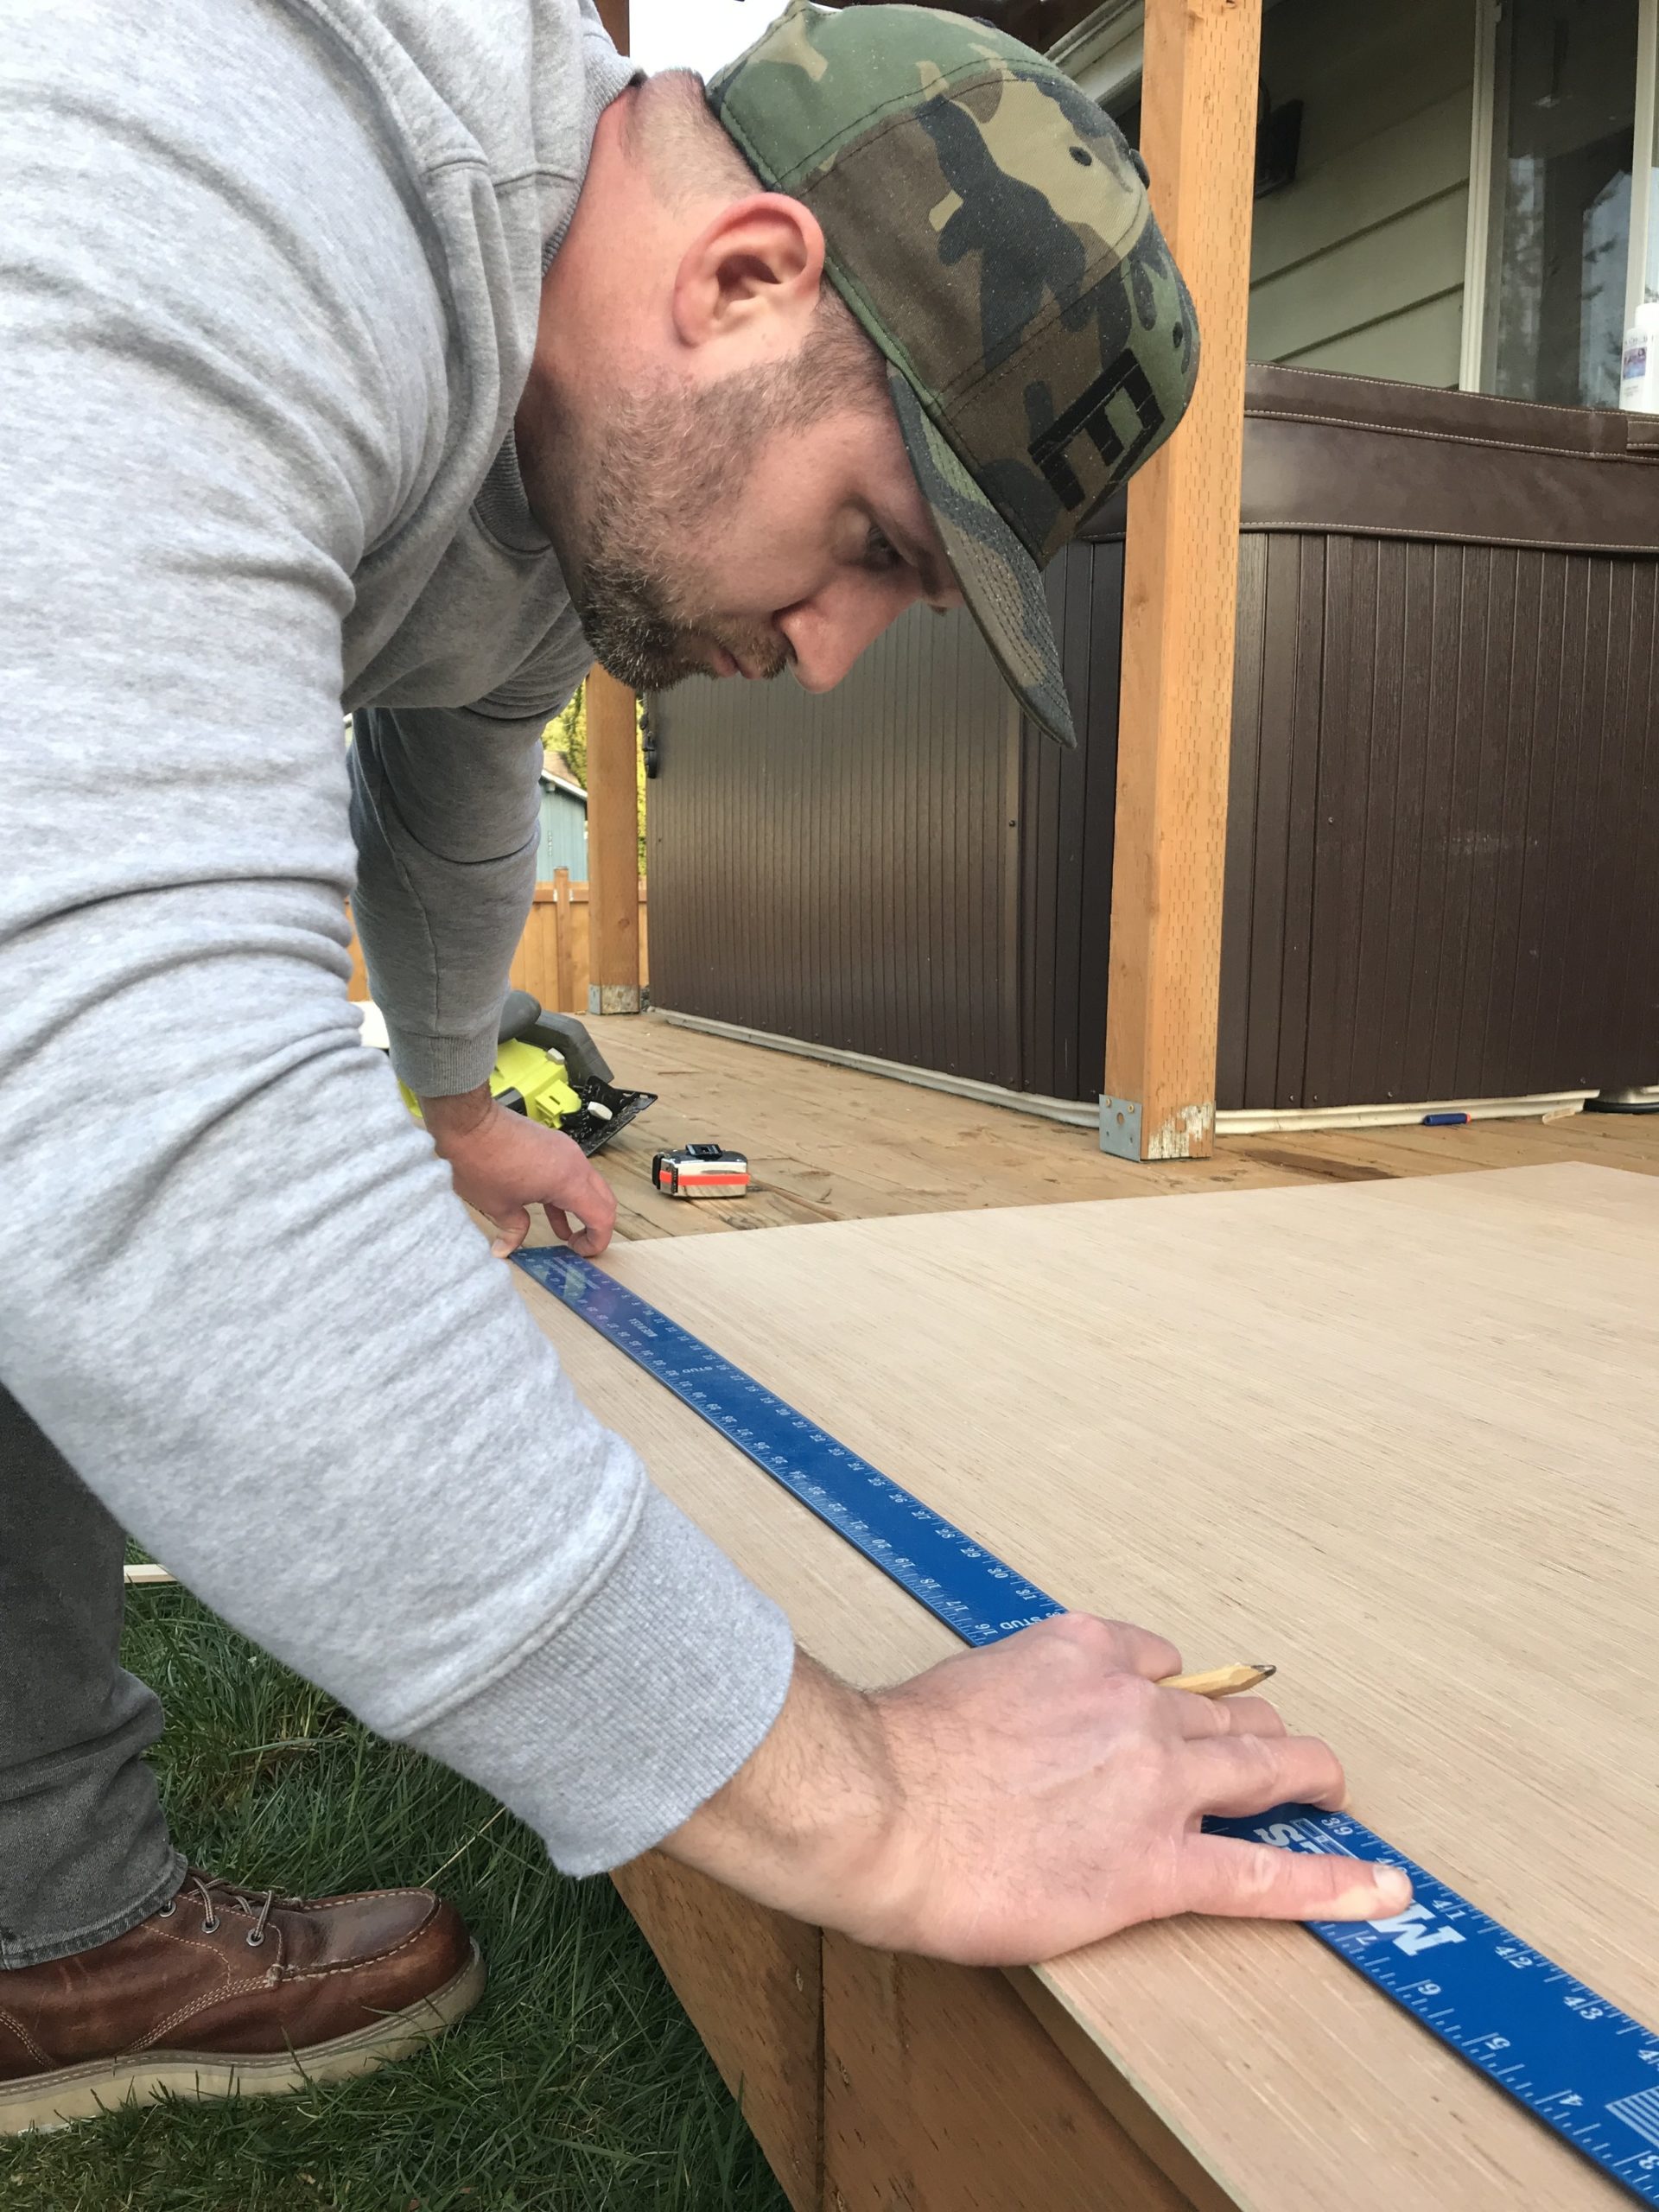
Tape Meaure
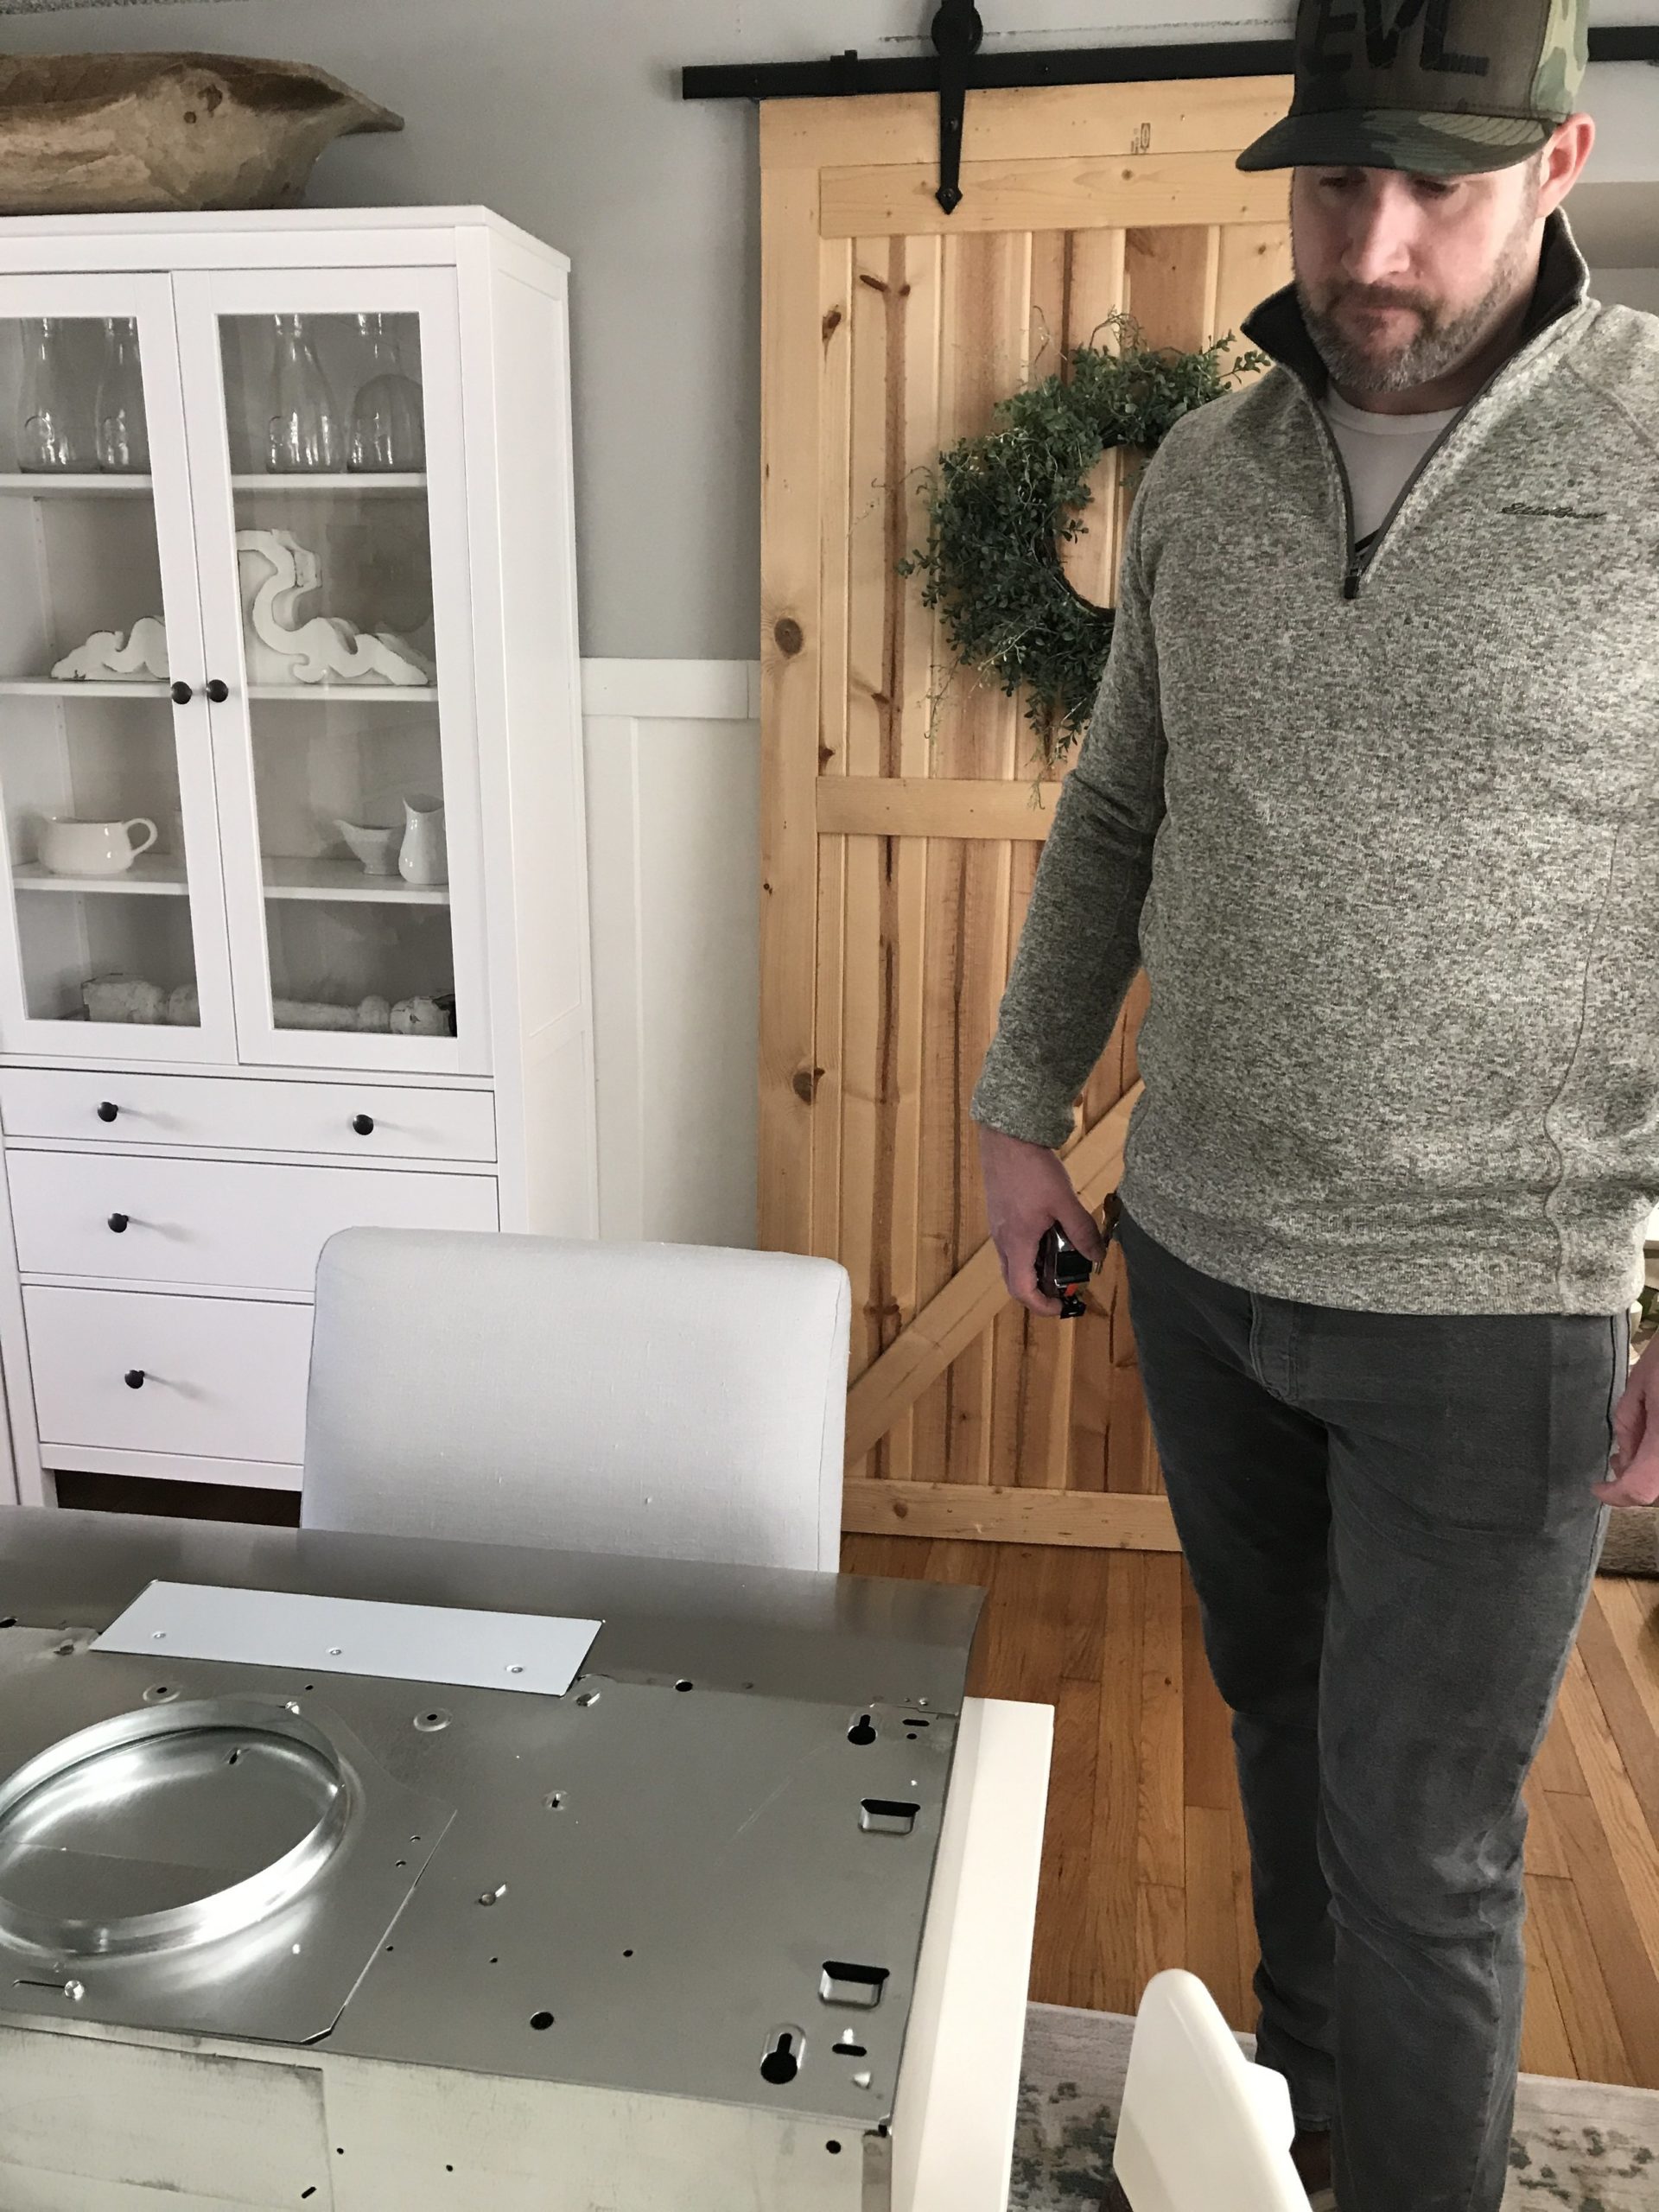
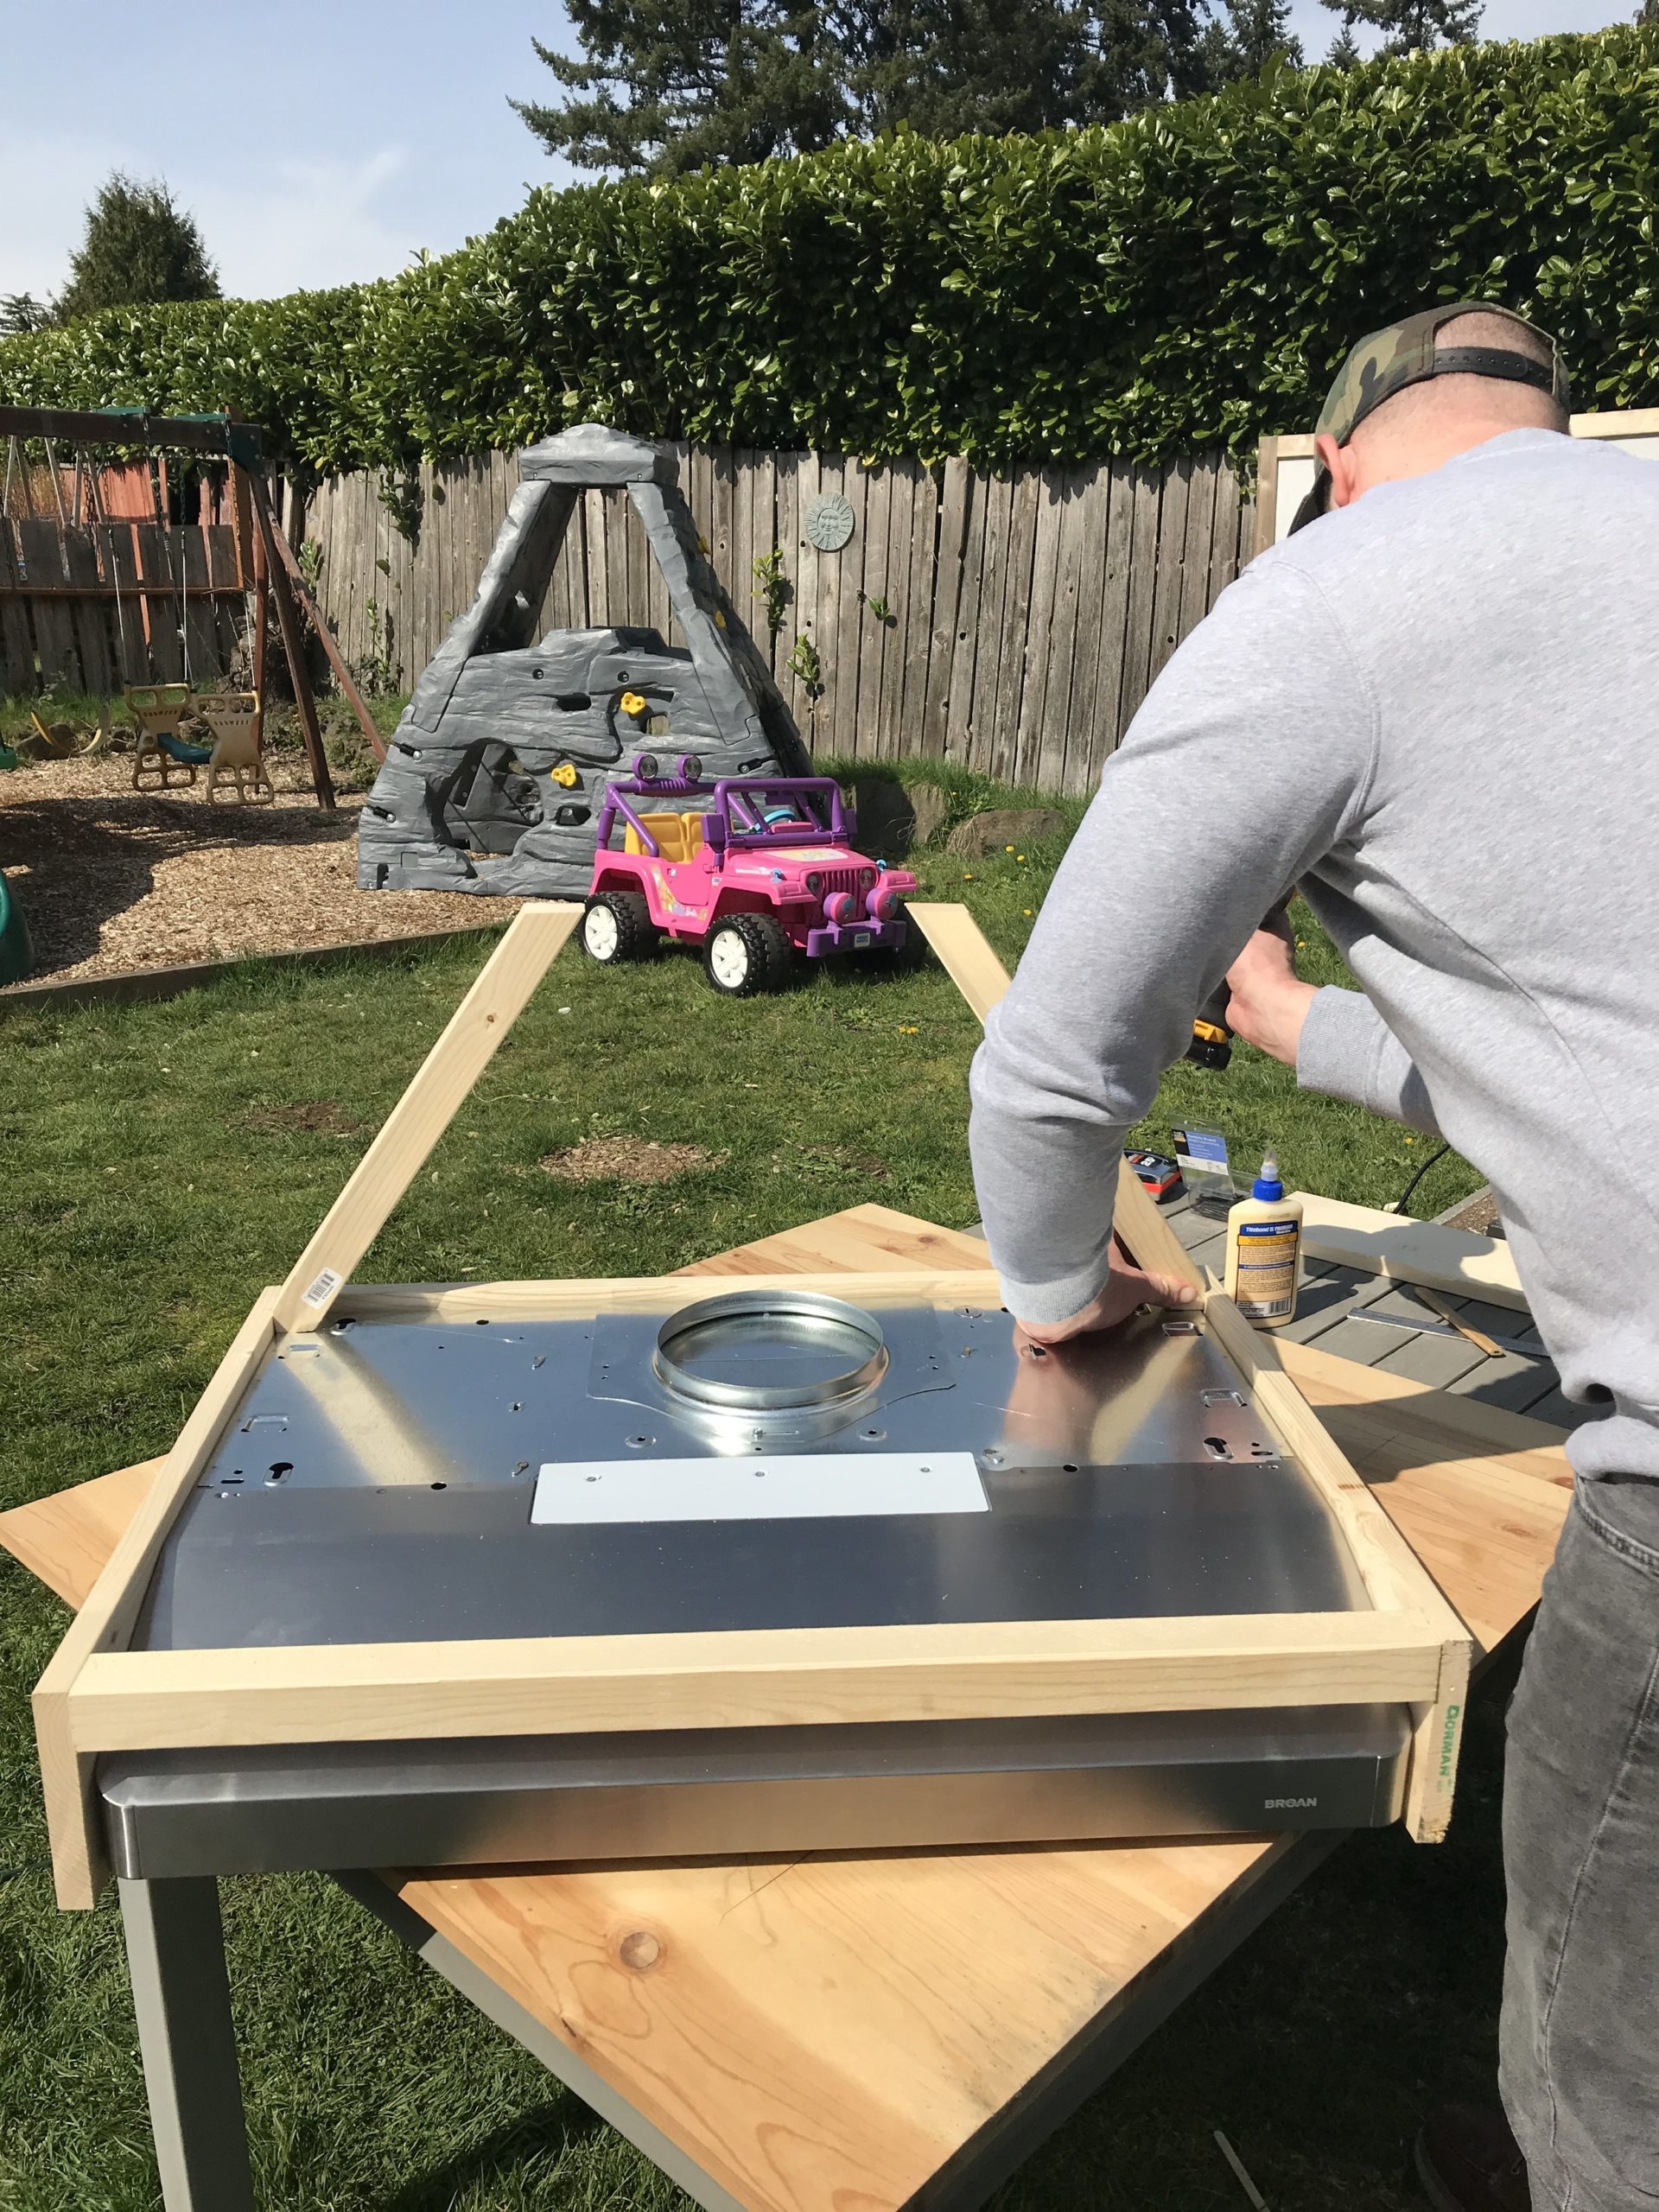
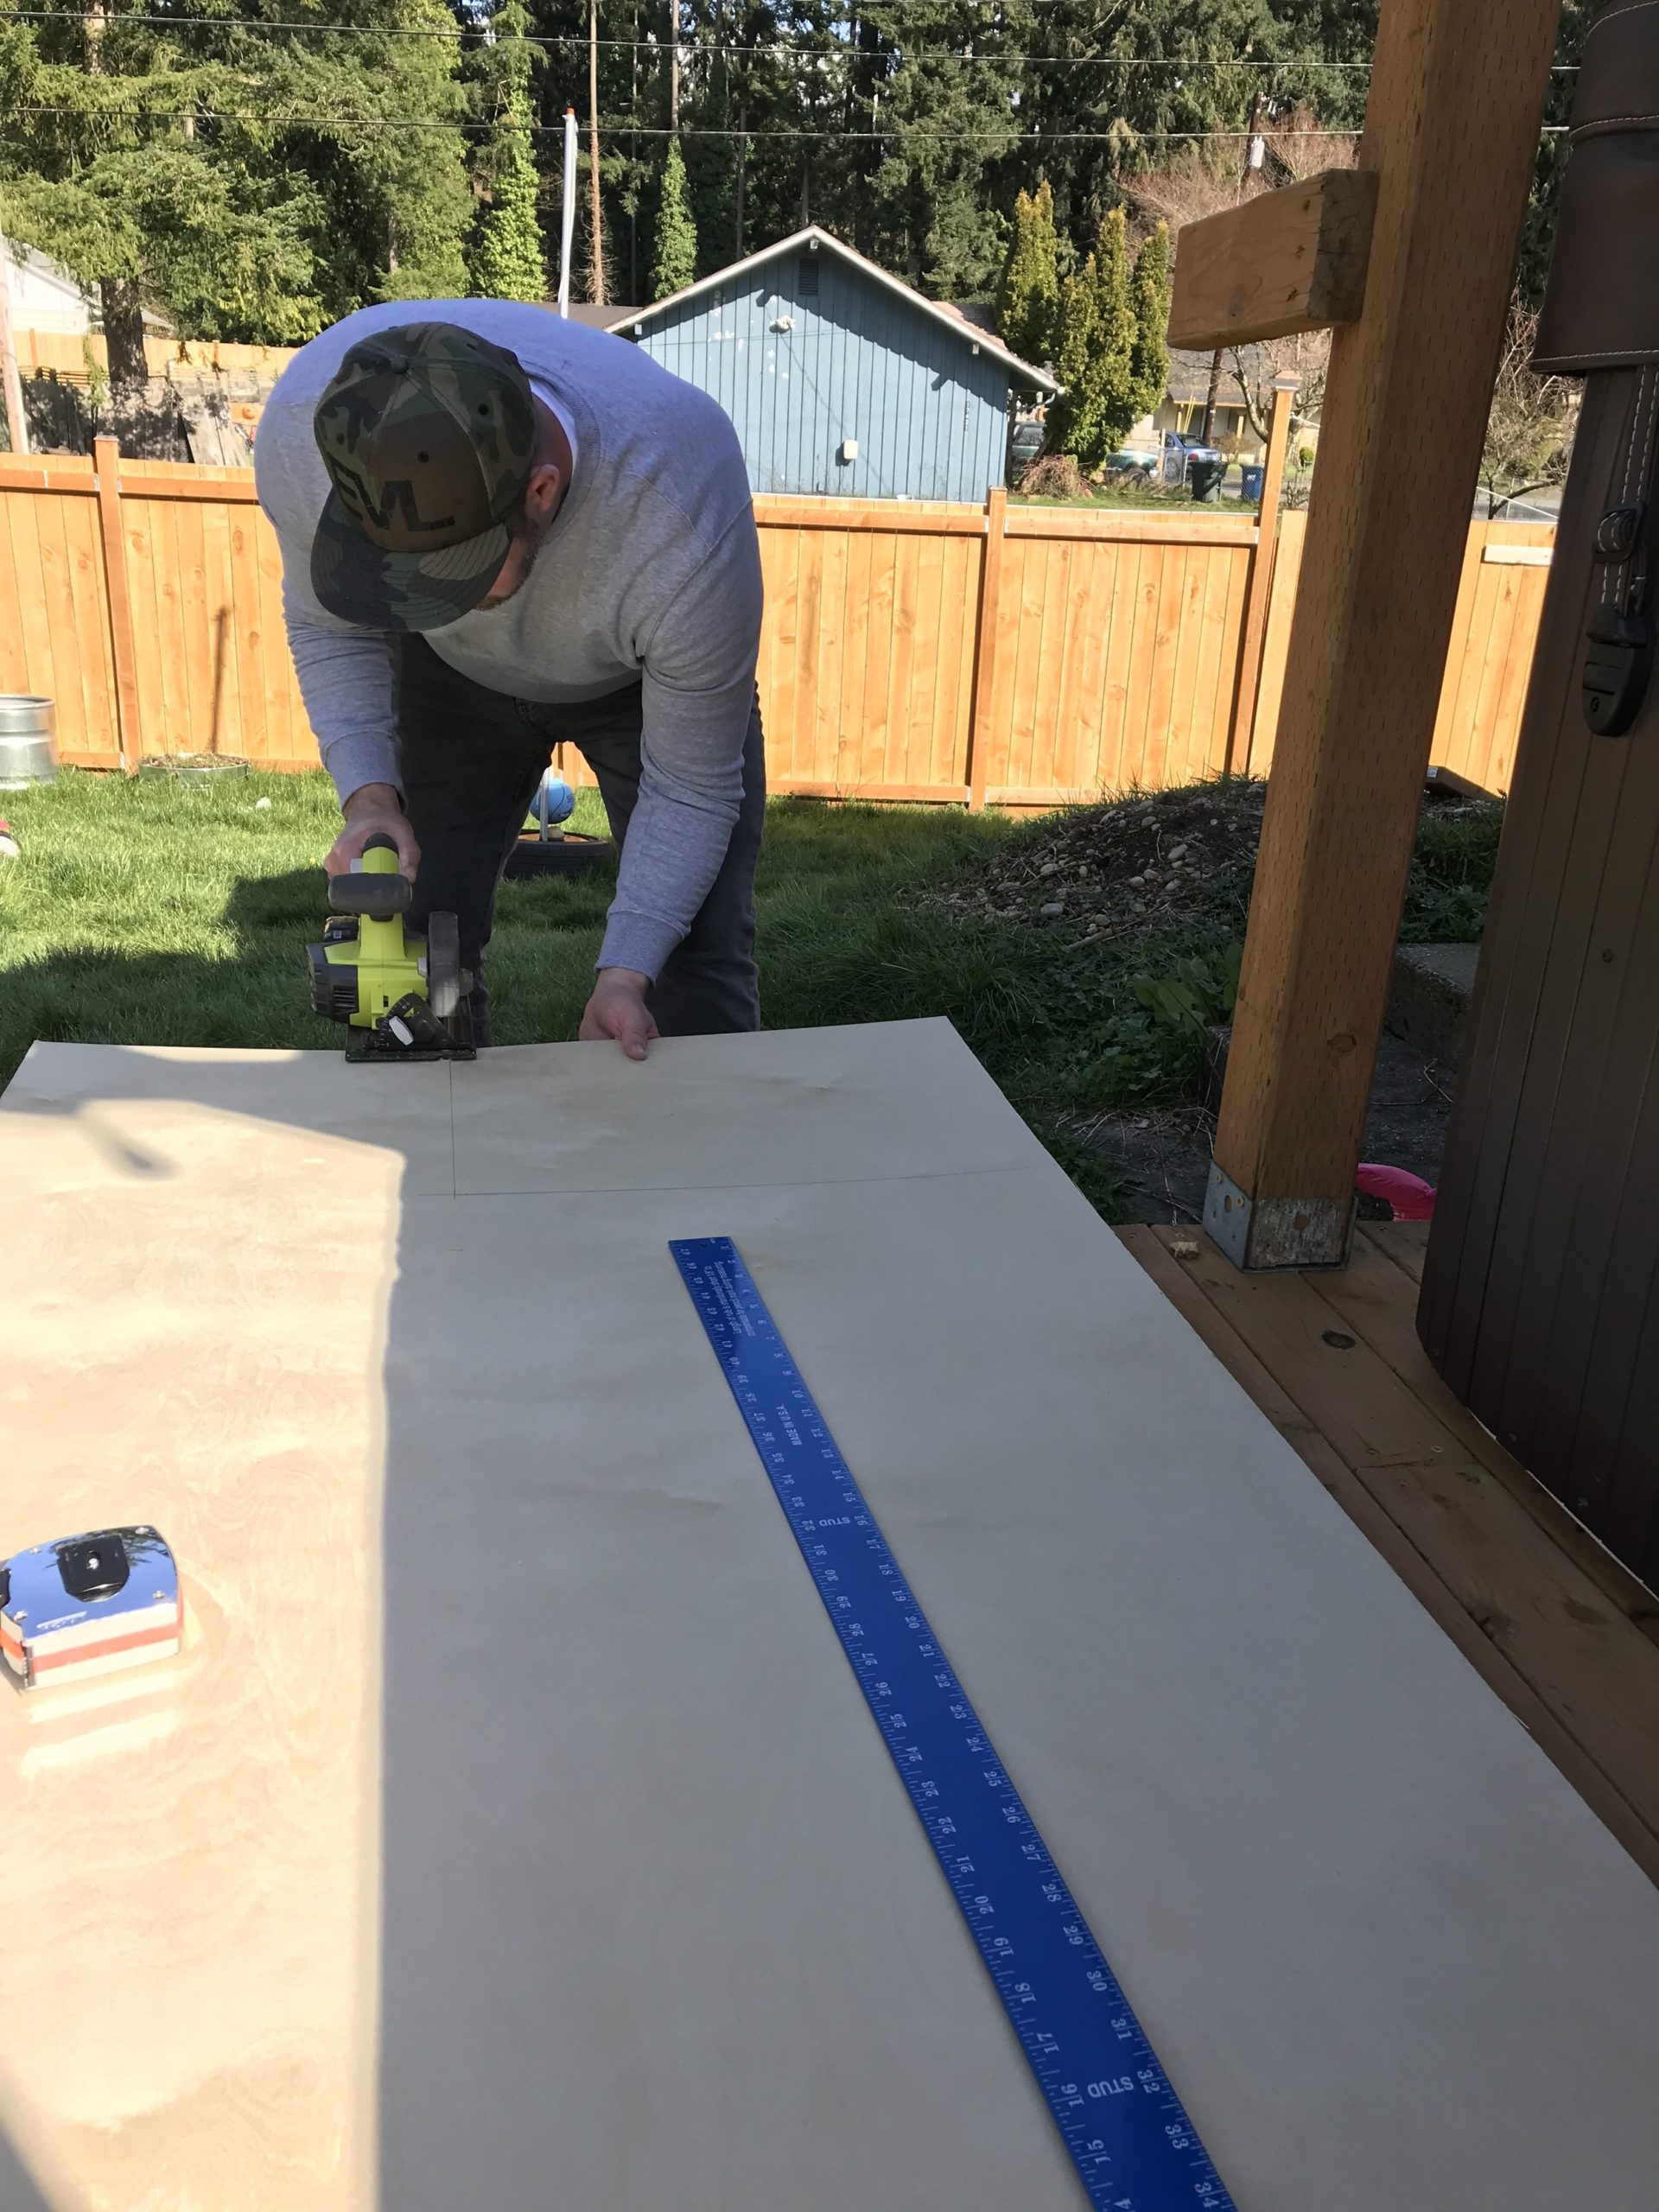
First, figure out what size you want your range hood to be. Then measure and cut accordingly. We knew what size we wanted based off the Broan Cortero Range Hood we had ordered, so it was time to get to work.
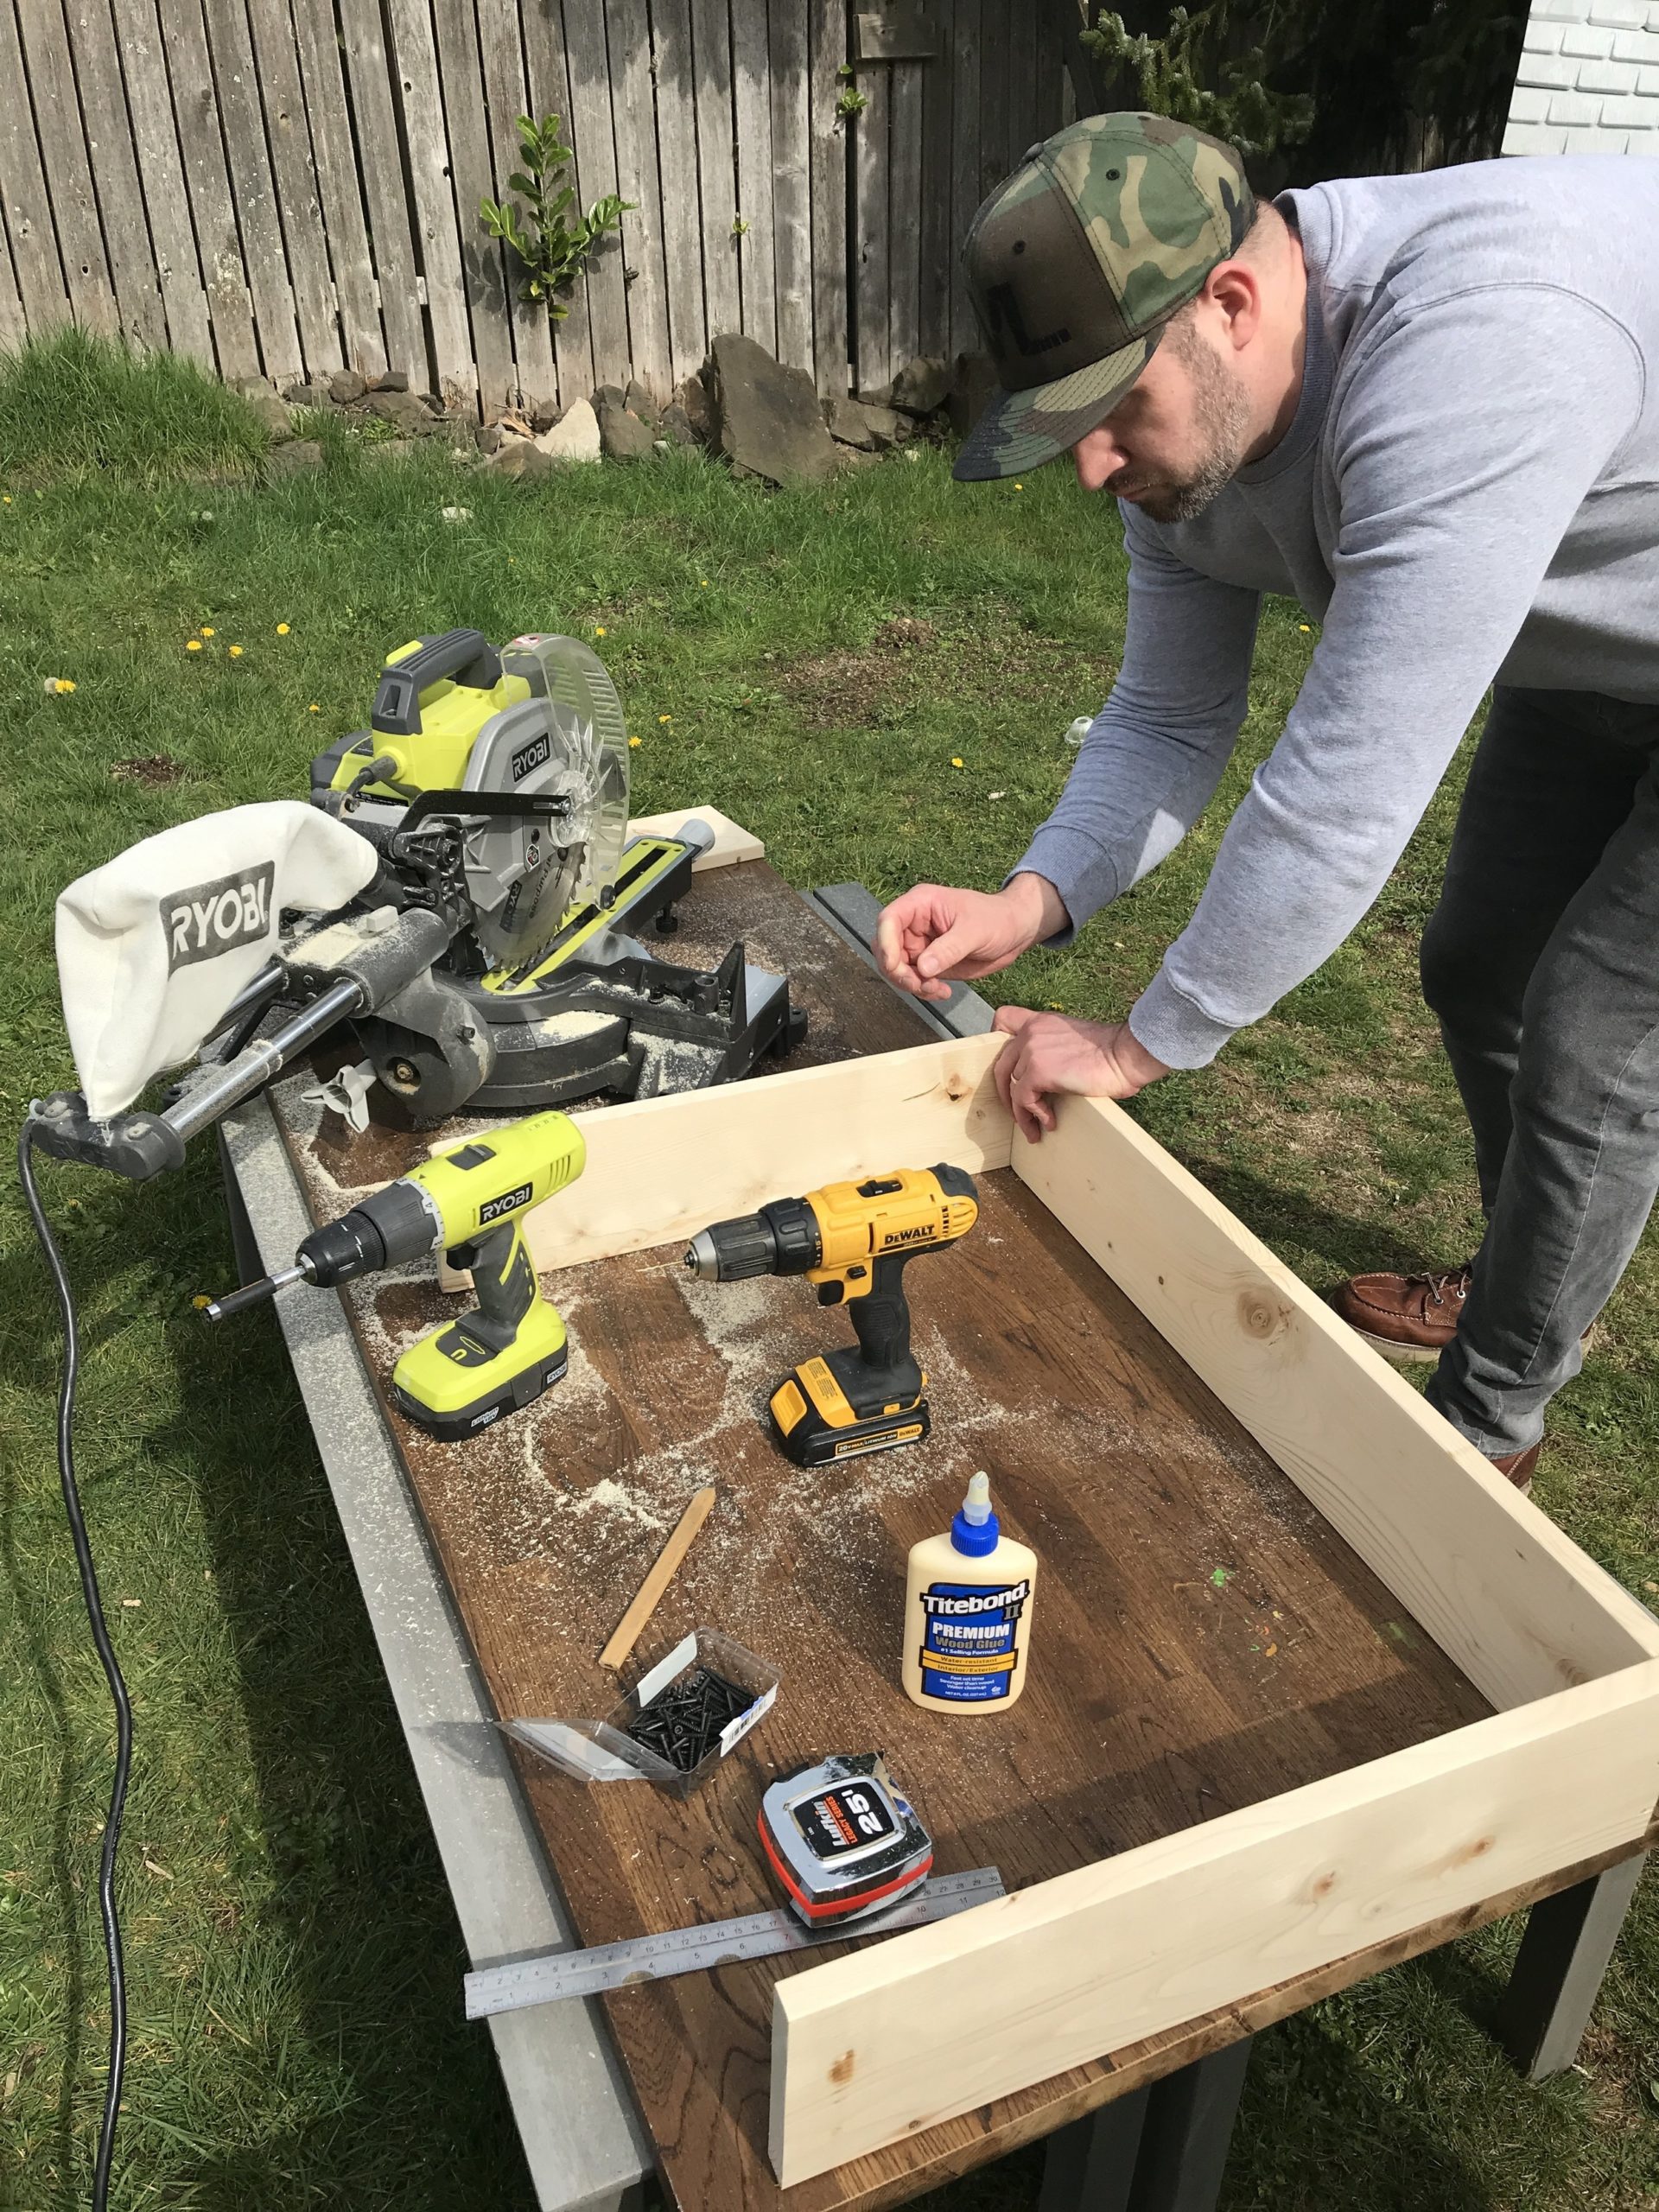
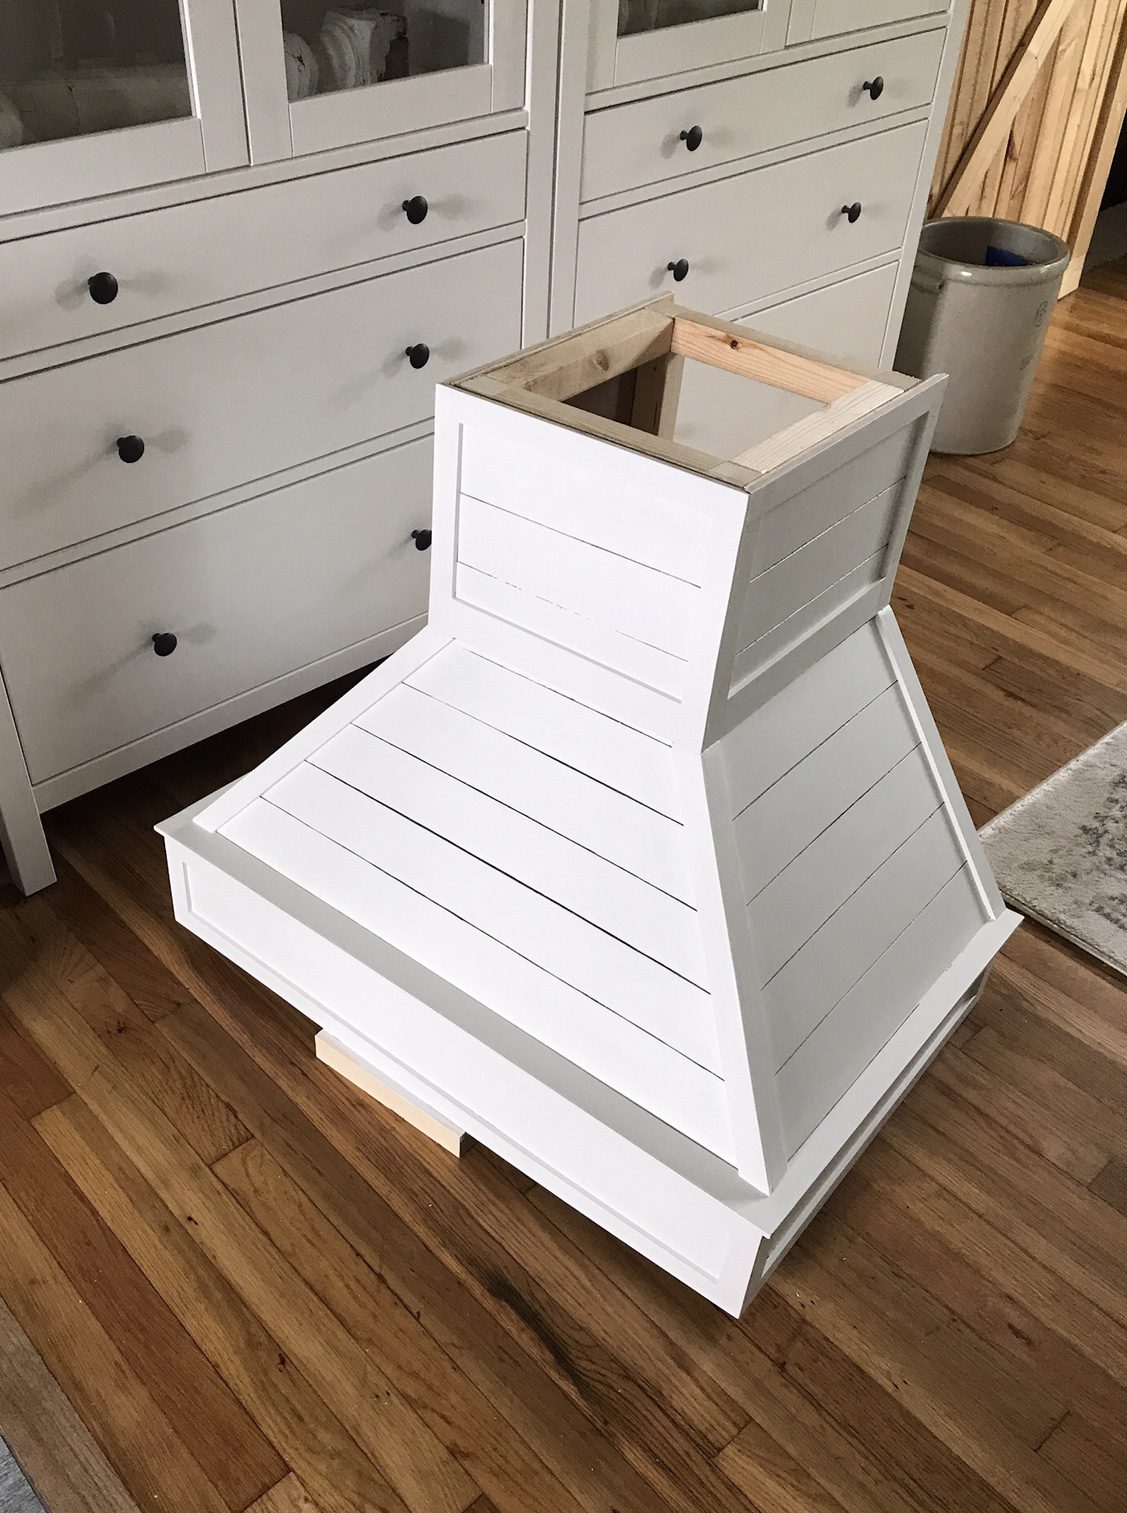
You can see we just made a box starting out to go over the range hood, now we will build on from there.
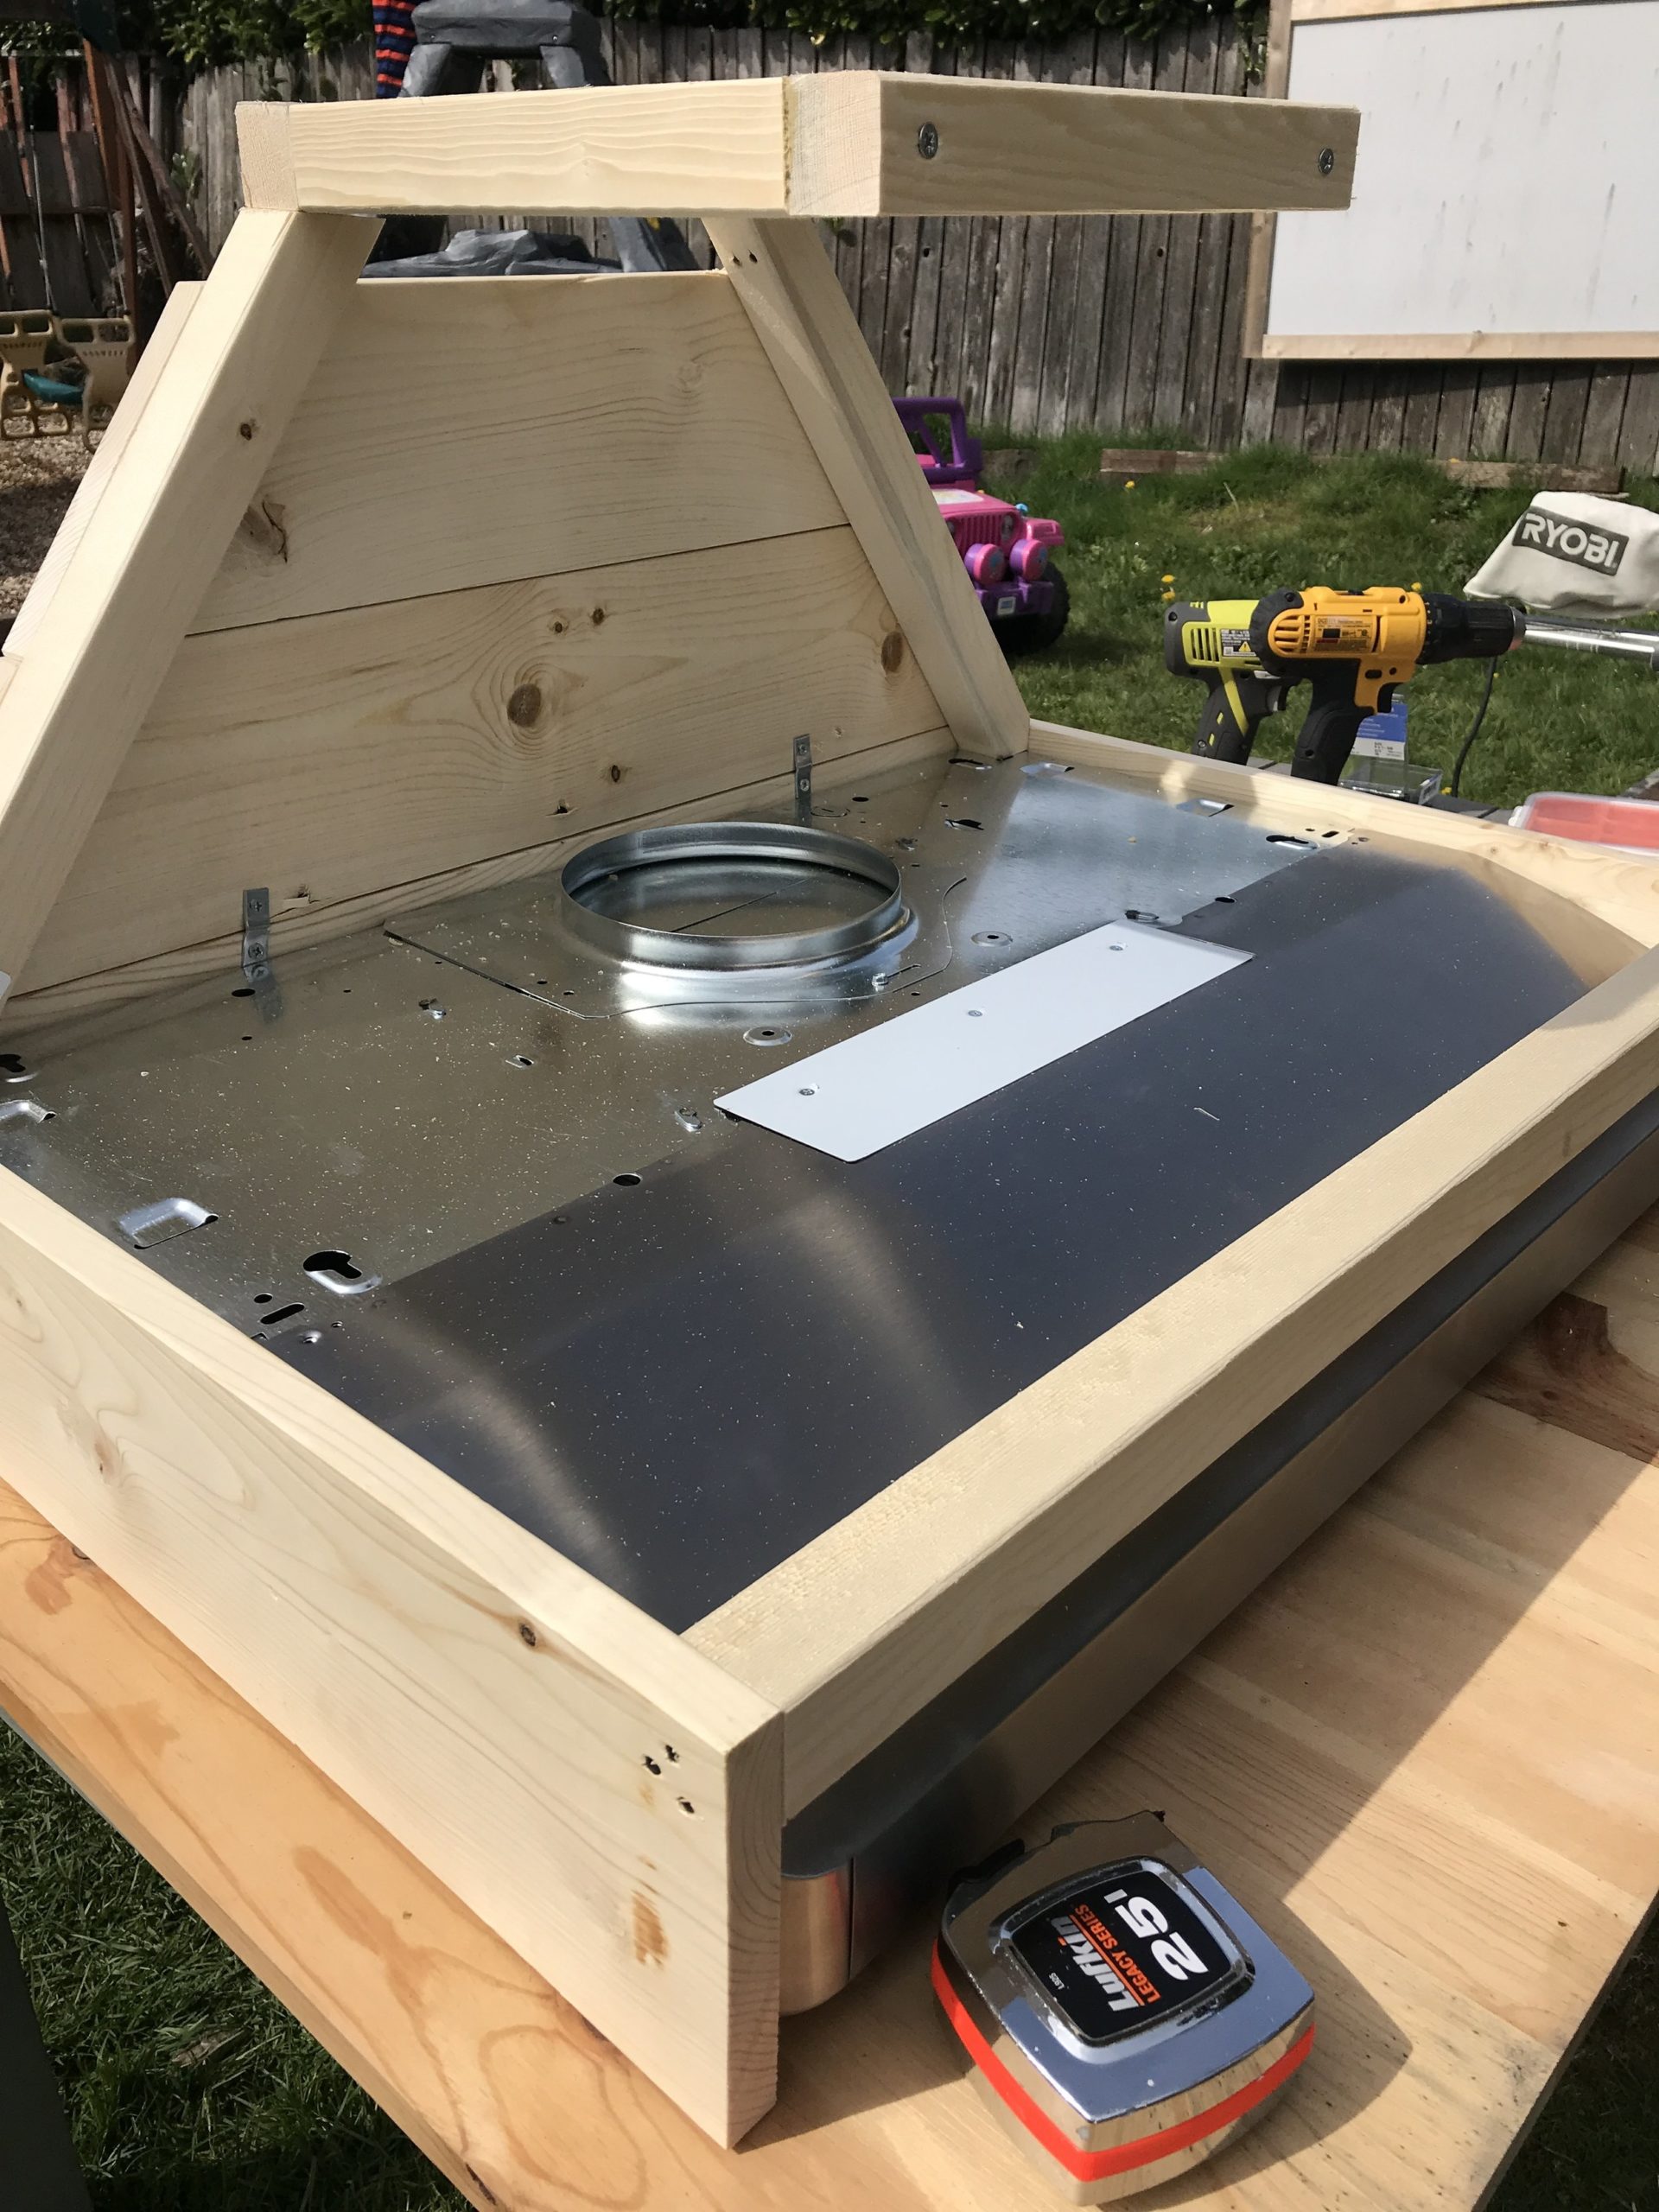
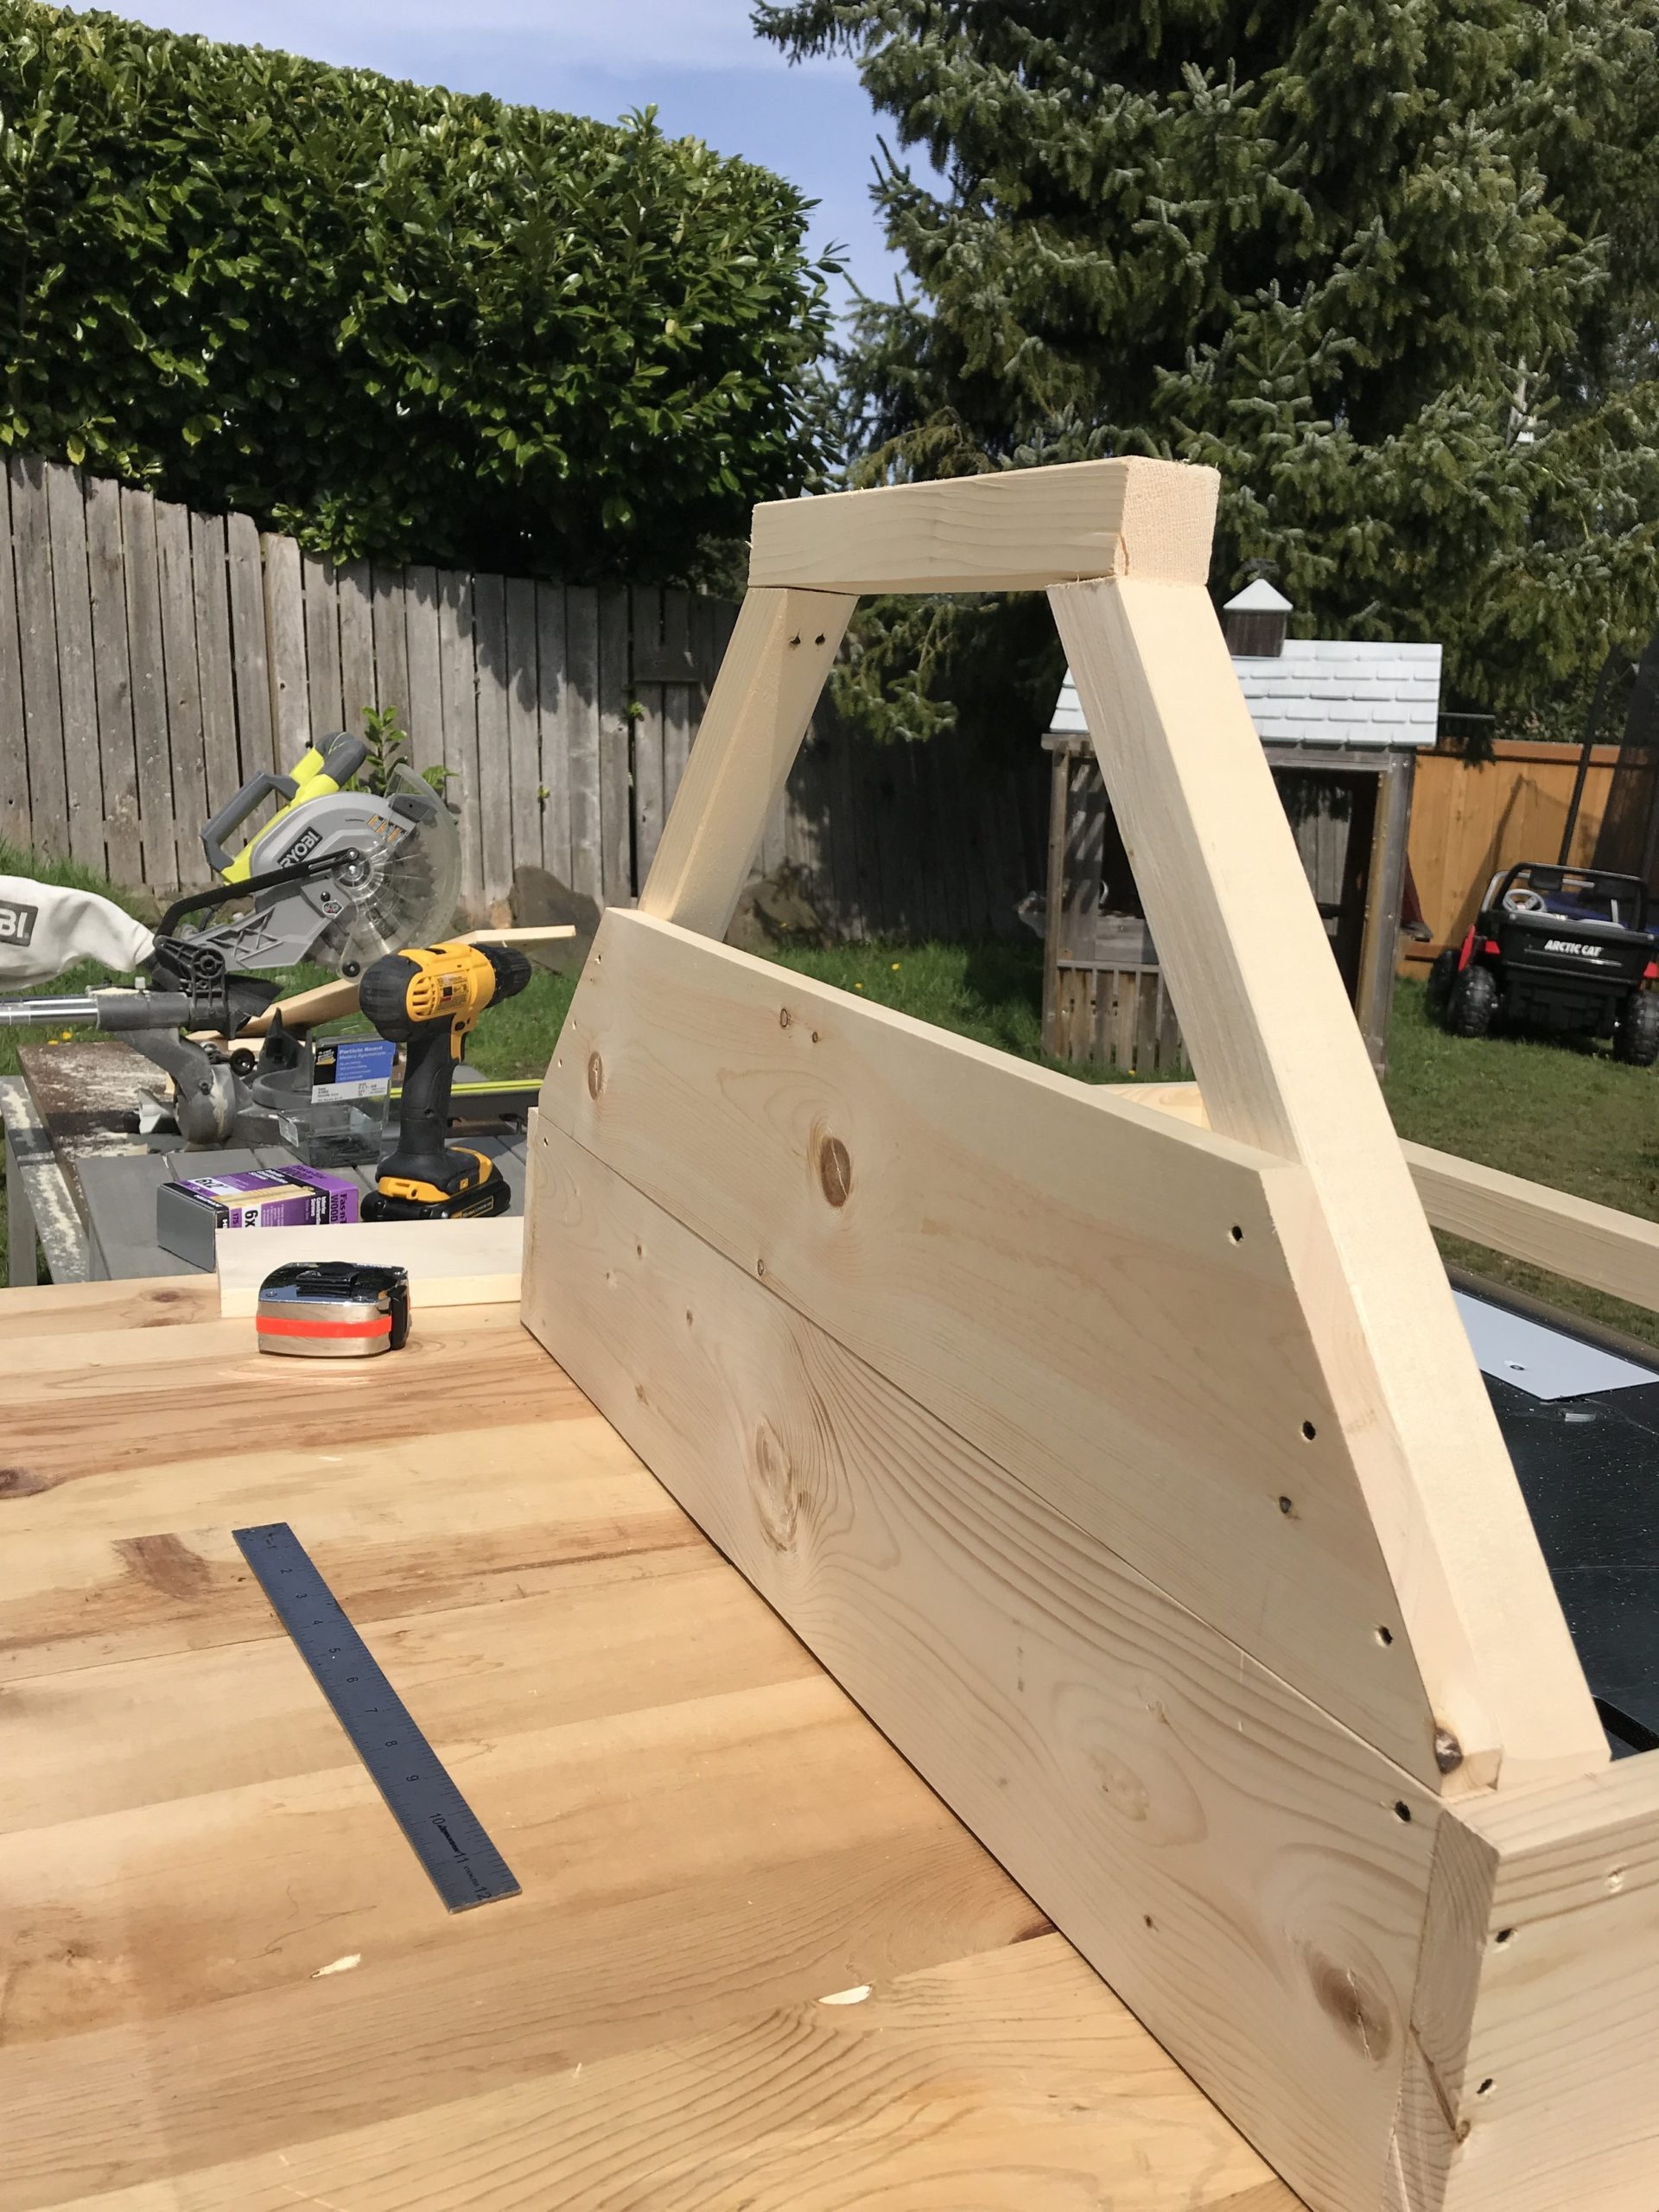
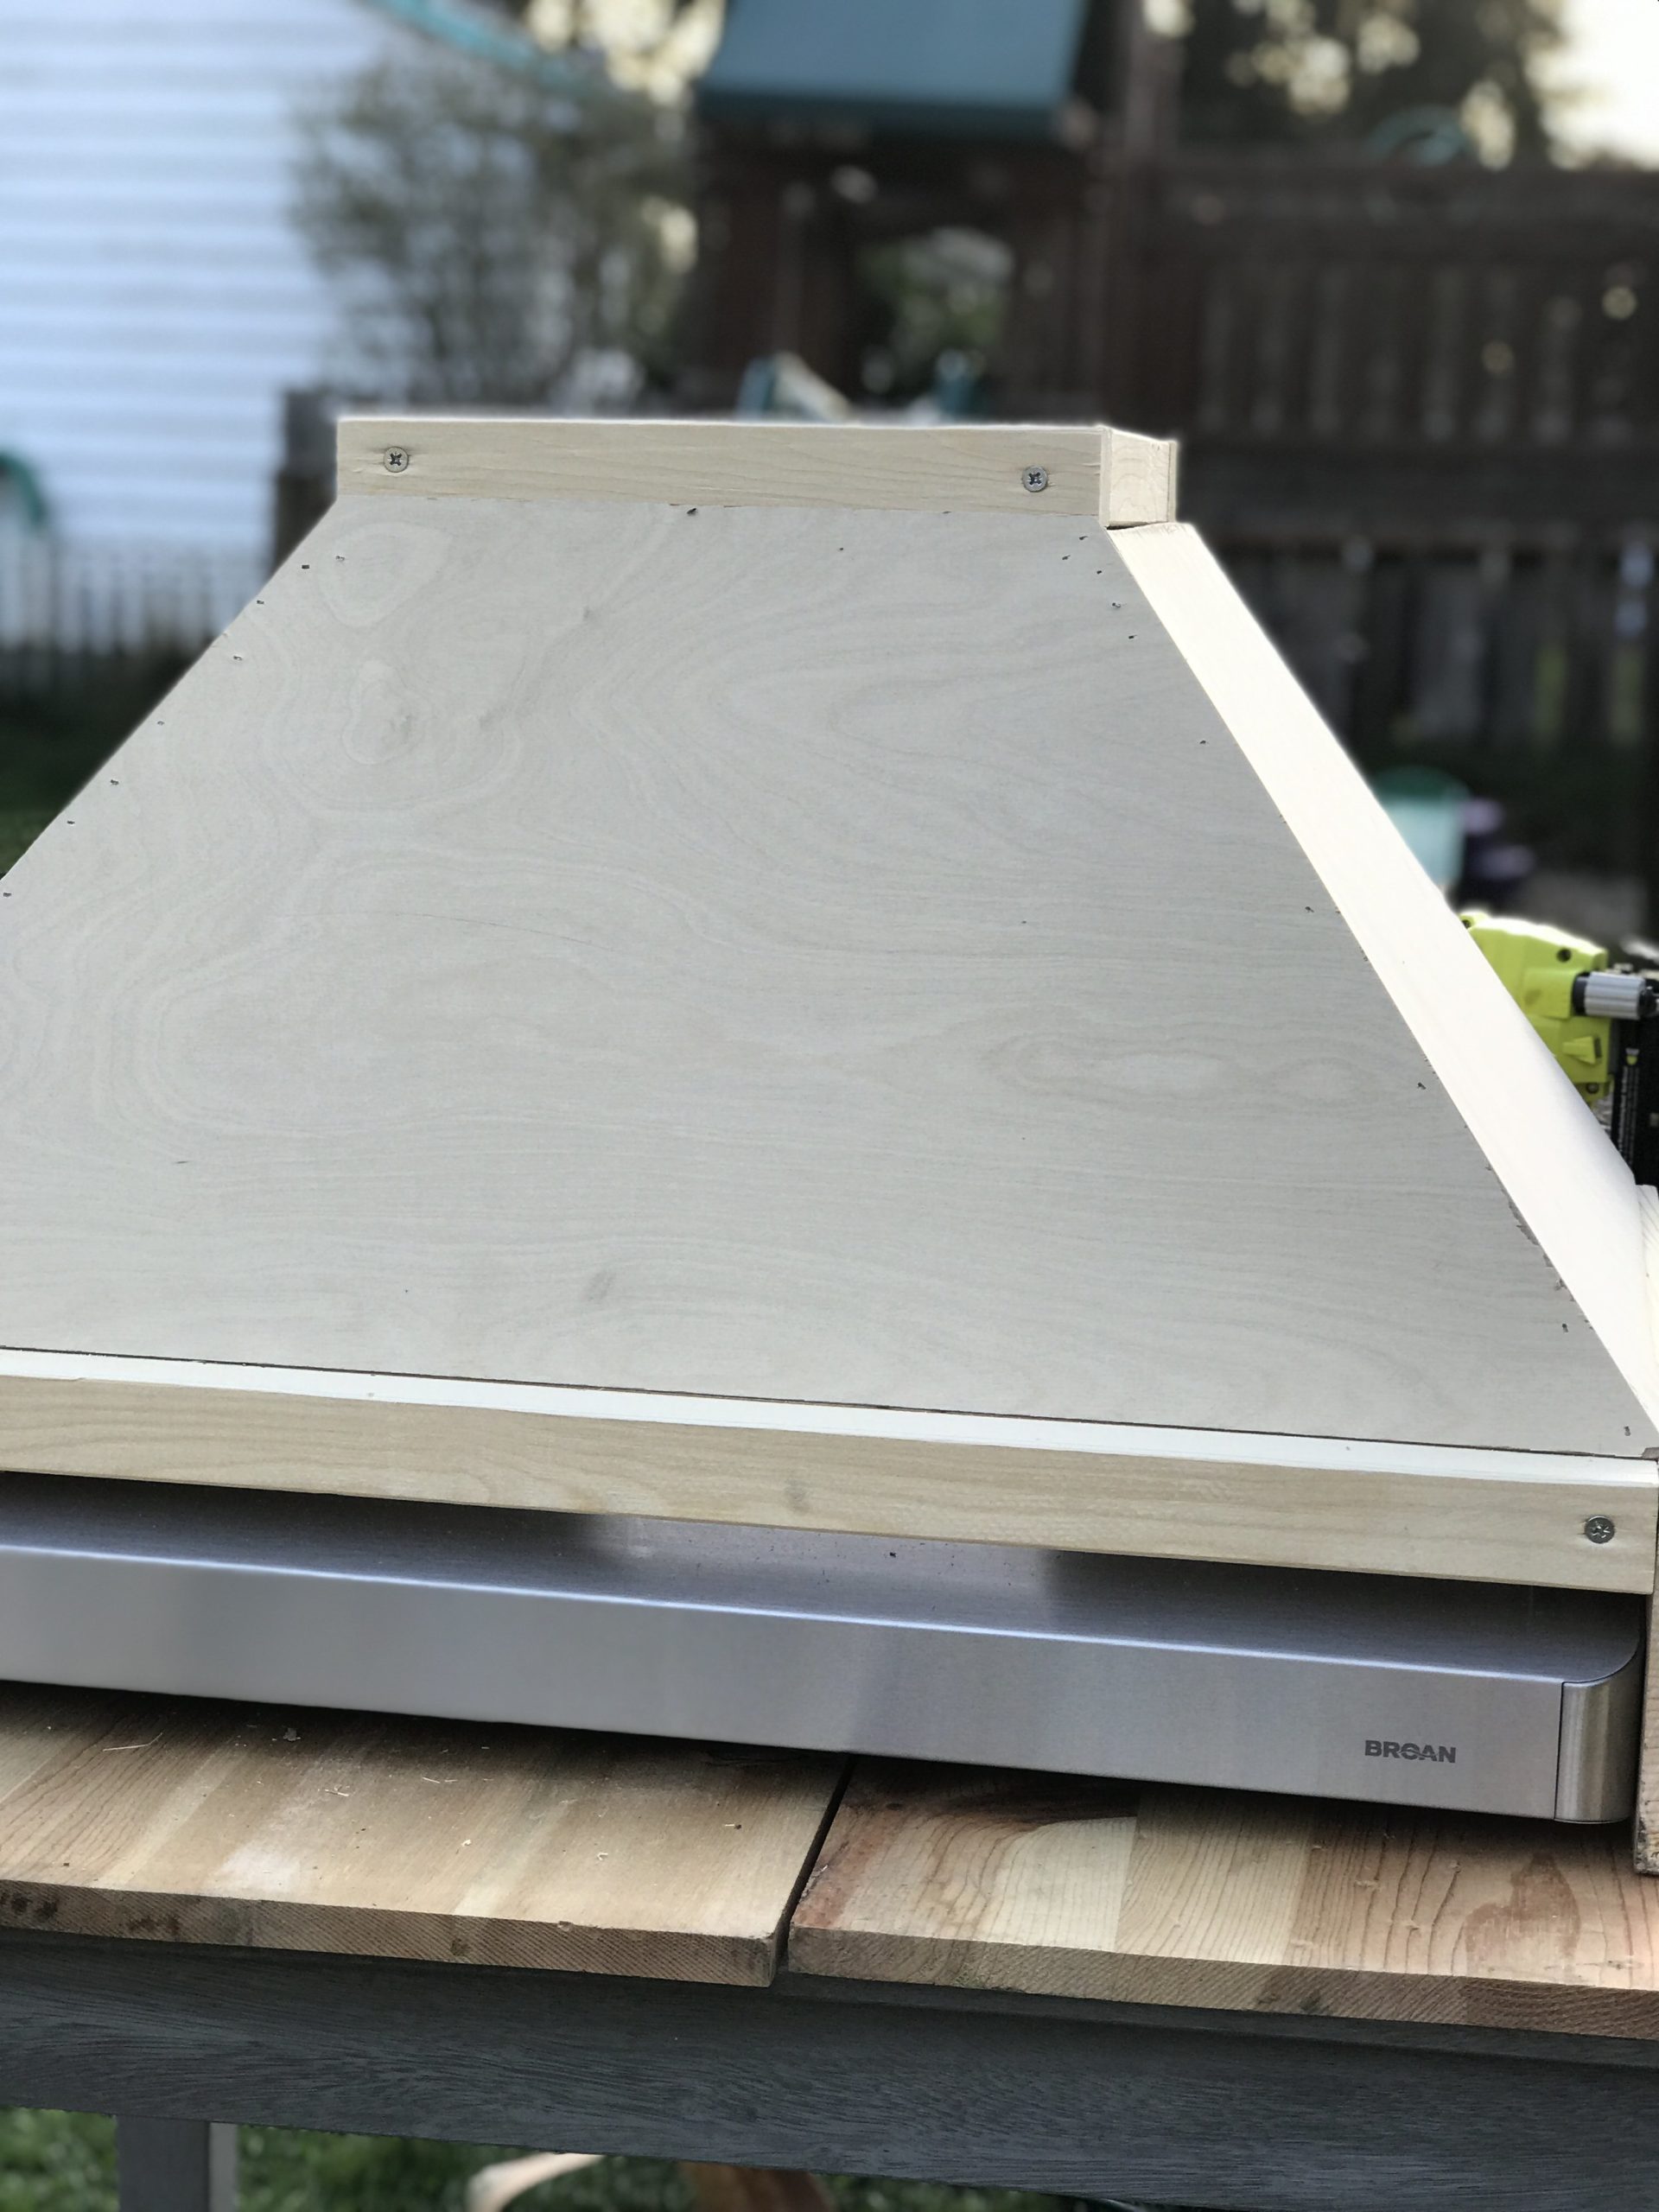
Next we started to build the back of the hood, we new the size that would work for our kitchen and went from there.

It was time to add on all the sides and the top, we added wood glue along with the screws along the way to make it stronger.
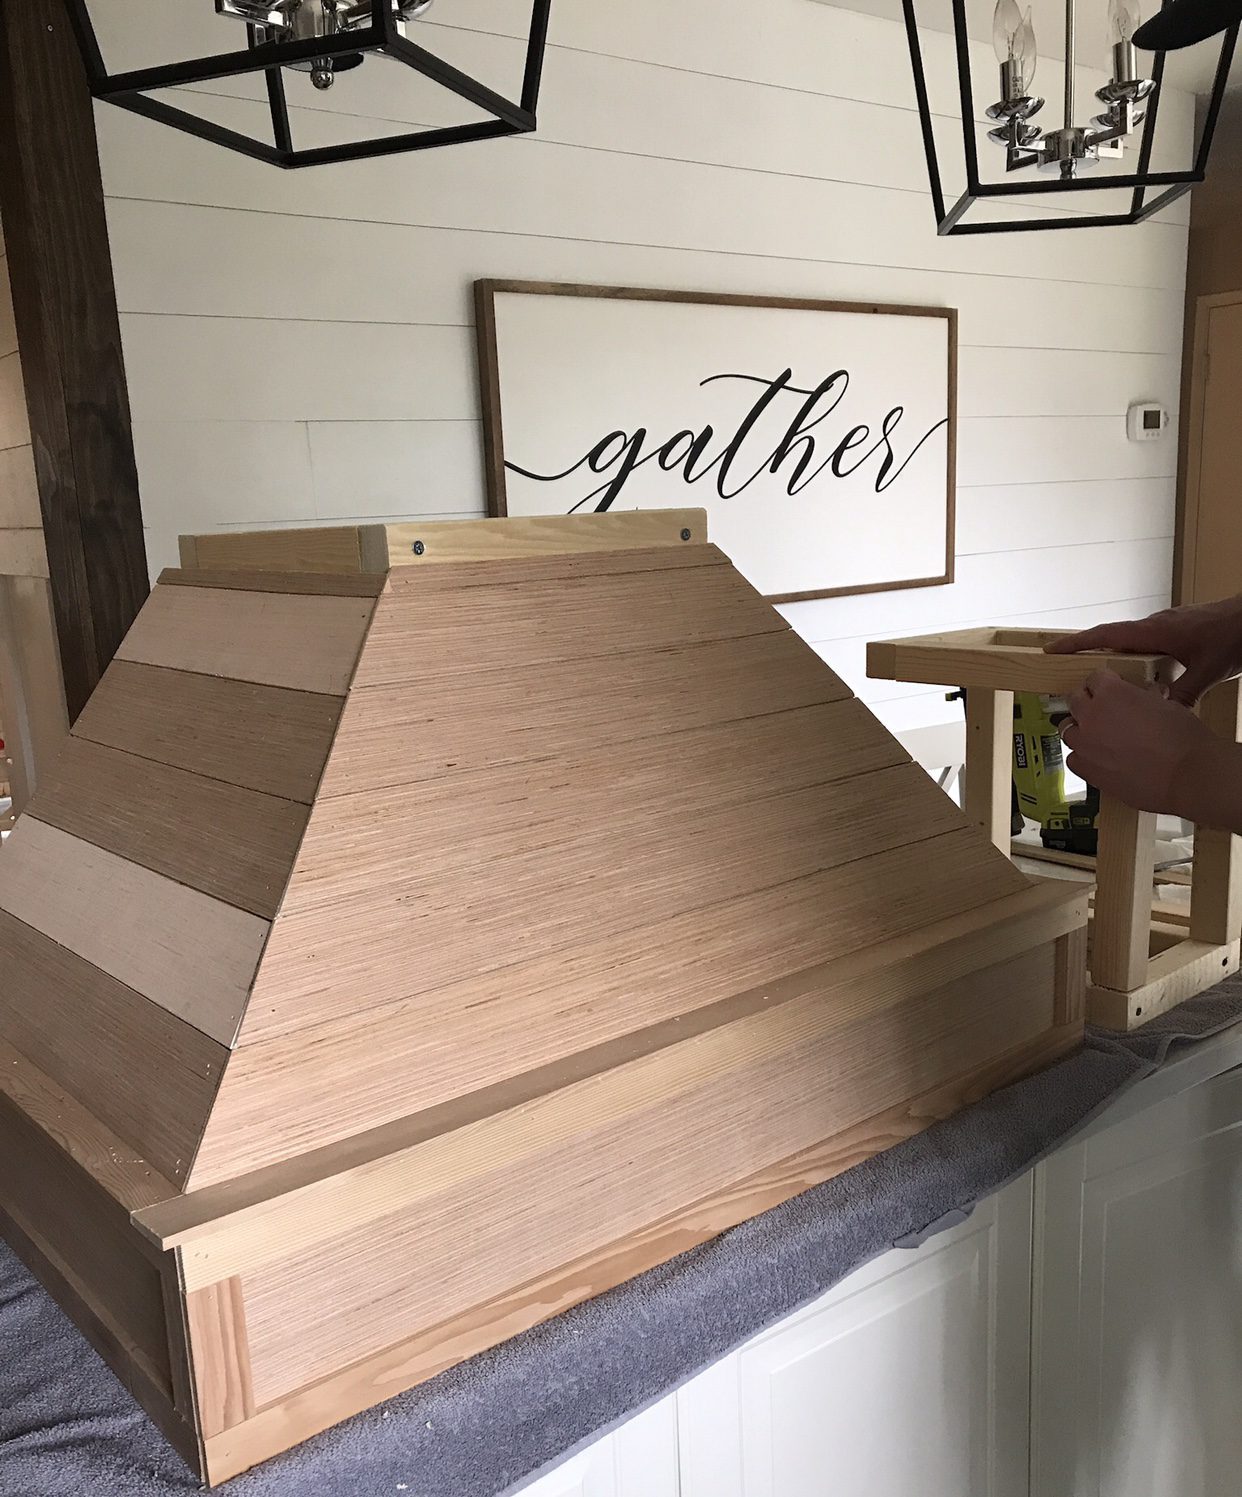
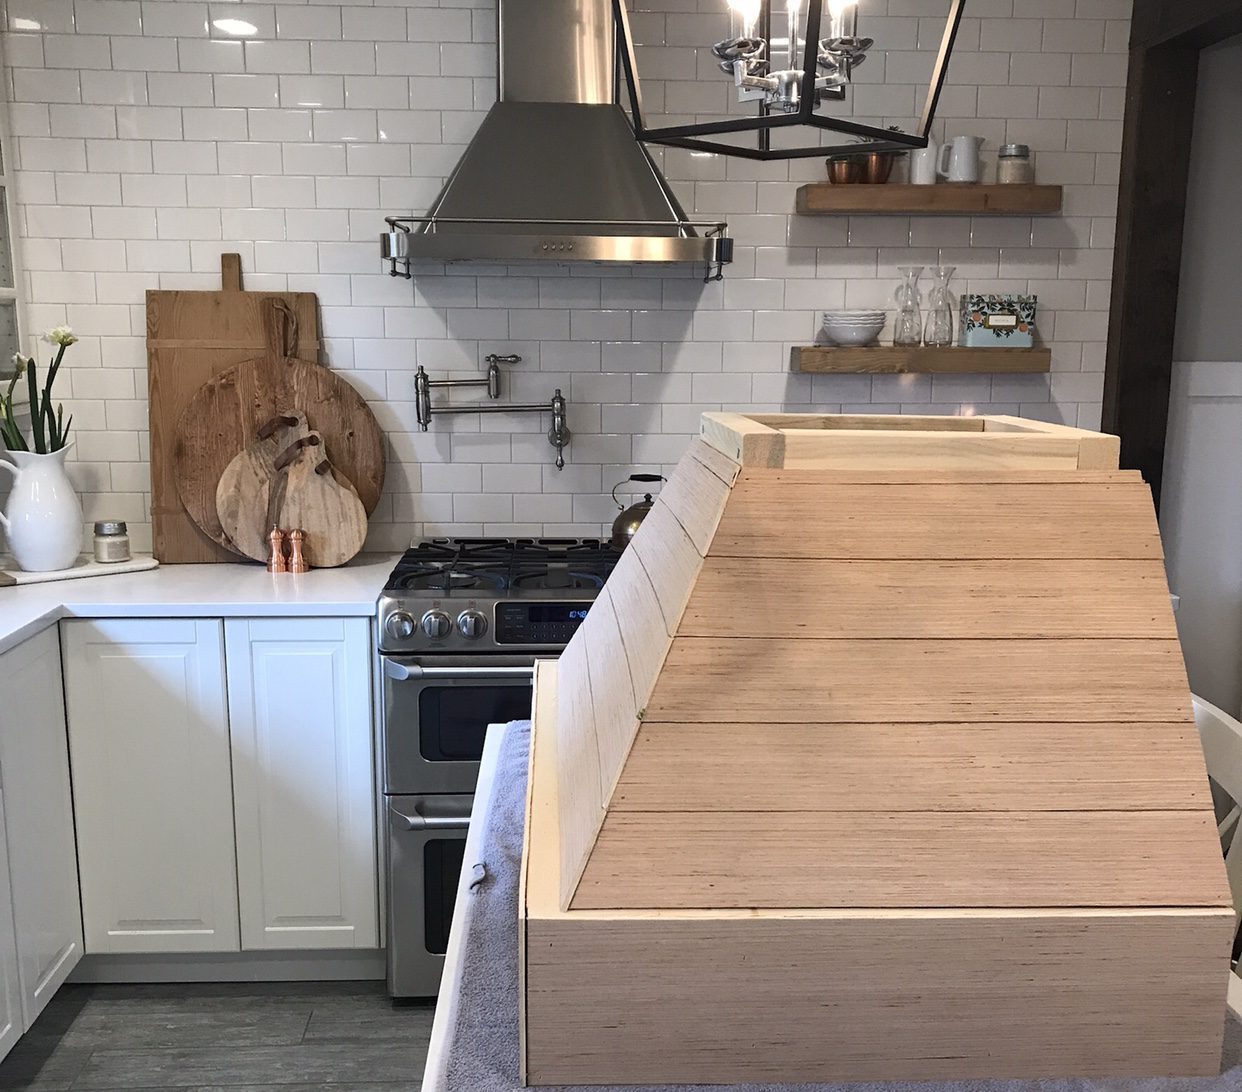
Time to cut the plywood as the exterior so we can cover it up with the shiplap.
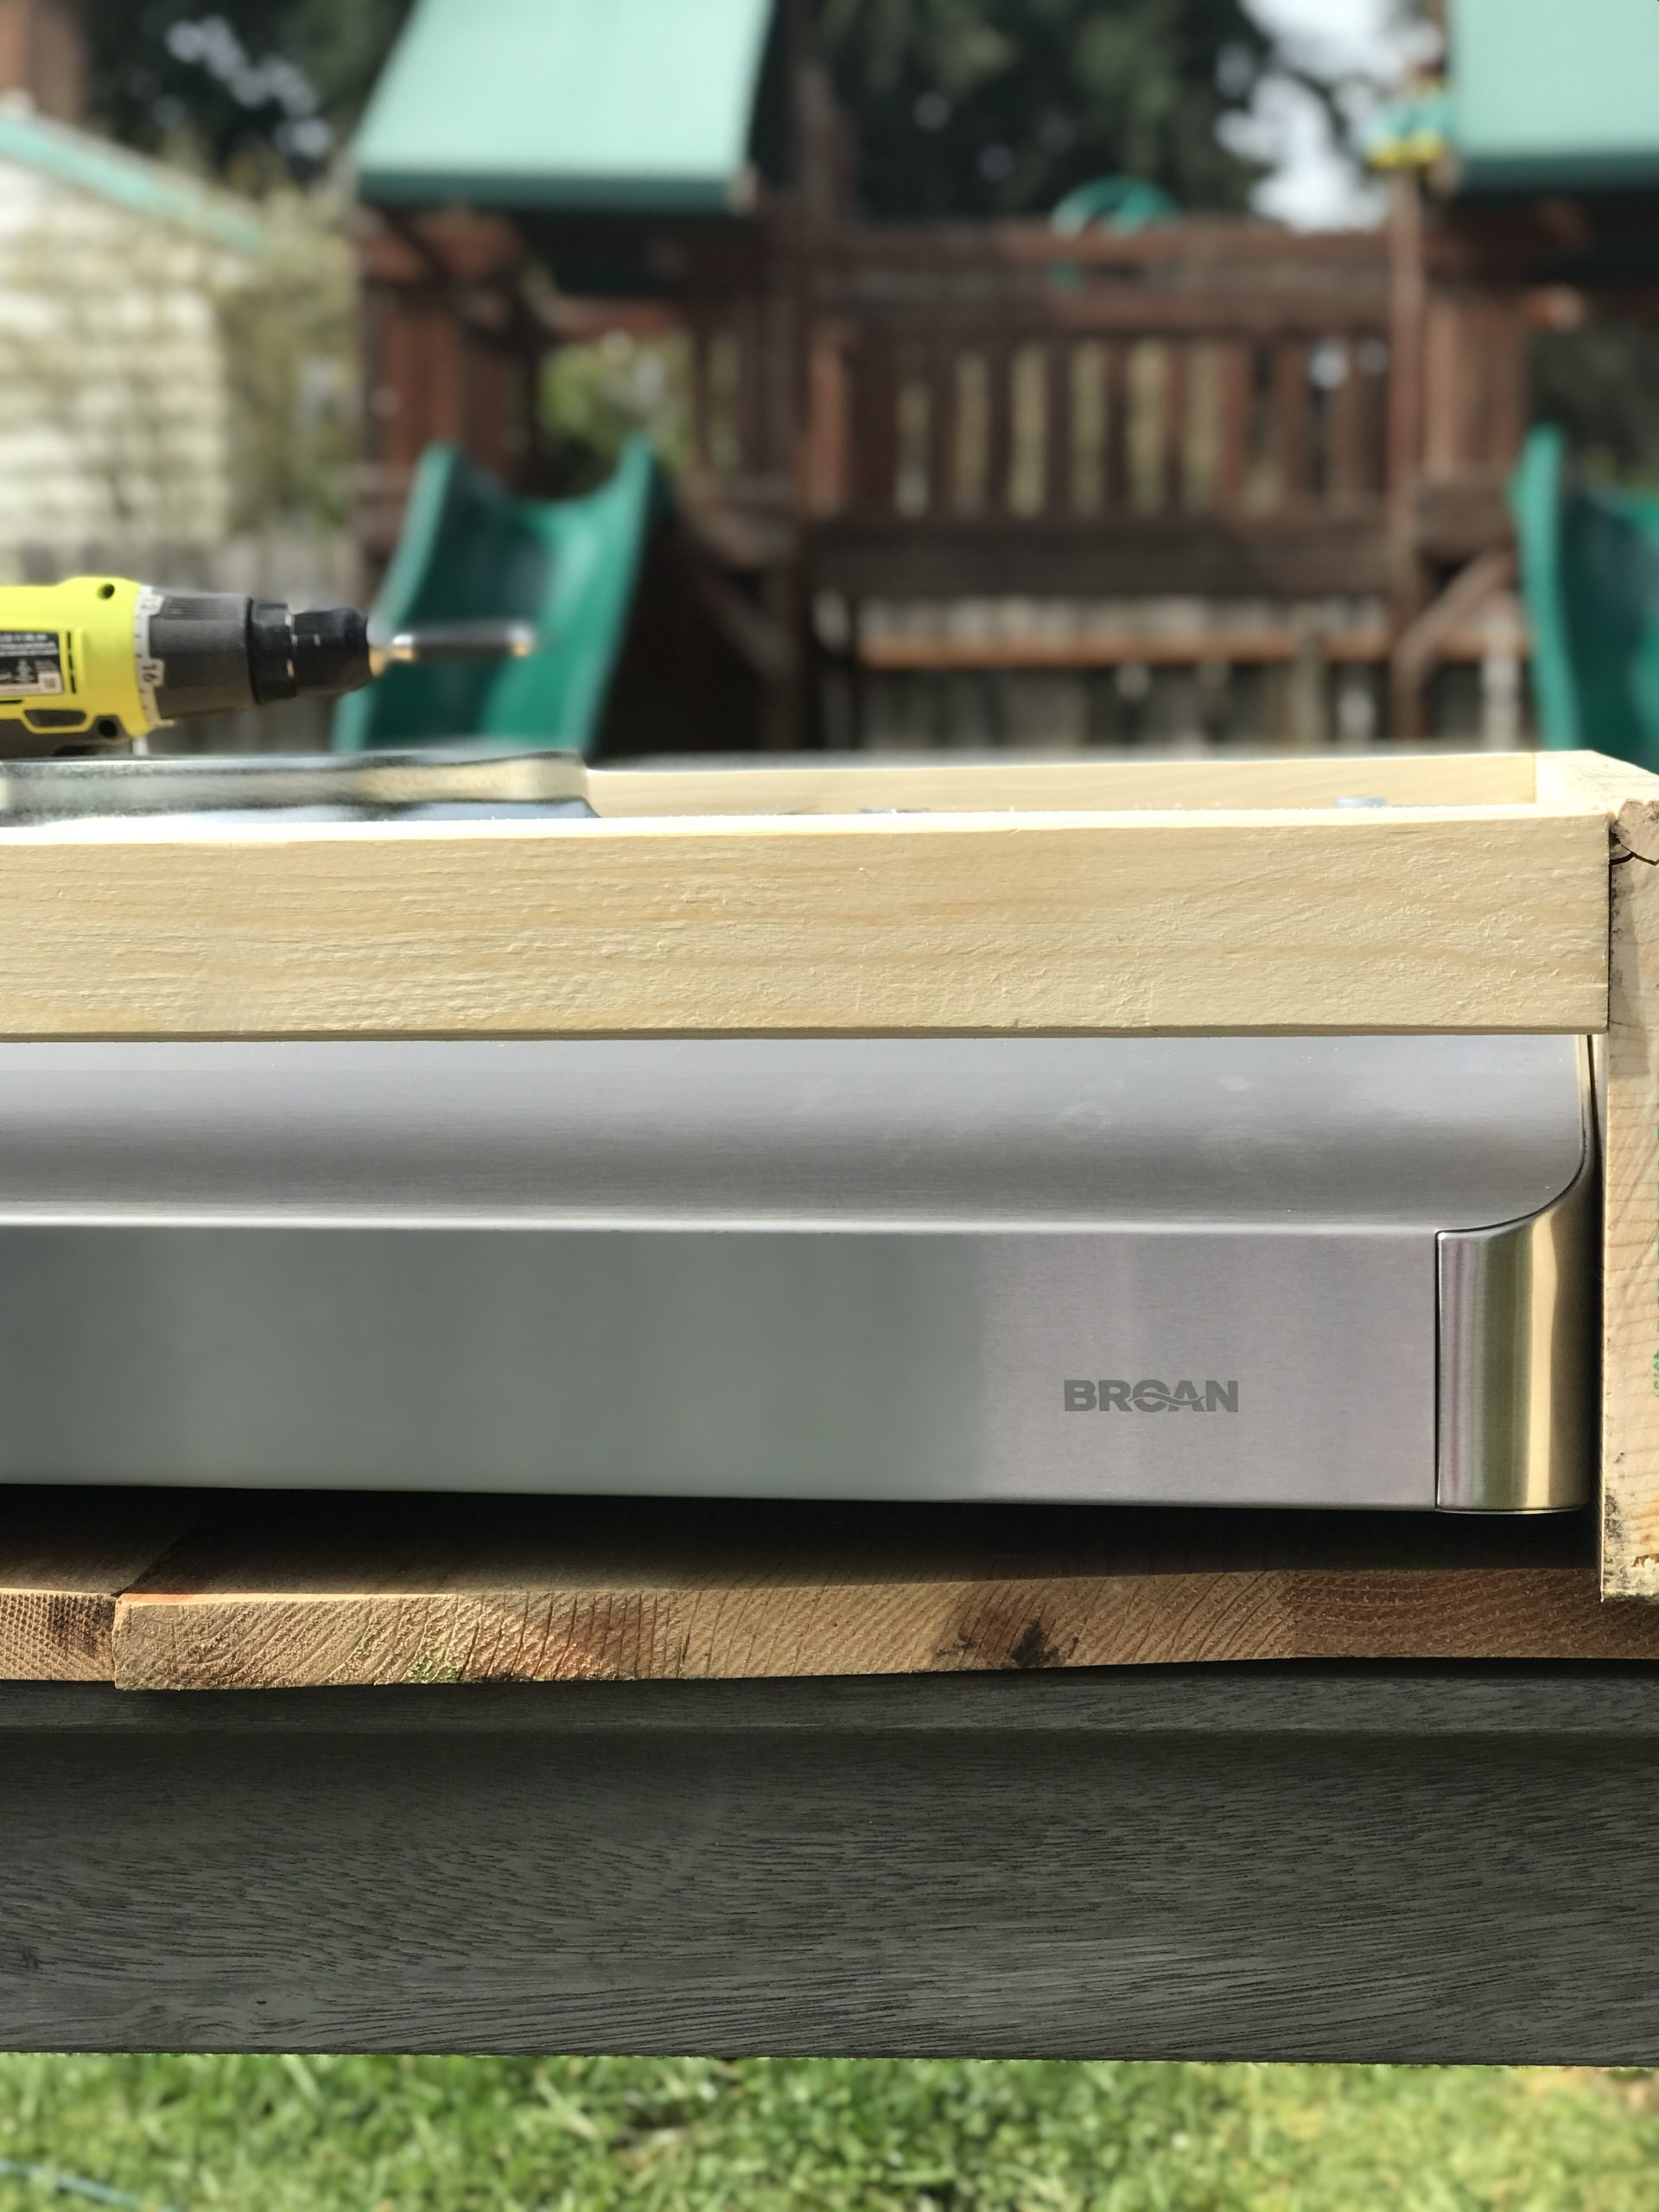
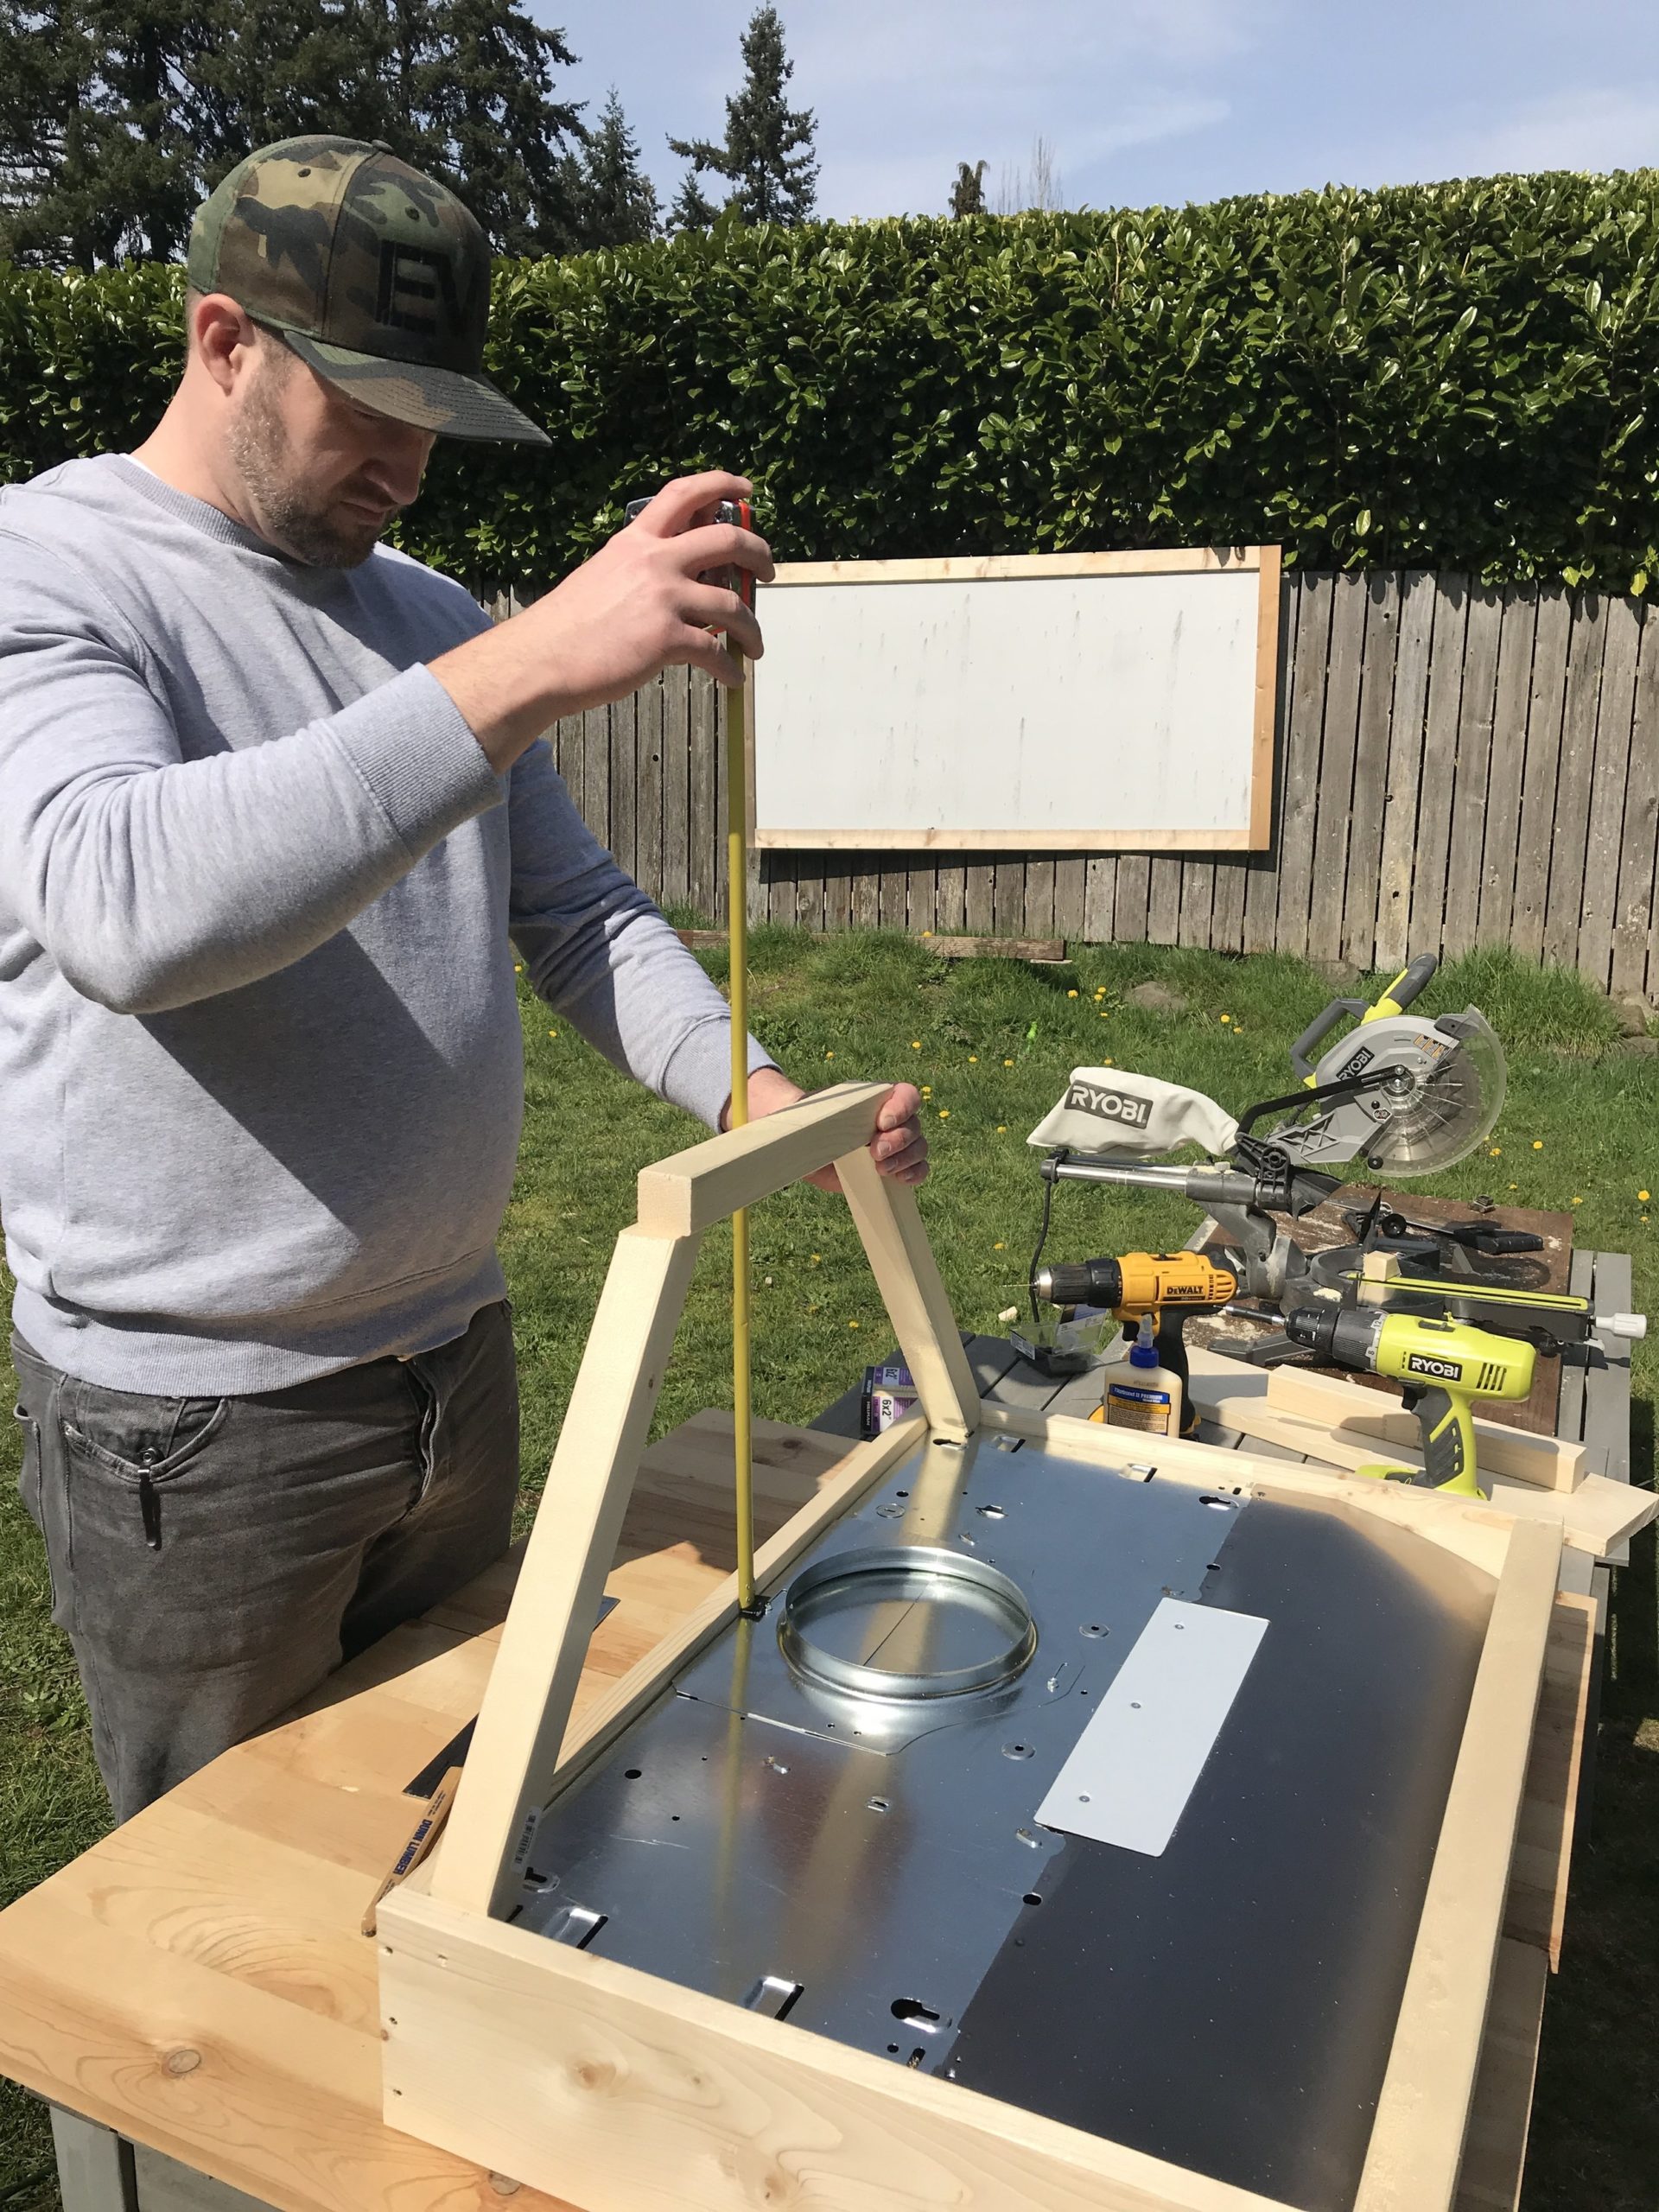
We used brad nails to attach it, and along the way we made sure the Broan Hood Range still fit perfectly and was easy to take out.
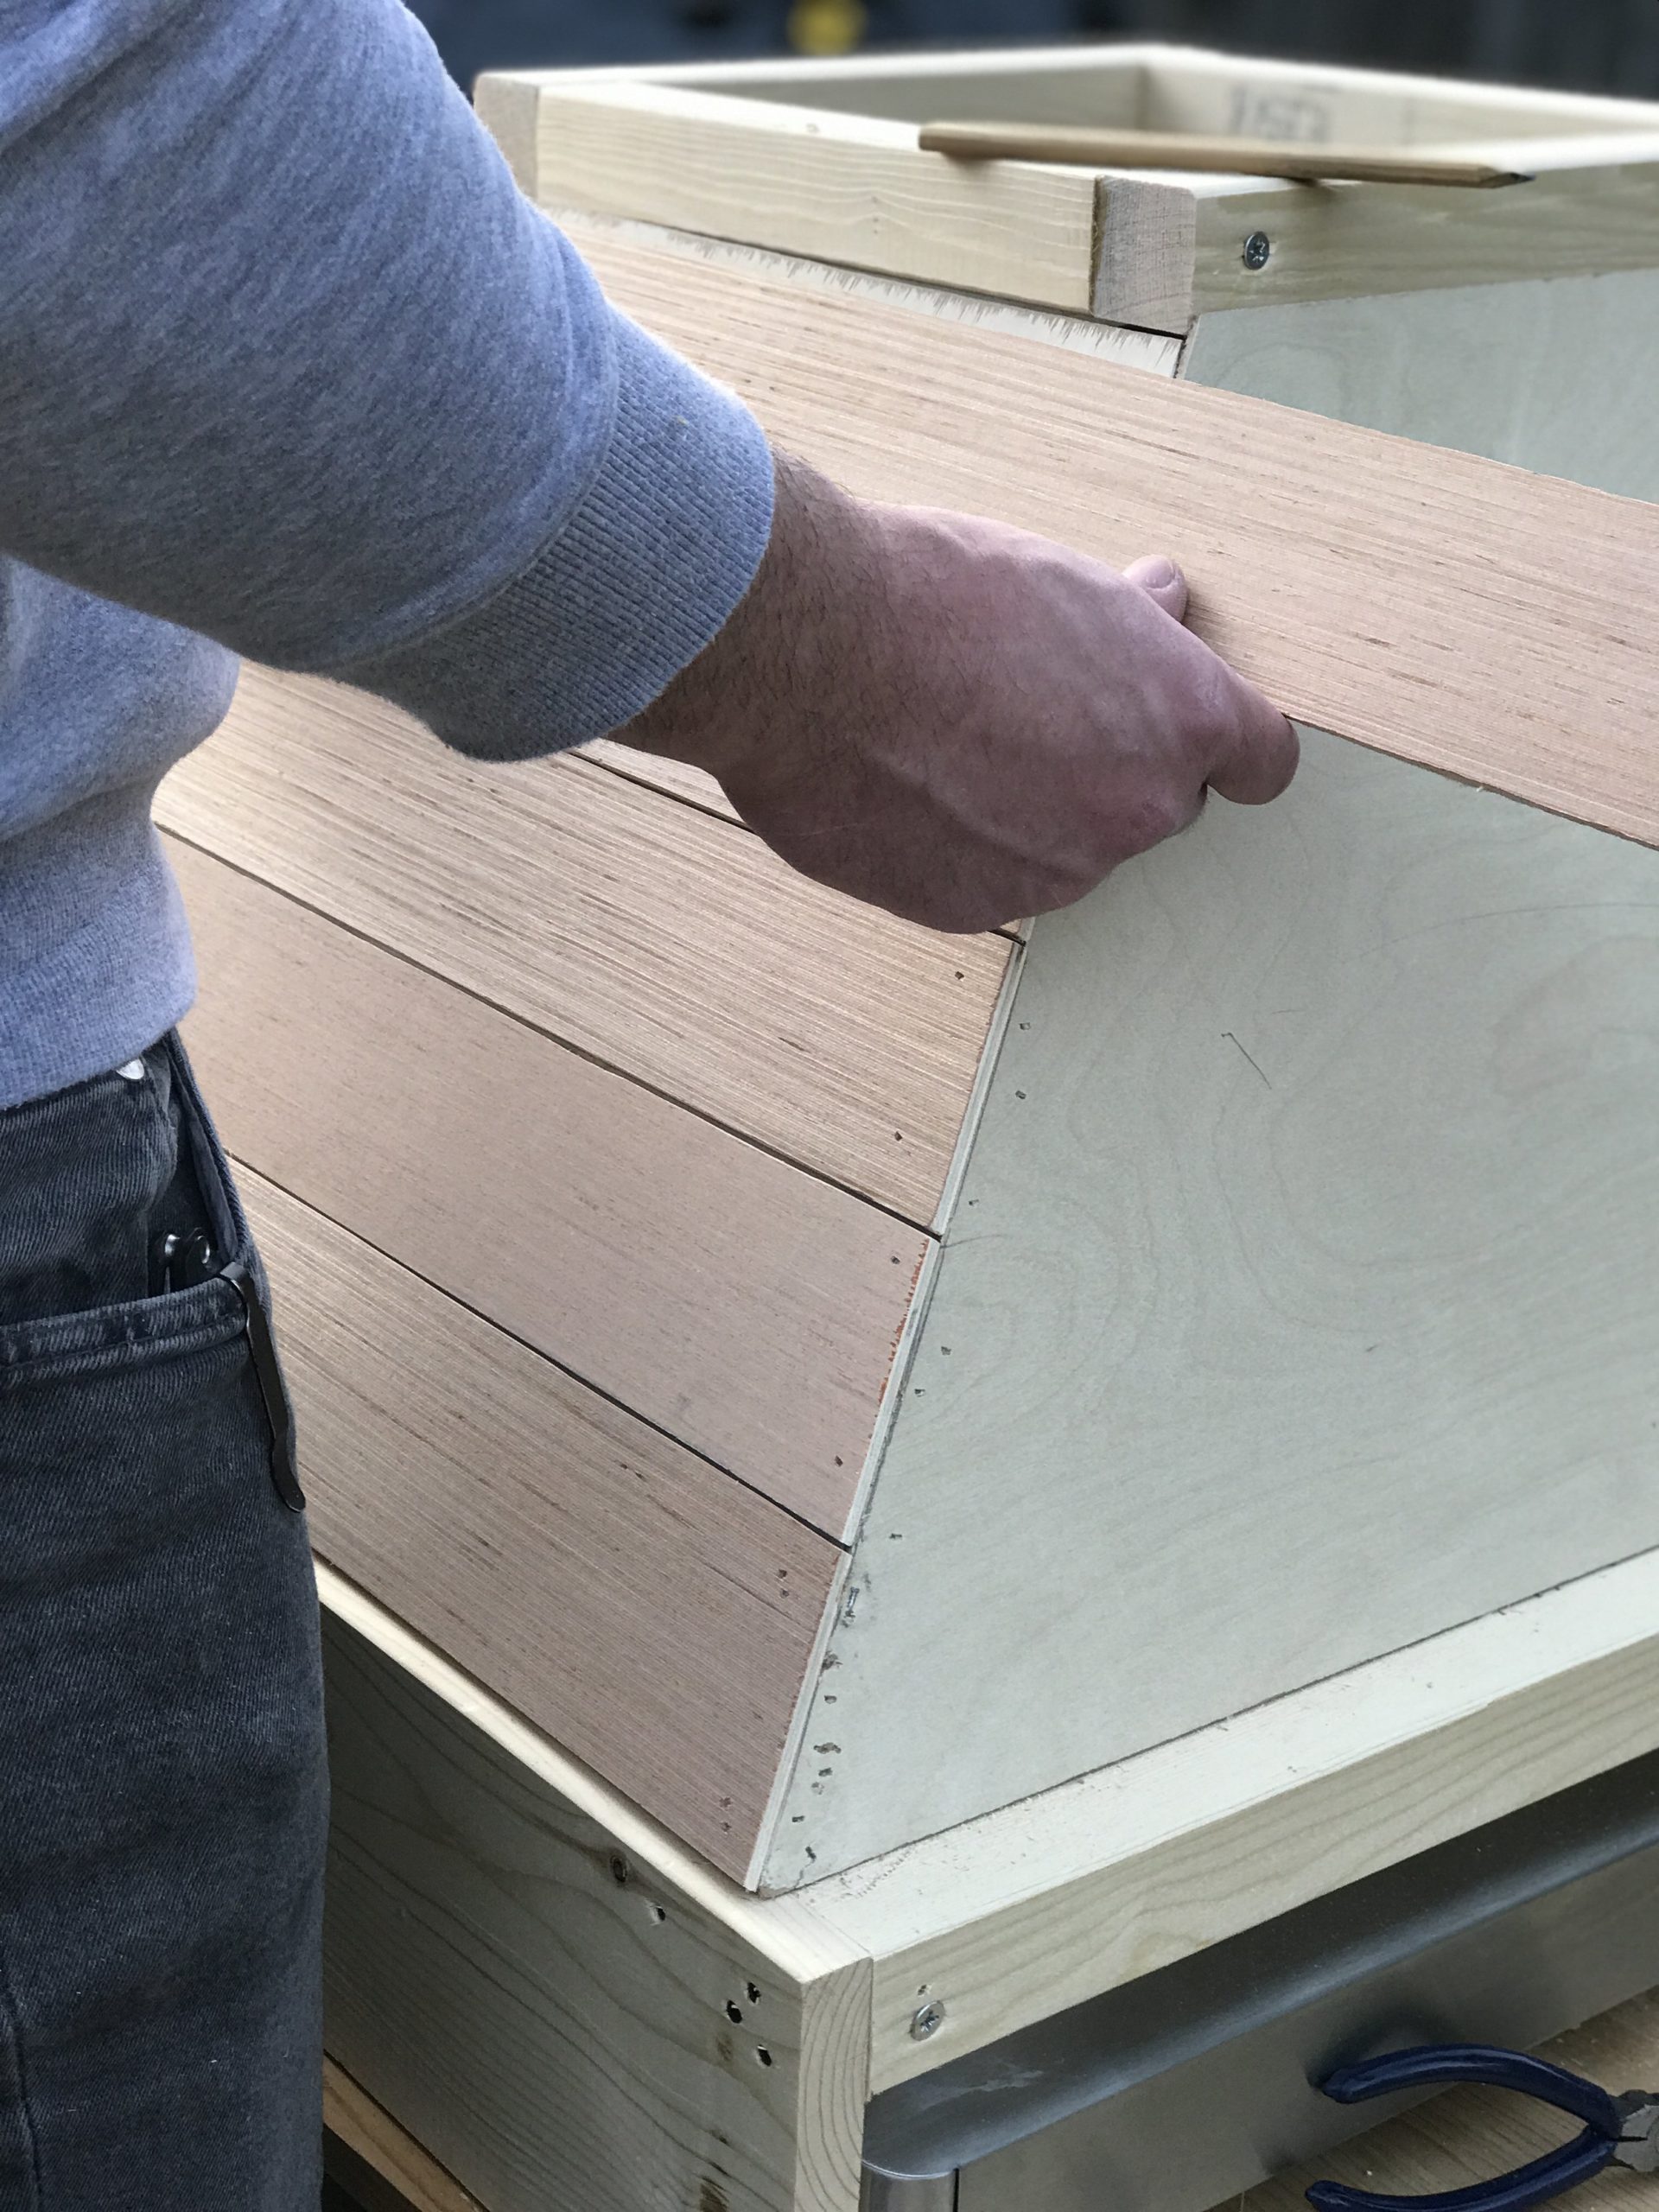
After the shiplap was cut it was time to nail it on, its amazing what it can do to any space or thing!
Its getting closer! James added the lattice to make it look more finished, then it was time to build the top!
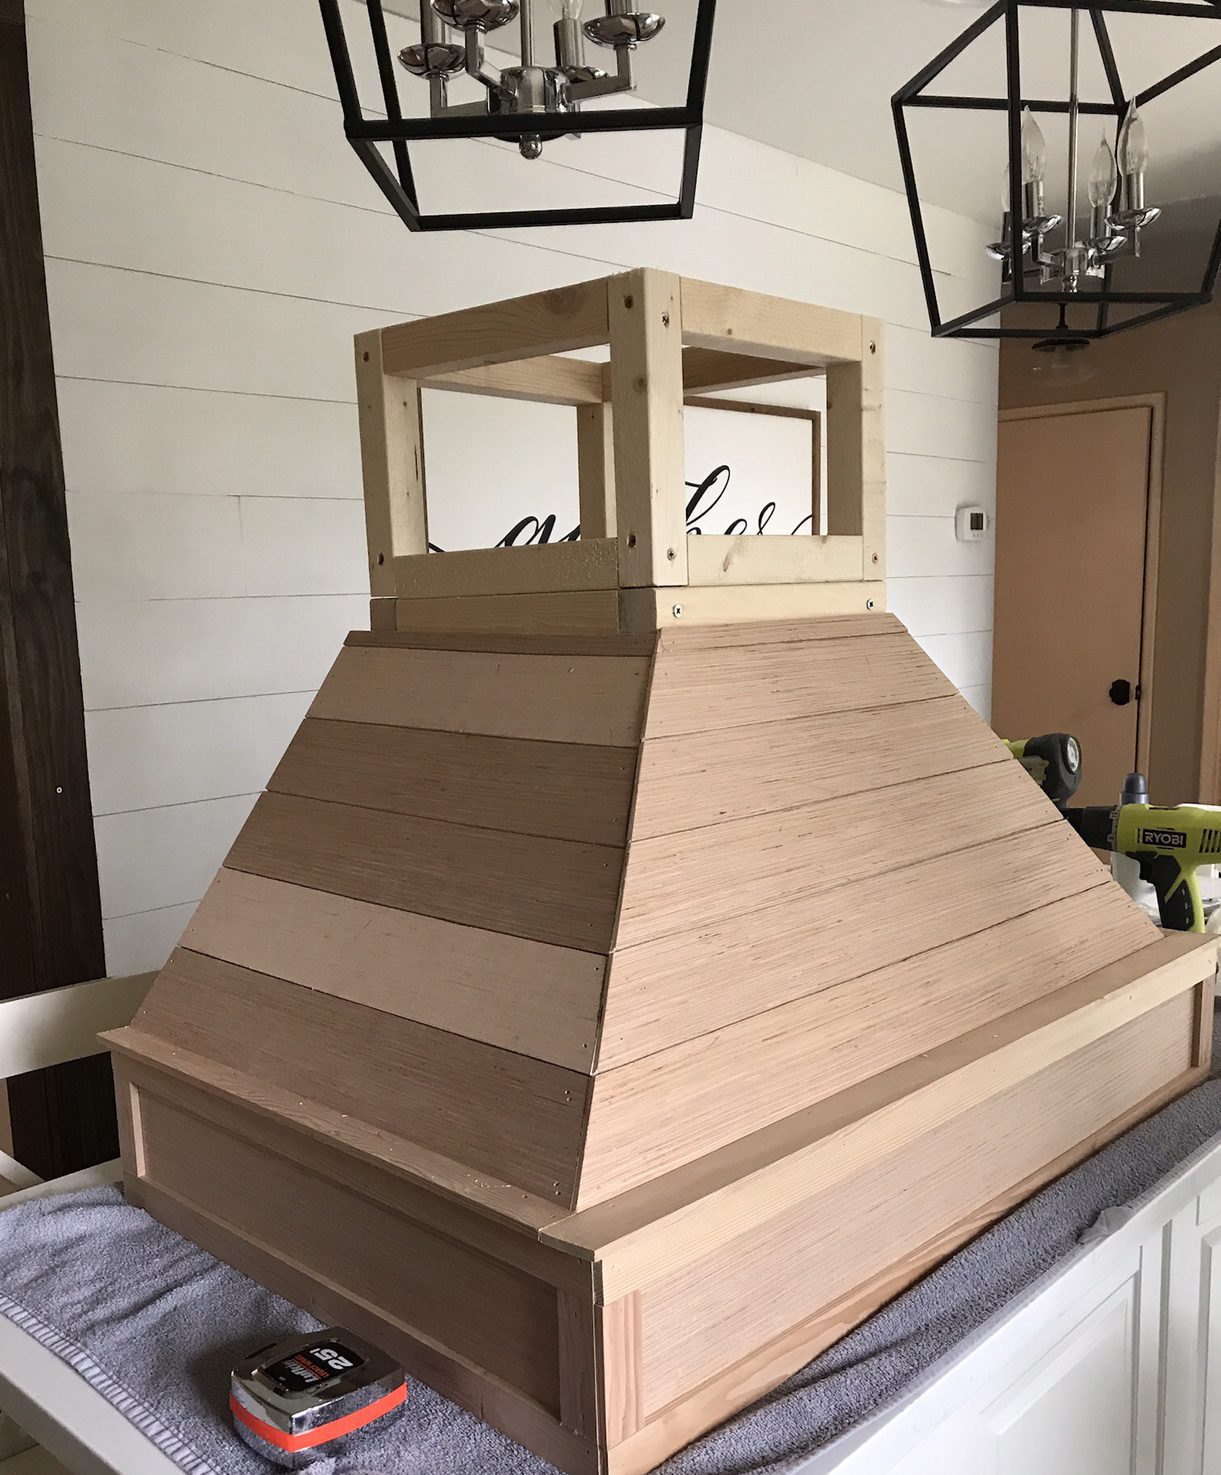
Almost done!

Now its time to paint! You can see the difference the old and new is. We loved the size of our old hood range but wanted something that fit our home more.
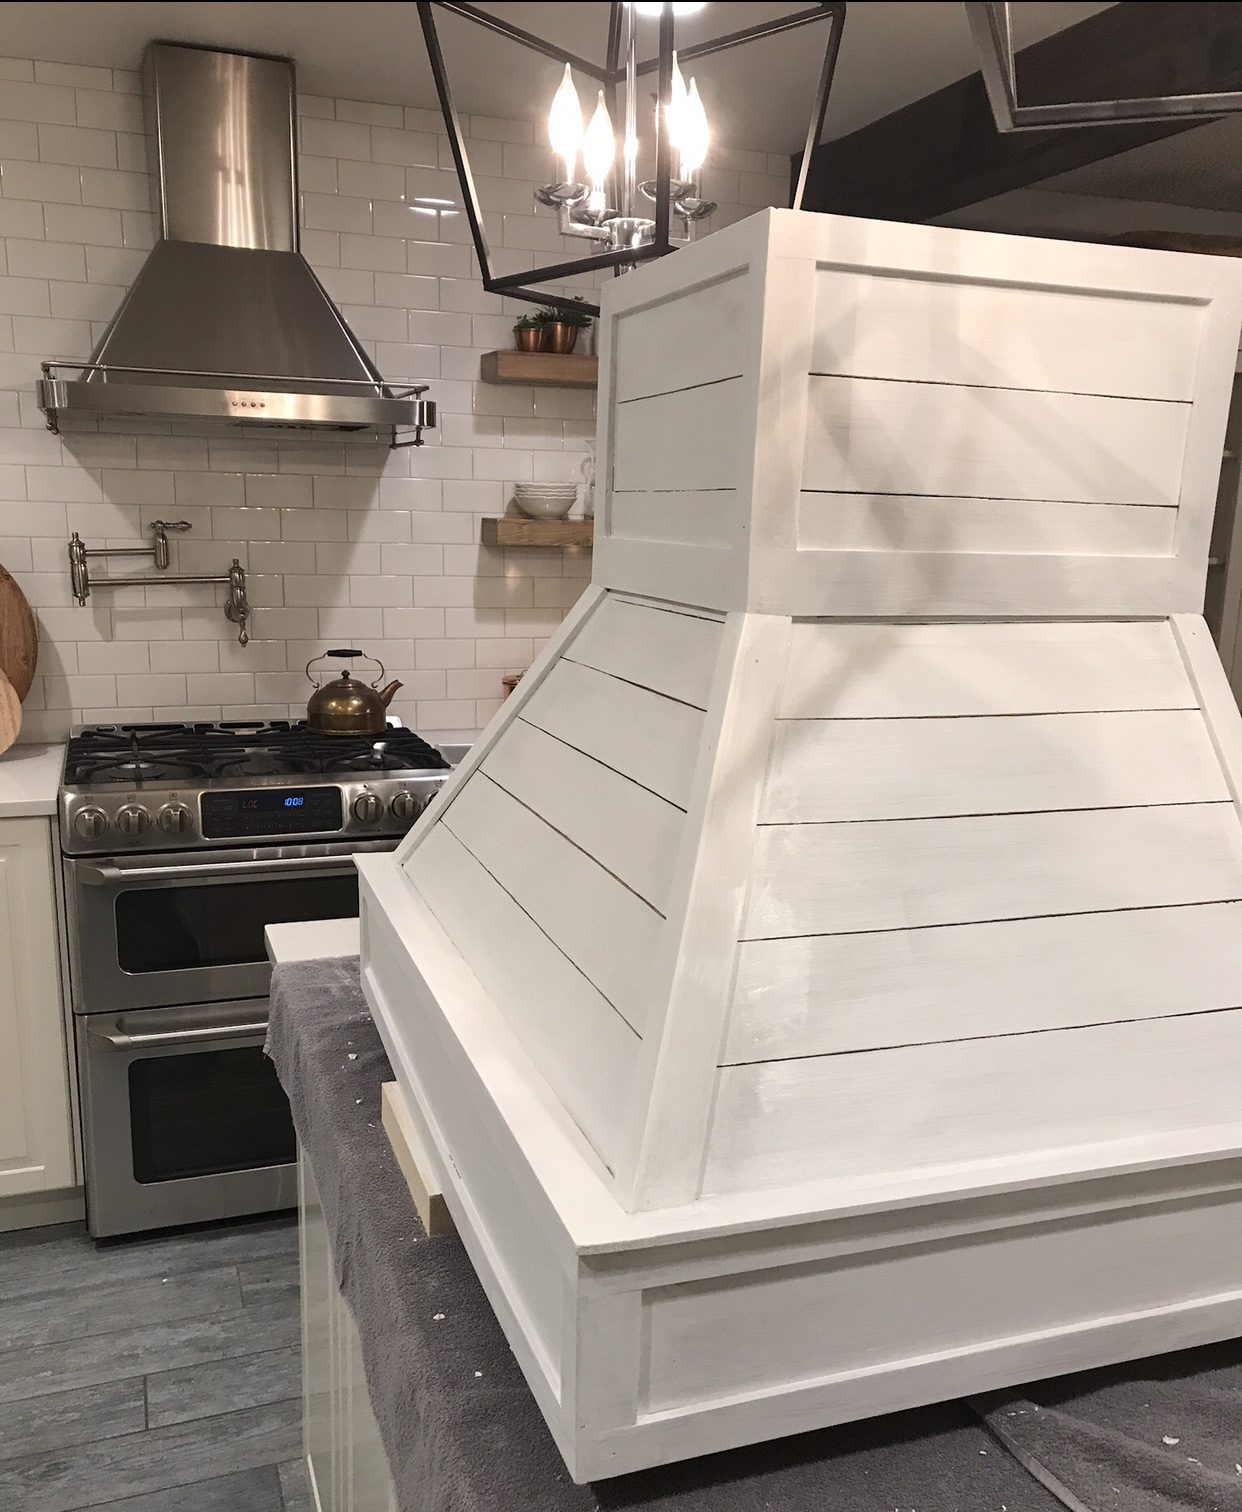
After lots of paint and hole filling … its time to get ready to hang!
Now to make sure it will fit back in!
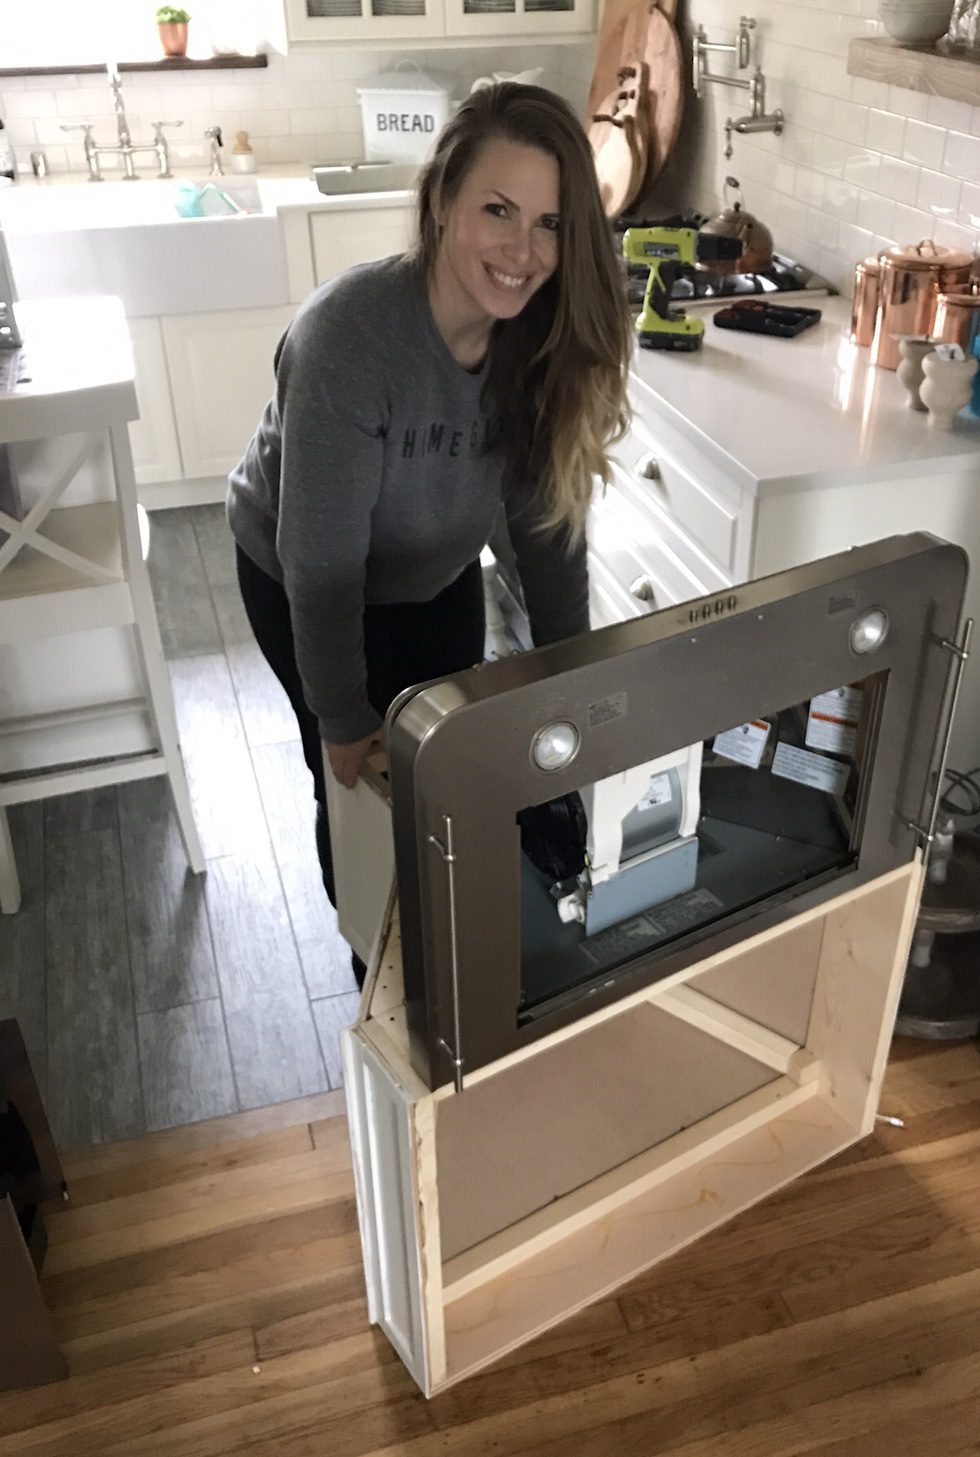
Here you can see the Broan Hood range getting ready to be placed in!
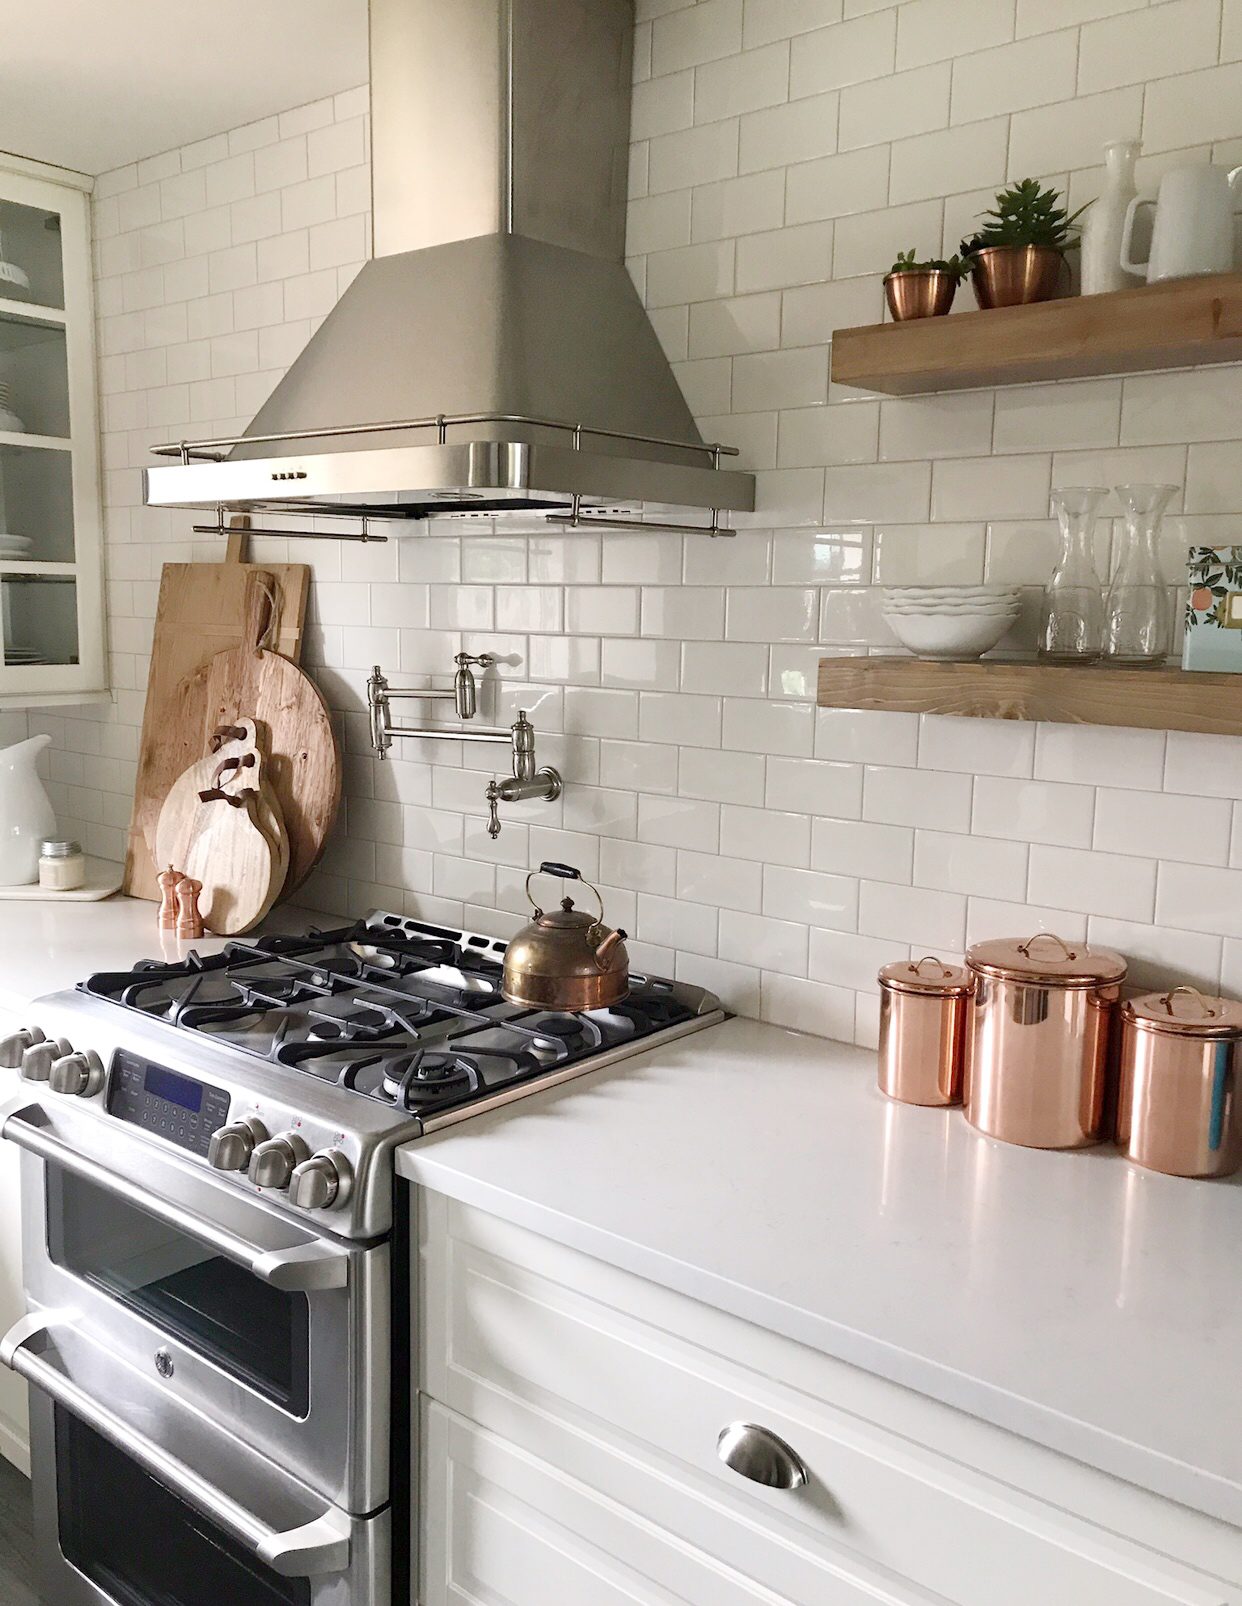
Here is the BEFORE.
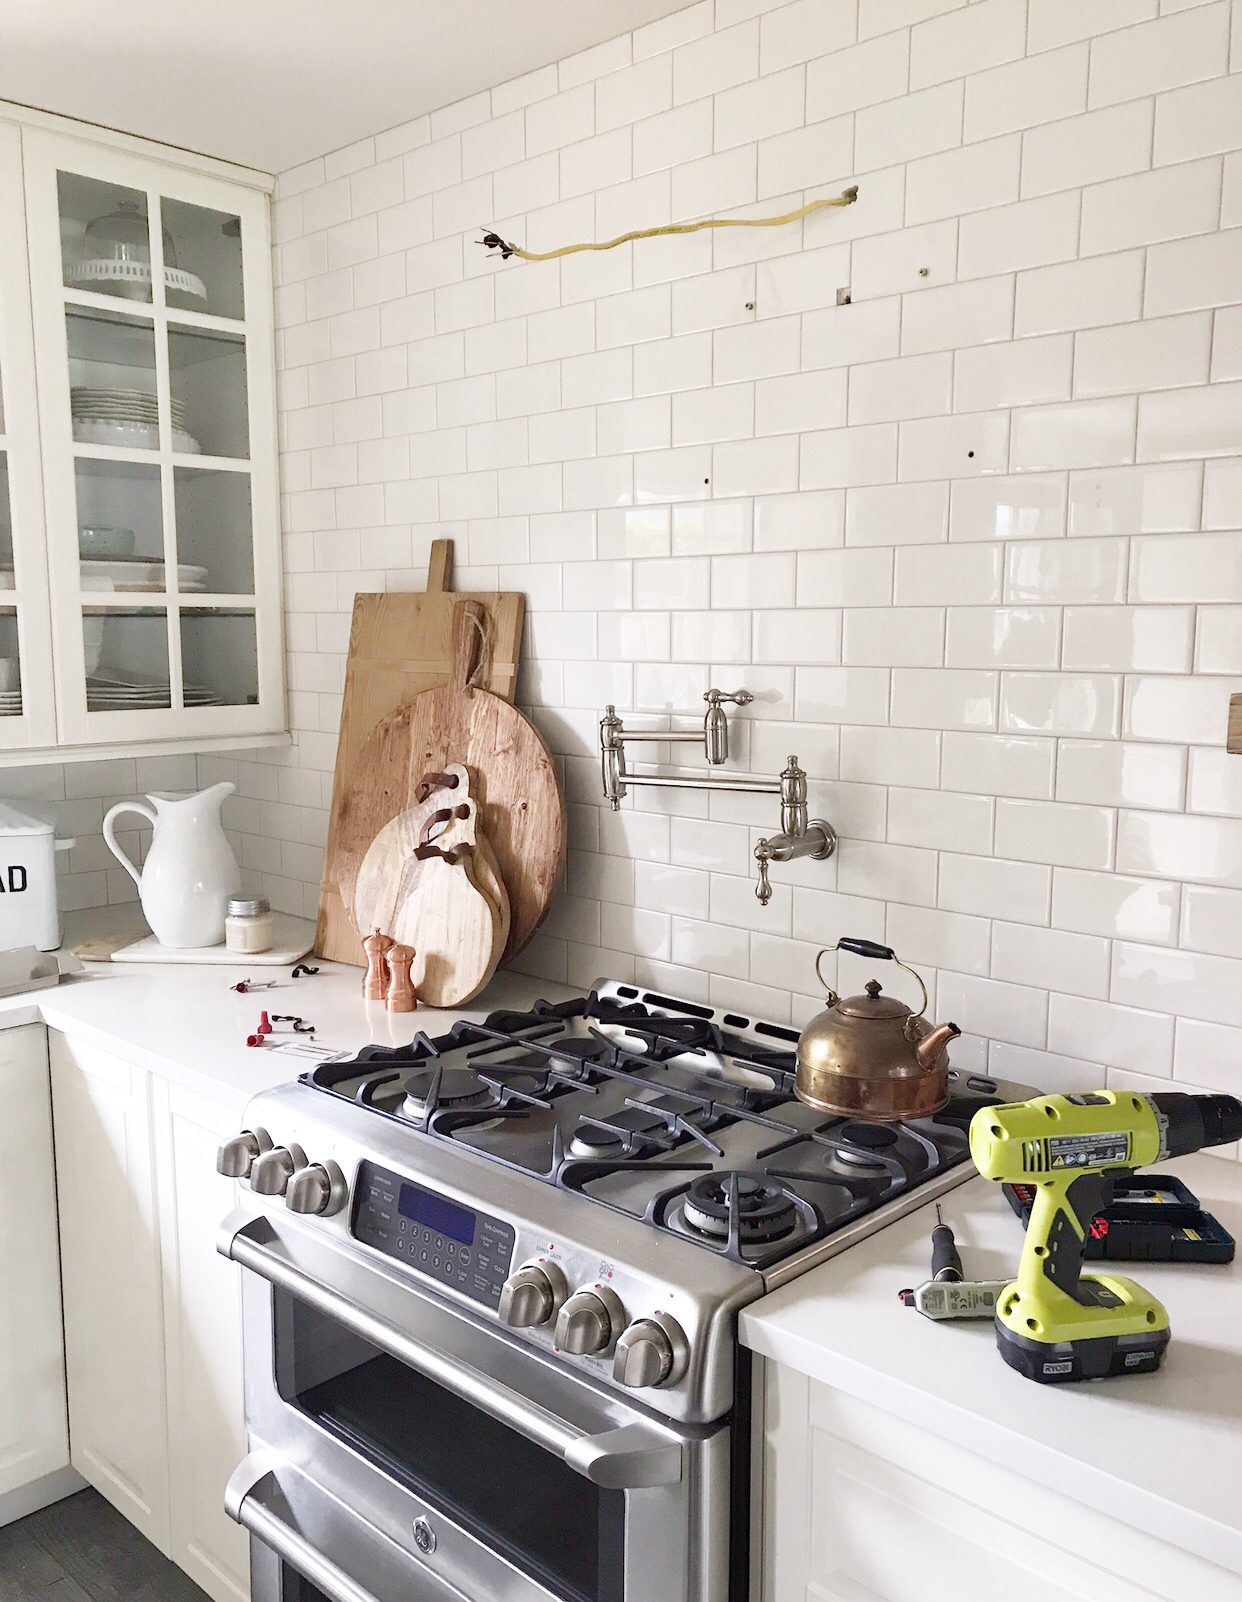
Here is the DURING.
Sneaky peek!!!

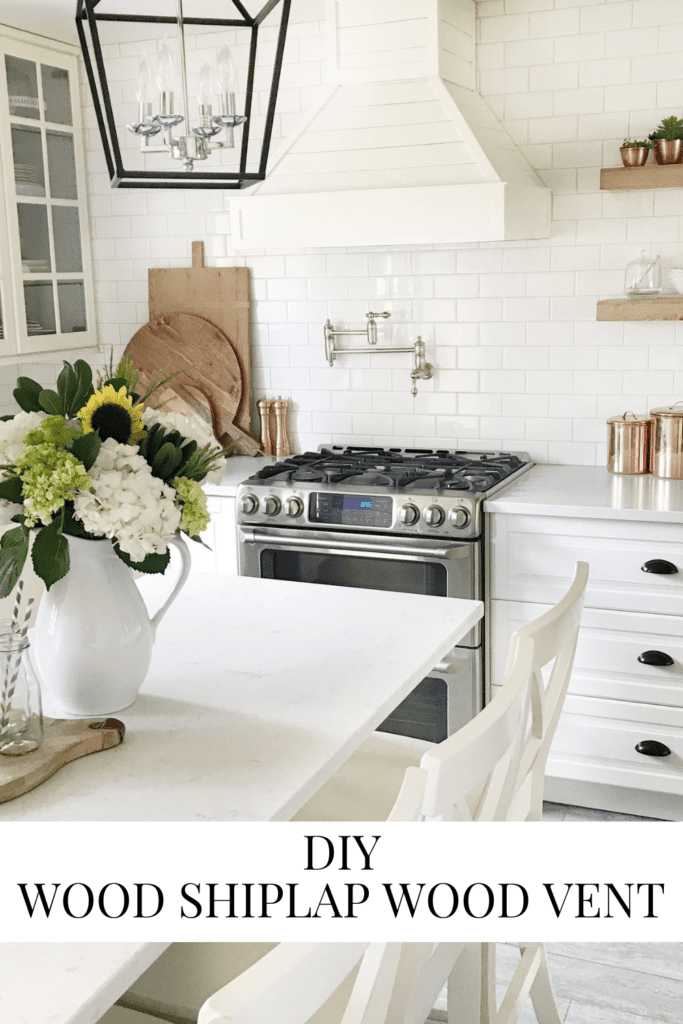
Here it is, all complete. We honestly couldn’t be happier with how this turned out. Best birthday present ever!
I know this isn’t the best DIY explanation ever, but there is a reason. I wanted to give you a good guide to how to make one for yourself and to be creative.
Like this post? Save it on Pinterest. Follow me on Pinterest.


Also how did you attach it to the wall? Thanks!!!
Hi! Love this hood vent! Is this ducted or ductless?
How is the outside of the hood holding up? Is it getting discolored from at all from oil or splatter? Thanks!
Hi! Wondering if you know what the brand is of your old range hood? Love the look of it!
It’s beautiful! I just sent this to my hubby. We start a kitchen remodel in August and this is exactly what I’ve been looking for!