How to Stencil a Concrete Porch
Do you have a concrete porch or stairs that need some love? Today I am going to show you how easy it is to give them a new look by using a stencil and paint!

Now that you got a sneak of what they look like complete, I will show you the process and all the supplies you need!
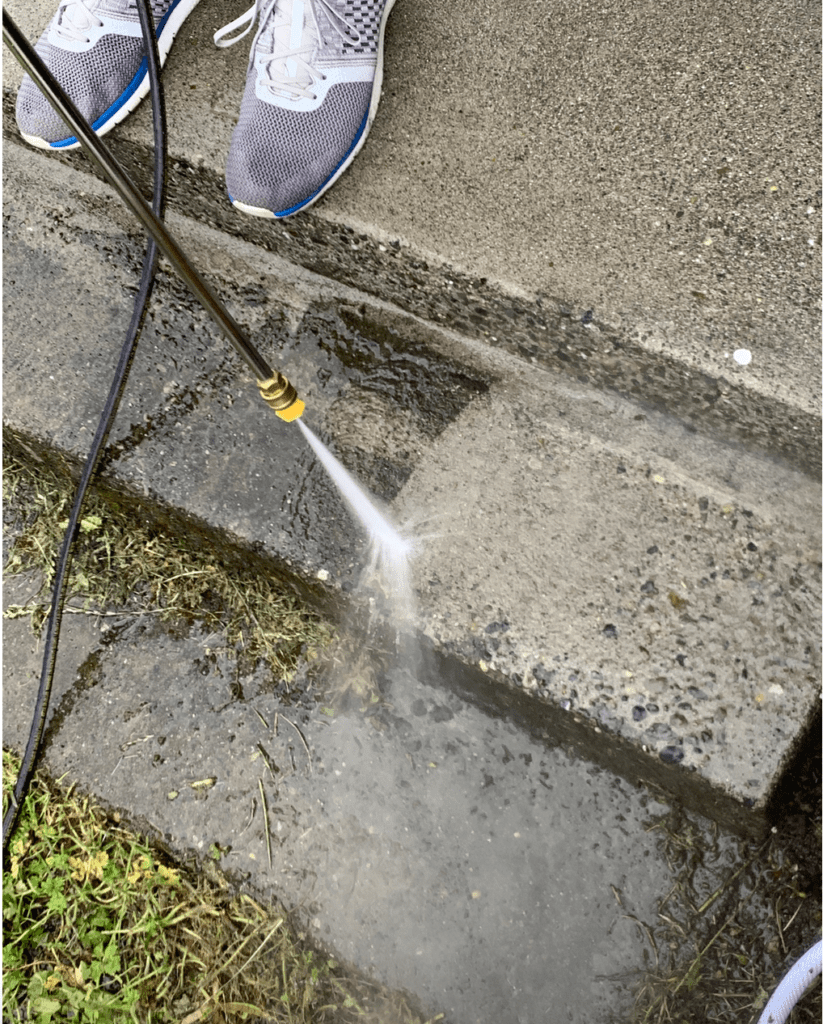
Before you get started make sure the space is all the way clean of all debris, you can use just a pressure washer or a mix of a cleaner and pressure washer depending on your space.

Now that it is all clean lets go over what you need for this project and the supplies!
SUPPLIES TO STENCIL YOUR STAIRS OR PORCH:
PAINT FOR BASE : Behr Porch and Patio Floor Paint White
PAINT FOR STENCIL : Behr Porch and Patio Floor Paint Slate Gray
HERRINGBONE STENCIL – for a bigger project I recommend 2
PAINT BRUSH – I used the small brush but was happier with a normal one
PAINTERS TAPE – If needed – my space was so rocky and uneven so it helped
PAINT ROLLER/TRAY- I used for the base
*If you keep watching I will be sharing the video of the whole process too!
Time to start! First make sure your surface is clean.
Then take your BASE paint and put it in a tray.
Next use your roller and paint the base, for me I chose white.

I started out using the small brush I ordered along with the stencil, and realized I didn’t like it and that it would take FOREVER! I used my handy paint brush that I always keep stock of and it was just right.

You can see that tiny corner piece on the bottom right of the stencil, that little piece comes in SO handy and will let you know where you are and where to start!
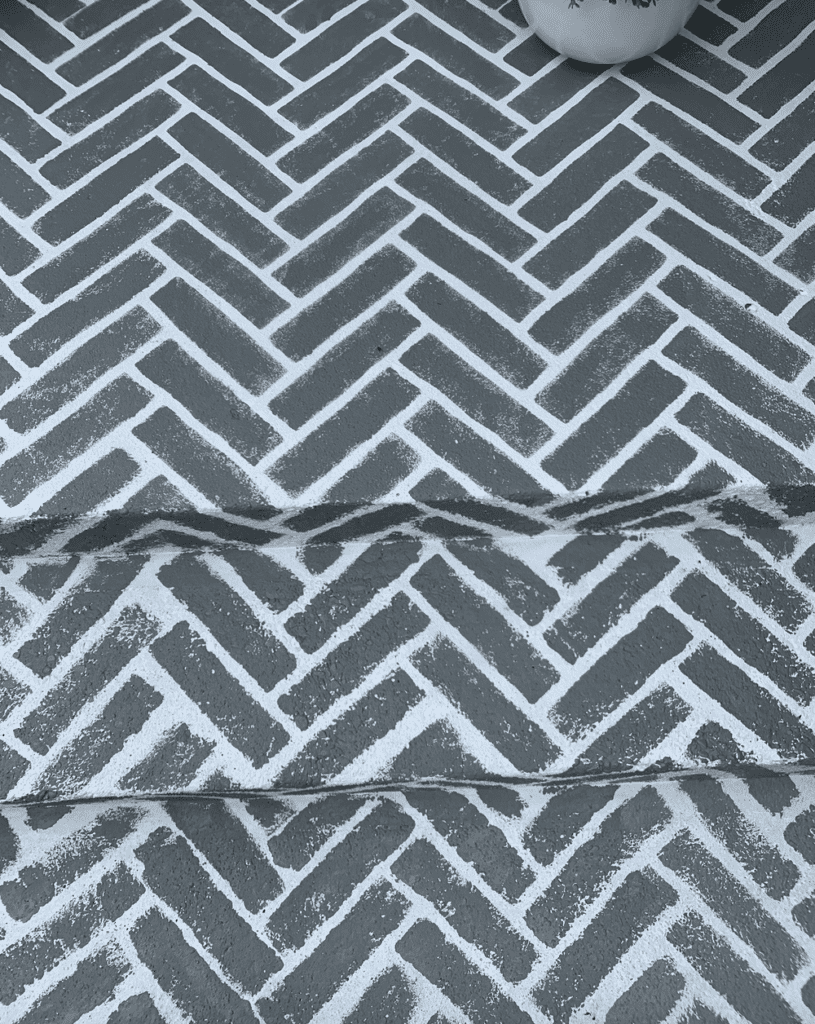
I can’t get enough of this contrast of the white and grey!

I do have to say that for a beginner this stencil is the way to go, it is so easy to use and honestly quite addicting!
Once you get your main stencil done you will have some spots to fill in, don’t overthink it!
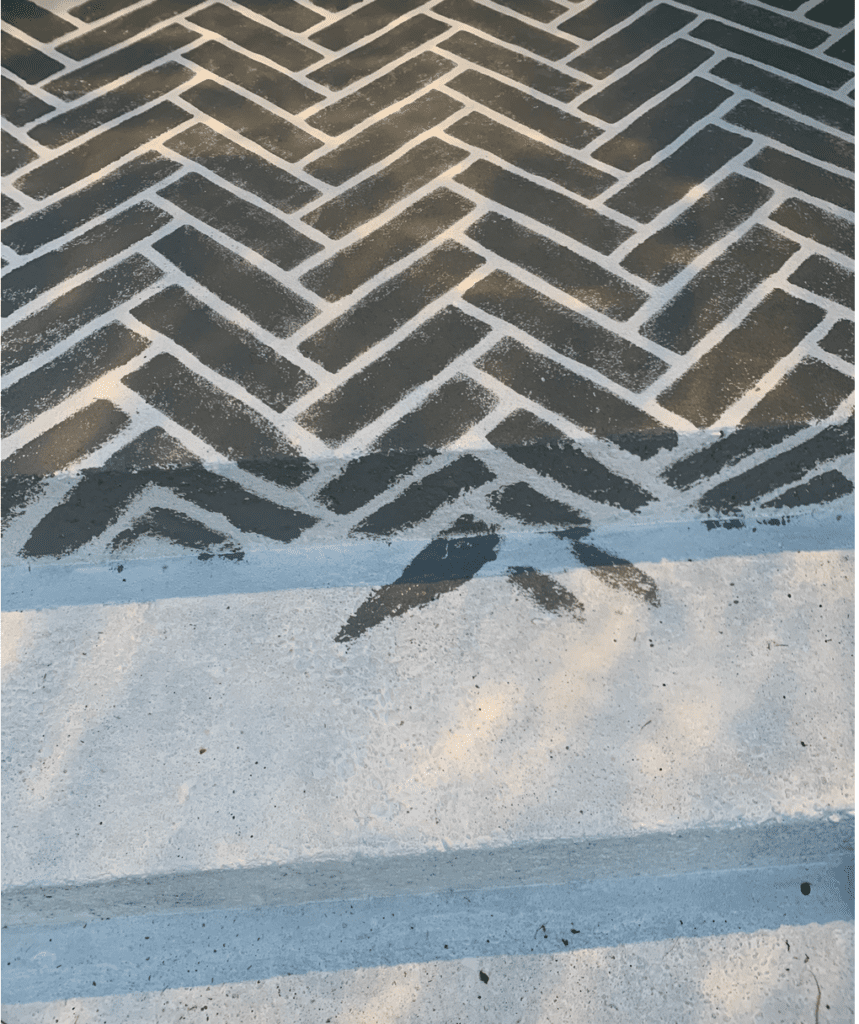
Now going down the steps – I did some freehand here and wasn’t sure if I should do the fronts of the steps.

I did make it work, but if you scroll down you can see I decided it was to busy and just painted it grey.
I love how this turned out, and that it isn’t perfect. I love that it looks aged and that it is suppose to look this way.
Check out this video to see how I did the entire project!
I hope it was helpful to see the process. I loved this project and can see many more like this in the future!
What space in your home are you going to try it in?

Here is the steps in the fall at Halloween. You can see how I painted the fronts of the steps grey. I did love the herringbone on the fronts but it was a little to busy for me.
I love seeing spaces through all the seasons and here it is at Christmas time! I hope this inspired you to tackle a project at your home, here are some more ideas below!


Love your stencil project . Can you tell me where you got it from??
Looks amazing Sarah!
The front porch came out great! I love the colors and it really did get it a little something extra. Looking forward to all your creative diy projects!