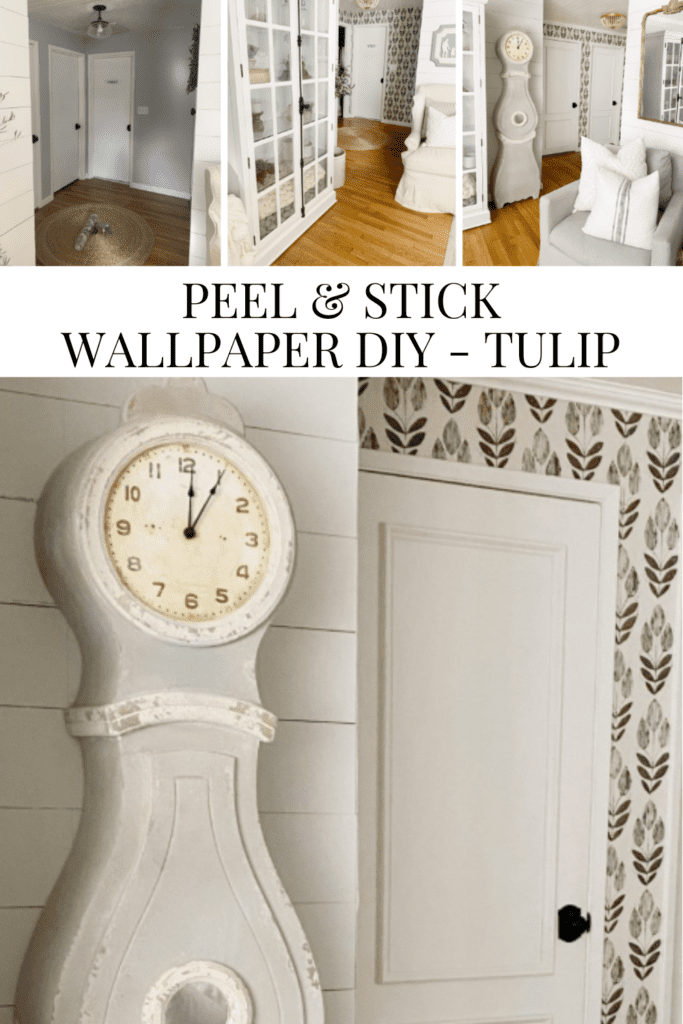
Peel & Stick Wallpaper DIY – Tulip
Ready for a Peel & Stick Wallpaper DIY? This tulip wallpaper is a favorite! Let me show you how it transforms the space!

I shared in my post HERE about how we did the door trim on the hallway, and I got all the questions on this wallpaper! I thought I should show you some BEFORE and AFTERS.

This is what we started with, it was always missing something. Then I decided to go with this wallpaper HERE. I have done ALL the different kinds of wallpapers but Peel & Stick is the way to go.
Peel & Stick Wallpaper DIY Q&A :
- Is Peel & Stick Wallpaper hard to do?
Peel & Stick Wallpaper is as easy as it comes! It is perfect for beginners or any level. - What kind of surface do I need for peel & stick wallpaper?
It can be applied to any smooth, flat and clean surface. - Is it easy to cut?
You can cut it with a razor knife or scissors. - Do I need to clean my wall before applying Peel & stick wallpaper?
For best results clean your wall. - Can I reuse it after I take it down?
Yes you can reuse it and if you mess up then reposition. - Does it damage walls or paint?
Peel & Stick wallpaper is the perfect product for rentals, or if you like to change your mind. The only way it can damage if you paint right before and don’t let it cure for 4 weeks +
Now that we went over all the questions, let’s get started!

Here is the wallpaper I used you can get it HERE.

With the Peel & Stick wallpaper you just have to start. If you are one that gets overwhelmed with projects just rip off the bandaid or in this case back of the wallpaper!

The nice thing with this wallpaper if you mess up just re-adjust!

When you need to cut just use a razor it is that simple!

Just cut along the edges.

If you have outlets or spots to cut around you can see here how you do that.

Tada! It looks perfect!

Our space was a little tricky with the doors right up against each other but we got it to work! This was an easy pattern to match up which was nice and not a lot of wasted paper. Did you notice we added ceilings while we worked on this. … and yes it gets messy look below!

Now let’s get to the finish line and here we go it’s all complete!!


Look at how much this pop of wallpaper changed the space! I do have to say once we did it I thought I would be sick of it after a few months, but it’s been over a year and I love it so much still! The nice thing if I ever change my mind just take it off and its that easy!
Like this post? Save it on Pinterest. Follow me on Pinterest.