DIY Doormat – Brother ScanNCut SDX85
Ready for a fun project? Let’s make an easy DIY doormat using the Brother ScanNCut SDX85!

Now that you see the completed project, let’s get started and show you how to make this DIY doormat and what supplies you will need.
What you will need :
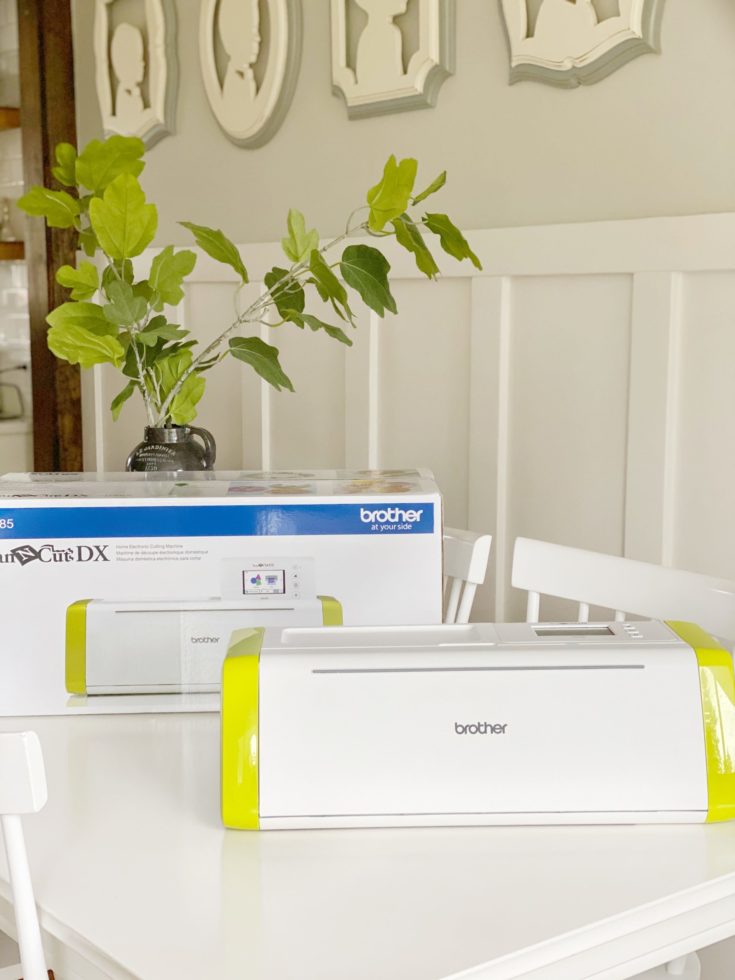
Brother ScanNcut SDX85
Cardstock
Blank Door Mat
Outdoor Paint
Paint brush
Pins
Let’s start!

If you are NEW to using a Brother ScanNcut you can see the post HERE for a step by step beginner guide.
Make sure to watch the video at the end!
First you will load your cardstock, you can use vinyl for this but we are going to go this route.

You will go and make your design, you can do whatever words you like – I thought it would be fun to do trick or treat, because that’s the best part of Halloween right?

Once you have your design for your DIY Doormat, you will make sure your paper is loaded in the ScanNcut and then begin to cut.

Look at it all cut out, the best part is you can even use the cut out letters for something else! Think garland?

This is so fun right! Now let’s add some more to our doormat.


Let’s use the scan feature of the Brother ScanNcut SDX85! I have to say this is a favorite feature!

Look at these bats!! Eek! We are ready for something spooky!

The stencil is all ready! Can you see it??

I can see it coming now let’s get started!

I wanted to do spray adhesive, but thought the pins were the safe bet! So here we are!

All painted, do you think it worked???

TADA! I am a little excited my vision is coming to life.

Bat time!

Here it is sideways, but I don’t want to give it all away.

I decided to just reuse the bat stencil I made, the other paper was a little thick and I didn’t want it to leak through.

Here it is!! It worked!!

I just can’t get enough of my new mat! Yes, you will be seeing lots of new projects from my Brother ScanNcut SDX85 and maybe a doormat for every season!

If you missed me stenciling my stairs you can find the tutorial HERE.

Henry the skeleton is all ready for Halloween, but first let’s add some spiders!
I can’t get enough of these fun spiders – well maybe my family is all scared of the real ones.

The privacy screen is now my new favorite, I just love it white. You can find the tutorial HERE of the DIY.

What project should we make next?

I hope you enjoyed seeing how I did this project, it was so fun to do!
Here is the full video!
Now ready for some spooky fun, and yes this happened!

TO SHOP THIS POST TAP ON THE PHOTOS BELOW :
Like this post? Save it on Pinterest. Follow me on Pinterest.