Thanksgiving Banner – {Friendsgiving}
Ready for an EASY DIY? I will be sharing how to use the Brother ScanNCut and we will make a {Friendsgiving} Thanksgiving Banner!

We have been going all out on every holiday this year, not that we haven’t before but I think we are very intent on making each one even more special. While we can’t have Friendsgiving or Thanksgiving we have sure grown closer together as a family and I am so grateful my kids can be the best of friends.
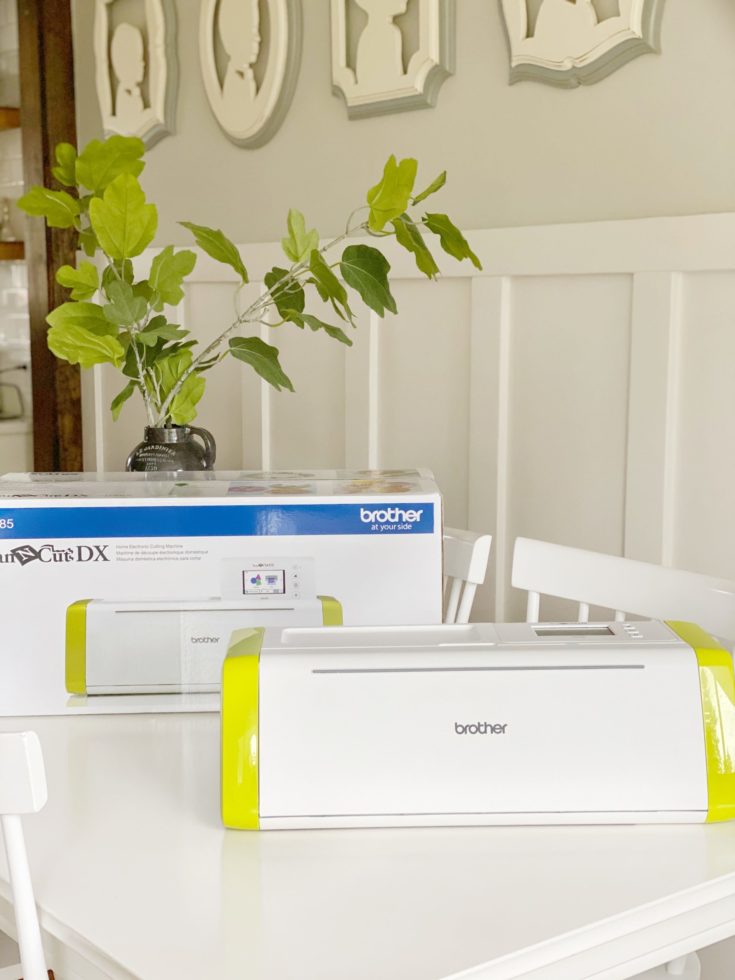
I made this fun Thanksgiving Banner and I wanted to show you how to make it using the Brother ScanNCut.

Supplies Needed :
Brother ScanNCut
Twine
Glue
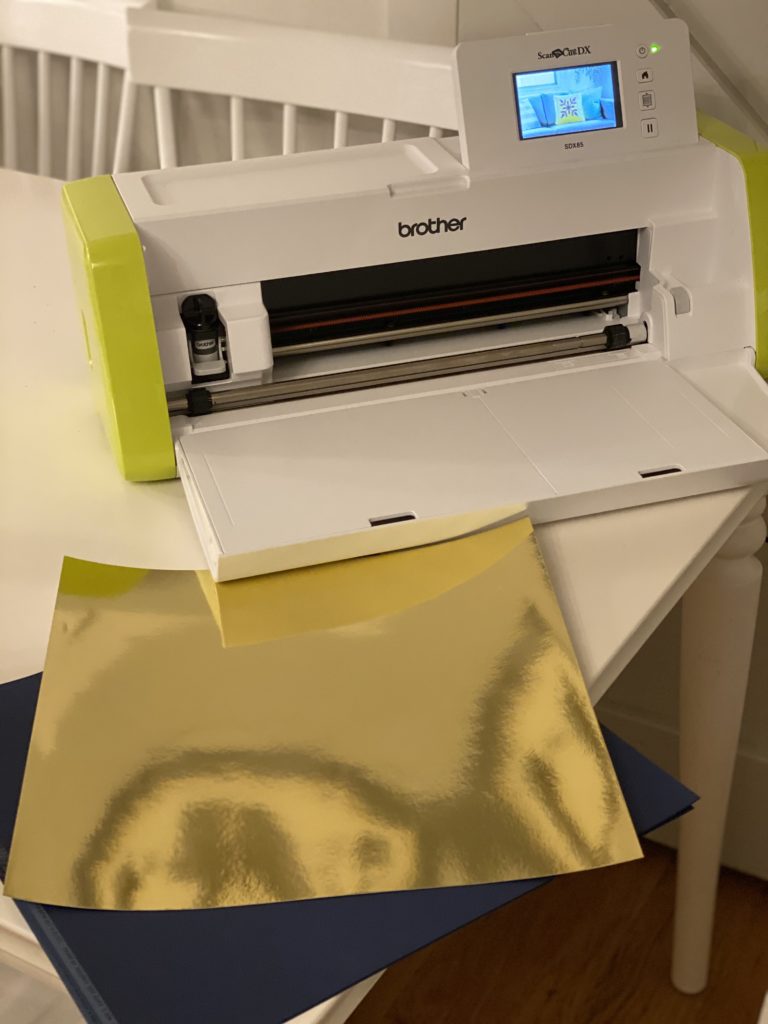
Cardstock 12×12
This is such an easy and quick project, perfect for a beginner! Another idea for the letters for this project is to get vinyl so you can use that instead of gluing them!
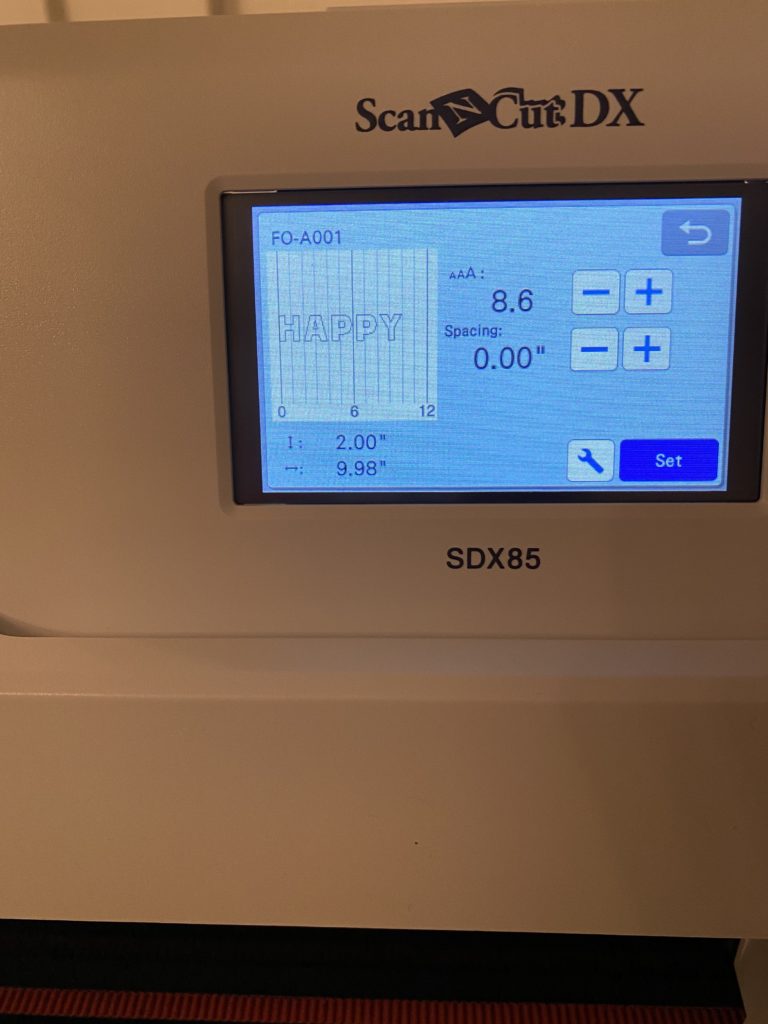
First you will start with the letters, you can choose whichever style and size that’s best for your banner. You can see here what I chose.
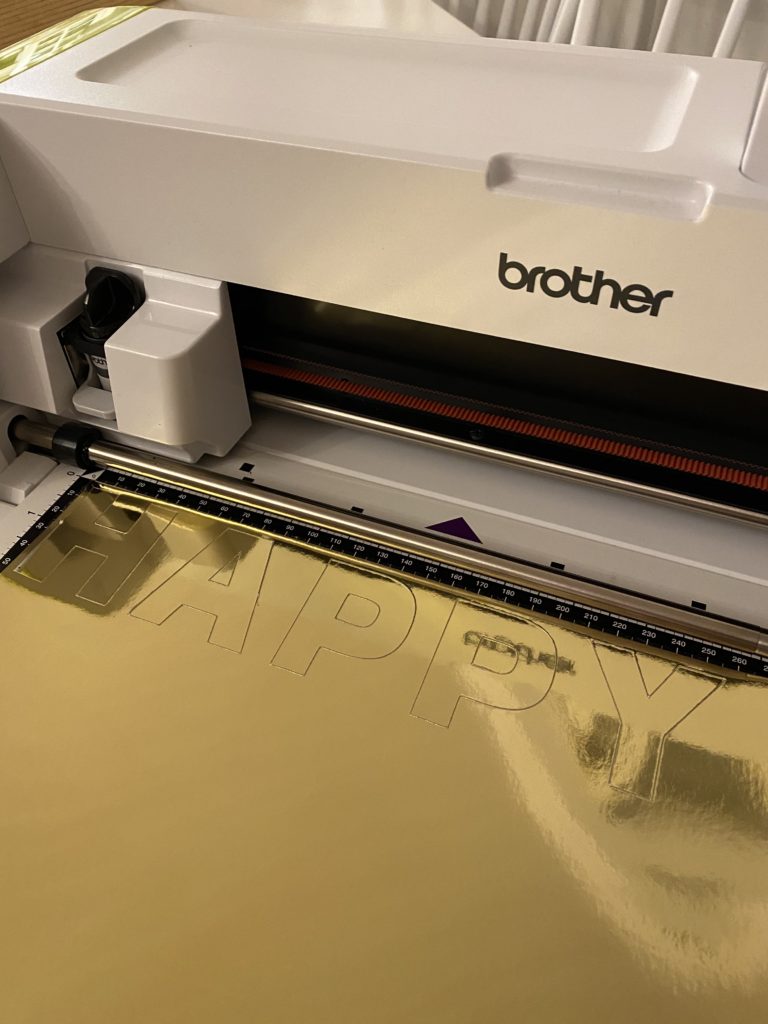
Here it is all cut out and ready to take apart. I do have to say when I first started this project I had the idea to just put the letters on the twine.
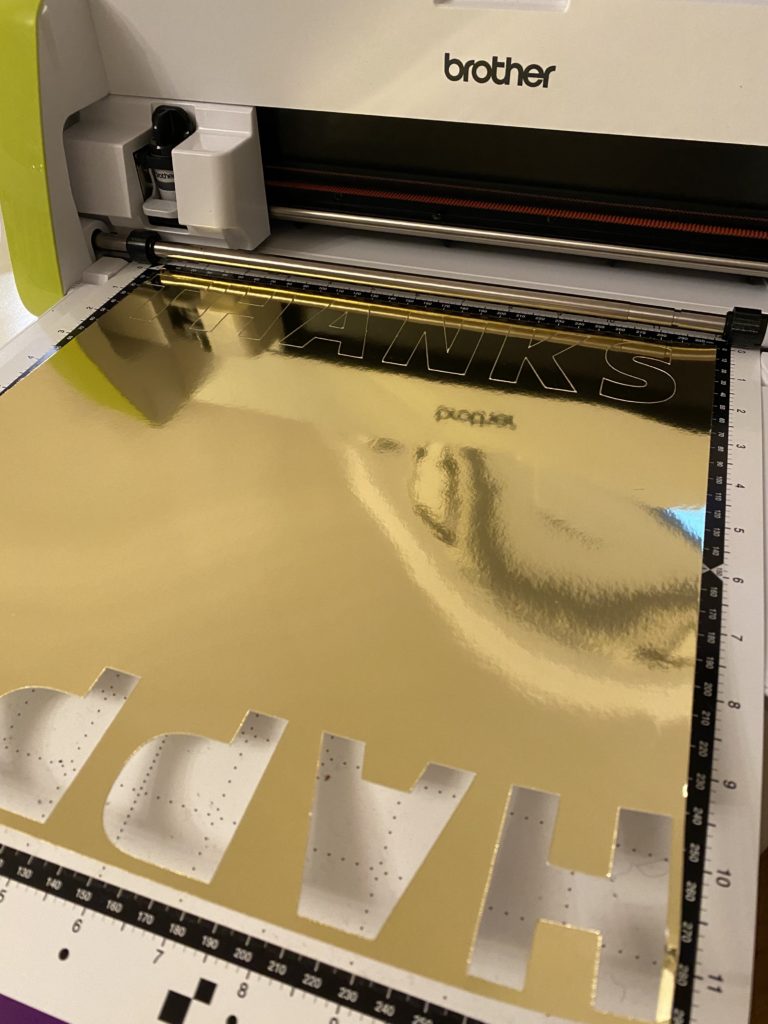
I love that you can even use the leftover scrap for something too, doesn’t it look awesome!
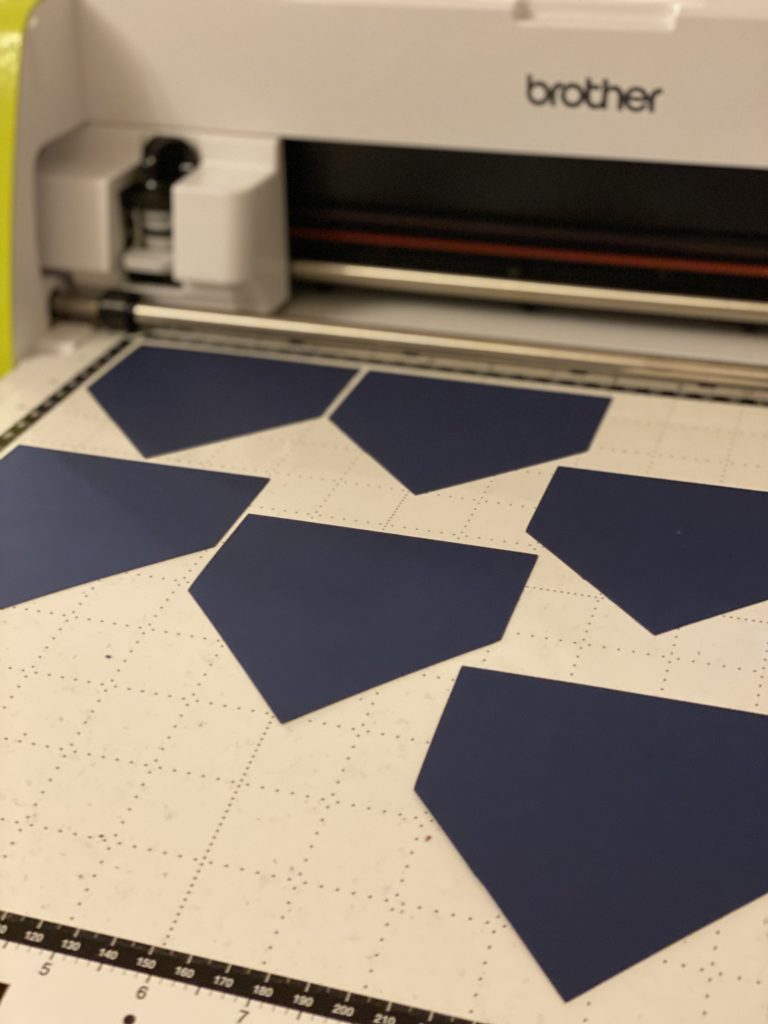
I found in the ScanNCut that they had this banner already in the files so I thought it would be the perfect addition to the banner.
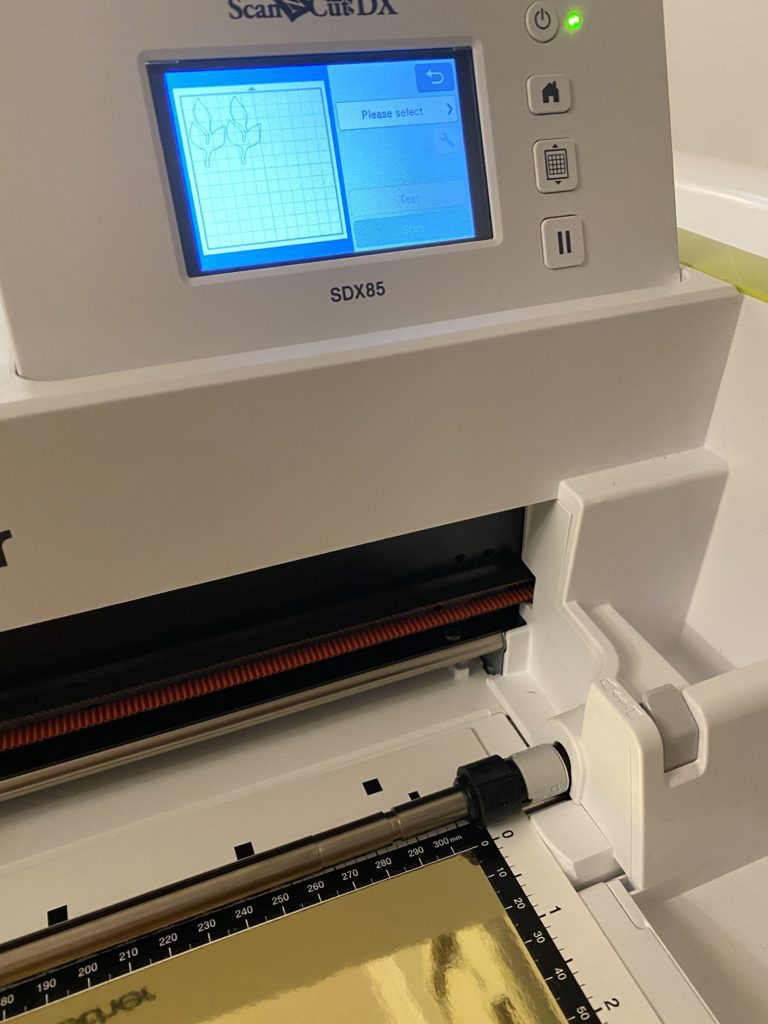
Have you checked out all the designs in the Brother ScanNCut? I found this leaf too, let’s add it to the Thanksgiving banner!
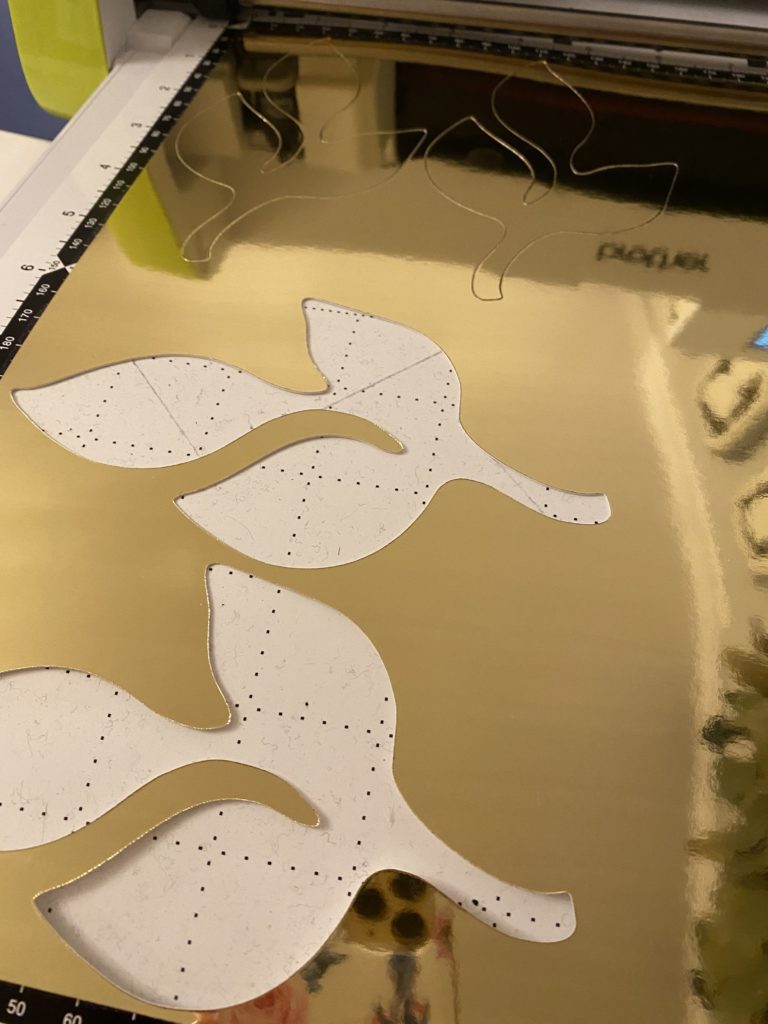
I just love all the detail on this leaf!
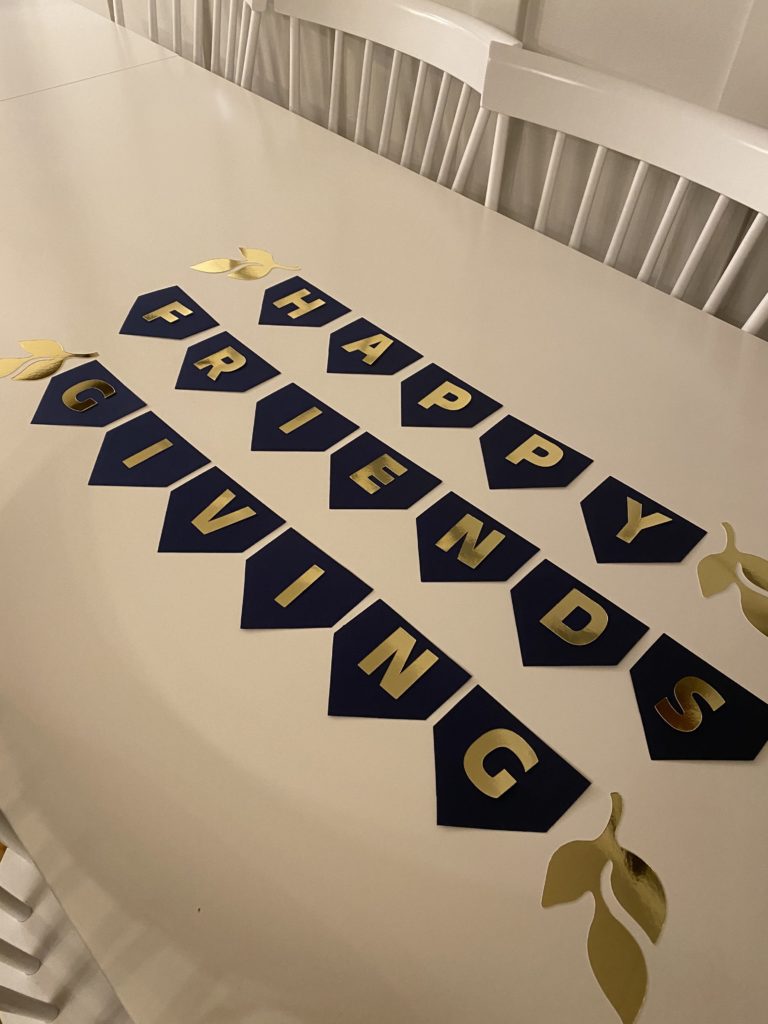
Here it is all complete, now it’s time to hang it for our little friendsgiving.

Like this post? Save it on Pinterest. Follow me on Pinterest.