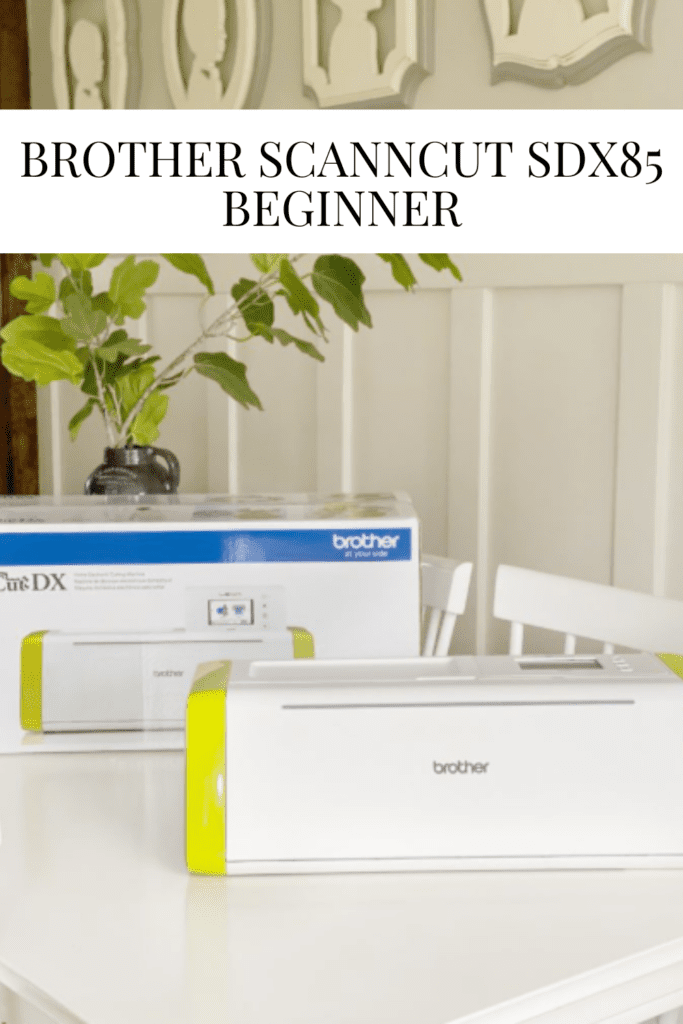
Brother ScanNCut DX SDX85 – Beginner
A NEW Brother ScanNCut DX! This is the SDX85 and today I am going to show you all about it even a fun craft! Let’s get started!
If you have followed along, you know my love for Brother products! This ScanNcut DX SDX85 does not disappoint!
I honestly don’t love trying new things, but I knew the ease of using all my other Brother products and that this would be just as easy and it is!
One of my favorite features about the ScanNcut is that you don’t “need” to use additional programs, and plug into a computer everything you need is already built in! It has 251 designs ready and its so easy to see on the 3.5″ LCD touchscreen display – yes I said TOUCHSCREEN!
Brother has made it so you can start crafting right out of the box! Now let me show you!
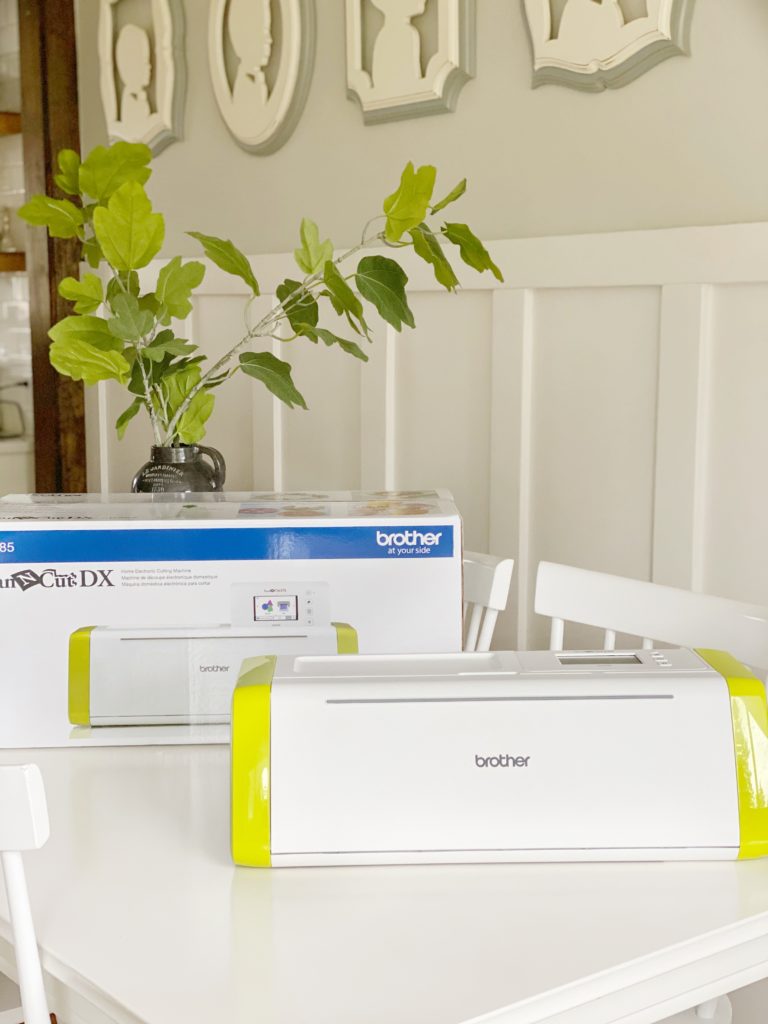
I just love this fun color of the Brother ScanNCut DX SDX85, it even drew my kids in and they can’t wait to use it!

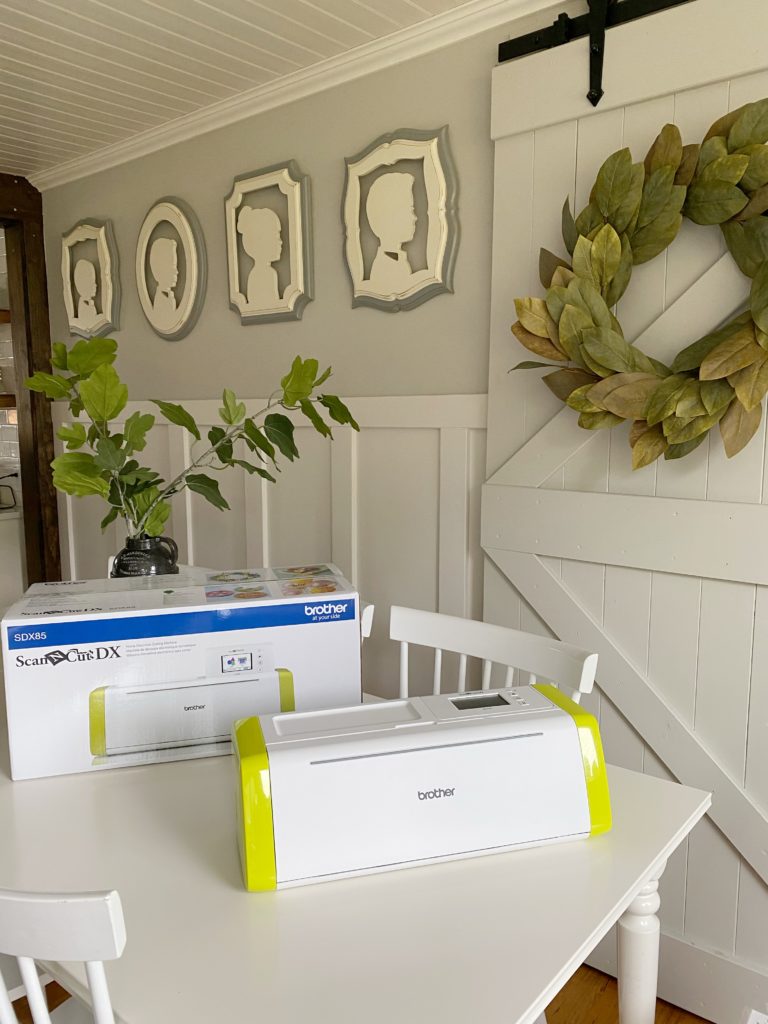
Once you open the box this is what you will find!
What’s in the box?
You will see the machine, plug, the blade, a cutting mat and a piece of cardstock ready for a project. Don’t forget to read the instructions too!
Before we get started check out this video :
Hopefully watching the video helped you see more into the Brother ScanNCut and the project we are about to make!
GET STARTED :
- Open the box and remove the contents and any stickers or cardboard.
- Now you will open the front tray cover and make sure the front tray has a spot to securely rest.
- Connect to Power
- Make sure to pull out the rear tray.
- Adjust the LCD touchscreen display.
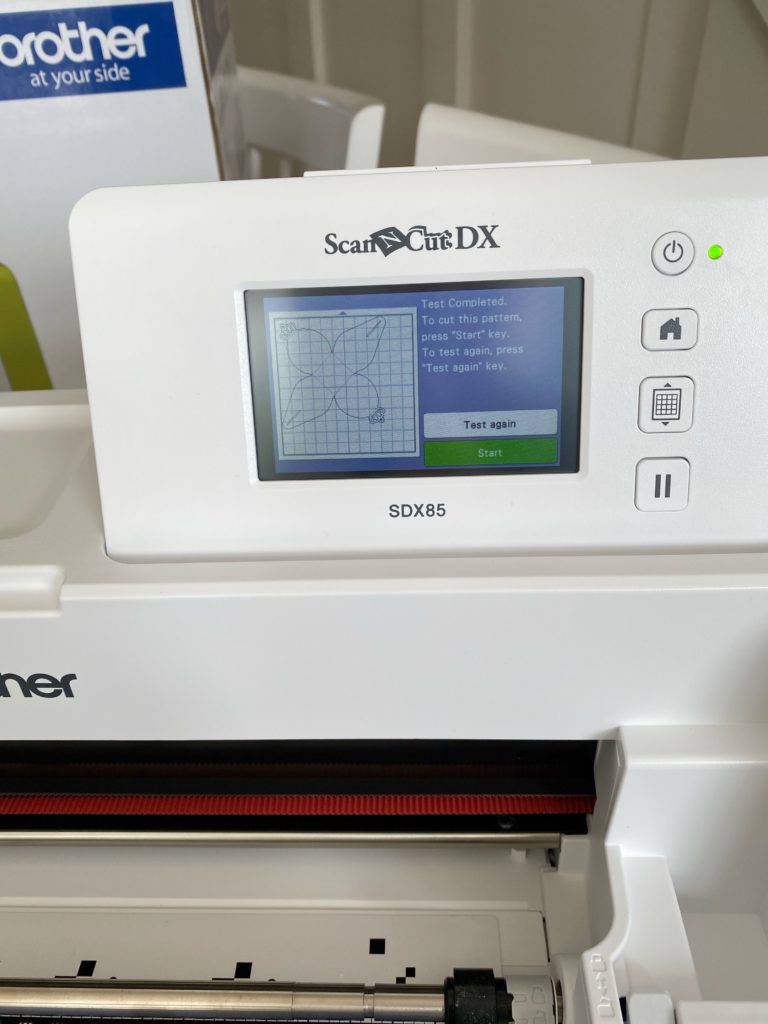
- Turn on the Machine and when the opening screen appears press anything. Then when a message appears press ok.
- Peel off the protective sheet on your mat, but make sure to keep safe.
- Next you will attach the cardstock and make sure the arrow is pointing to your machine.
- You will then install the blade holder. First remove the protective cap and firmly insert into the carriage then lock it down.
- Time to do a craft!
Let’s make a craft!
You will be using the piece of cardstock that came in the box, so get that ready on your mat.
In your box, it has step by step directions if you need help.
Make sure you load your mat arrow facing up. Now you will select the pattern for the box, and get ready to cut!
( Step by step in your pamphlet)
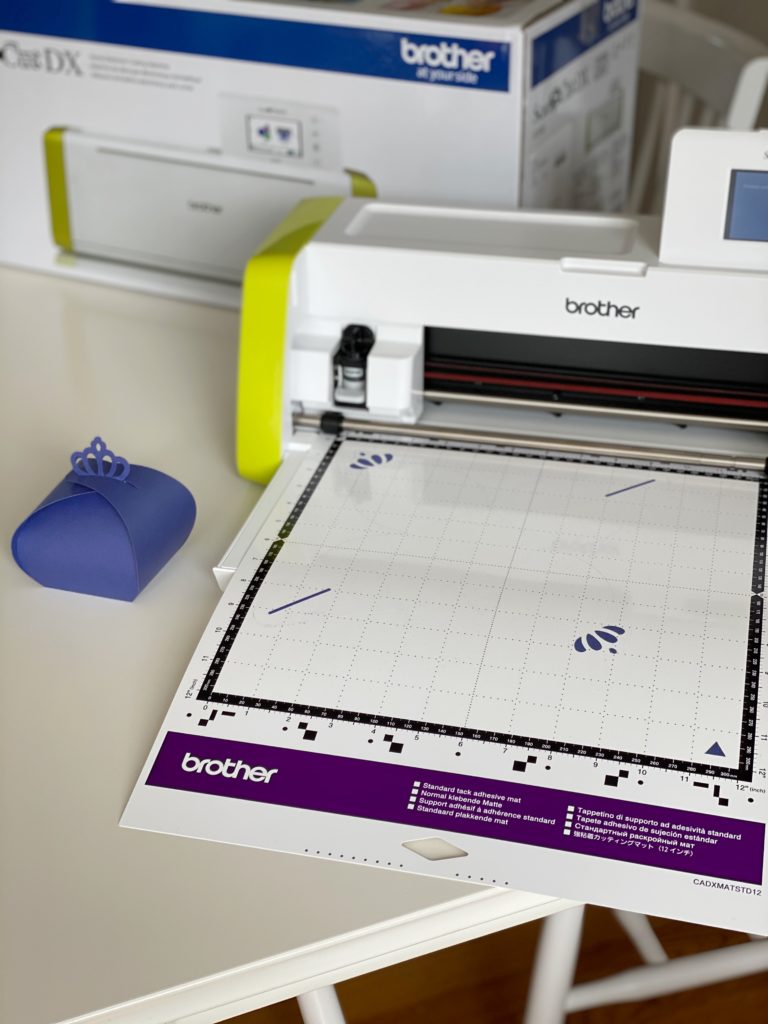
You can see the cute pattern here. Now let’s cut it out!
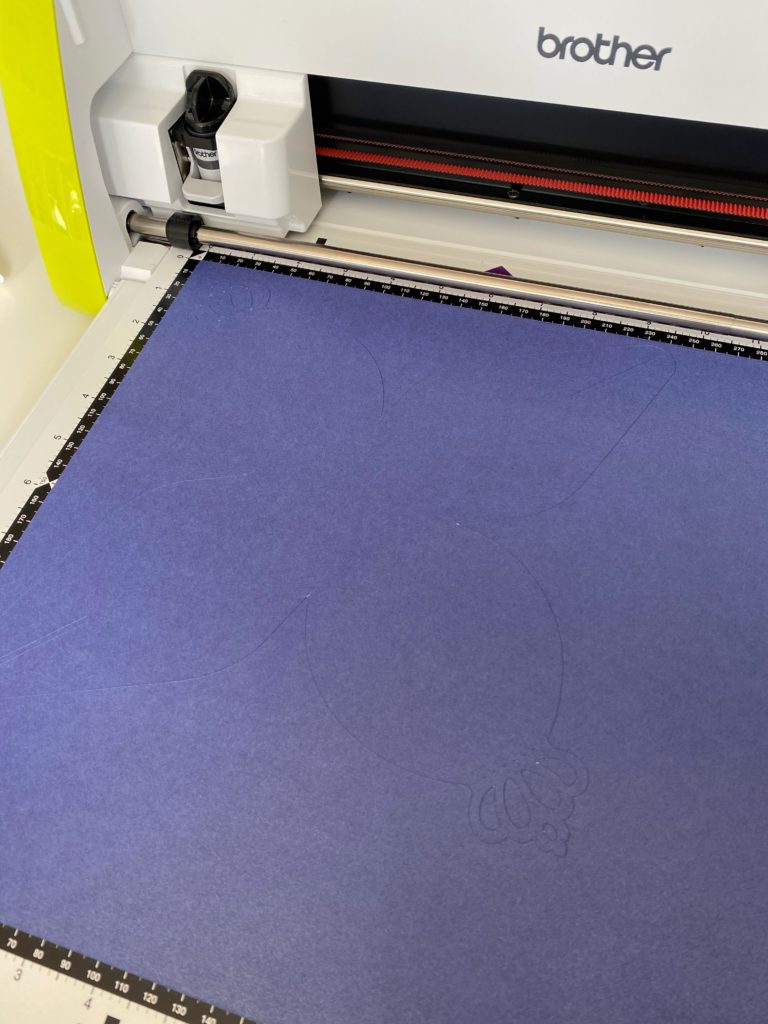
You can see here it is all cut out, now its time to put it together.
Here it is completed! Zoe is going to be so excited!
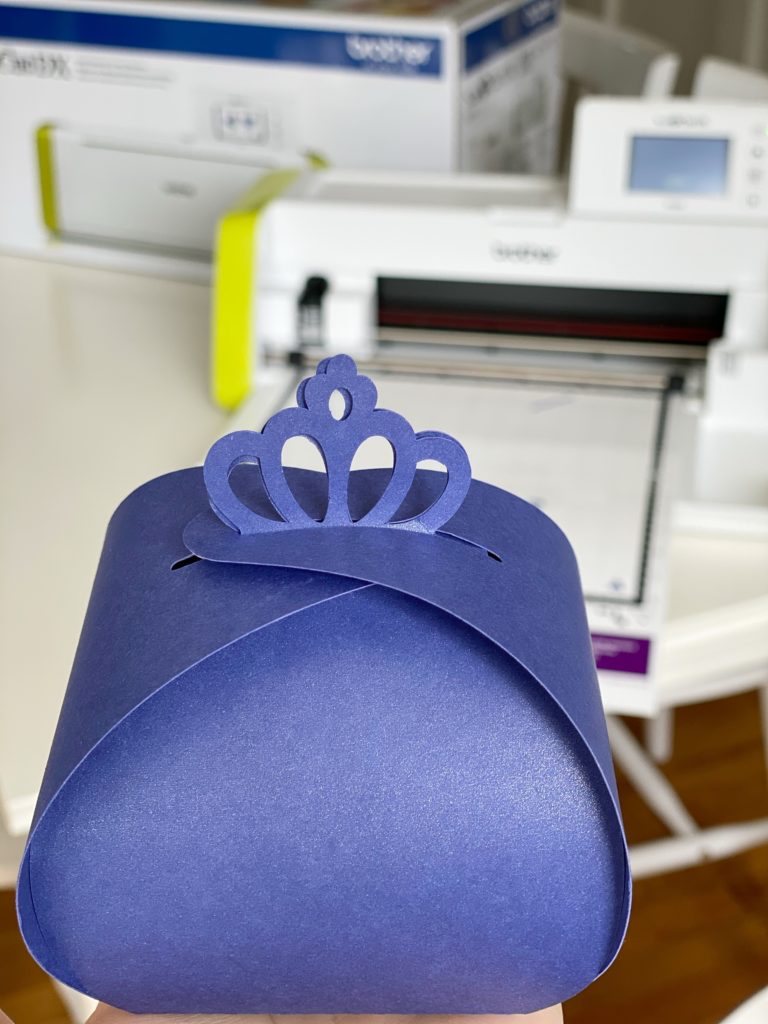
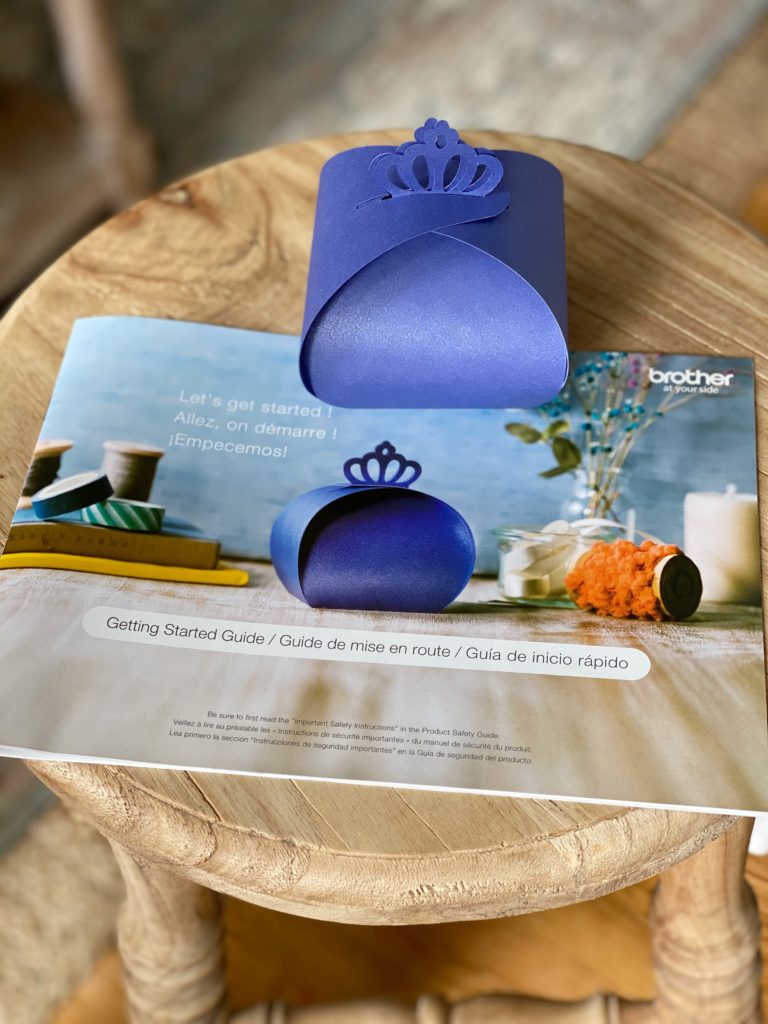
Isn’t this the cutest box ever!
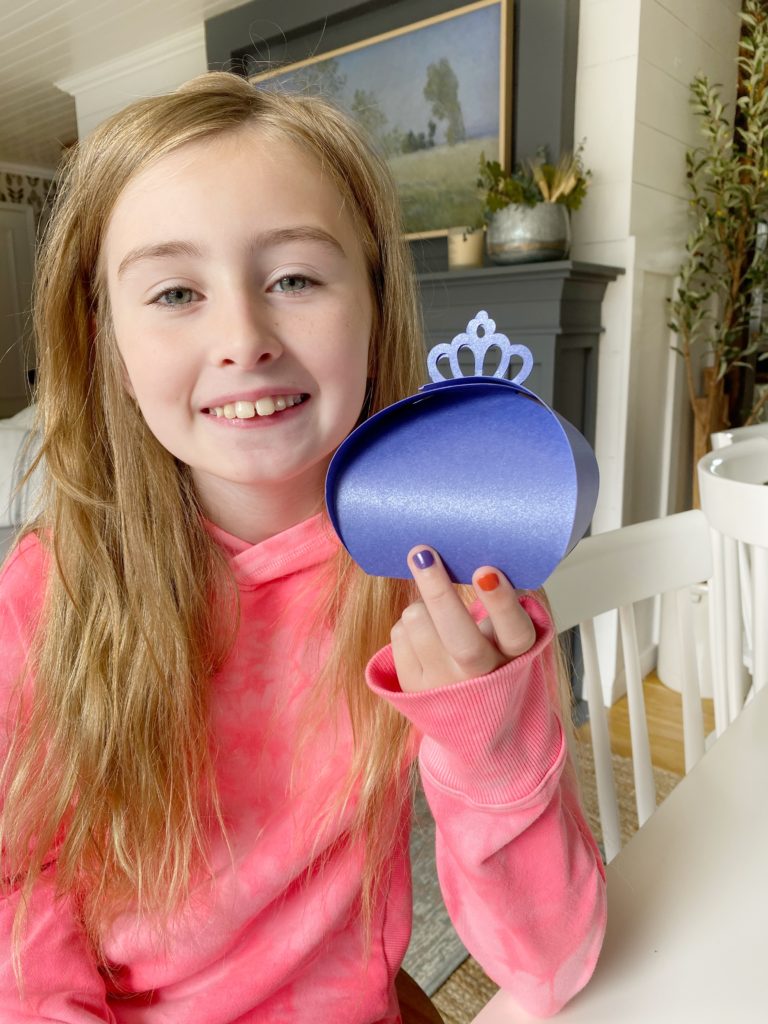
We have one happy little girl! I asked her what she is going to do with this box, which happens to be her favorite color and Zoe said ” for all my treasures”.
I hope you enjoyed seeing a little more into the Brother ScanNCutDX SDX85.
TO PURCHASE THE SCANNCUT DX SDX85 GO: HERE
COME BACK FOR A FUN DIY DOORMAT NEXT!
Like this post? Save it on Pinterest. Follow me on Pinterest.