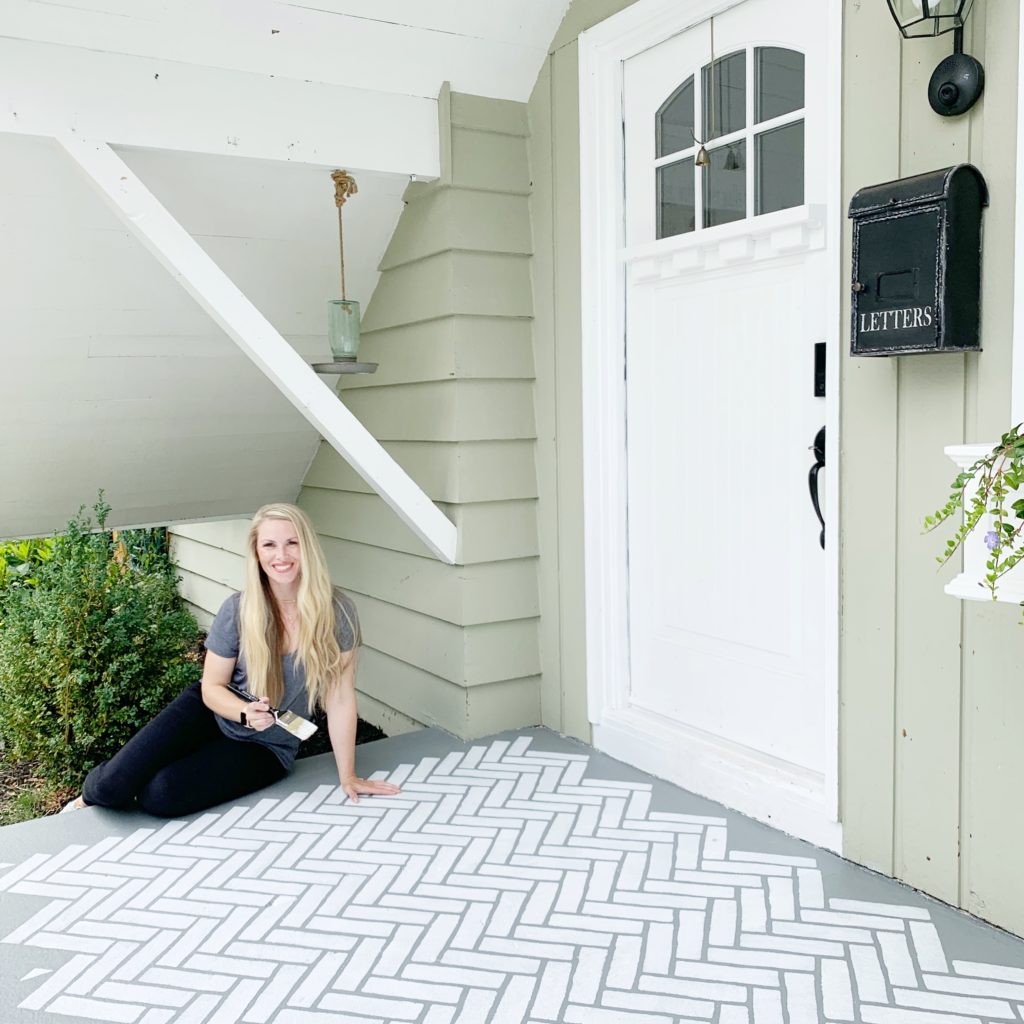
5 Tips for Stenciling a Porch or Large Area
Today I am sharing how we redid our front porch using a stencil. Ready to learn 5 Tips for stenciling a porch or large area.
If you saw my other stencil project HERE you can see we did the same pattern but different colors. That is the fun thing with paint you can be creative!
I had my whole porch painted white before, so I knew if I went to grey as the top it would be to drastic for me. Yes it does get dirty and is a little more upkeep – but I don’t mind.
SUPPLIES NEEDED:
PAINT FOR STENCIL : Behr Porch and Patio Floor Paint White
PAINT FOR BASE : Behr Porch and Patio Floor Paint Slate Gray
HERRINGBONE STENCIL – 2
PAINT BRUSH –
PAINT ROLLER/TRAY- I used for the base
*If you keep watching I will be sharing the video of the whole process too!
First make sure your surface is clean.
Then take your BASE paint and put it in a tray.
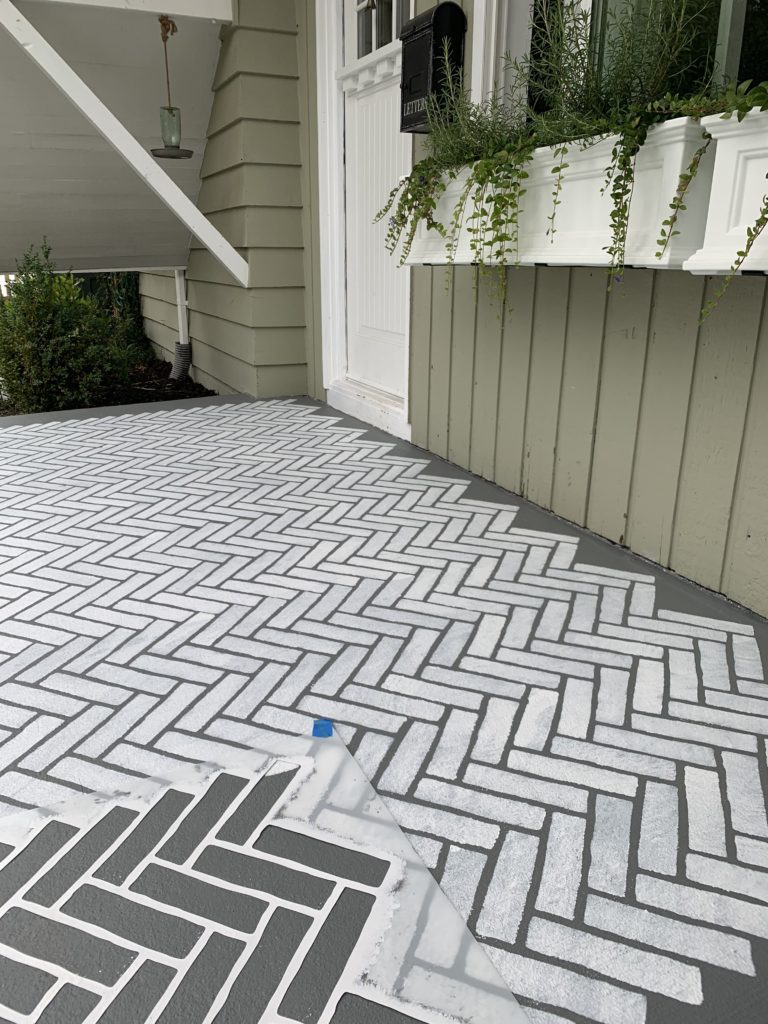
Next use your roller and paint the base, for me I chose Slate Gray by BEHR.
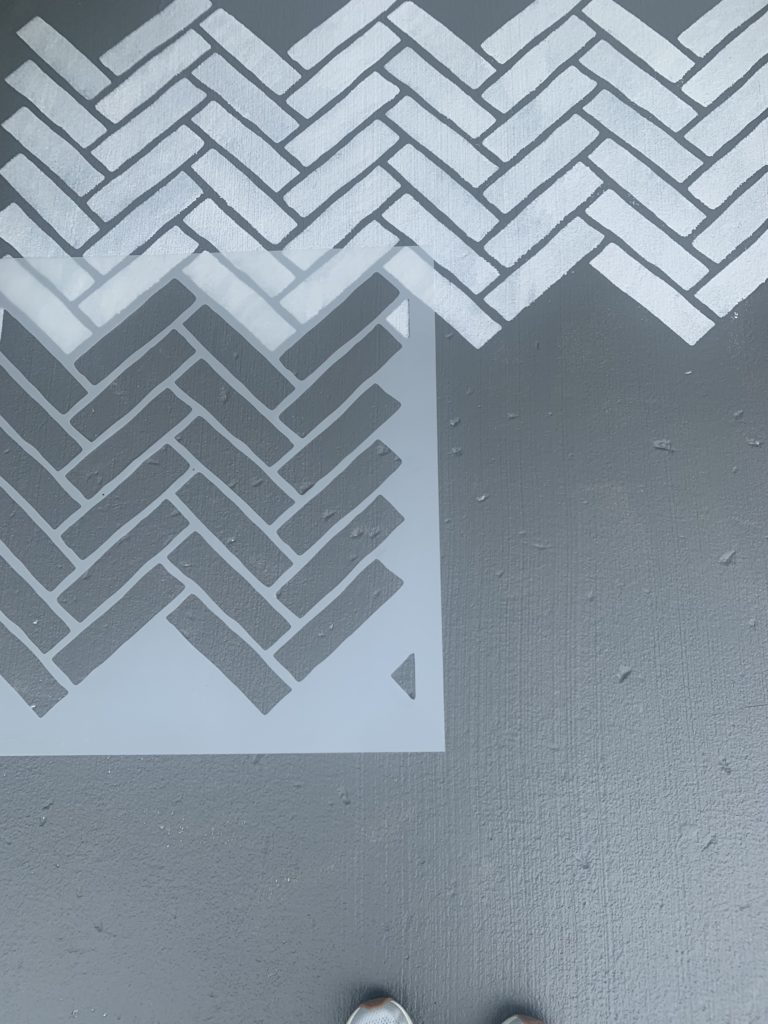
LET THE STENCILING BEGIN!
I shared above that you needed two of the stencils for a big space – it will help so much! Honestly I really could have used 3, but $$.
Once you get started you will see how easy this Herringbone stencil is. I love that it has the little tab on the bottom corner so you know where to start – make sure to paint that!
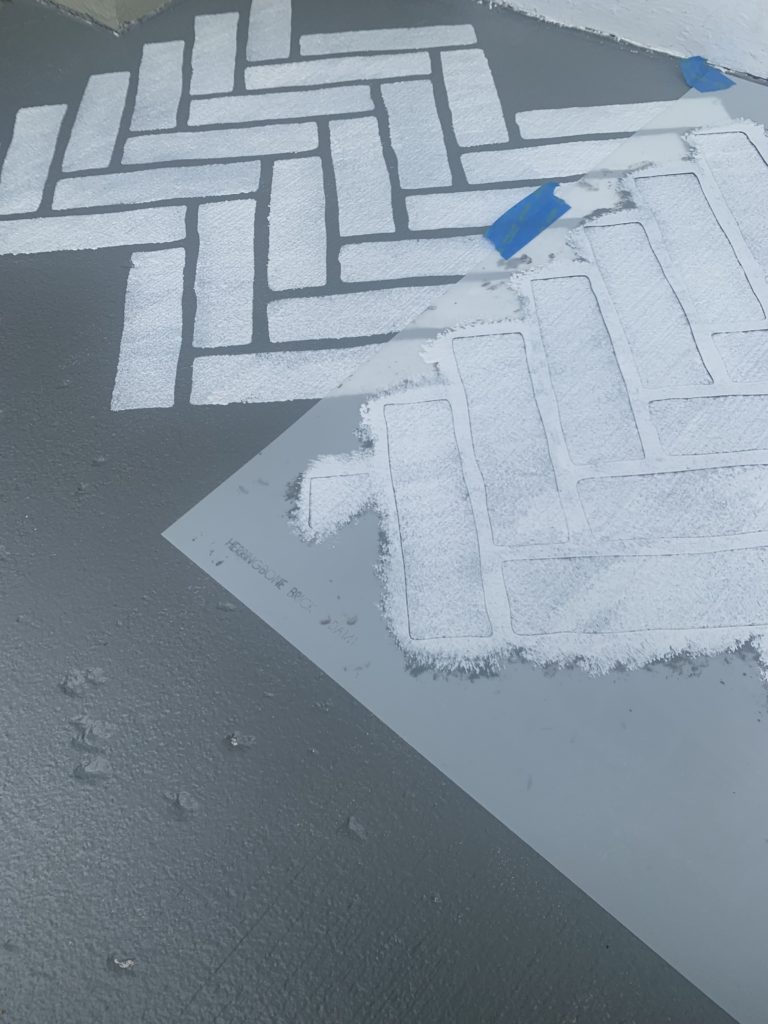
Using painters tape isn’t needed for this if you have a smooth surface, but if it helps you then go for it! I had it left over from my last project and didn’t need it since my spot was smooth.
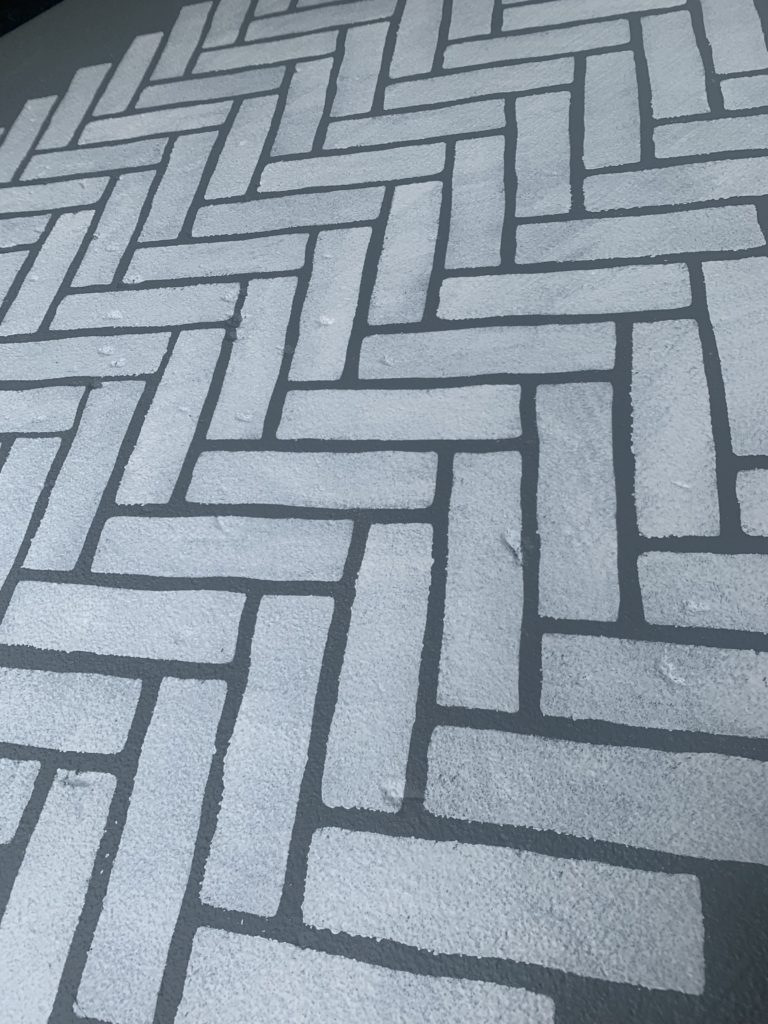
As you stencil make sure to rotate the 2 that you have, and let them dry or wipe off.
Now that you are going to attempt to stencil, here are some tips!
5 TIPS FOR STENCILING A PORCH OR LARGE AREA
- MAKE SURE TO ORDER TWO + STENCILS
- HAVE YOUR SPACE VERY CLEAN
- HAVE A GOOD BRUSH
- DON’T USE TO MUCH PAINT
- LET THE STENCIL DRY, OR WIPE CLEAN BEFORE REUSE
Here is an extra tip, for this or life…..PRACTICE MAKES PERFECT – BUT IT DOESN’T NEED TO BE PERFECT
* Be warned it is addicting!
I love watching the process, and I hope you do too!
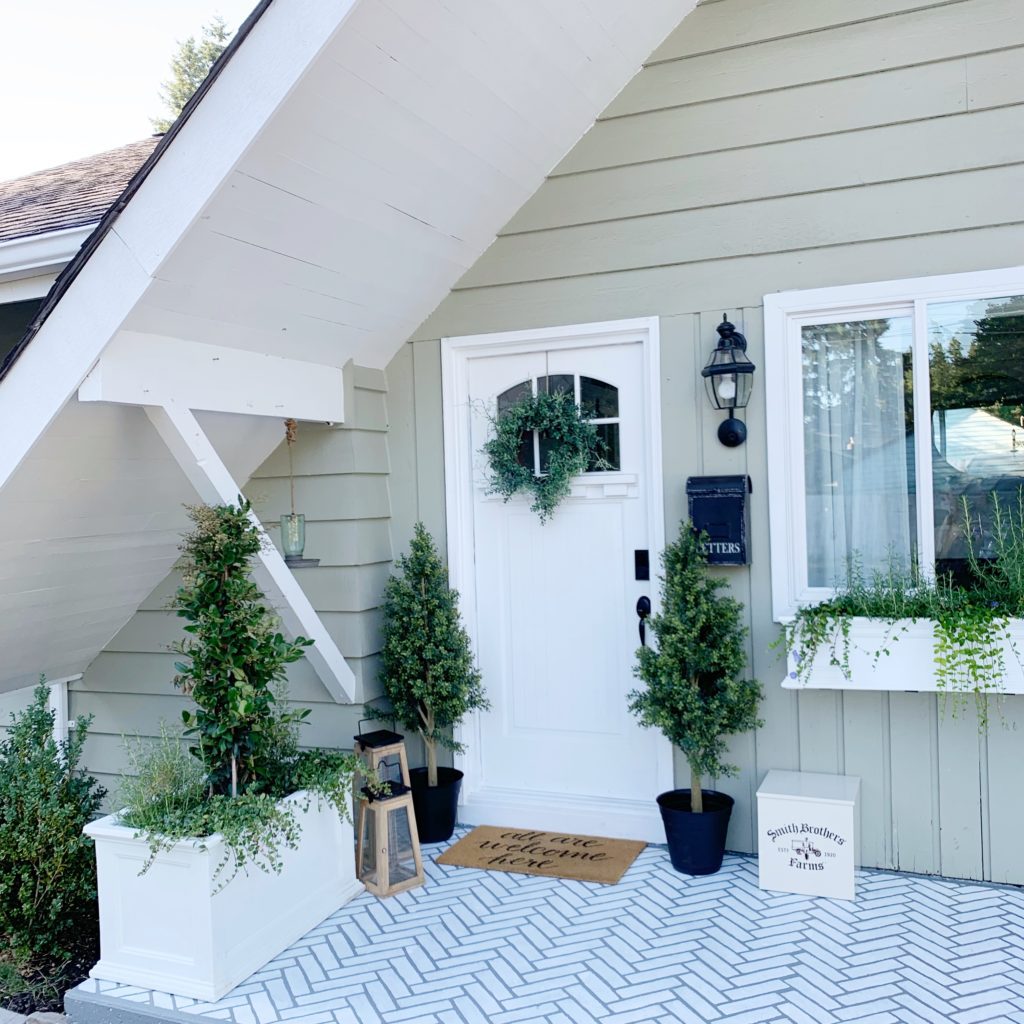
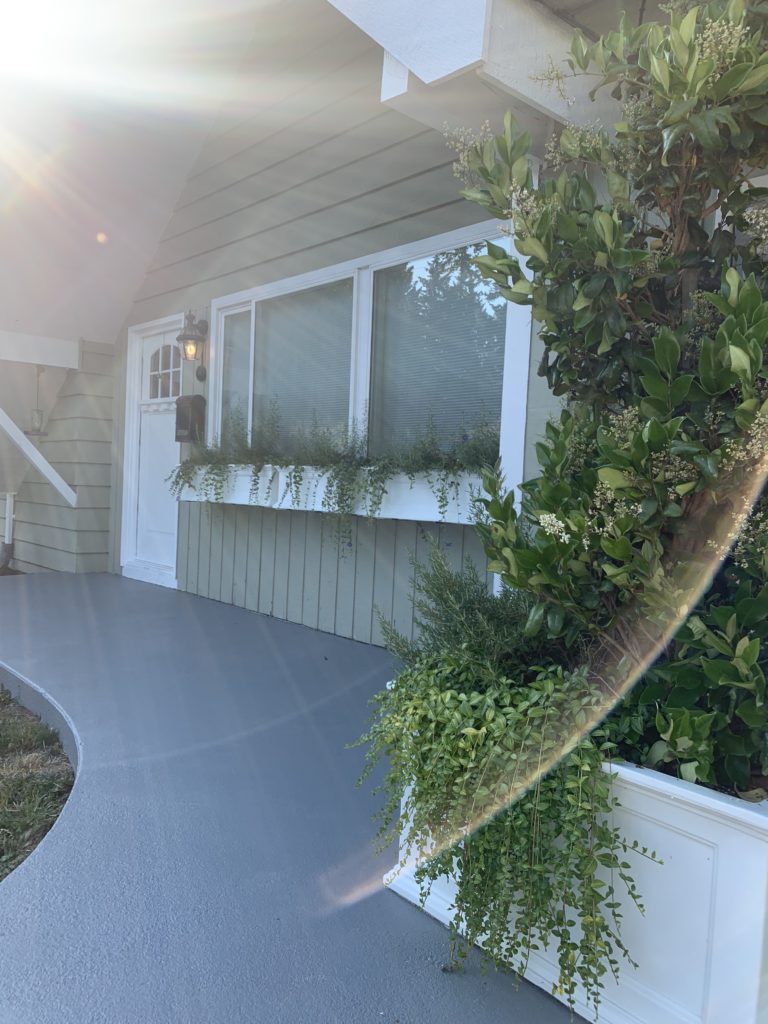
Here it is complete! I will be doing an updated post on it soon, how its lasted a year later and my review! Don’t miss my first stencil project HERE.
Like this post? Save it on Pinterest. Follow me on Pinterest.


