Double Privacy Fence / Screen
Double privacy/screen fence – yes please! This is such an easy project with such a BIG impact! Ready to see more?
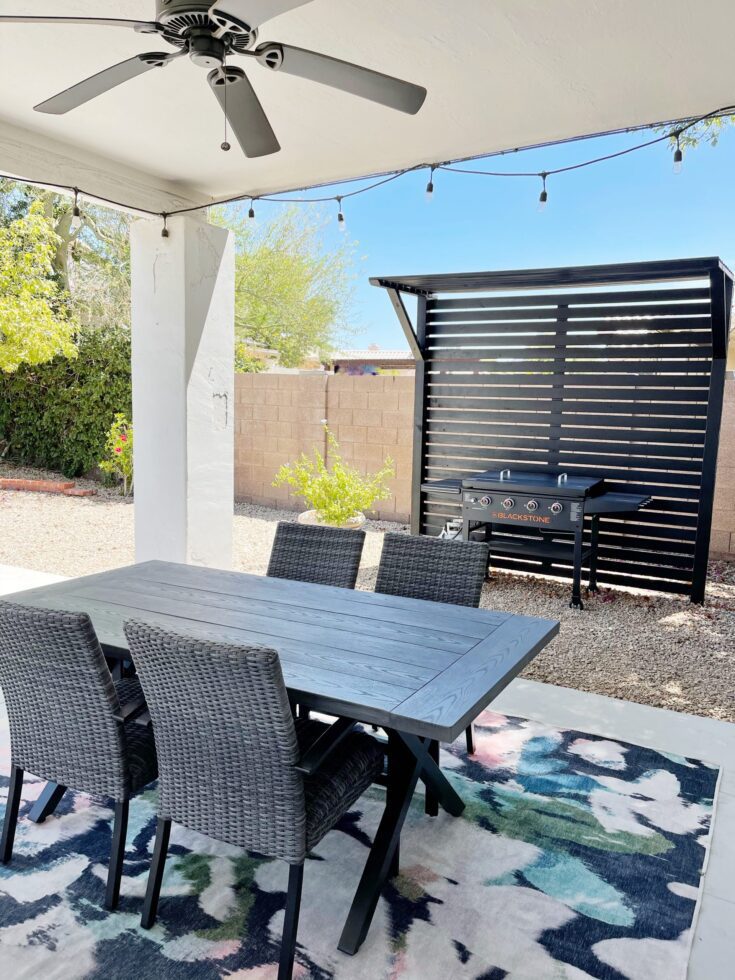
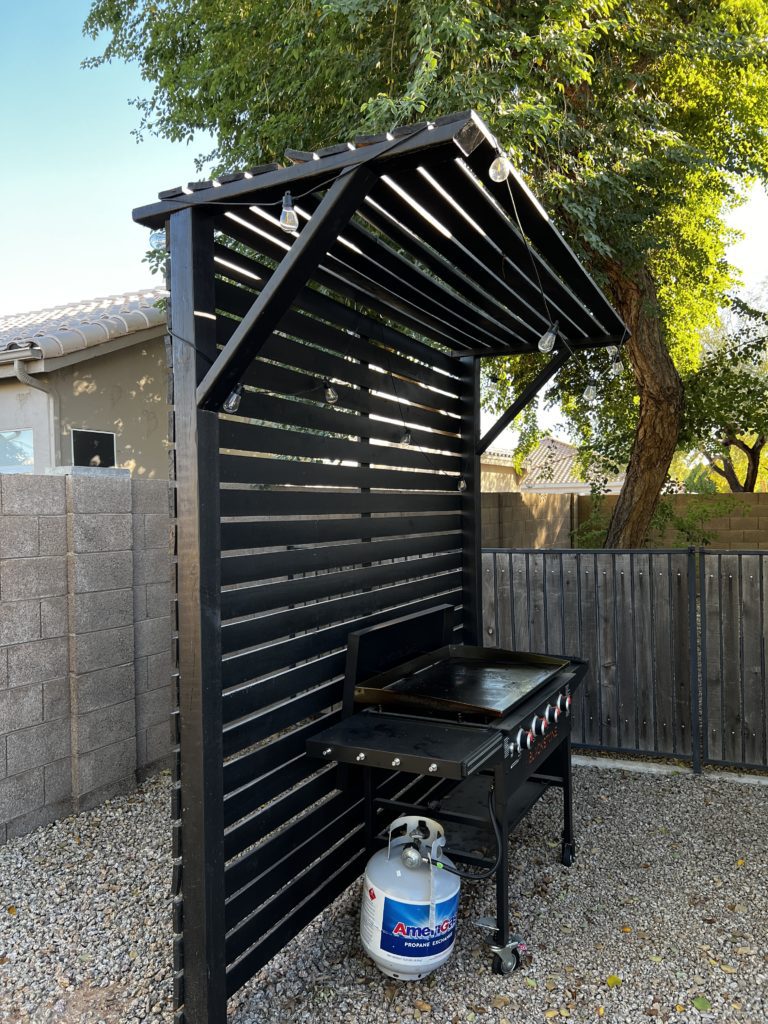
Making privacy screens is honestly one of my favorite projects to do! Can you believe we might not even have one at our new house? I guess I should ask … who wants one? We did this GRILL privacy screen in the other part of the yard, and I knew we needed one in this spot! We couldn’t do one long one, so I had the idea to make two with a walkway! Let’s see where this began and I will share the HOW TO along the way and supplies you need.

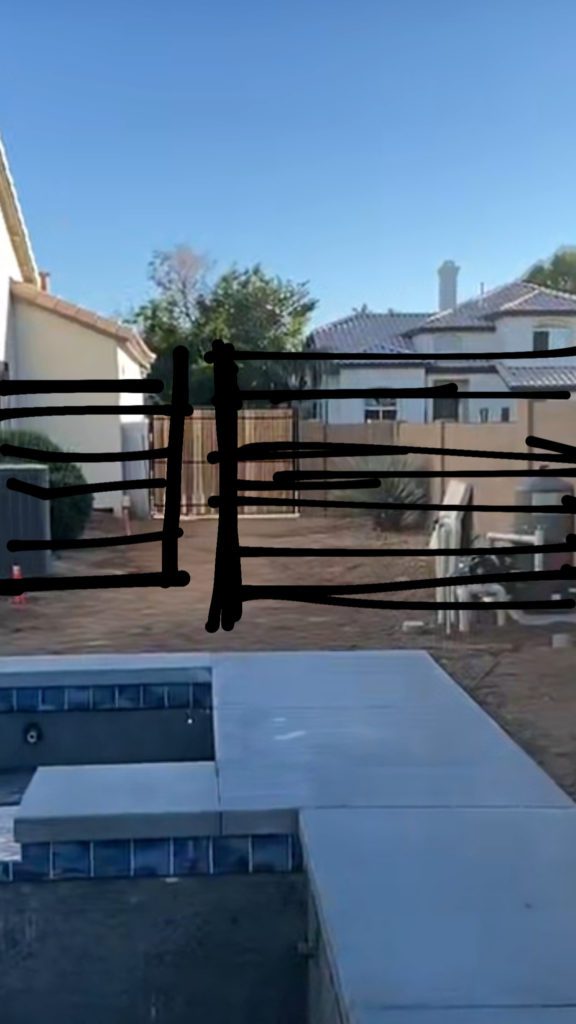
For those that didn’t know, this is at my sister in laws AIRBNB in Scottsdale, Arizona. Here you can see the BEFORE, and my scribbled out vision… you get it right? Now it was time for James and I to do the work!

I would show you all the step by steps, but you can see them HERE. We only had a short time in Arizona, so she and her handyman got these posts all set up and painted! ( Honestly was so glad… because digging in Arizona dirt is not fun)
SUPPLIES YOU WILL NEED:
4x4x10 for the two pieces on the sides
2x4x8 for the part that holds the top
1x4x8 the slats
cement
Brad Nailer
Outdoor Paint – We used Behr Limousine Leather
Paint Sprayer – We didn’t use this time we left it in seattle
If not paint sprayer paint roller and brush supplies
*Piece of wood cut for a spacer
Now for the amount of supplies – depends on your space, so measure accordingly for your height and width of your project.
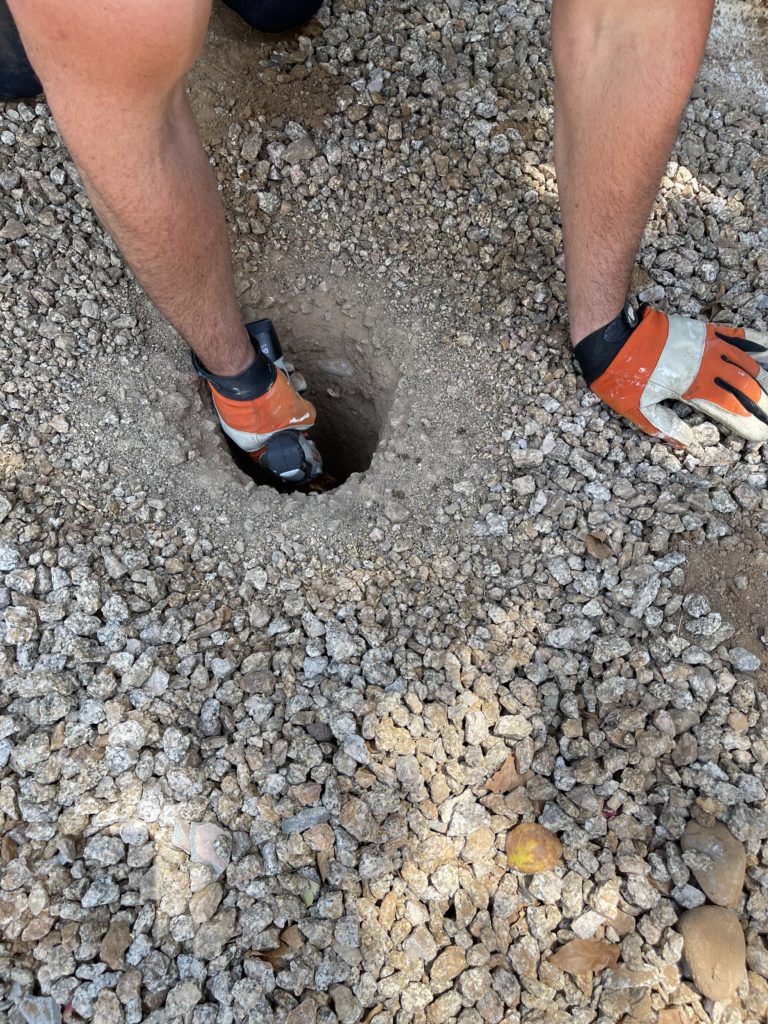
Let’s pretend we are digging a hole. Measure the space and how long you want your privacy screen to be.
Once you dig your holes for the privacy screen, you will triple check where your pieces of wood will go.
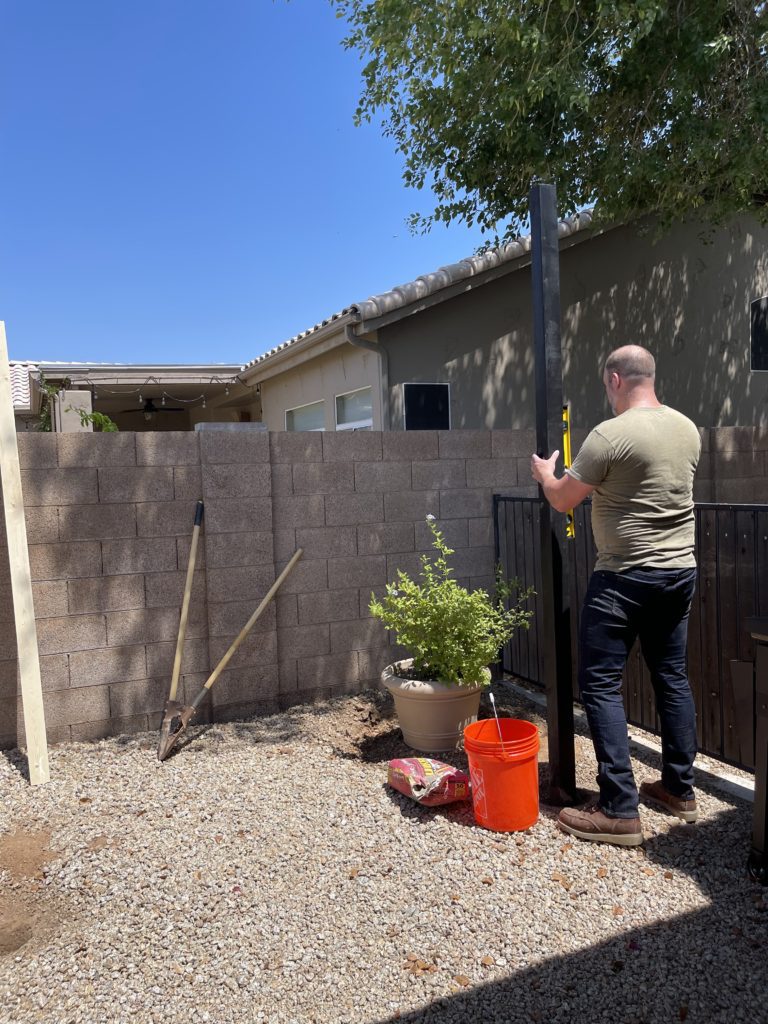
We like to stick the piece of wood in, make sure its level before adding cement. We also like to tack on a piece of wood to make sure everything is straight and good before we added cement in the second hole.
It is time to get started! We like to start from the ground up! We will cut the tops off last it just makes it easier to make sure you get it where you want. When you start your project decide on how big of space you want between. We always just slice a piece of wood and use that as you can see here.
You will use your brad nailer and attach each piece of wood that way. We just put two nails in each end. It goes so quickly. It is a project you can do on your own but much easier and quicker with two!
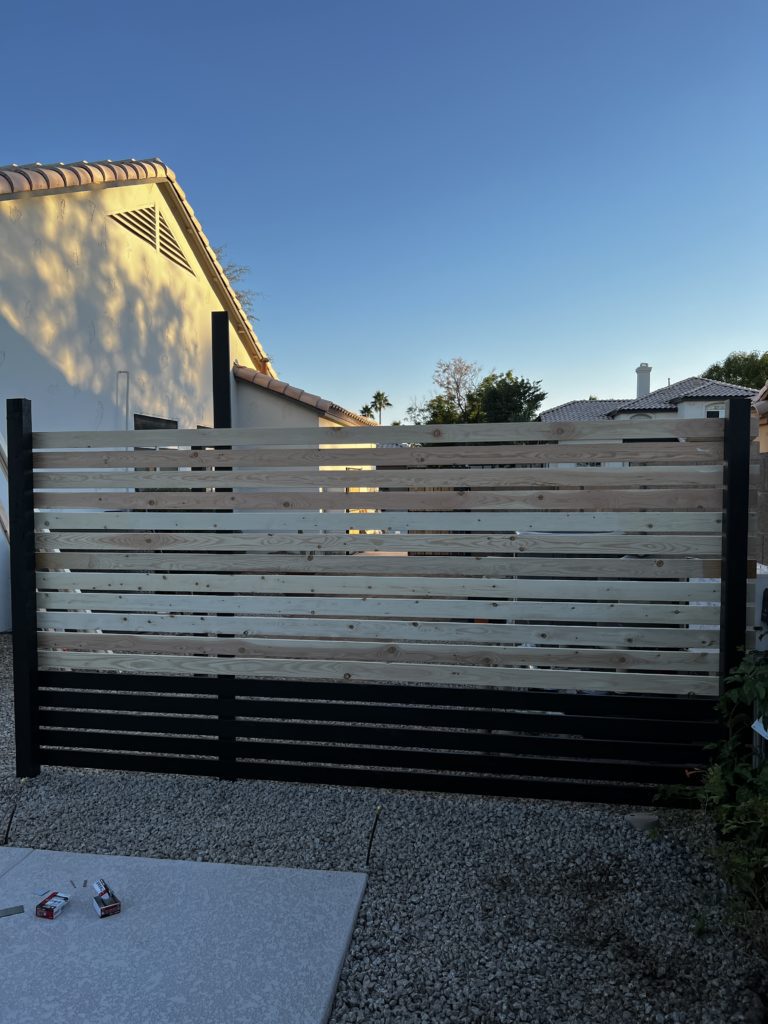
Just keep going and going till you get to the top! I will share a video HERE of the process!
You can see here its not all painted, like I always say paint before or SPRAY.. it sucks to have to paint after as easy as you may think! But you know life happens, and it doesn’t always work the right way.
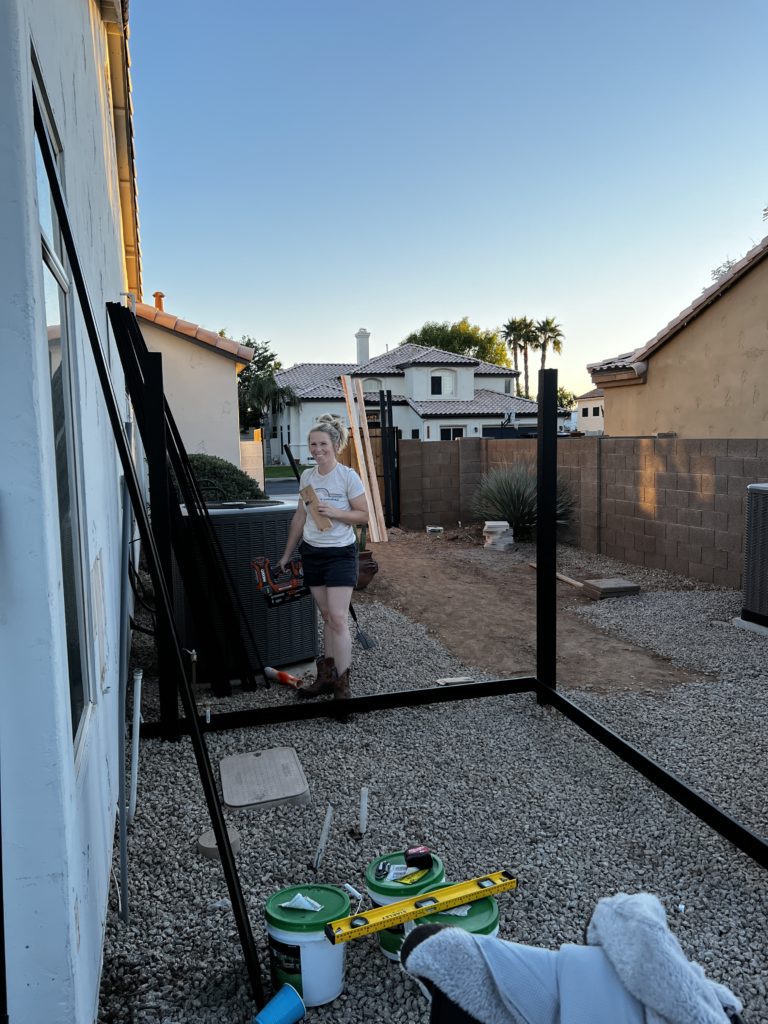
Here in this photo you can see we are deciding on one or two supports for the privacy screen, we decided on two!
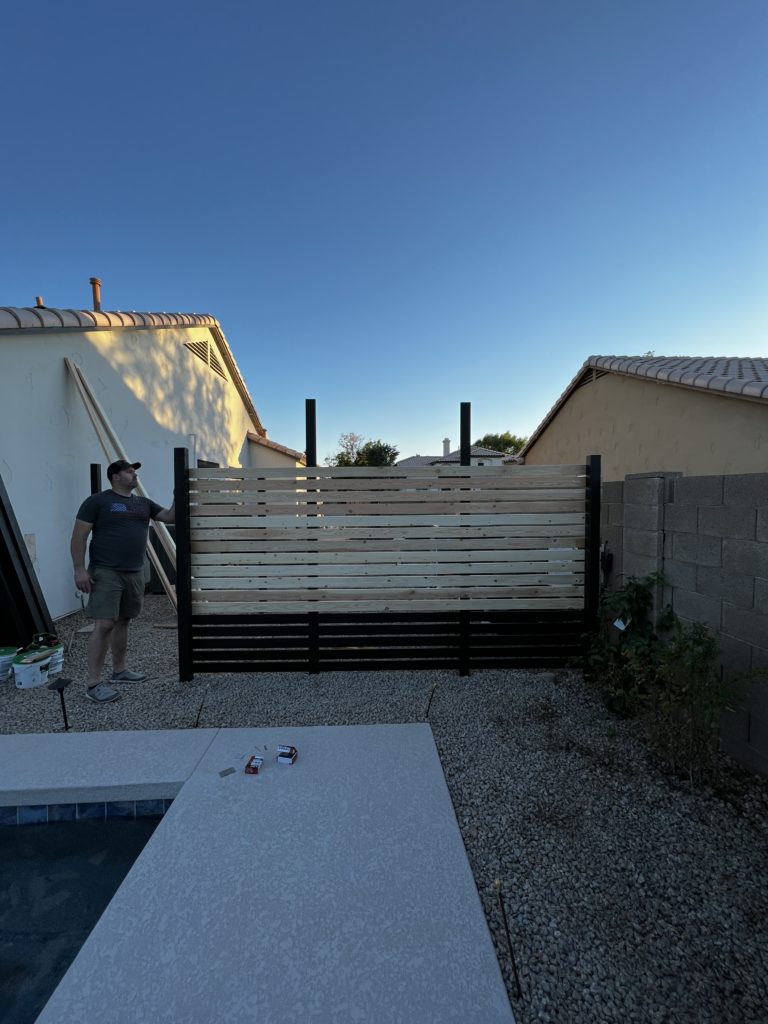
Here she is! Now time to paint and cut off the tops…but first we have one more screen to make!

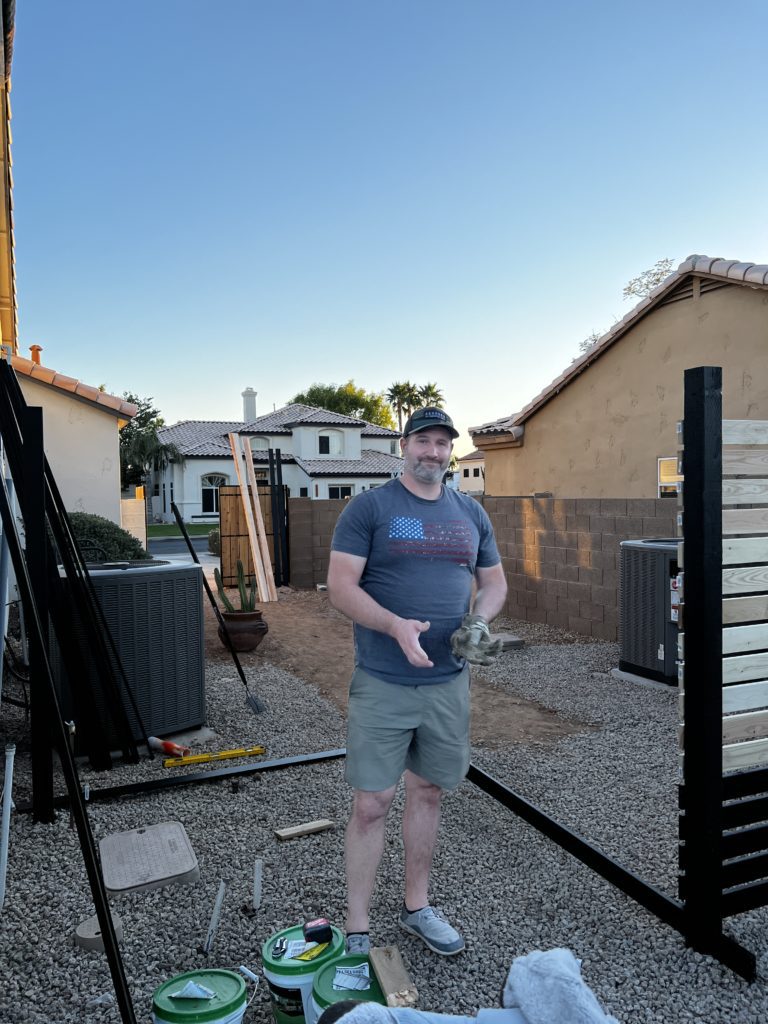
Here is where Privacy Screen number 2 is going! Let’s get started!

TIP :
Do you see the wood board on the ground? That is crucial in doing a two part privacy screen. The reason why so you can see where to start your next board and now it will look like one BIG privacy fence from stepping back.
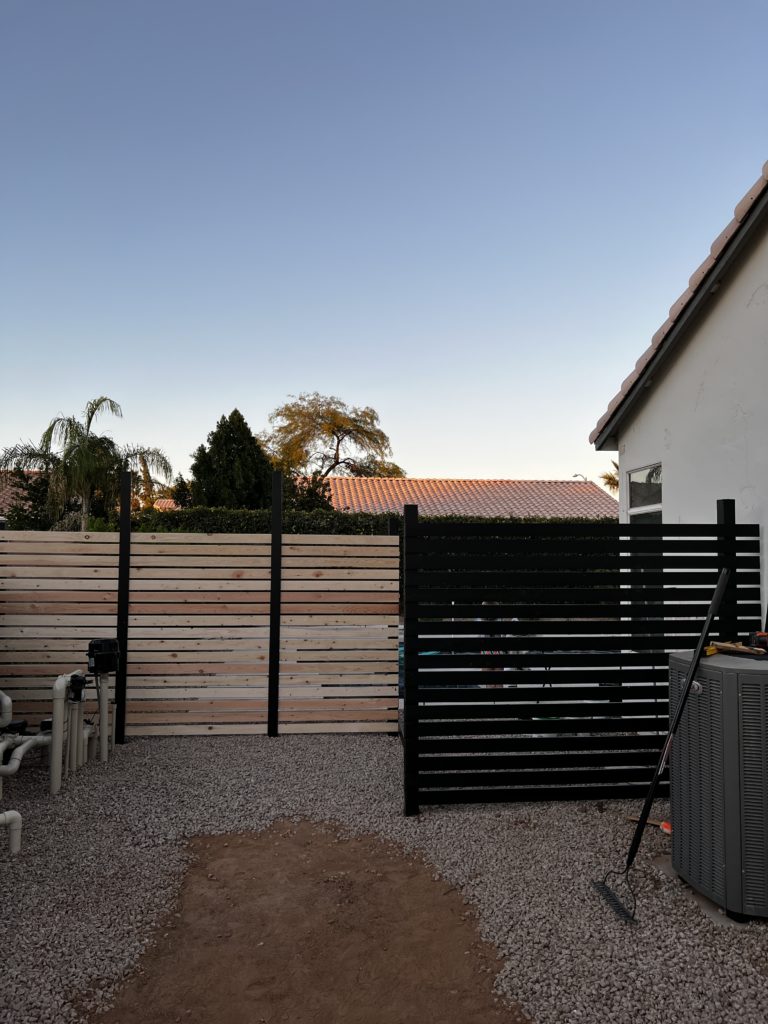
It is time for paint! I do always love a nice wood color, but this Limousine Leather is so GORGEOUS!

For cutting off the tops, its all on preference! This time we took them a bit shorter than other projects and we liked this look for this area.
Now let’s cut these tops off!
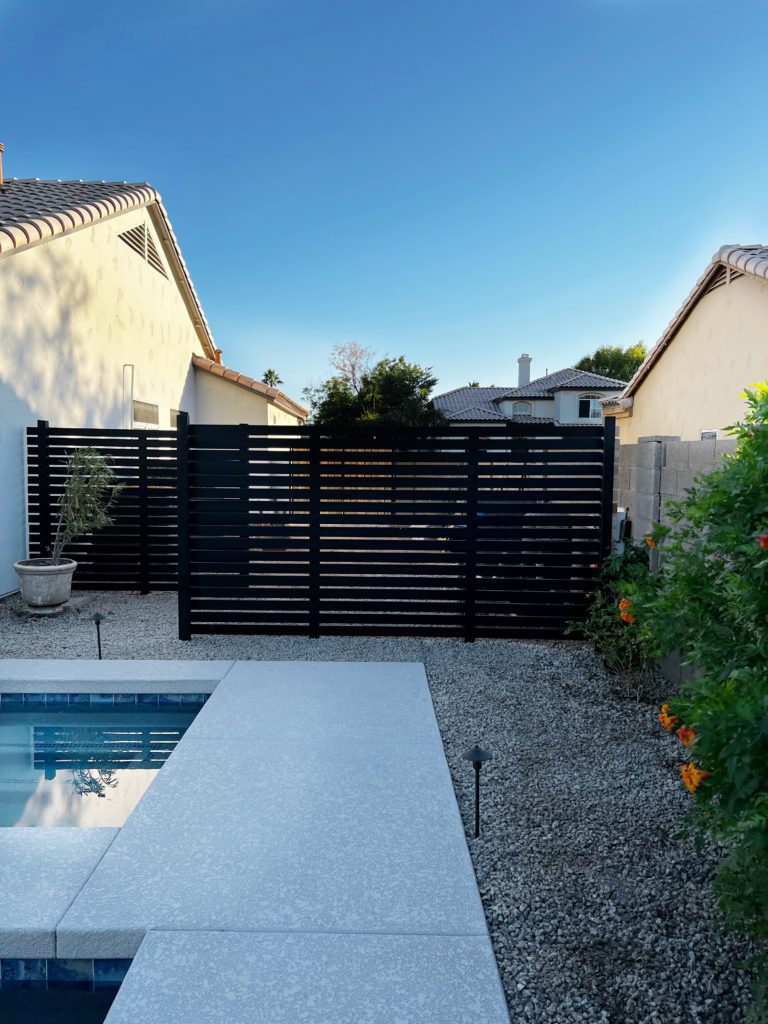
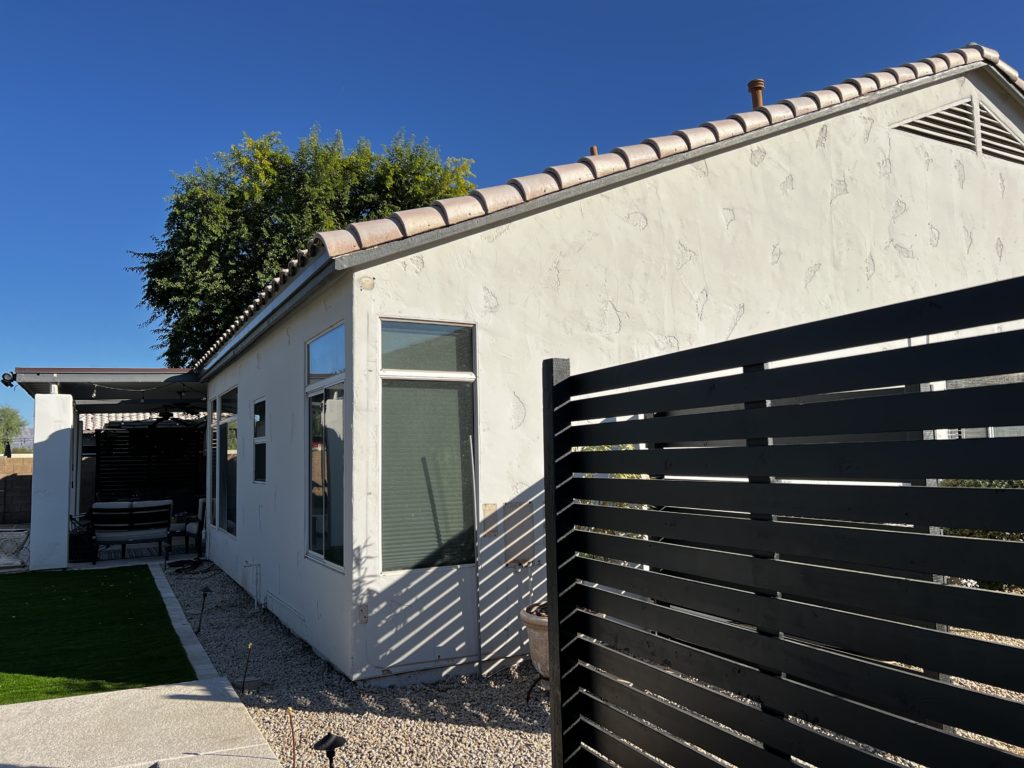
Here you have it the BEFORE and AFTER! Now to add some hooks for floaties and fun stuff! Maybe a cute sign – I can’t wait!
Here you can see the privacy screen we just built and the far back corner to the left you see this grill area below!
Aren’t these privacy screens so fun? You can be so creative with them and its such an easy project! Still not as cheap to make as they used to be but still affordable.
HERE ARE SOME VIDEOS DON’T MISS THEM :
Like this post? Save it on Pinterest. Follow me on Pinterest.