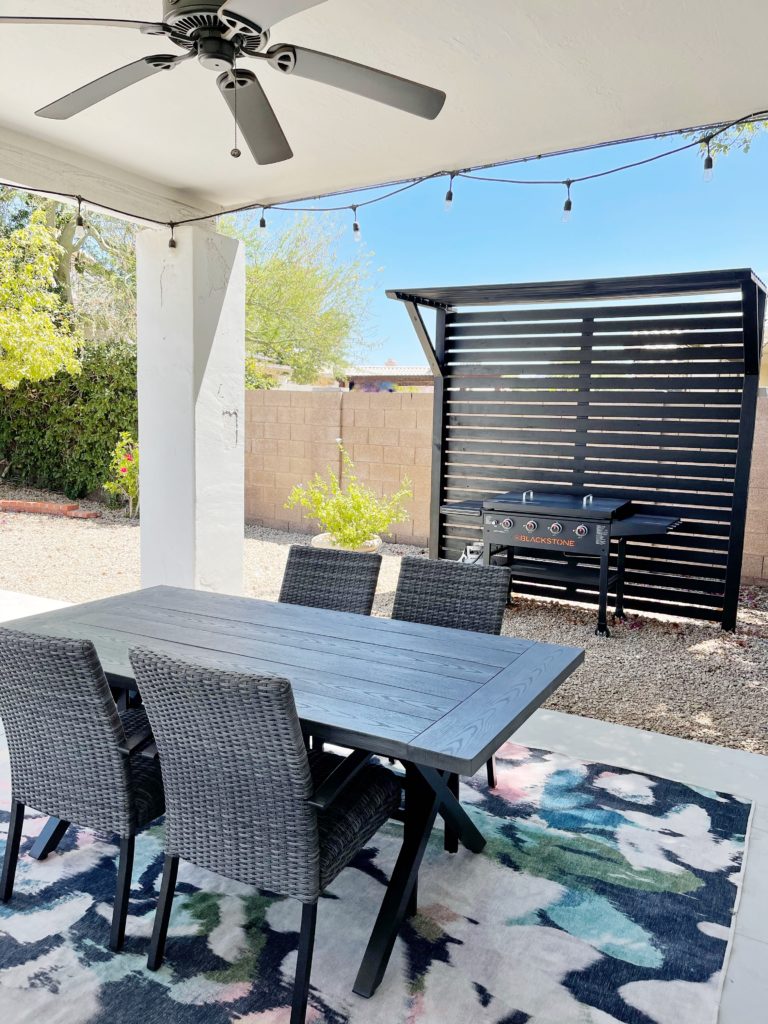
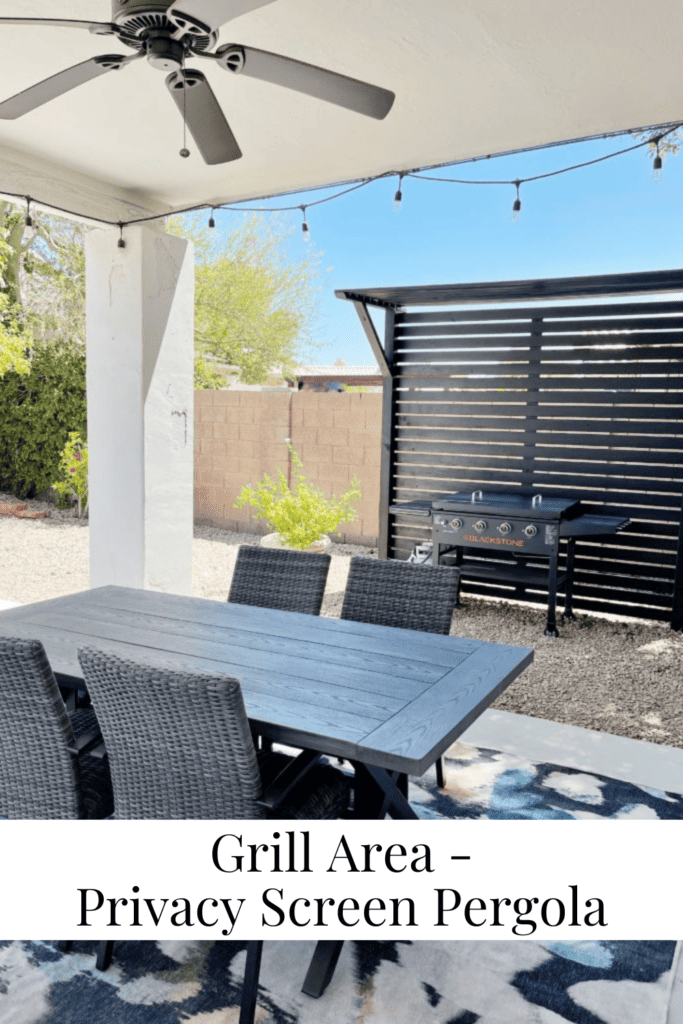
Grill Area – Privacy Screen Pergola
Today I am going to share how we made this Grill Area with a Privacy Screen Pergola! It was an inexpensive way to make an area for the grill.
We have made two privacy screens before. You may have saw my post HERE and then how to build a bigger version HERE. They are such a fun and easy project – well I may say not in Arizona haha but really it is!
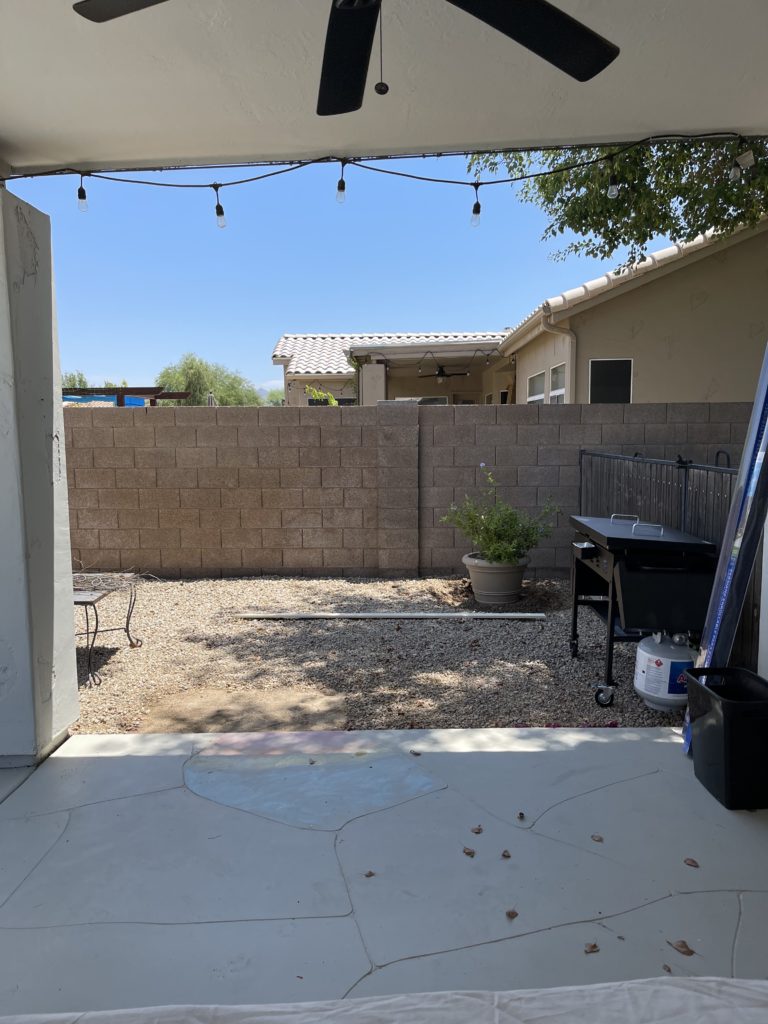
This is what the space looked like BEFORE we started! If you are wondering who’s house this is, we are working on an AIRBNB in Scottsdale, Arizona my sister in law bought and I will be sure to share when it’s ready to rent!
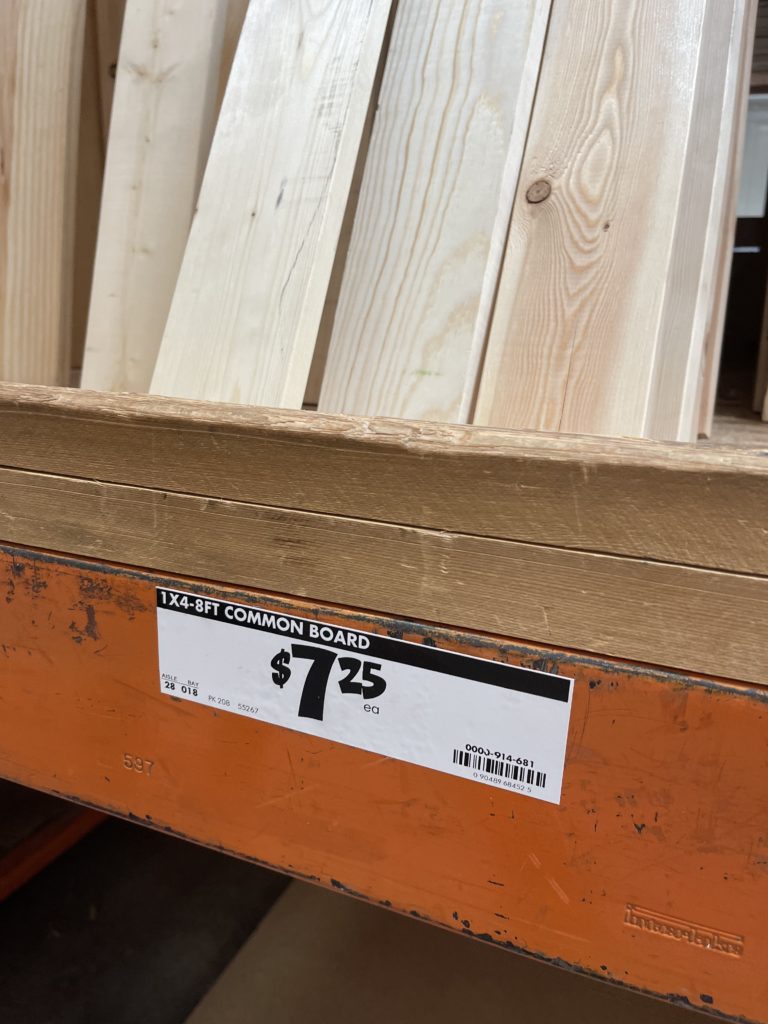
Yes, wood is crazy expensive right now… but it’s still cheaper than building a custom built in grill area.
First it was time to get supplies! Right now wood is at an all time high, normally I would say this is an inexpensive project but it was still right around $300 which isn’t bad.
SUPPLIES YOU WILL NEED:
2- 4x4x10 for the two pieces on the sides
2- 2x4x8 for the part that holds the top
32- 1x4x8 the slats
3 bags of cement
Brad Nailer
Outdoor Paint – We used Behr Limousine Leather
Paint Sprayer – We didn’t use this time we left it in seattle
If not paint sprayer paint roller and brush supplies
*Piece of wood cut for a spacer
Now for the amount of supplies – this is what we needed for our space, so measure accordingly for your height and width of yours.
I will share a video at the end of this on the process, but I tried to document as much as I could with photos.
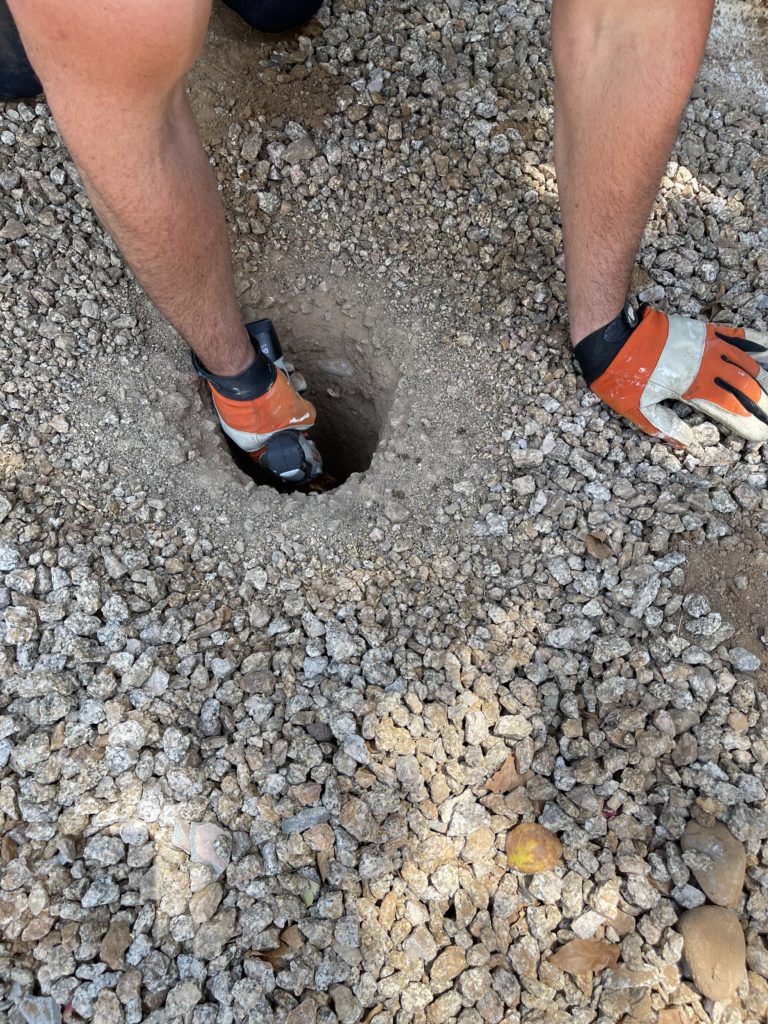
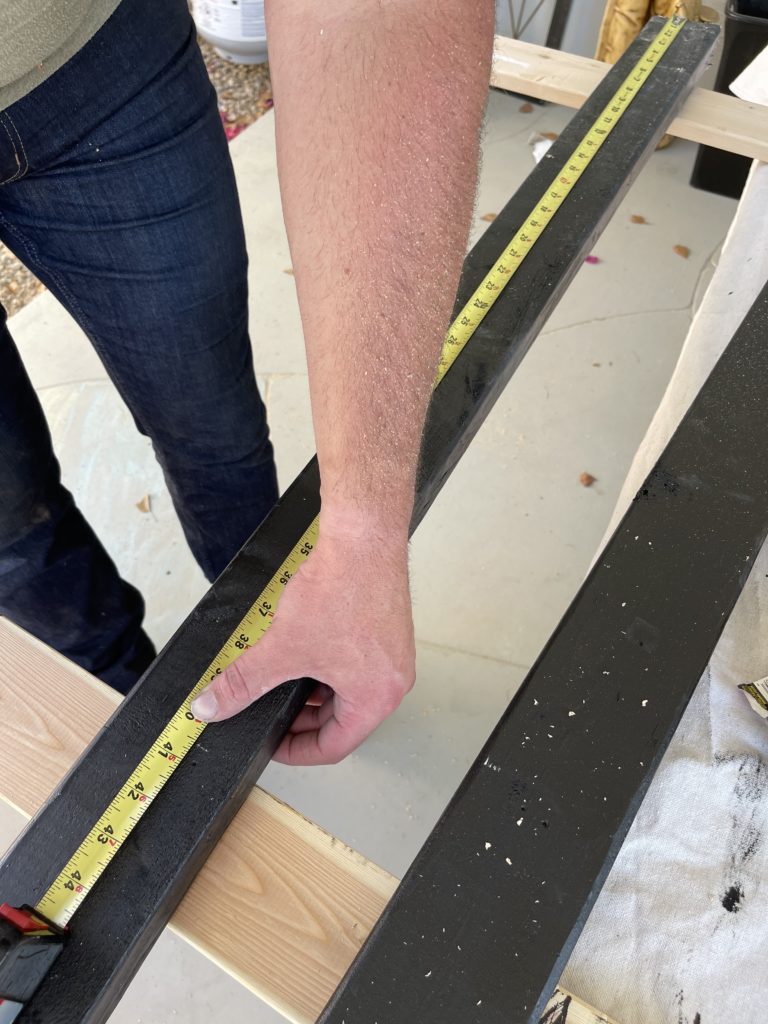
First you will dig your holes. Measure the space and how long you want it to be. Our goal was to have this be not only for looks and privacy, but to add shade which it did.
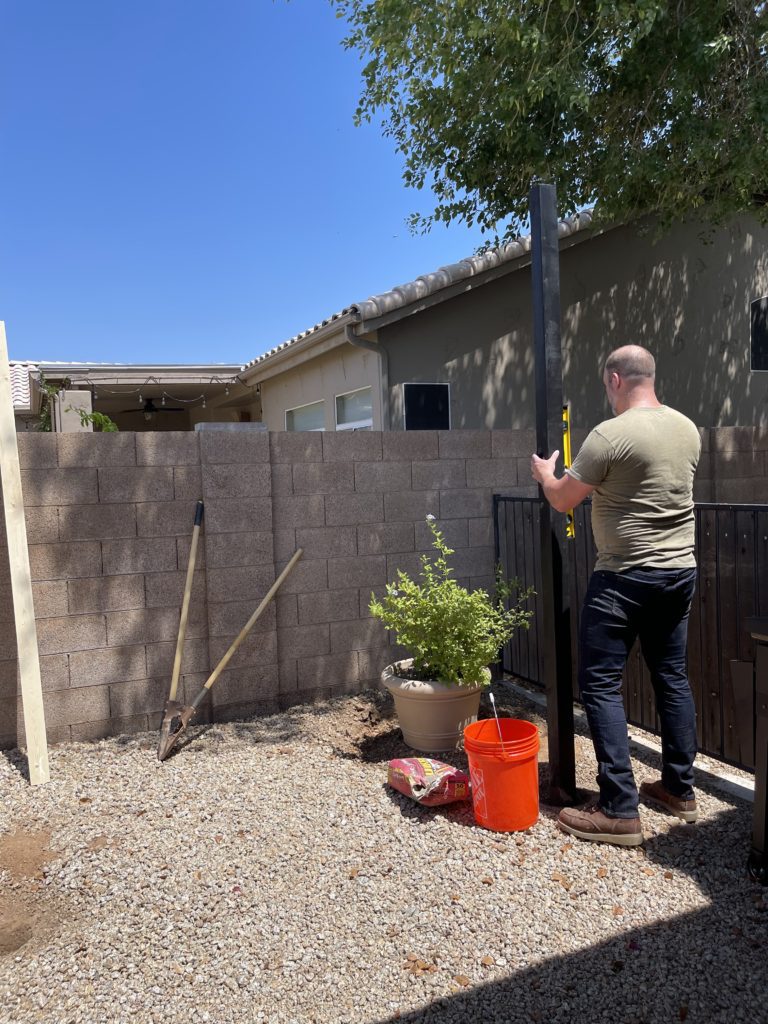
Once you dig your holes for the grill area, you will triple check where your pieces of wood will go.
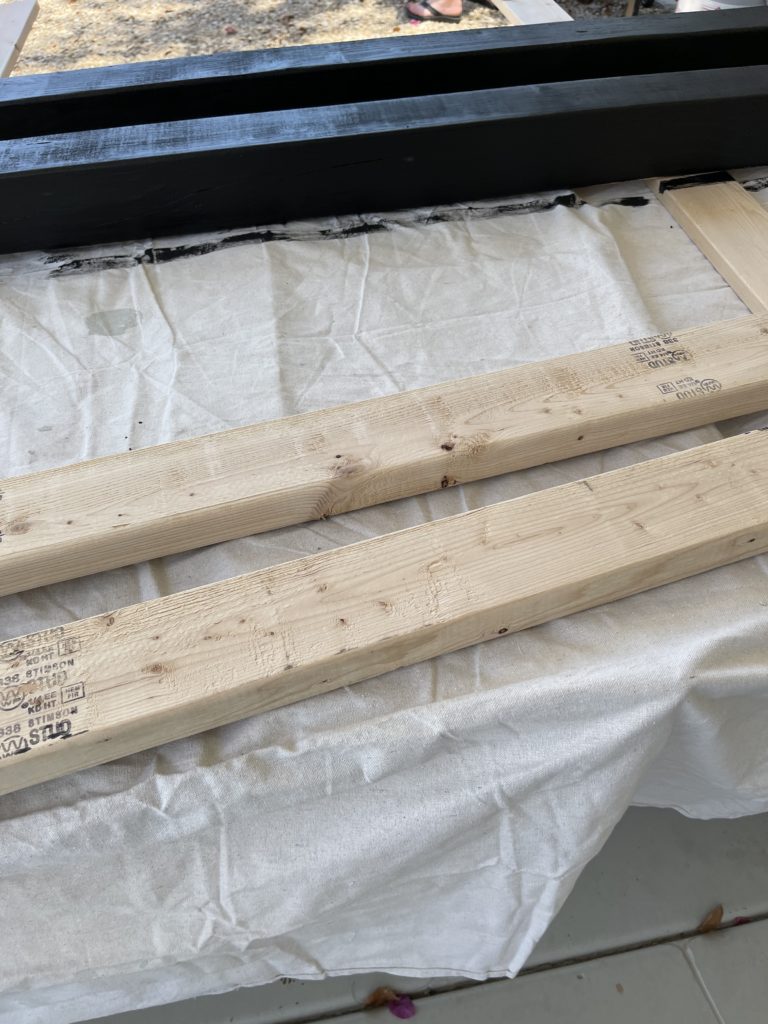
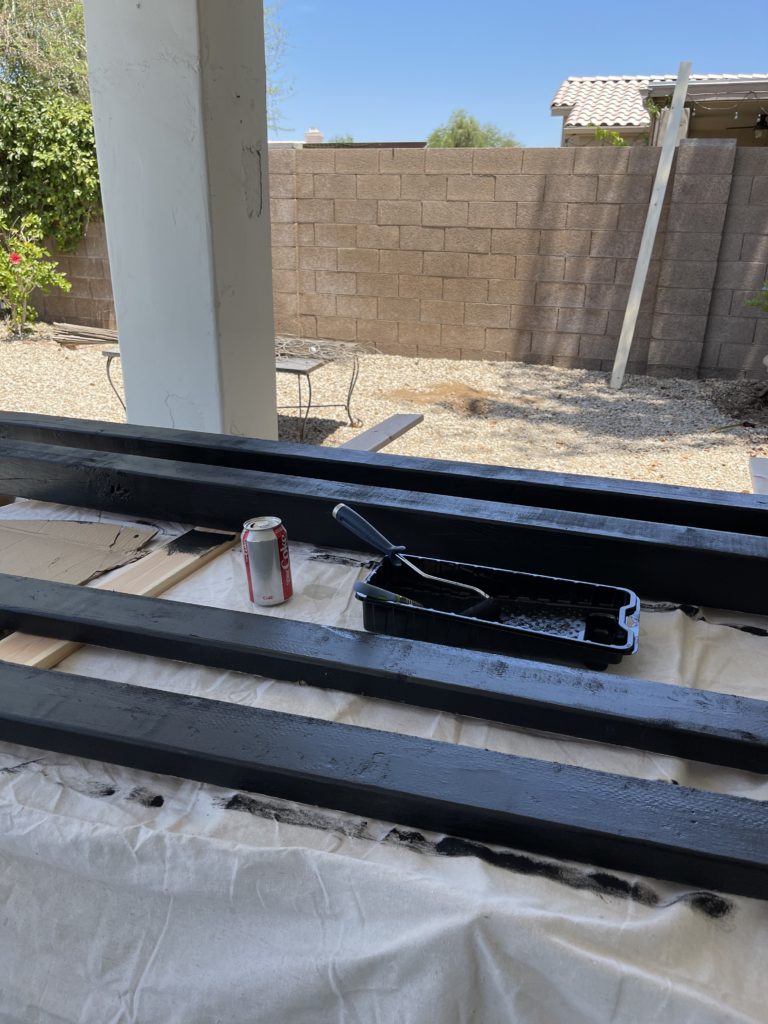
I wanted to paint all the pieces first but as I was painting it got to hot, and we didn’t want it to bubble. We are used to painting in Seattle worrying it will be to cool, but we had the opposite in Arizona that it was to HOT.
This paint color is such a gorgeous black – Limousine Leather by Behr.
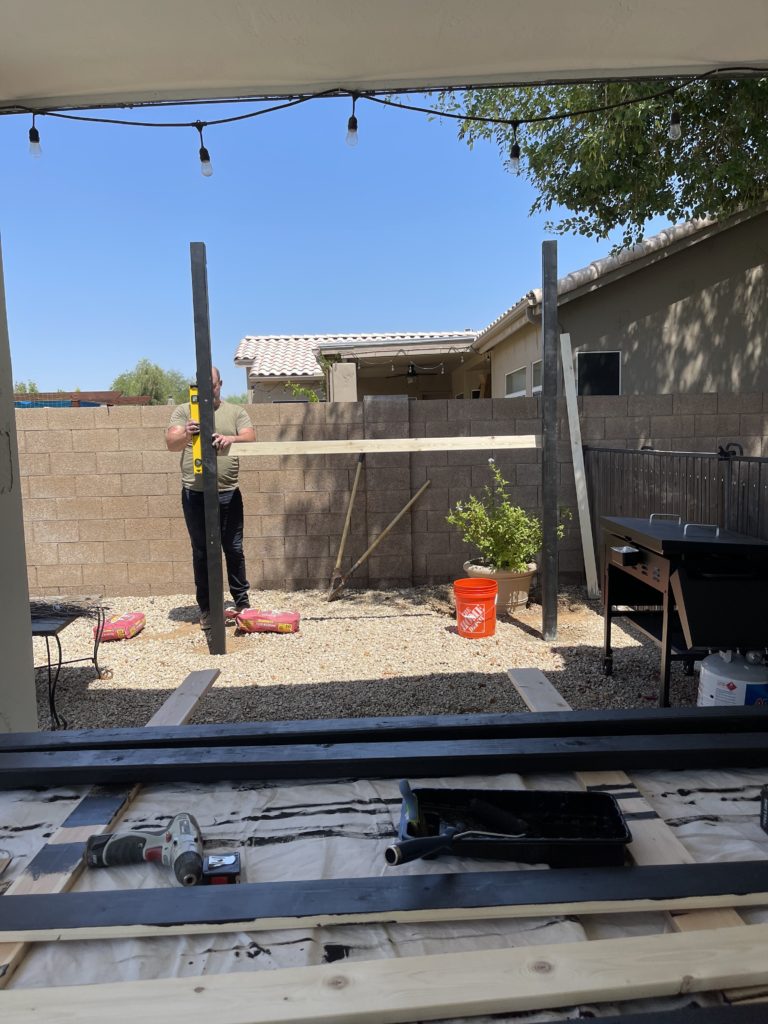
We tacked on a piece of wood to make sure everything was straight and good before we added cement in the second hole.
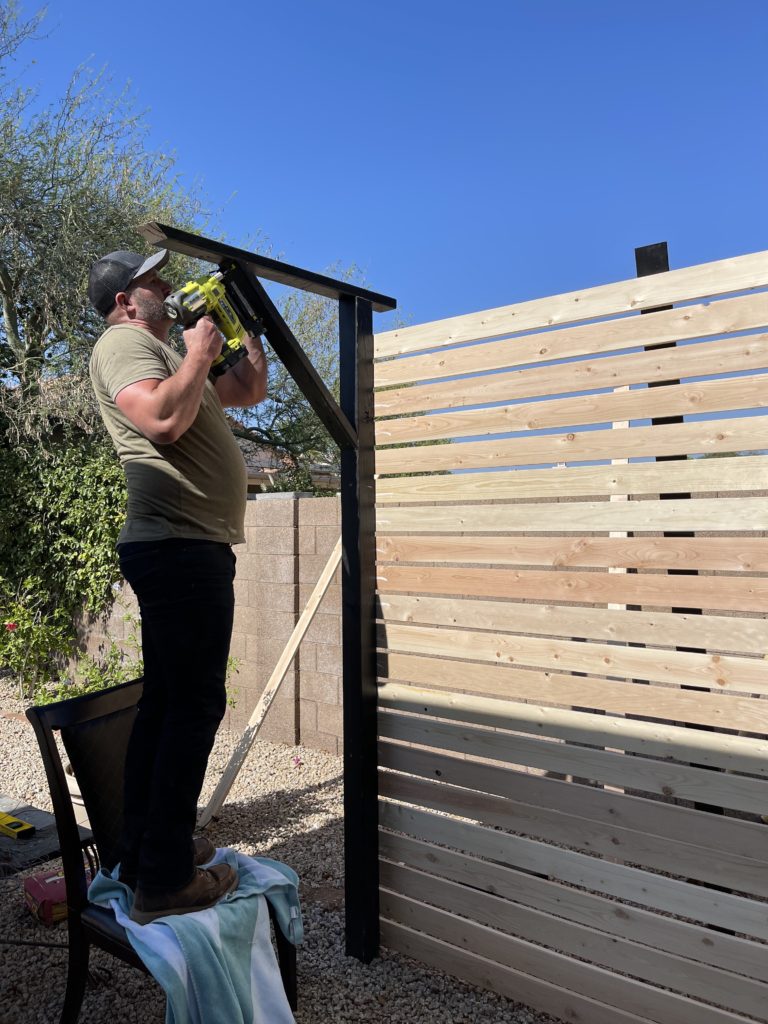
It is time to get started! We started from the ground up since we didn’t cut our tops off yet. When you start your project decide on how big of space you want between. We always just slice a piece of wood and use that as you can see here.
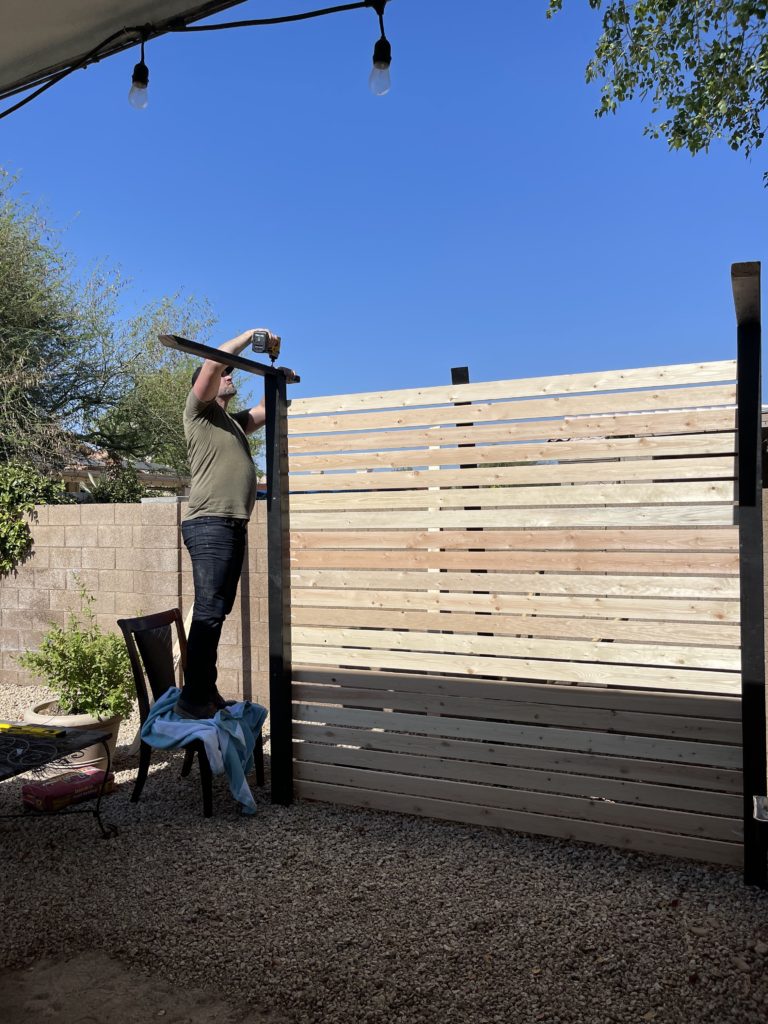
You will use your brad nailer and attach each piece of wood that way. We just put two nails in each end. It goes so quickly. It is a project you can do on your own but much easier and quicker with two!
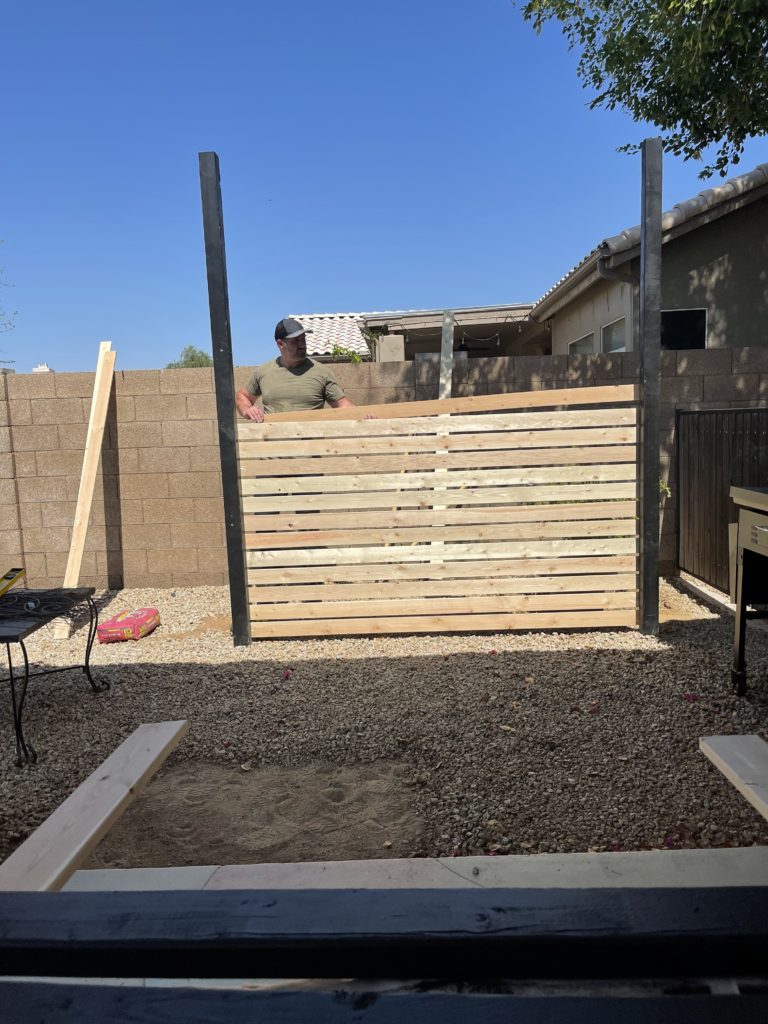
Just keep going and going till you get to the top.
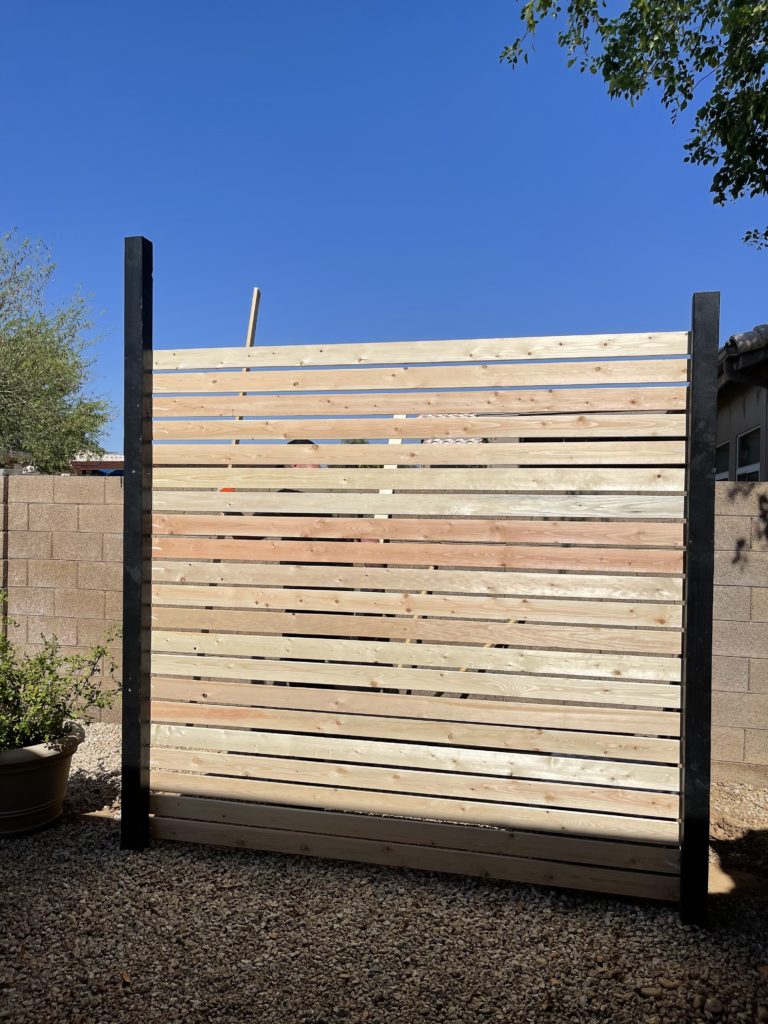
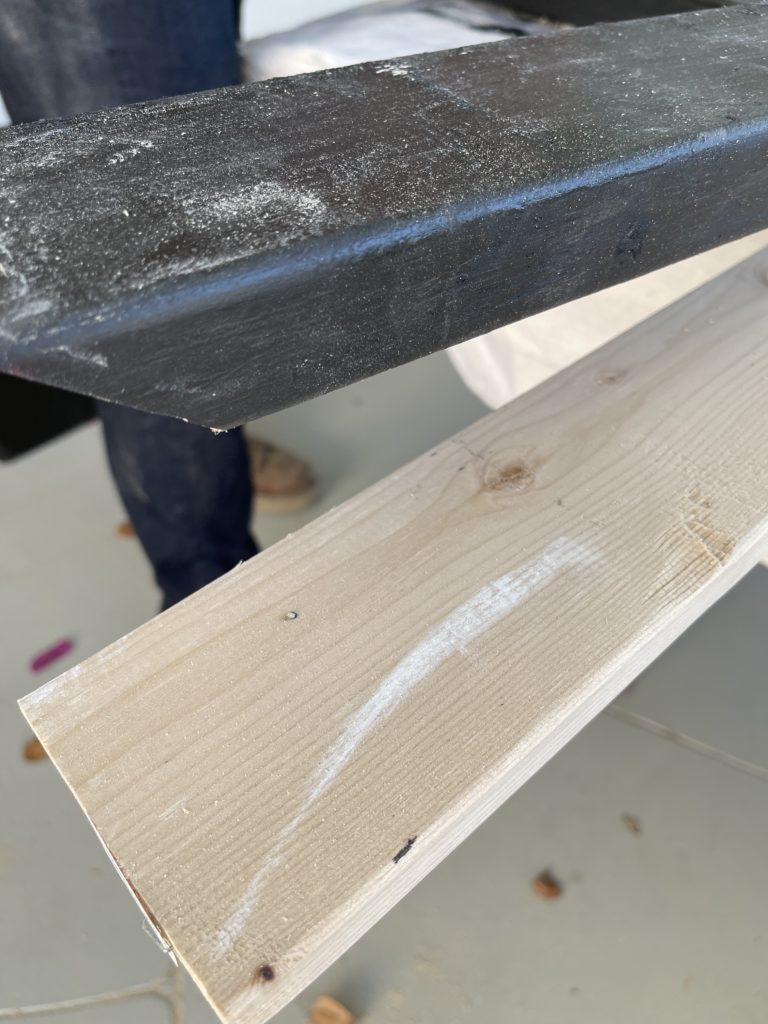
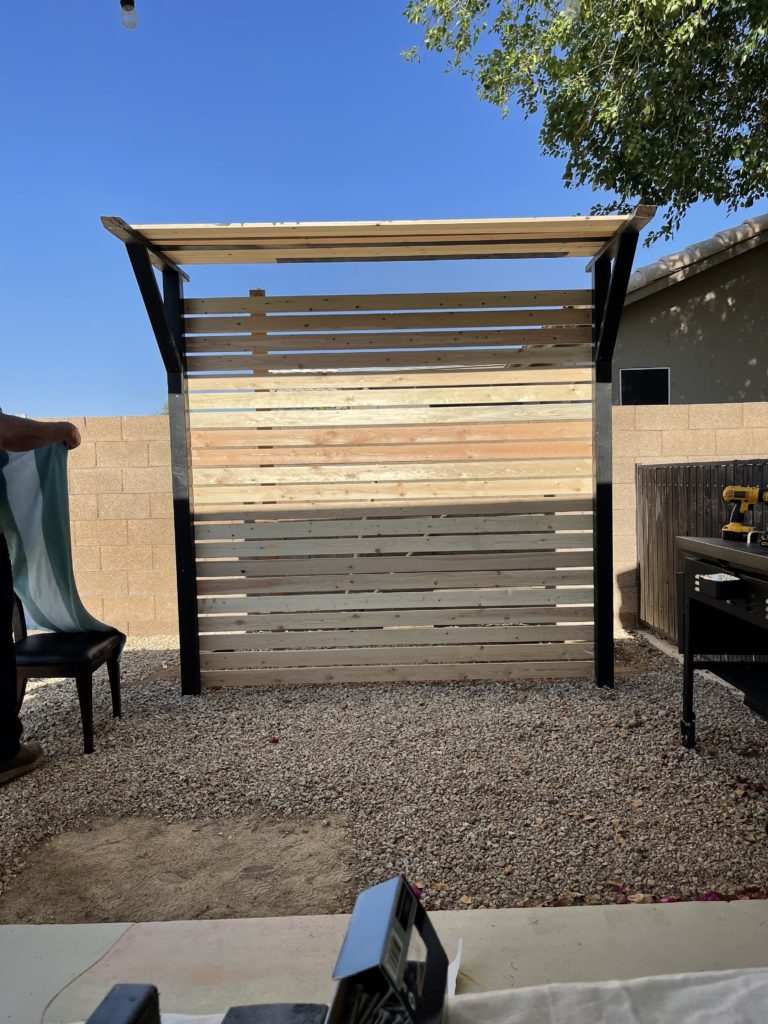
I am loving the two toned, but we are going to paint it. The person at the store told us that the paint will hold up better than stain in Arizona.
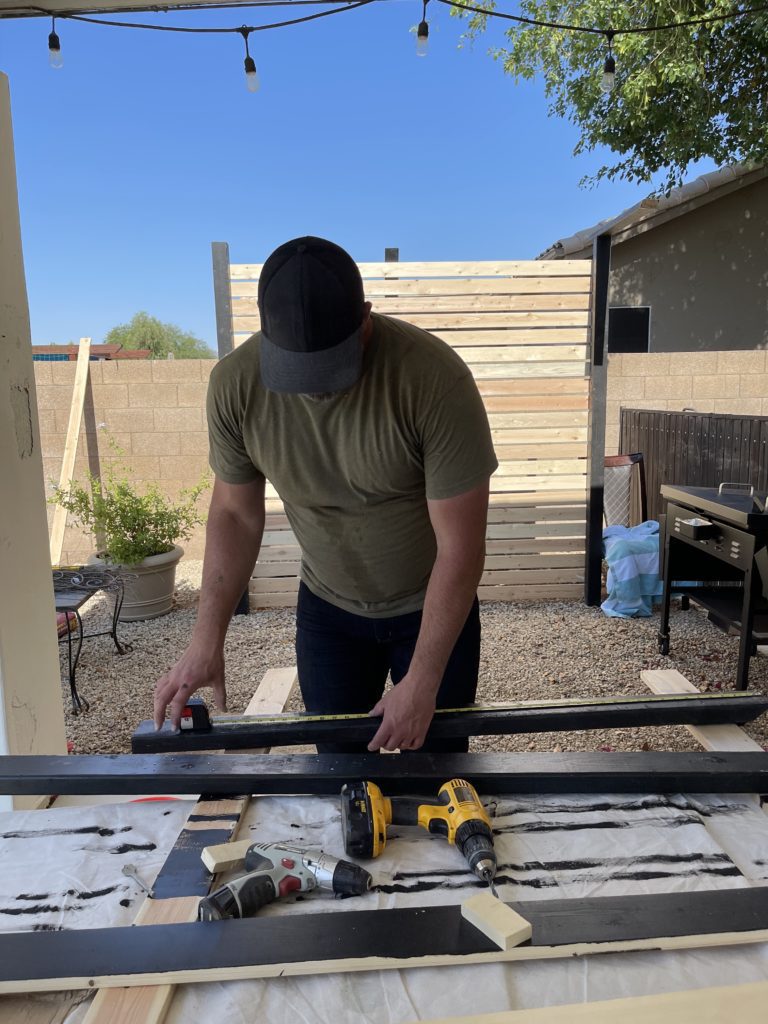
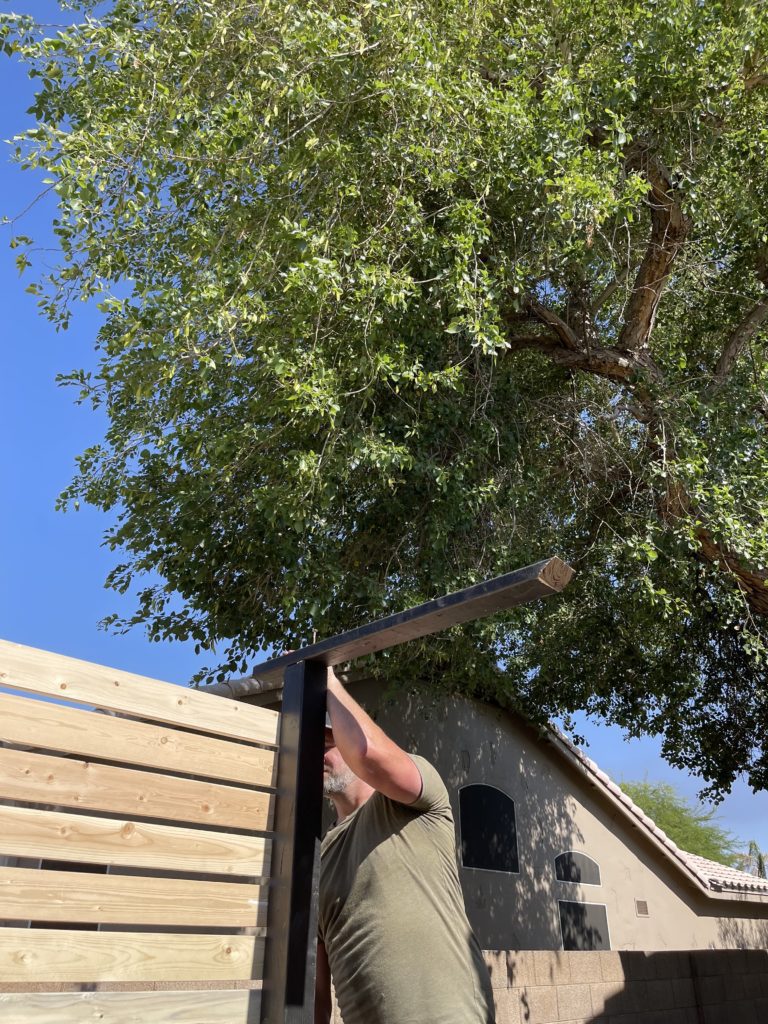
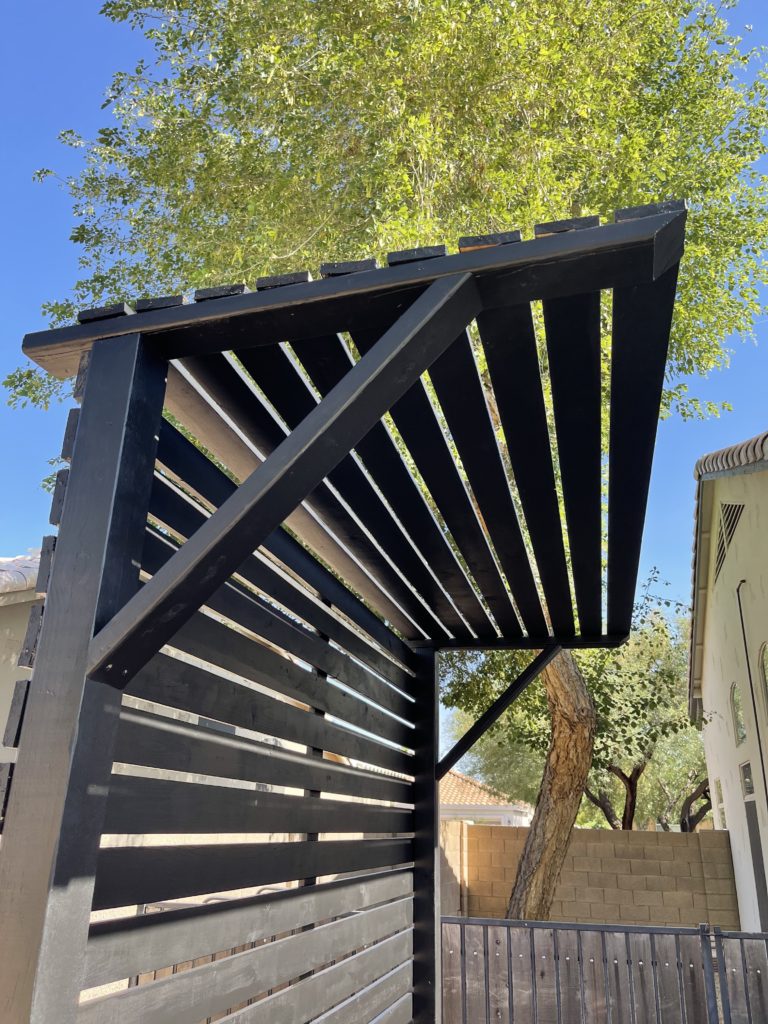
Time for the supports! These were just cut at a 45 degree angle. You can do these as long or as short as you want. You can see what we did here.
Once it is all painted black it will look so good. We did use structural wood screws to attach these.
It is looking so good our grill area is almost done!
You can do this part anyway you like, its all up to your own design.
We used the brad nailer to set in place then you can add your structural screws if needed.
It’s coming together, we just needed a few more pieces and time to complete!

Honestly I love both the black and two toned! What is your favorite??
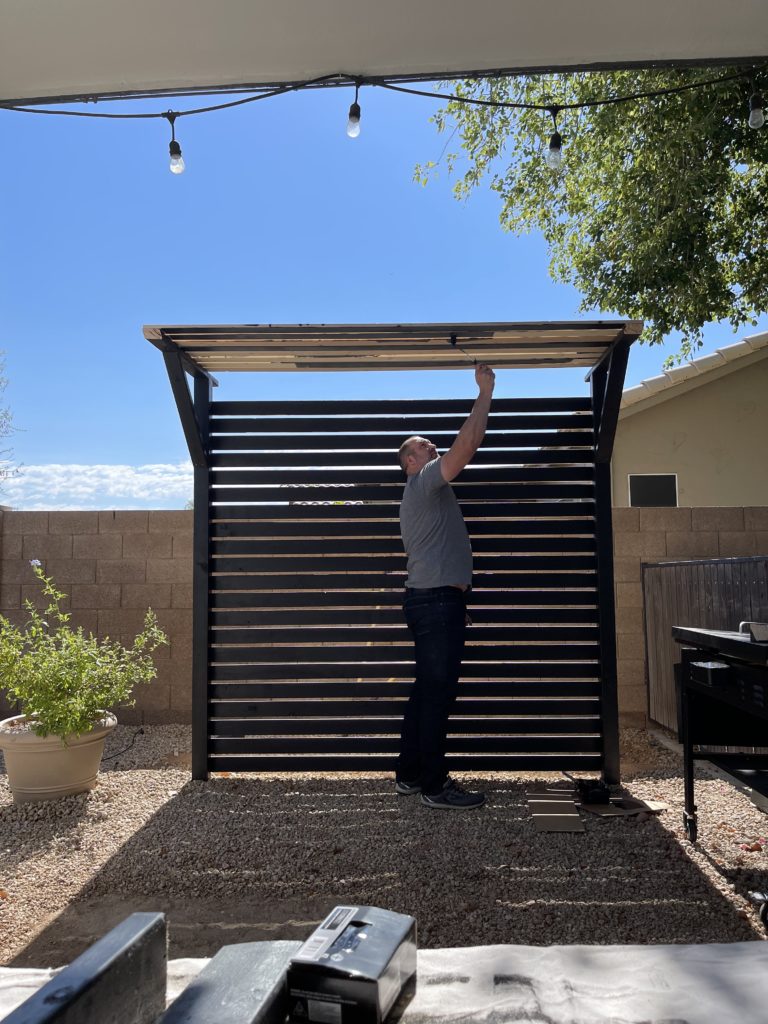
I painted most everything else… thank goodness James is so tall! Ps – I don’t recommend painting in late spring in Arizona it was over 80 by 7am!
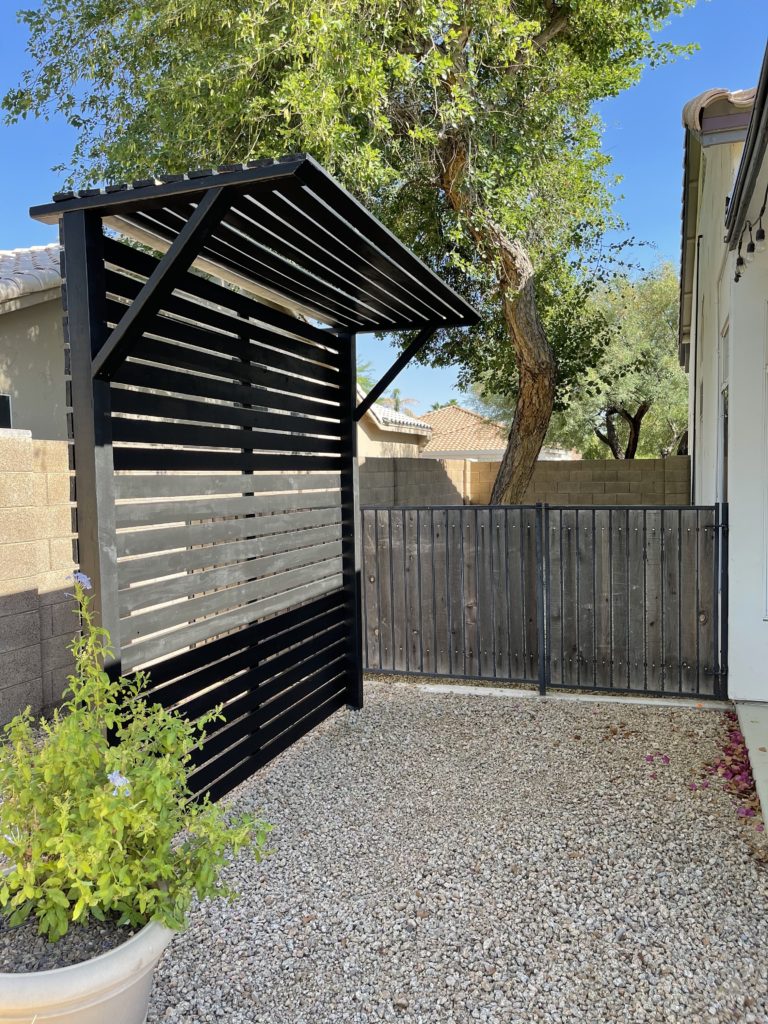
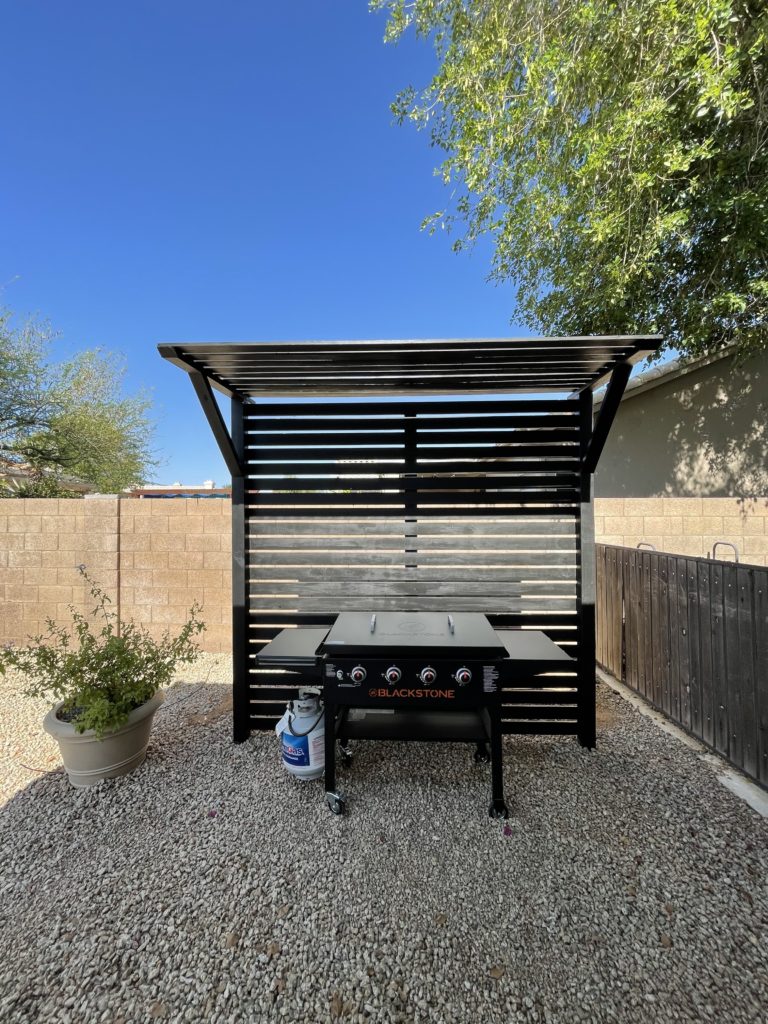
Eeek!! It is just as I imagined!!!

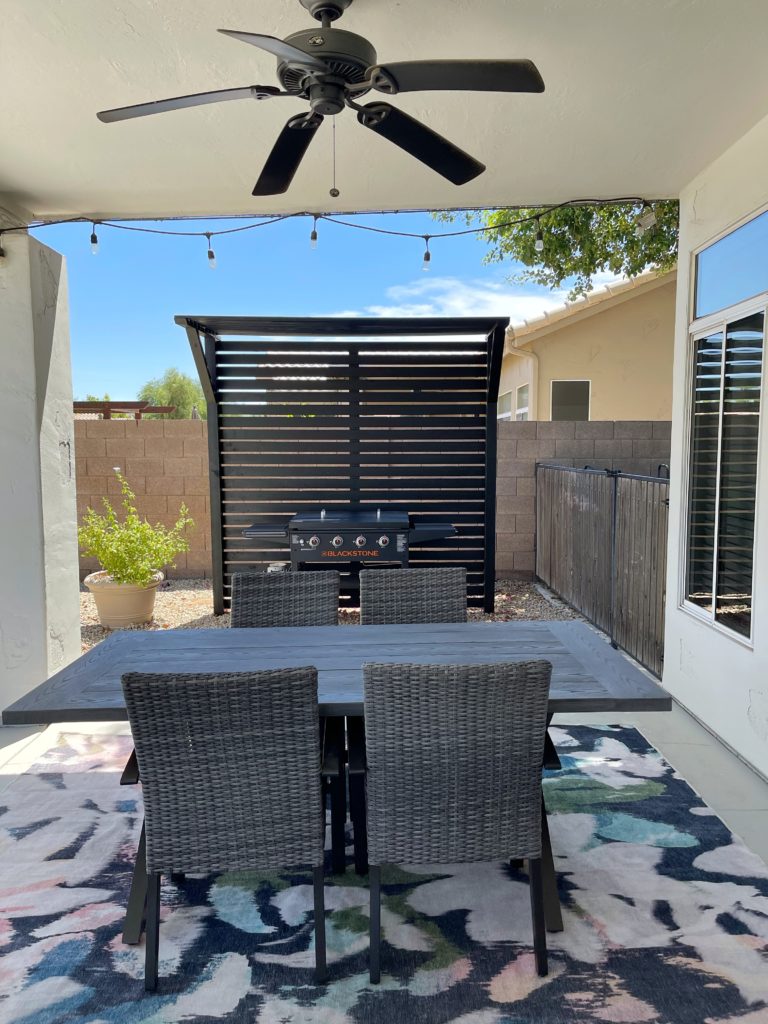
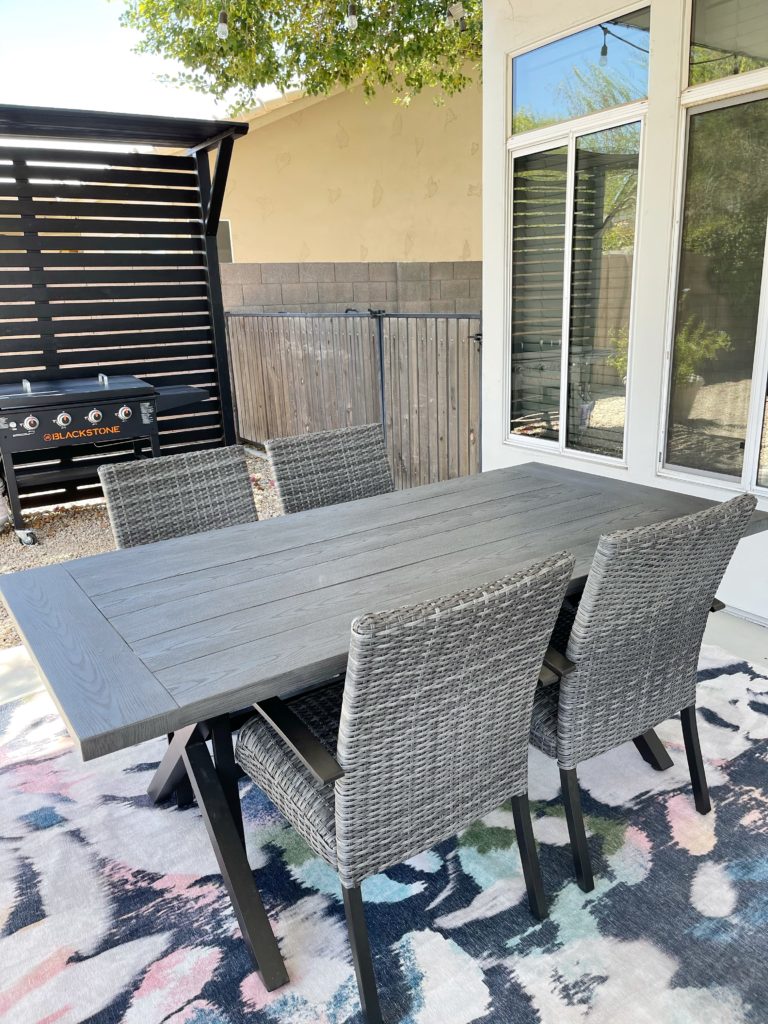
I did a little photo shoot, well maybe two it was so fun! You can see the other blogpost and photo shoot HERE.
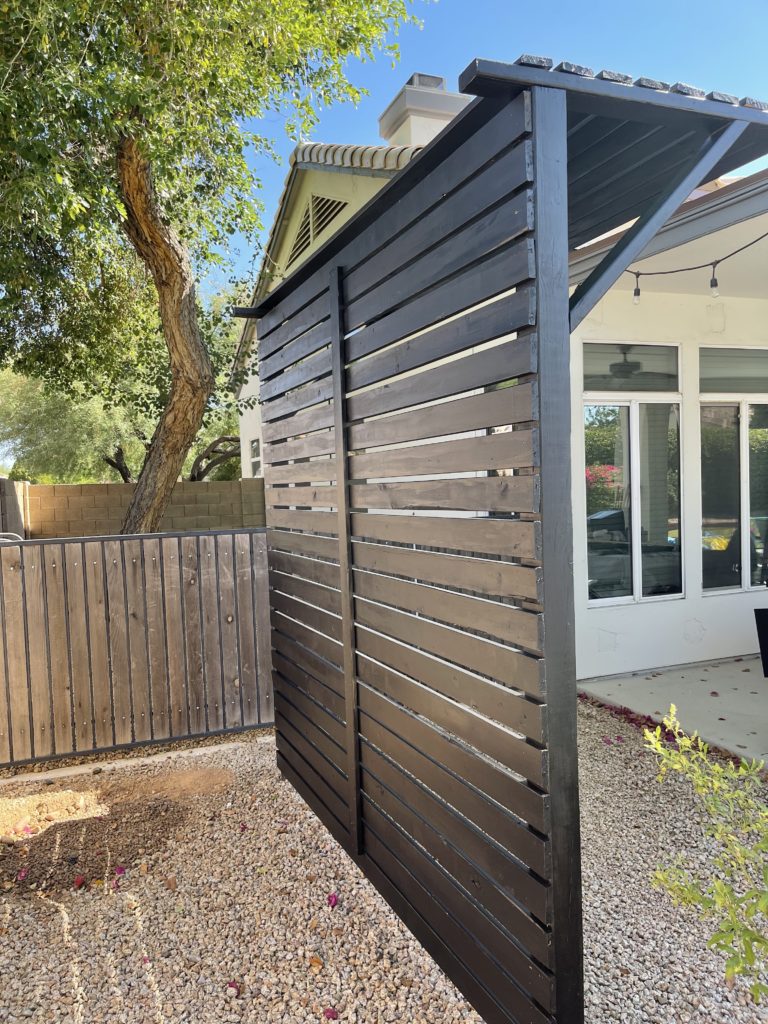
I just love the back of it as much as I love the front! We added the piece in the middle as a support!
Like this post? Save it on Pinterest. Follow me on Pinterest.
This was such a fun project, I am sure we will do another one soon enough somewhere! Check out the other ones below!