How to Build a Retaining Wall
Have you ever wanted to build a retaining wall? Today I am going to show you how we transformed this space. Let’s get started!
Now before we get started, I am no professional and I just learned along the way. I haven’t read any tutorials just found the pavers I loved and James told me to make sure to level it.
Let me show you what I did and what I learned.


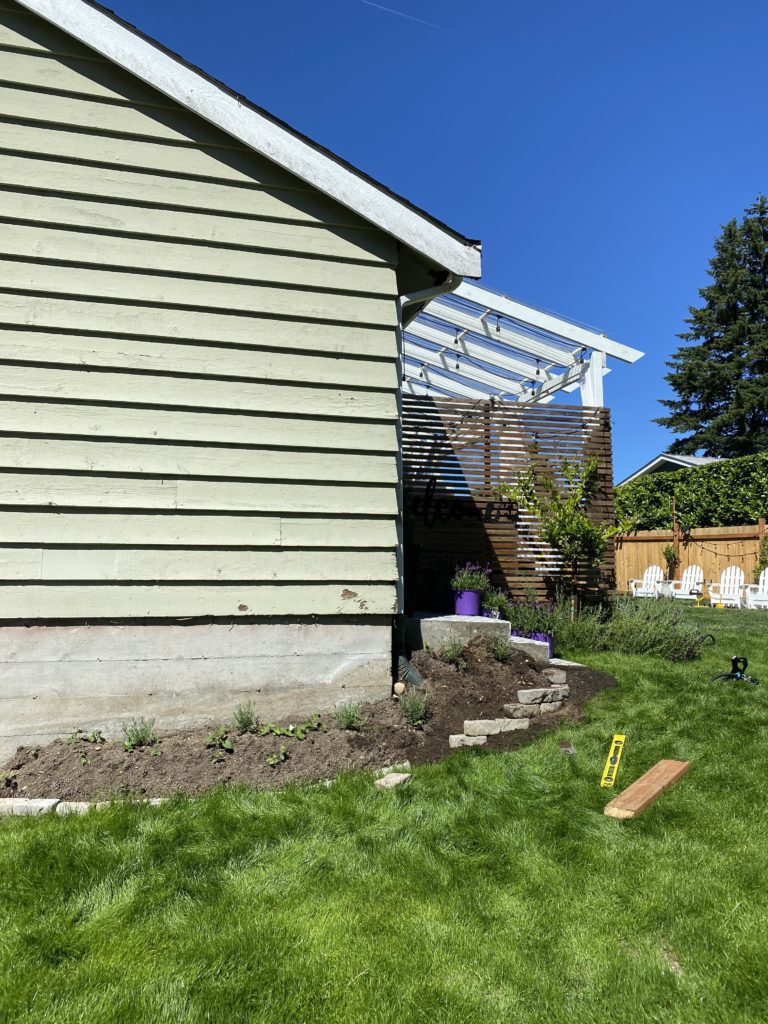
Do you see the BEFORE? Now let’s make the AFTER amazing!

SUPPLIES NEEDED :
PAVERS
LEVEL
SMALL SHOVEL
* ADHESIVE IF NEEDED
When you start I was told you need to start at the bottom. For me I had where I wanted my highest point to be next to my stairs so I started there.
I used the level to see if the pavers were straight, and if not just shovel away or add some dirt. You will need to pack it down as you go so it doesn’t move while you are building it.
Depending on the height of your retaining wall you can use adhesive to make sure it doesn’t move.

I really wish I cut our grass before this so you can see it is level, but you will see as it goes on. There were some parts I had to dig into the ground and that’s where your level comes in handy.
Once you get your first level it goes so quickly after.
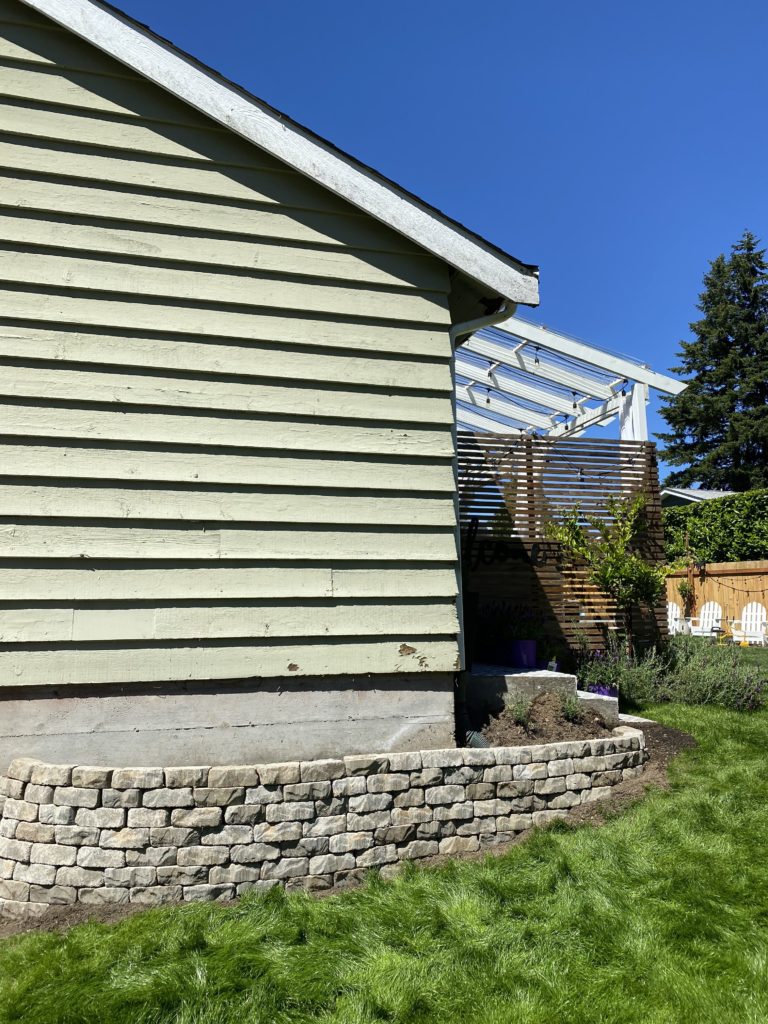
Then you have a completed retaining wall! Look how good it looks. Now if only my house could be painted – that is next on the list!
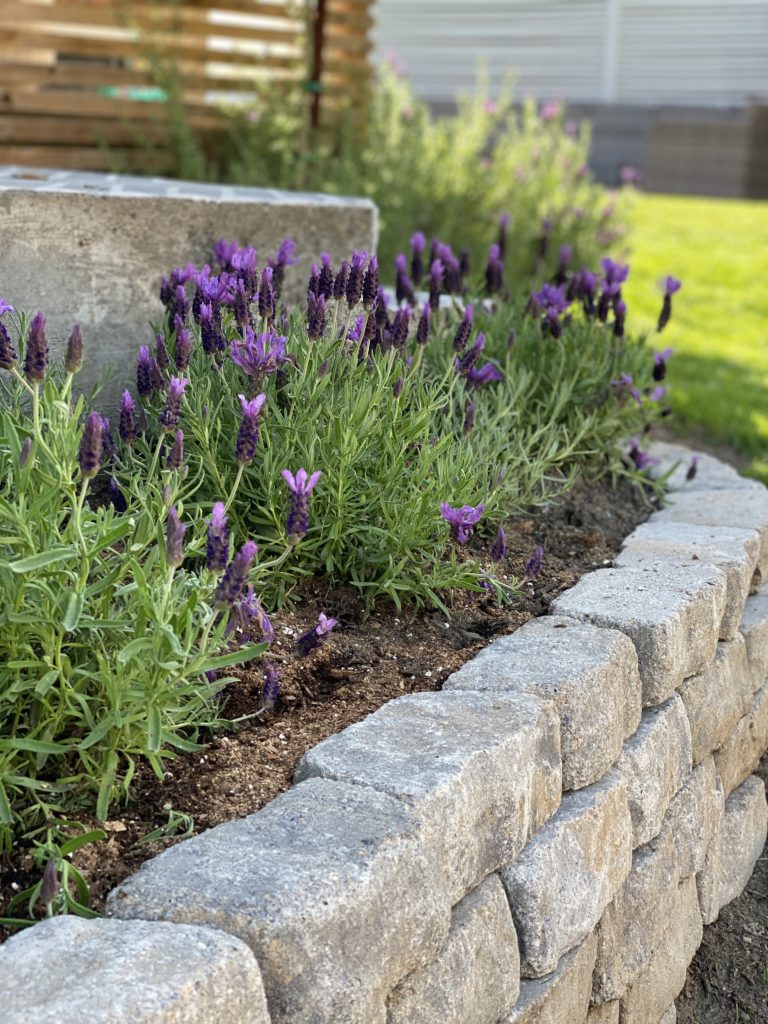
Time to add in the topsoil and plants. We are going with my favorite lavender.

Before we see the final photo, do you remember this BEFORE?
Now lets see the AFTER!
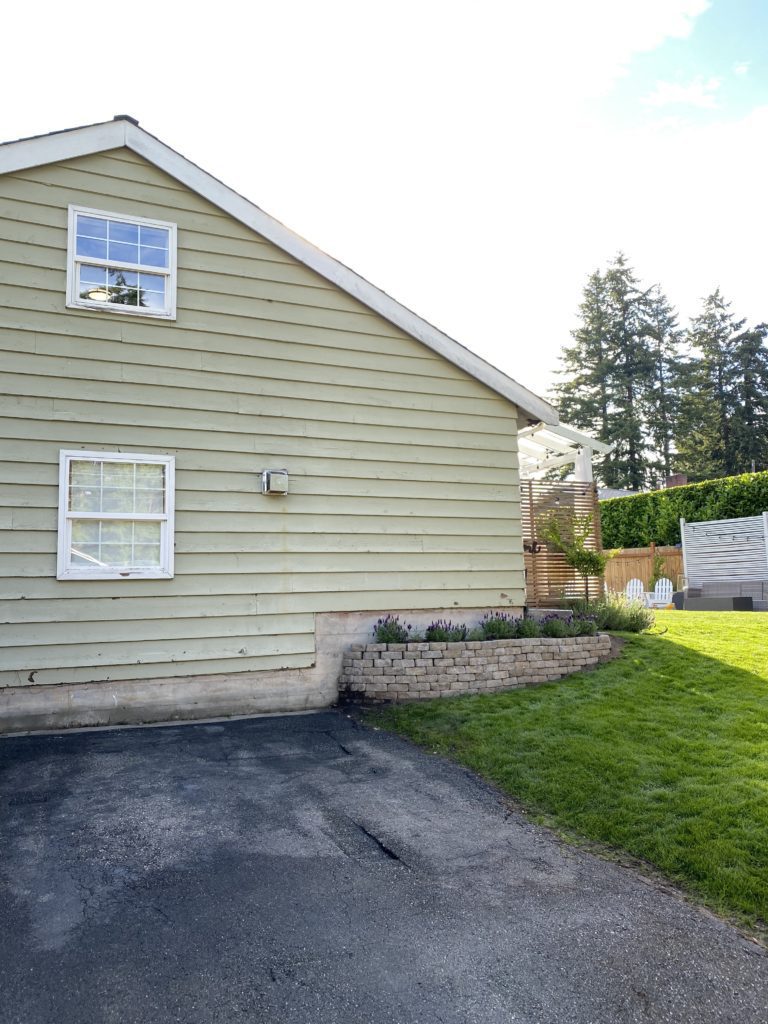
Tada! Here it is… This space has come such a long way. There is still more work to do but I am so happy with how we transformed our backyard.
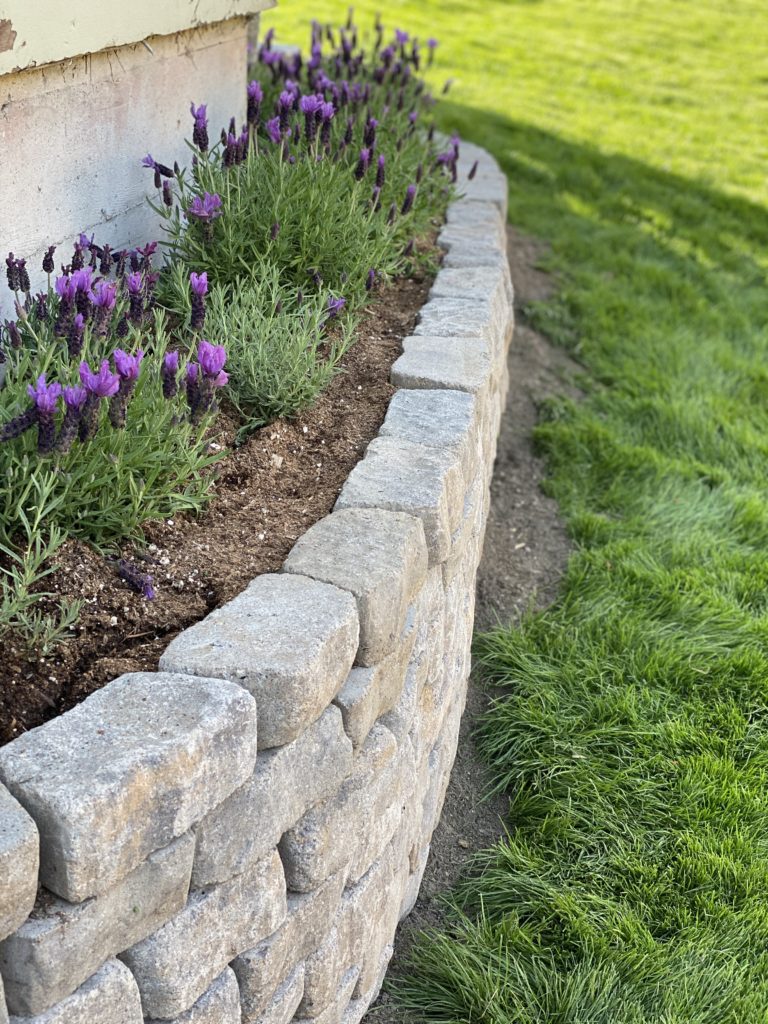
It is amazing what we can accomplish, I was able to use some of the pavers from an old project and added a few more. Can you believe I had exactly enough for this wall!
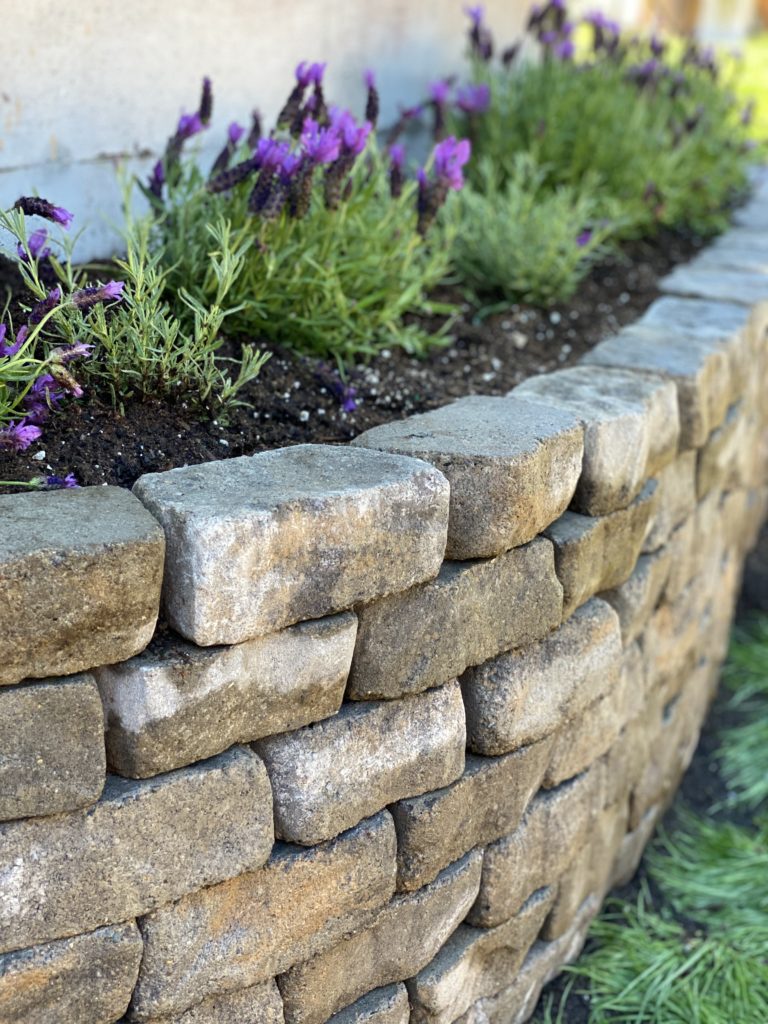
I can’t wait for this lavender to grow and to finish the rest of this area up. Stay tuned for more!
Like this post? Save it on Pinterest. Follow me on Pinterest.


