Our Ikea Rast Hack
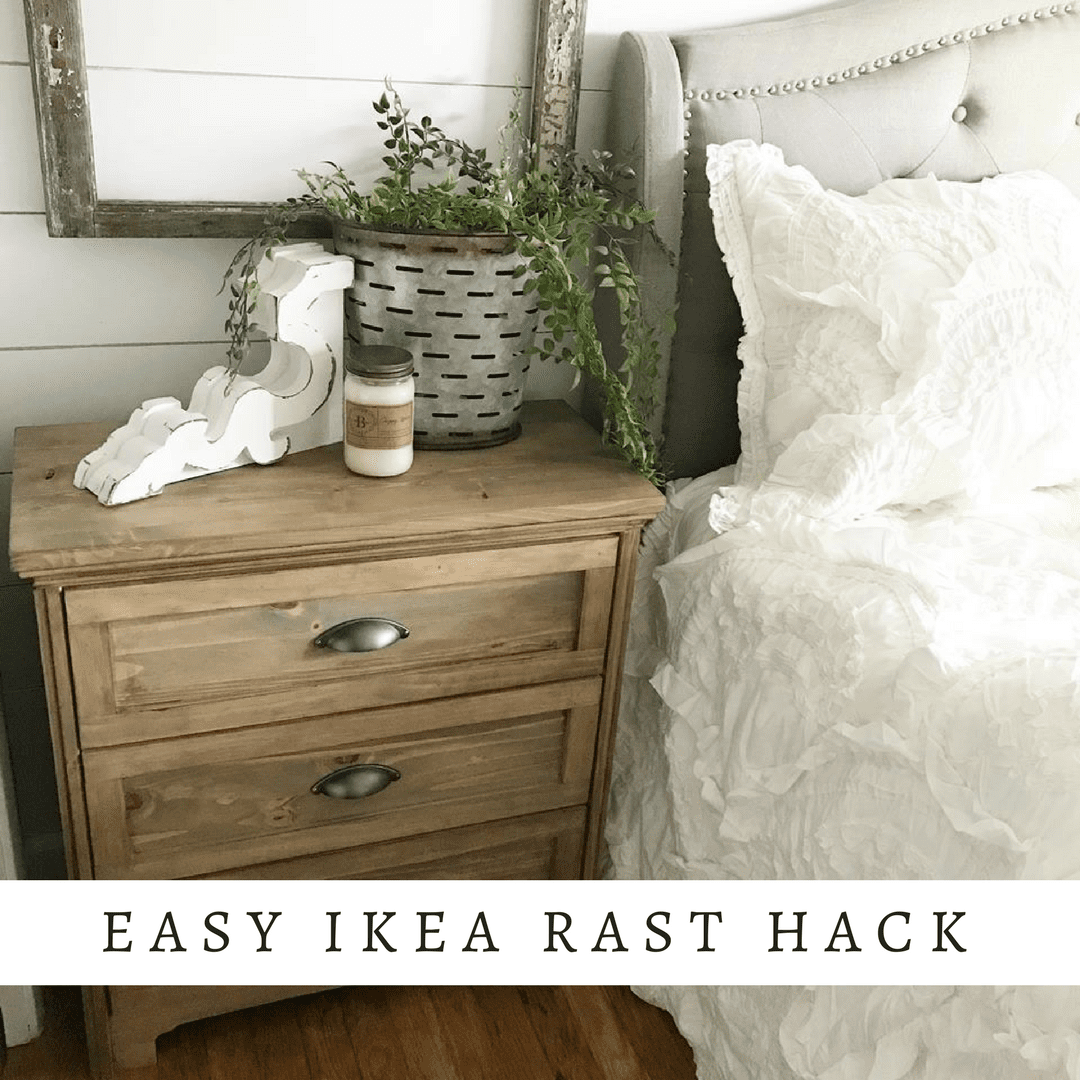
Everyone has asked how we did our Ikea Rast Hack, if you aren’t familiar with how it looks before here is what it looks like!
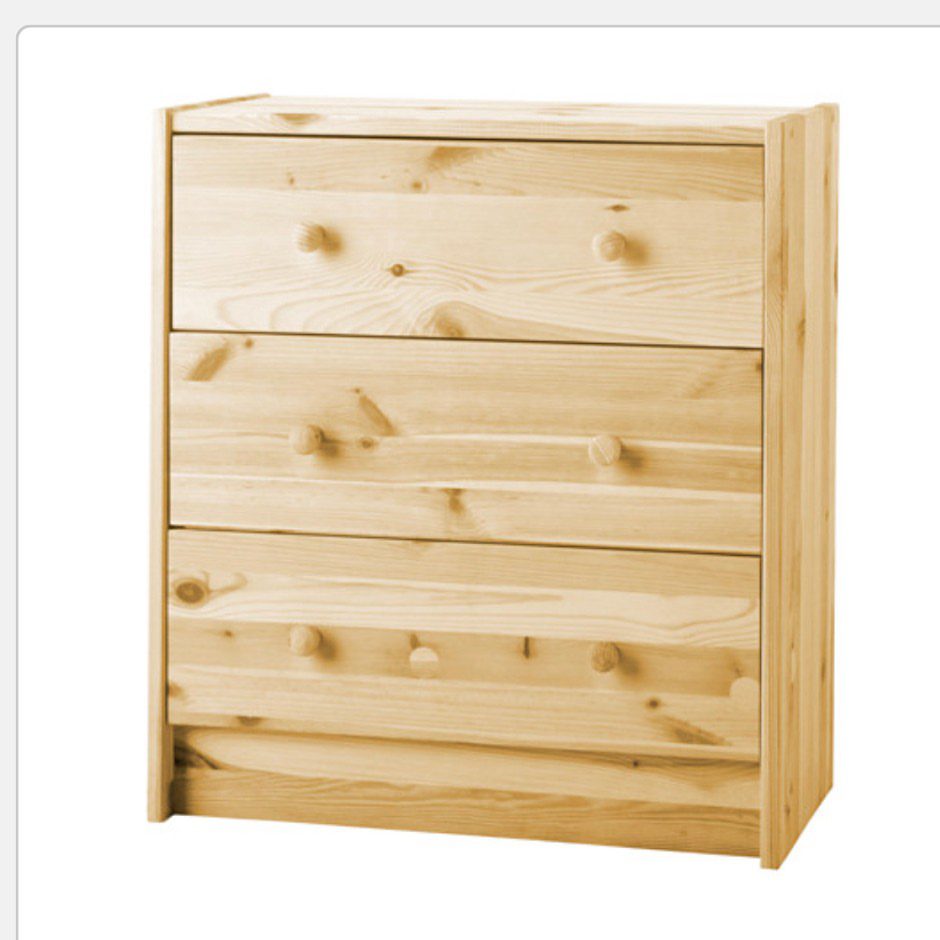
We purchased this at Ikea for $34.99 , and spent under $20 in materials to give it the look we wanted with the space we needed! As I mentioned in the previous post our room is tiny, and having storage was a must! I looked at so many different night stands and while I loved them, they were not only out of our budget but they didn’t hold anything. This Ikea Rast 3 drawer dresser was the perfect fit for us! I began researching all the different hacks, and the one I found that I loved was HERE from Hymns and Verses!
While I love seeing tutorials and “trying” to follow them ( we have done more than I can count) You will find that you can’t find the exact items, and the pricing is WAY off! It is kind of discouraging and while I don’t want to discourage you from doing a DIY or HACK, but I want to be real with you. I am grateful for a husband that is patient and can figure out any project I want to do. So before you start just remember that things might not go as planned, you will probably go over budget and it takes more time to DIY than just buying and putting together…. but in the end its SOOOO worth it!
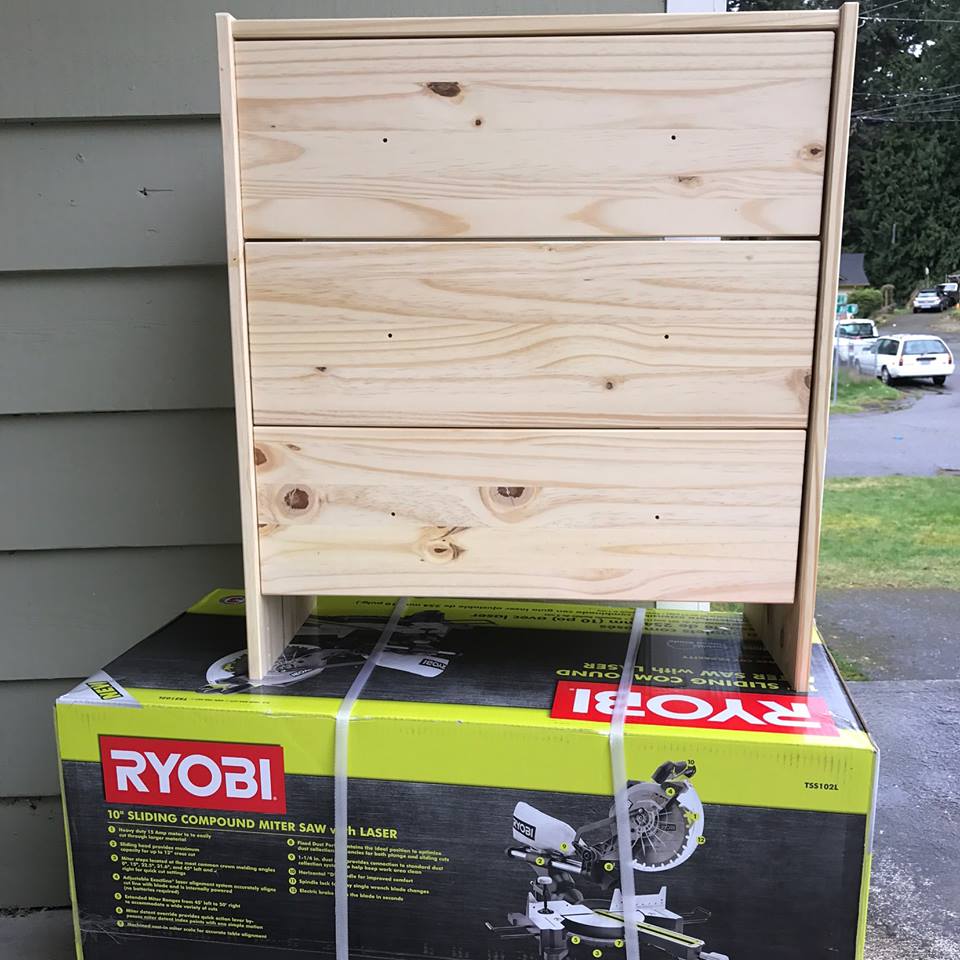
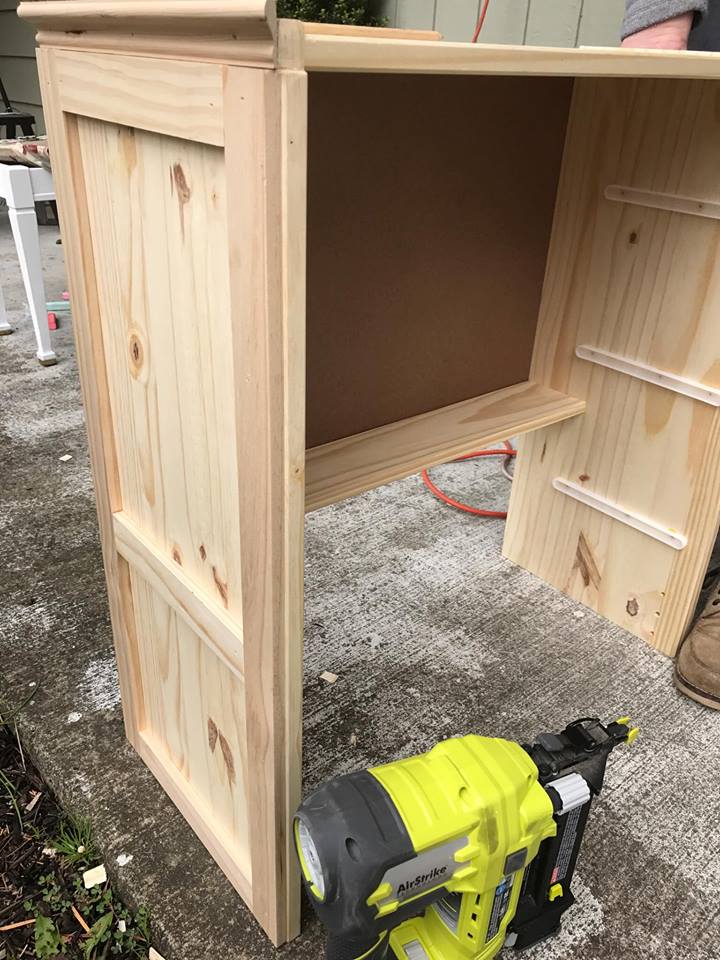
So we don’t have a garage, or a ton of tools, but we do a good job using what we have! Our front porch is huge and covered so that turns into our workshop, and our favorite power tools are Ryobi! Here is the Rast mostly put together not including the knobs or the bottom piece.
We tried to follow most things on the blog HERE , but we had to get a different trim piece and we decided to add the trim on the sides to finish it off!
I will be showing some of the photos we did, and how we did differently from the blog above. They give very good details and easy to follow so make sure to use that as your reference.
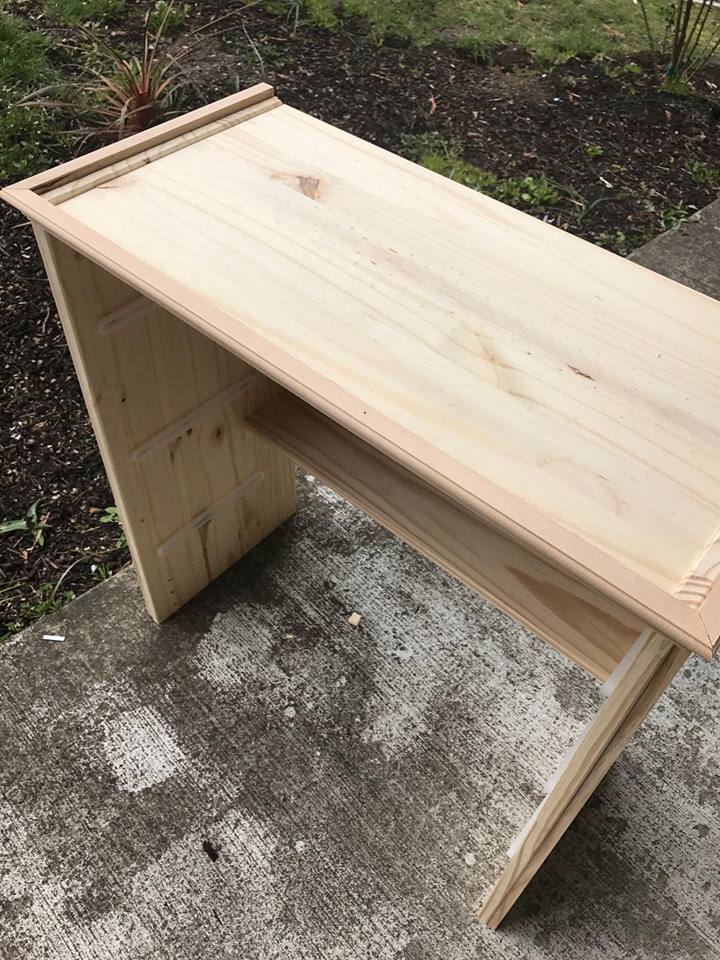
We couldn’t find the same exact trim that they found, so we found this one and loved how it turned out! So as long as you find something similar it will turn out great!
You can see a closer view onto the trim we used on the top of the dresser here, we didn’t like how the sides were so plain so we added the trim that was used for the drawers on the side here and love the dimension it adds!
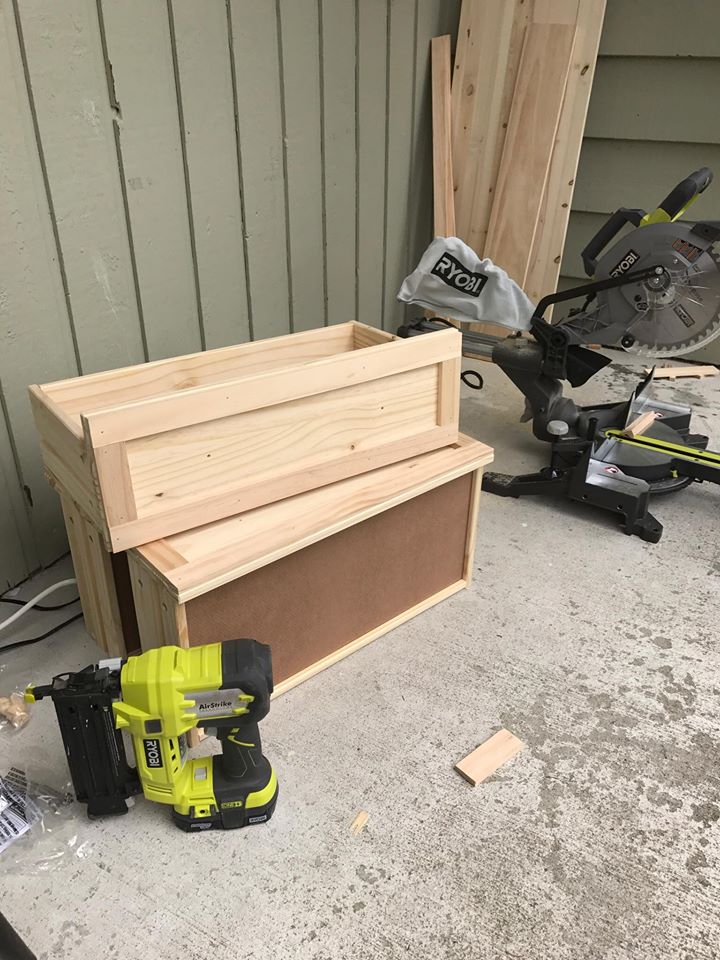
Here you can see the drawers, we just used our Ryobi brad nailer to attach them with some wood glue behind! This Sliding Miter saw with a laser that you see makes cutting wood so easy, it was our first time using it and want to do more projects just to be able to use it!
We used the plans from HERE to do the bottom cutout as well! It was so easy to do! I just love how it all turned out! We just filled in the original knob holes with wood filler and any other holes we found, and sanded it off. Now its time to stain and add the new hardware!
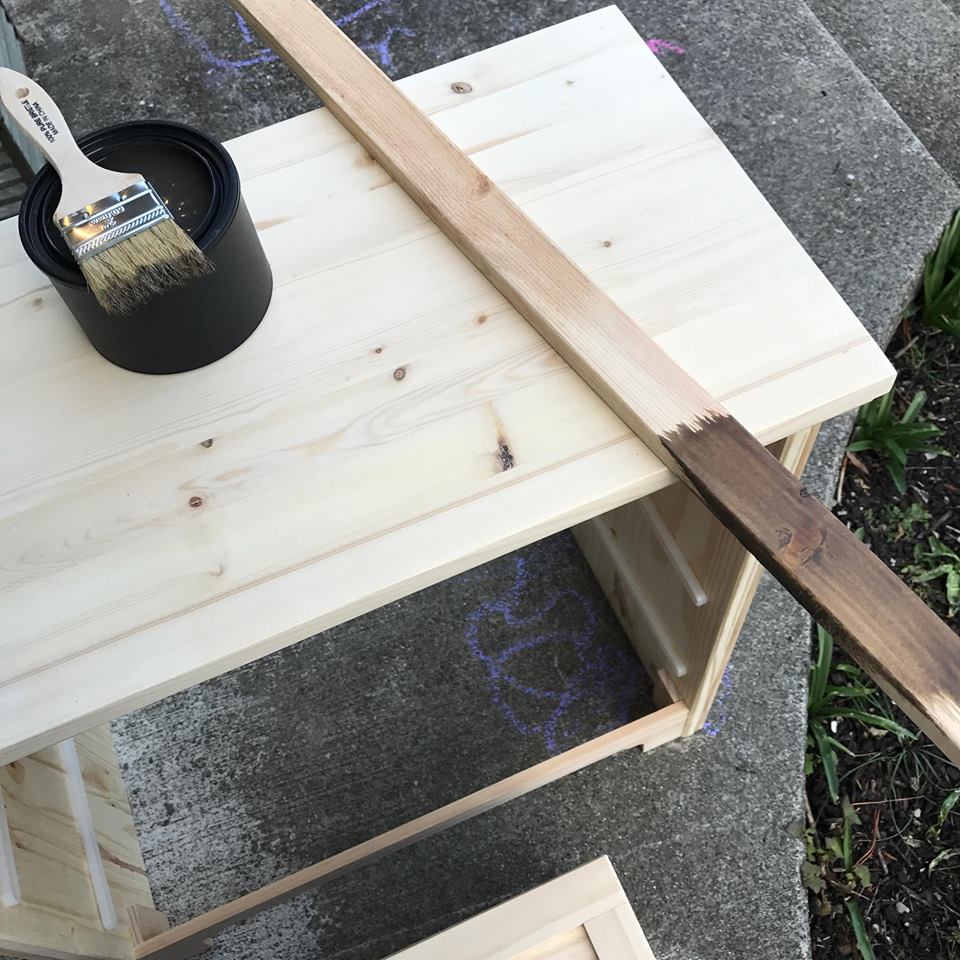
We decided to try out a new stain by Old Barn Milk Paint called weathered, it is a stain that is One Step! These stains are all natural ,toxin free, have no odor and the finish is built right in! The color was so perfect and we can’t wait to use it for more projects!
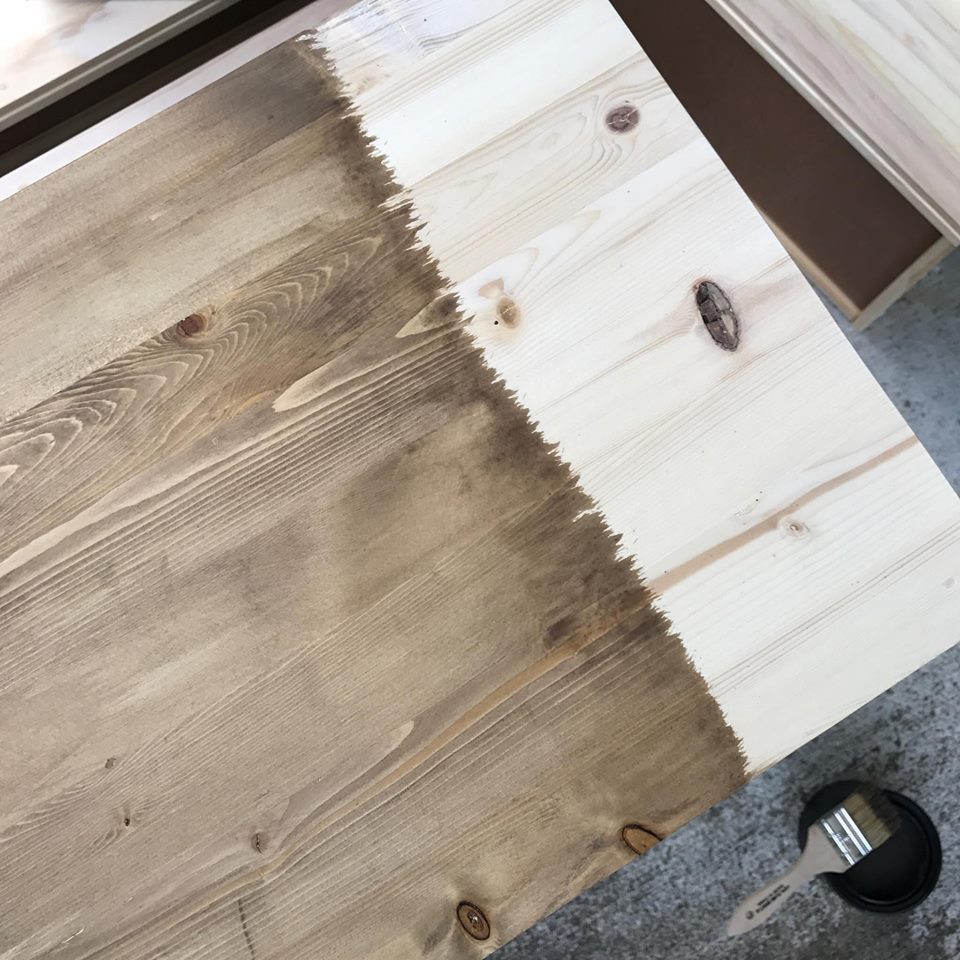
I just loved what a stain can do to transform a piece! I used a brush here to show the difference, but when I applied all over I just used a rag! So easy!
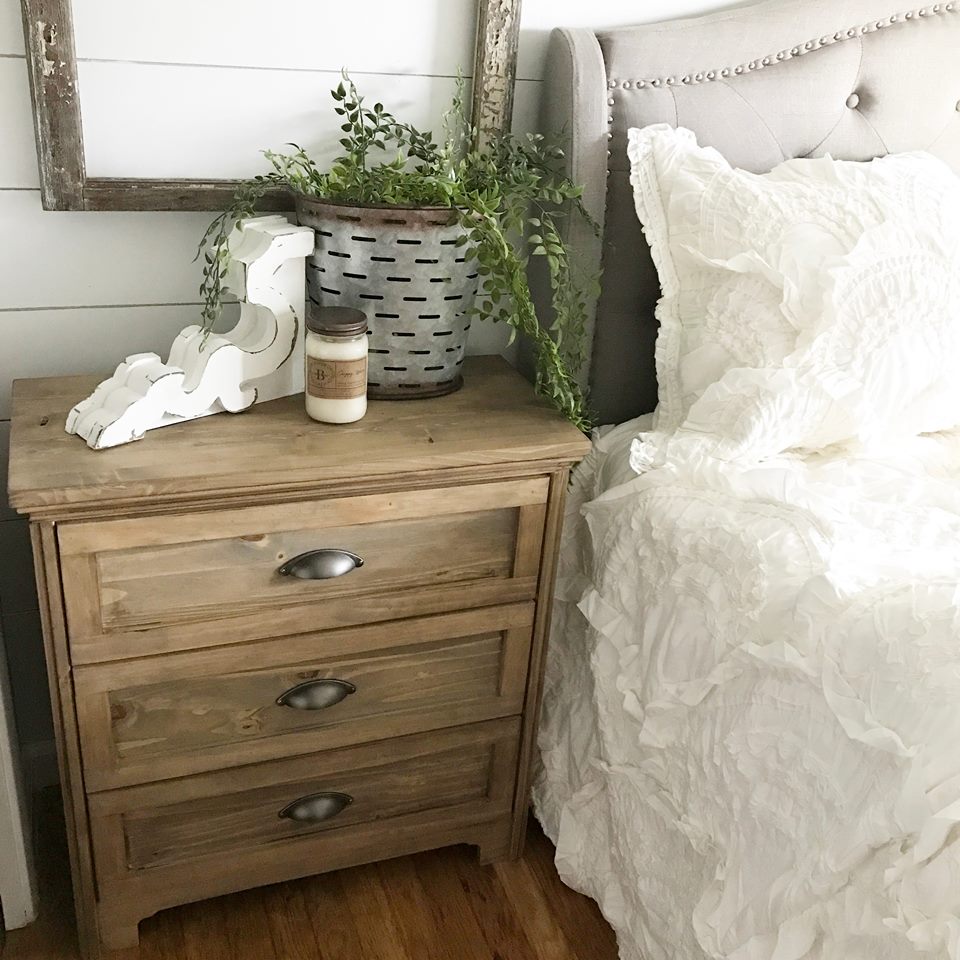
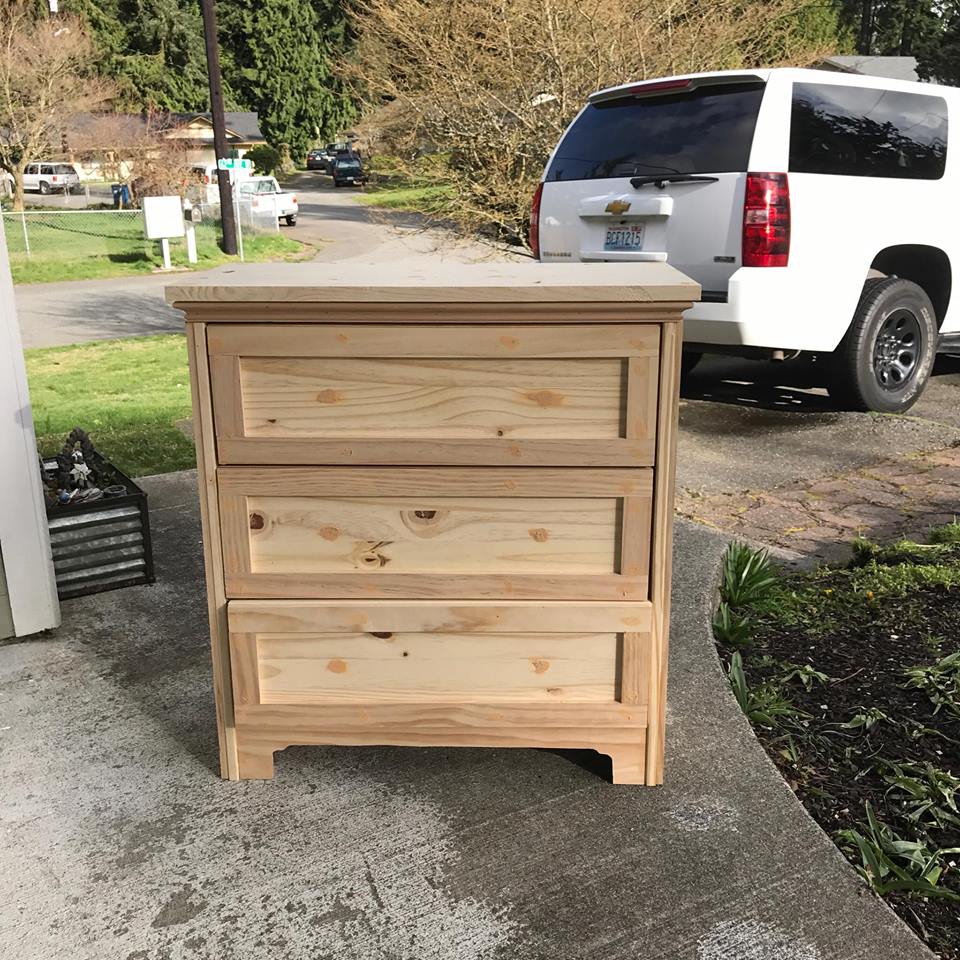
Now here is the final product! It was a pretty easy project, it just took a little longer than putting together the actual dresser! We love how it turned out and all the space it provides!


Where did you get the tutorial for how to do the bottom cutout? Can’t click the link
What material did you use to trim out the drawers?
I love this!! Do you know what the height ended up being in the end after adding the trim and board to the top of it?
I often use items from this store to create my project using extraordinary lines that I can remake as I need.
I cannot find this on my IKEA website…I think they discontinued it?!
I have been googling it and it seems like no one really knows, I just got it recently and all of a sudden gone! It shows available in Canada ….and what I found it has a "quality control" issue…. and they took it down for now. So hopefully they bring it back soon!
This looks amazing! I think I know what my husband’s next project is!
Awe thank you so much! Good luck!!