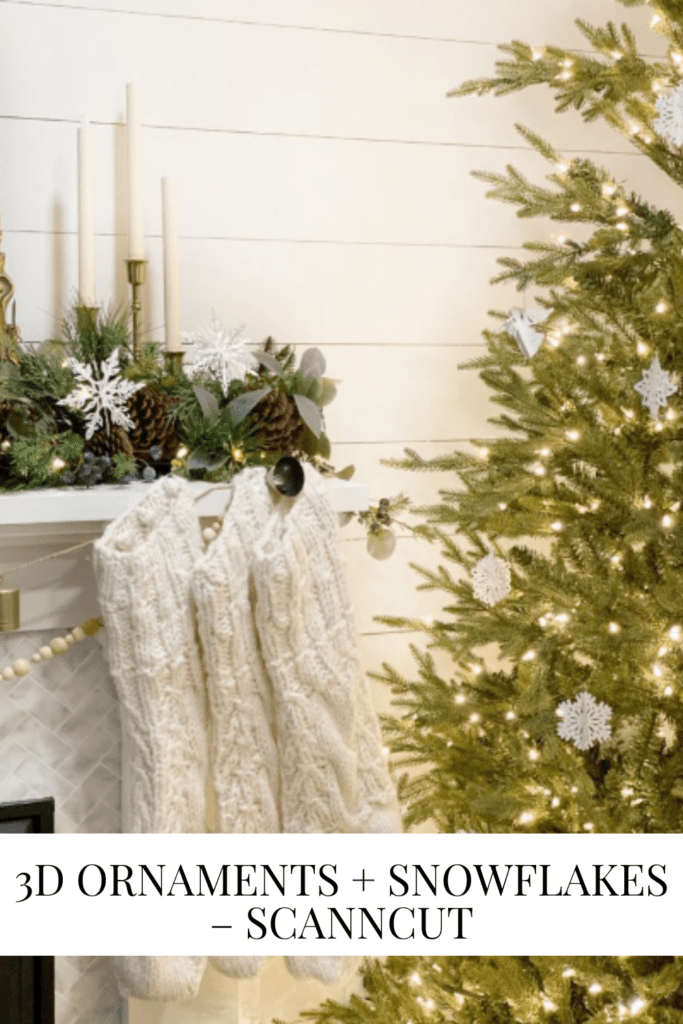
3D Ornaments + Snowflakes – ScanNCut
Can you believe it’s almost Christmas? Today we are making some last minute 3D ornaments and a snowflake garland using the Brother ScanNCut SDX85

Here is your sneak peek, now let me show you more and how to make these!
Supplies :
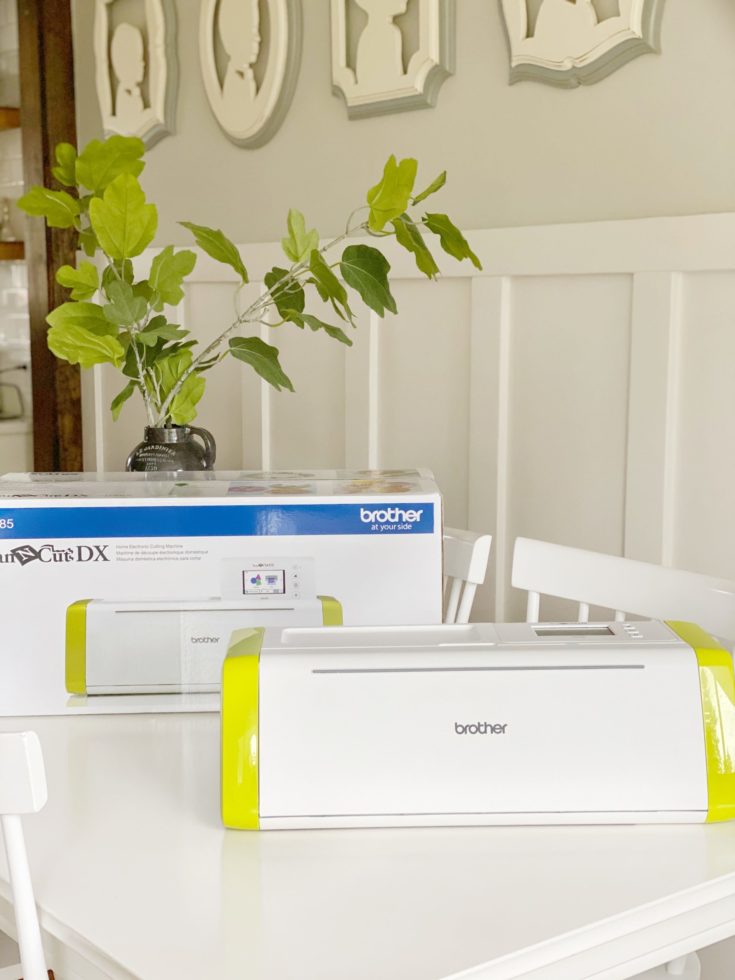
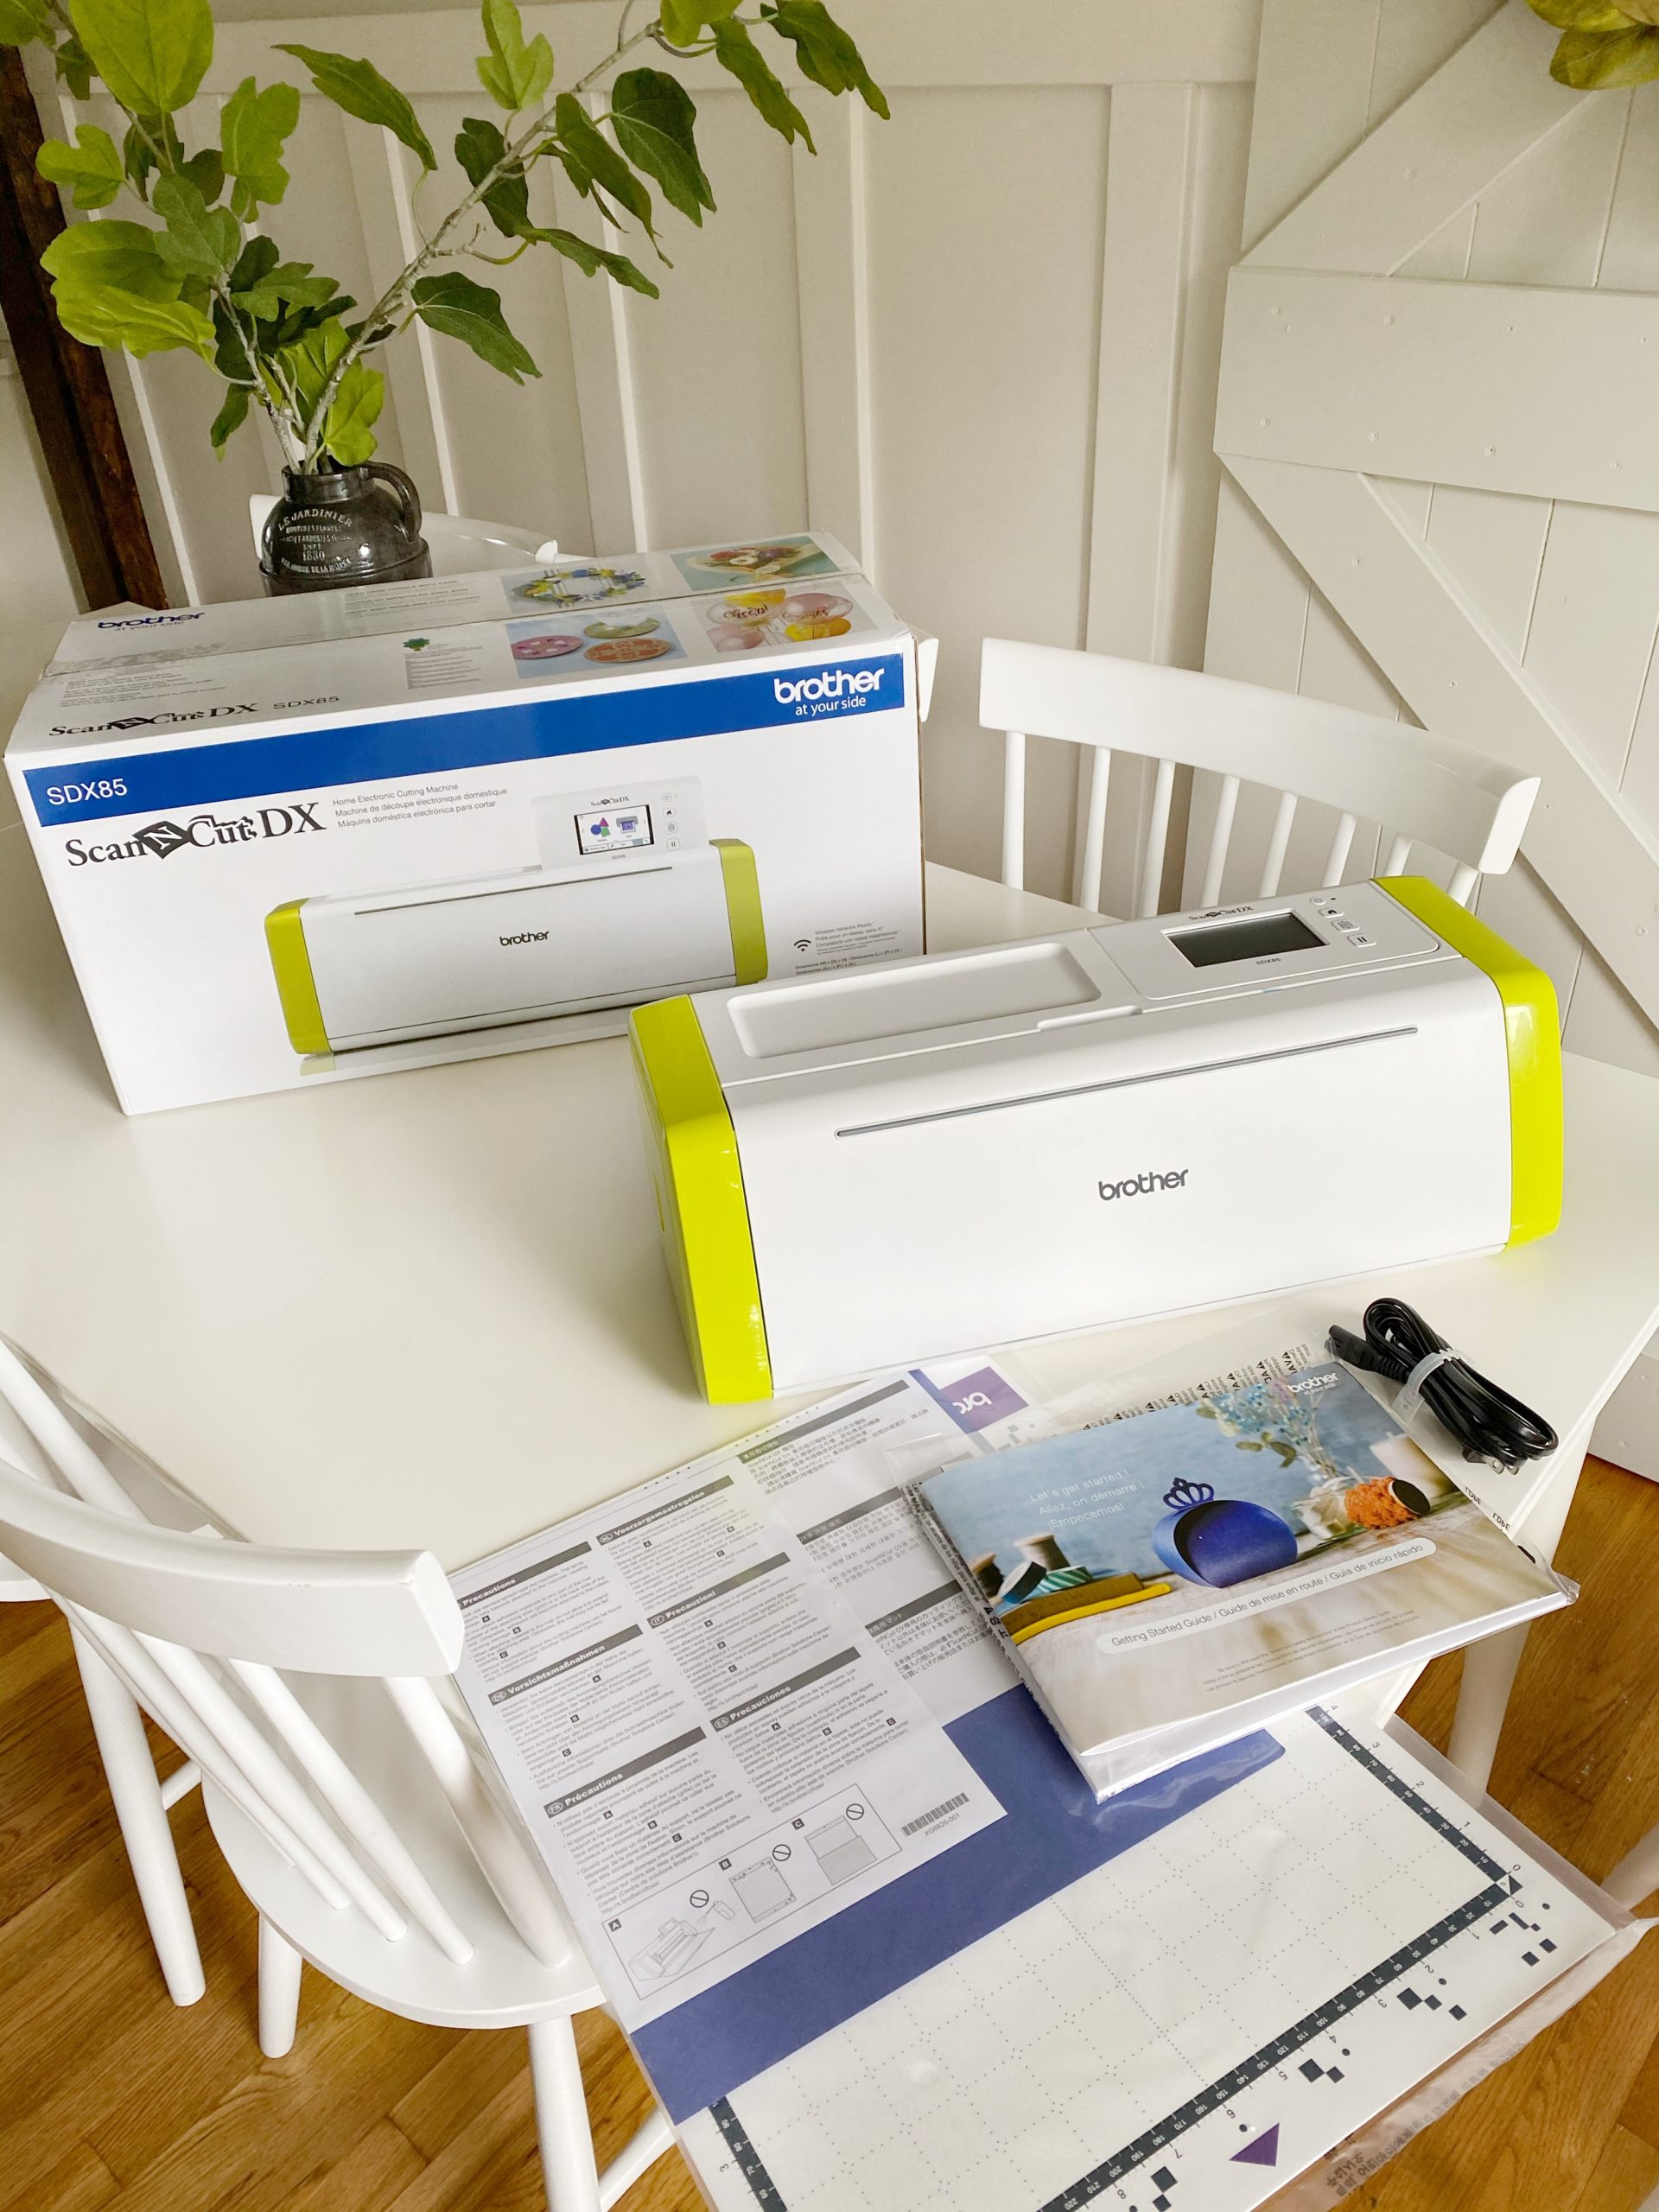
Brother ScanNcut SDX85
Computer
Cardstock
Wire
Weeder
SVG Snowflakes
SVG Ornaments
Now that you have all your supplies we are going to go into the CanvasWorkspace and upload the SVG of your choice.
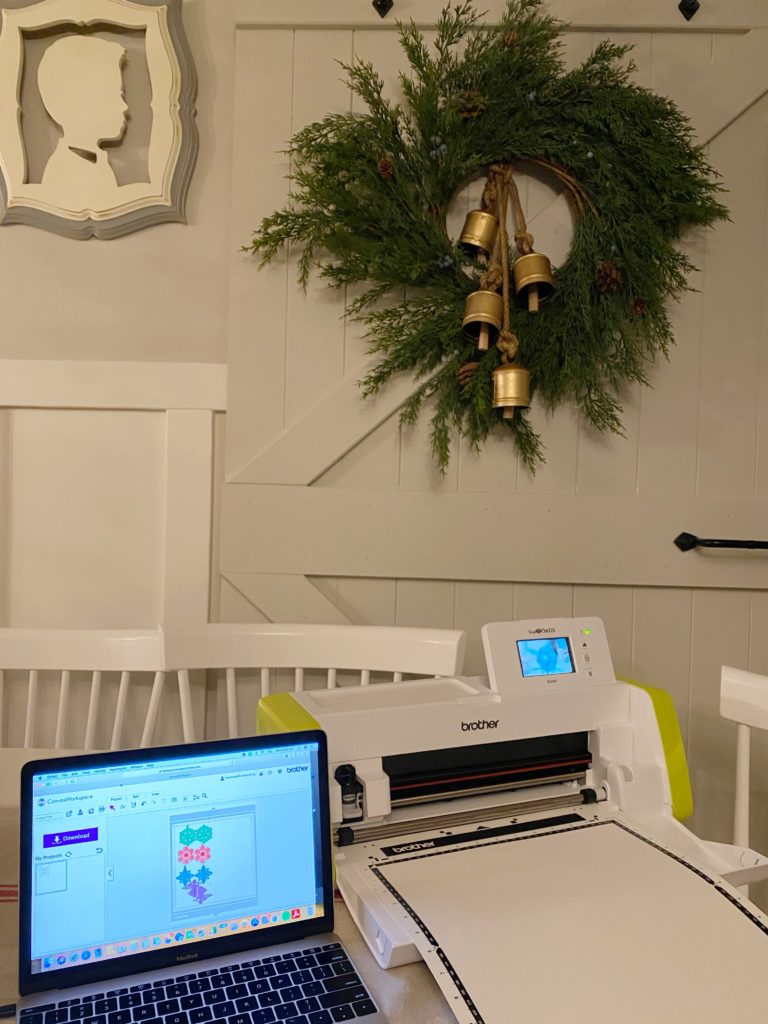
I let you know last time HERE how much I loved using the CanvasWorkspace from Brother. I might have gone a little crazy and bought a bunch of SVGs only to find out the amazing ones they have for you for FREE in CanvasWorkspace.
You can see above that I am in the CanvasWorkspace and all you do is add your svg, press a button on your computer then on your machine and Viola the project is ready!
First we are going to be making ornaments, it is a set of 4. They are 3D ornaments and so delicate. I have really enjoyed making these and hope you do to!
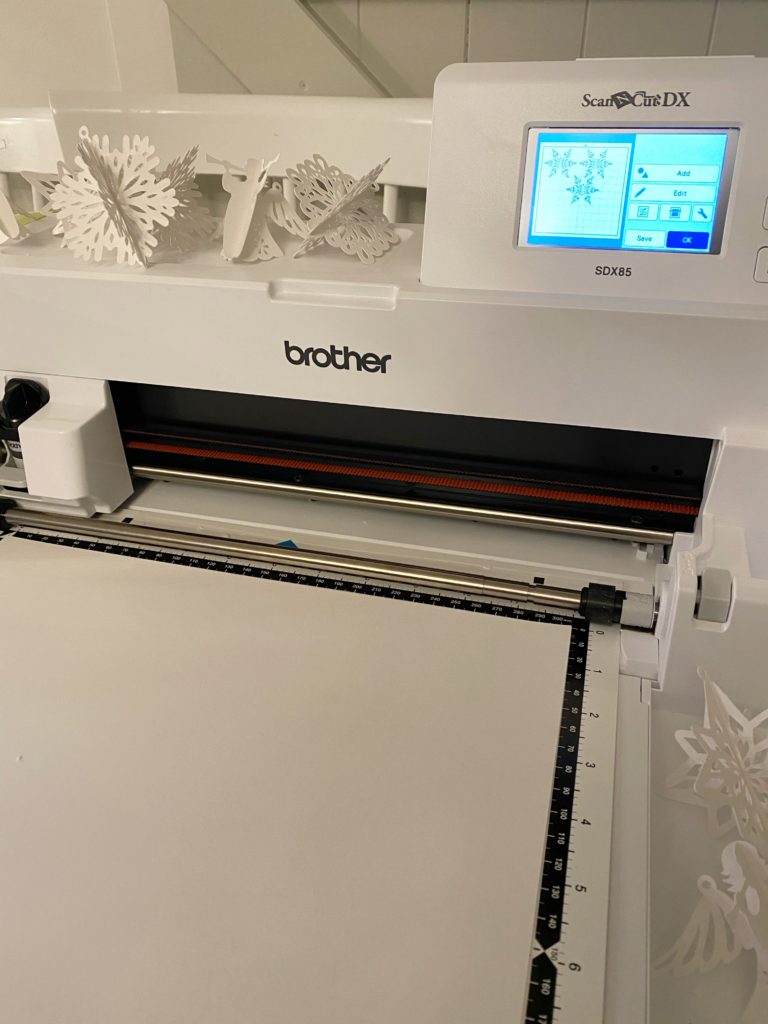
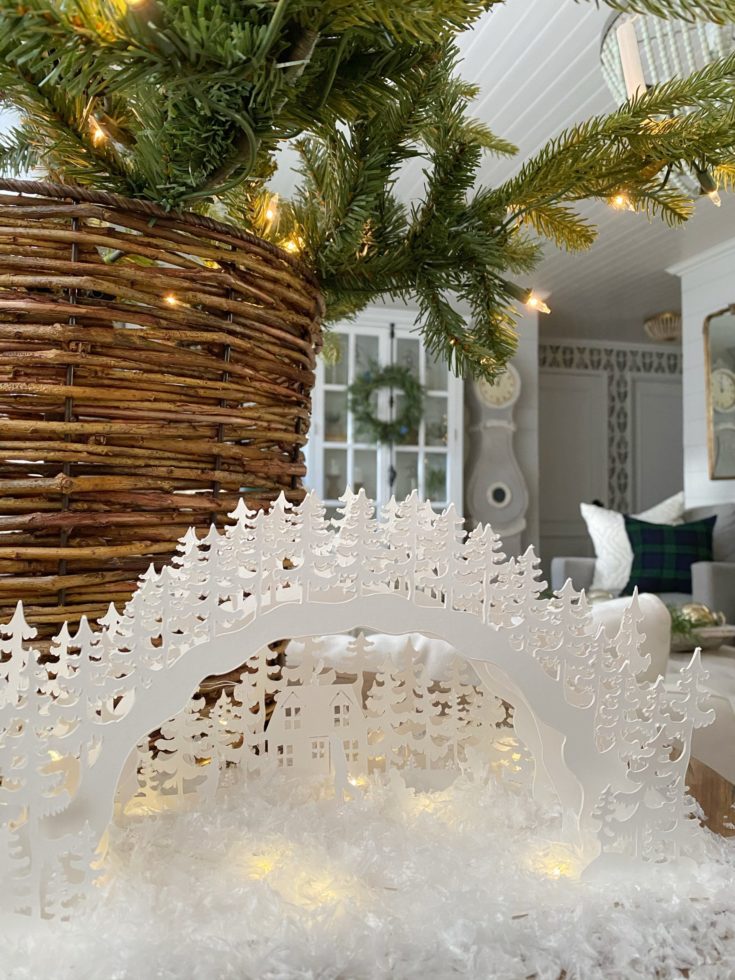
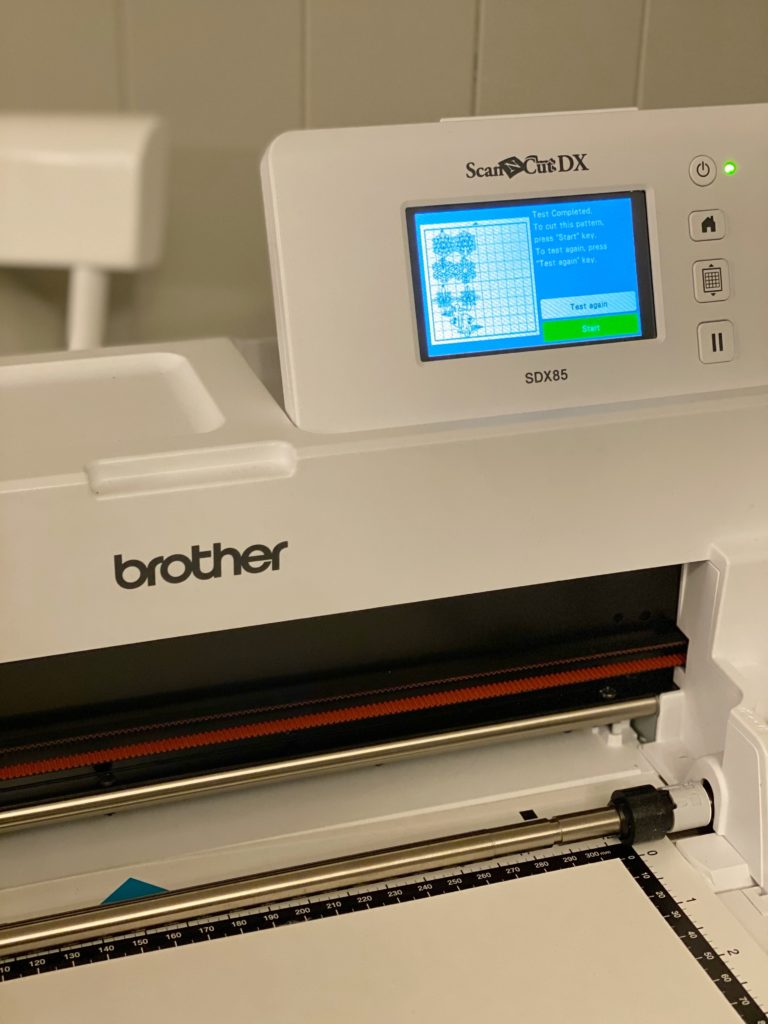
You can see the little sneak of the ornaments, but first let’s make some 3D Snowflakes! If you go onto the CanvasWorkspace you can see that version.
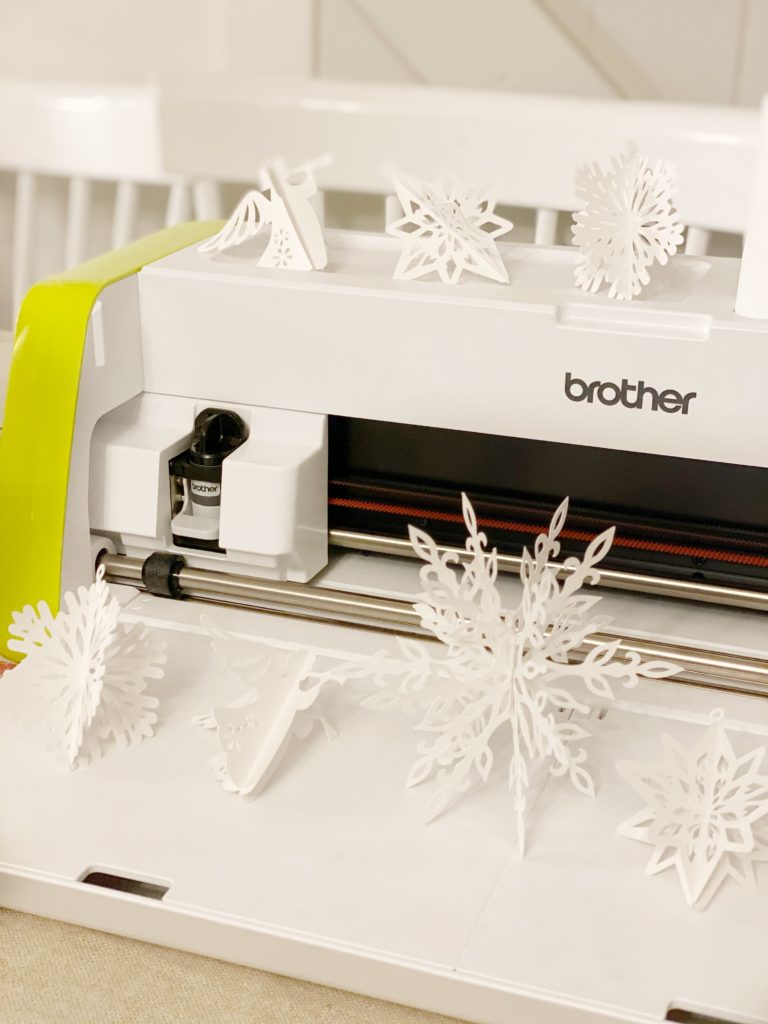
Aren’t they so delicate and the details….! I am so impressed by the Brother ScanNCut!

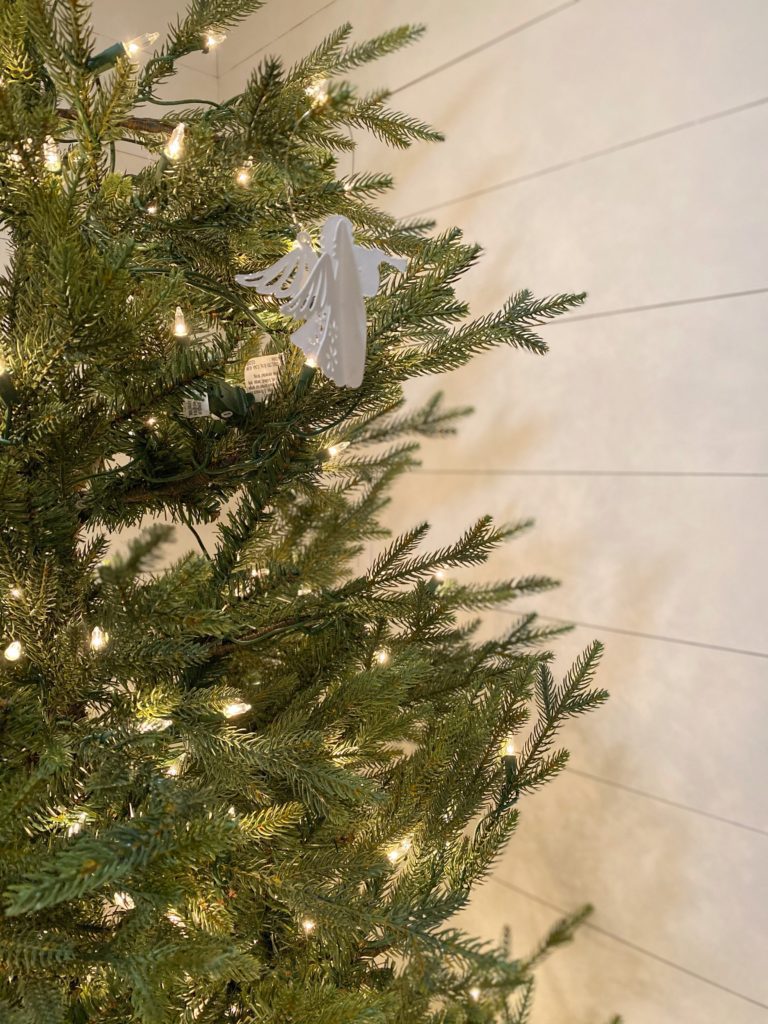

Here you can see each of the ornaments, really I should probably decorate the tree … but for now enjoy this view.

It is all in the detail, and I really love to be creative. These snowflakes were just perfect for this space.


I see little sneaks of BIG snowflakes, I can’t wait to show you as I complete my project.

You can find the pattern I used HERE.


Little snowflakes everywhere! Stay tuned for a next post to see what these turn into!
Thank you so much for following along – I can’t wait to share my next project!
Like this post? Save it on Pinterest. Follow me on Pinterest.