Christmas DIY Decor – Brother ScanNCut DX
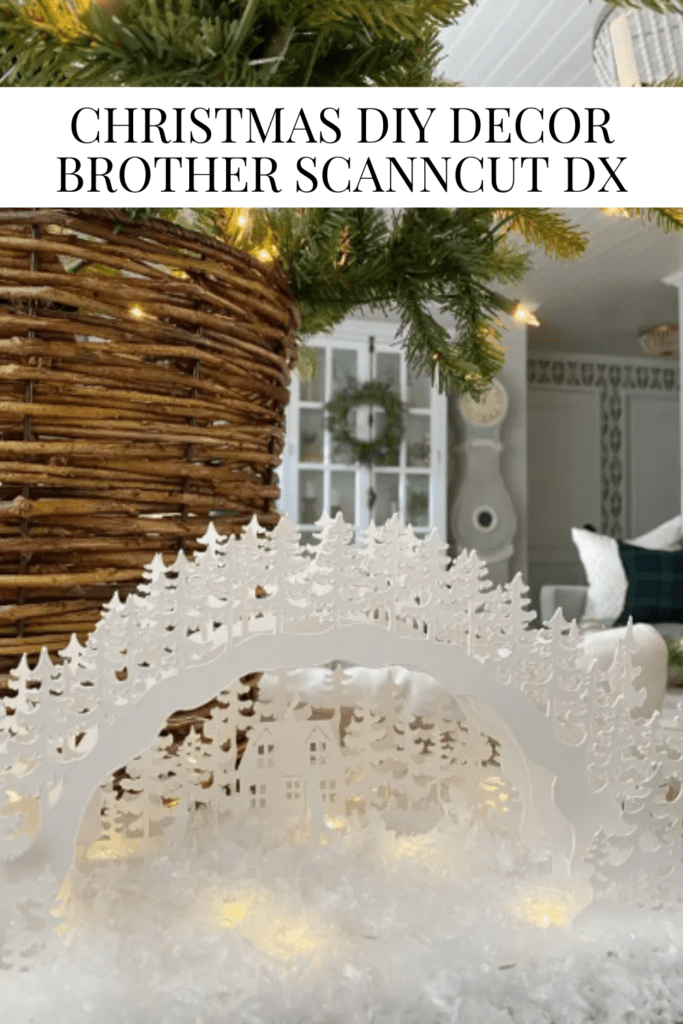
What I love most about Christmas is all the memories. Today I will be sharing how I used my Brother ScanNCut DX and made my own Christmas DIY Decor, a Woodland Skating Scene Schwibbogen.
Growing up we had candles on our Christmas Tree and little pieces of our German heritage in every corner, these are the memories I will always remember and cherish. We have the candles on our tree, but I wanted more.
This month with my partnership with Brother Crafts, I wanted to share a project using my Brother ScanNCut DX. I wanted it to be out of my comfort zone but something that was special to me, and there we have the Woodland Skating Scene Schwibbogen.
I will be sharing how I did this project, what you need and the cost and time invested, now let’s get started.
HOW TO MAKE A WOODLAND SKATING SCENE SCHWIBBOGEN.
WHAT YOU YOU NEED:
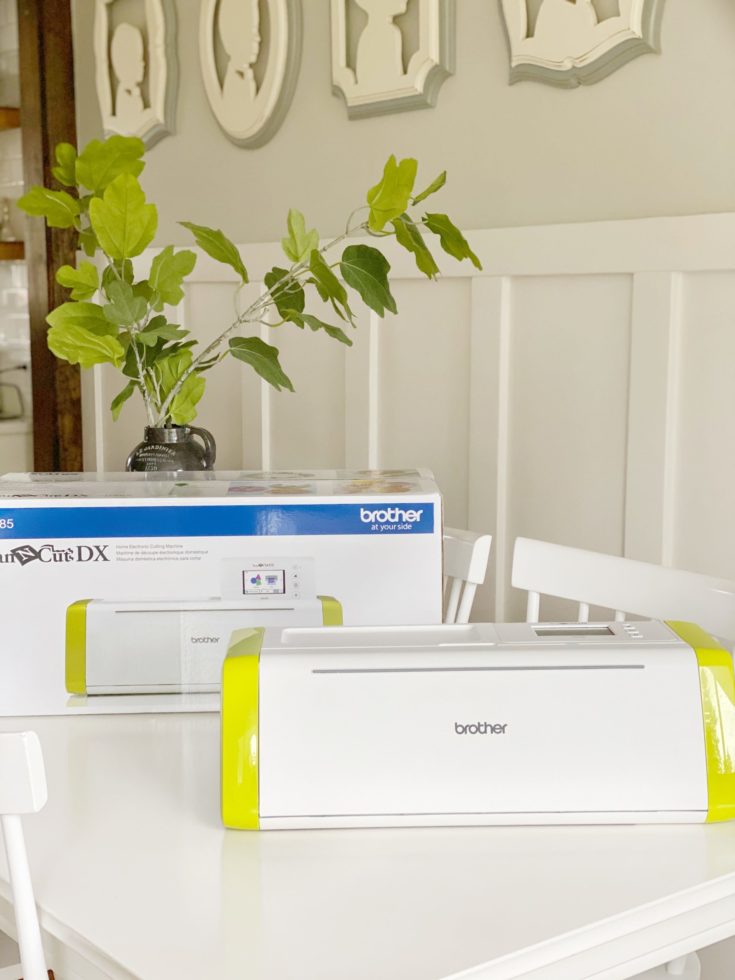
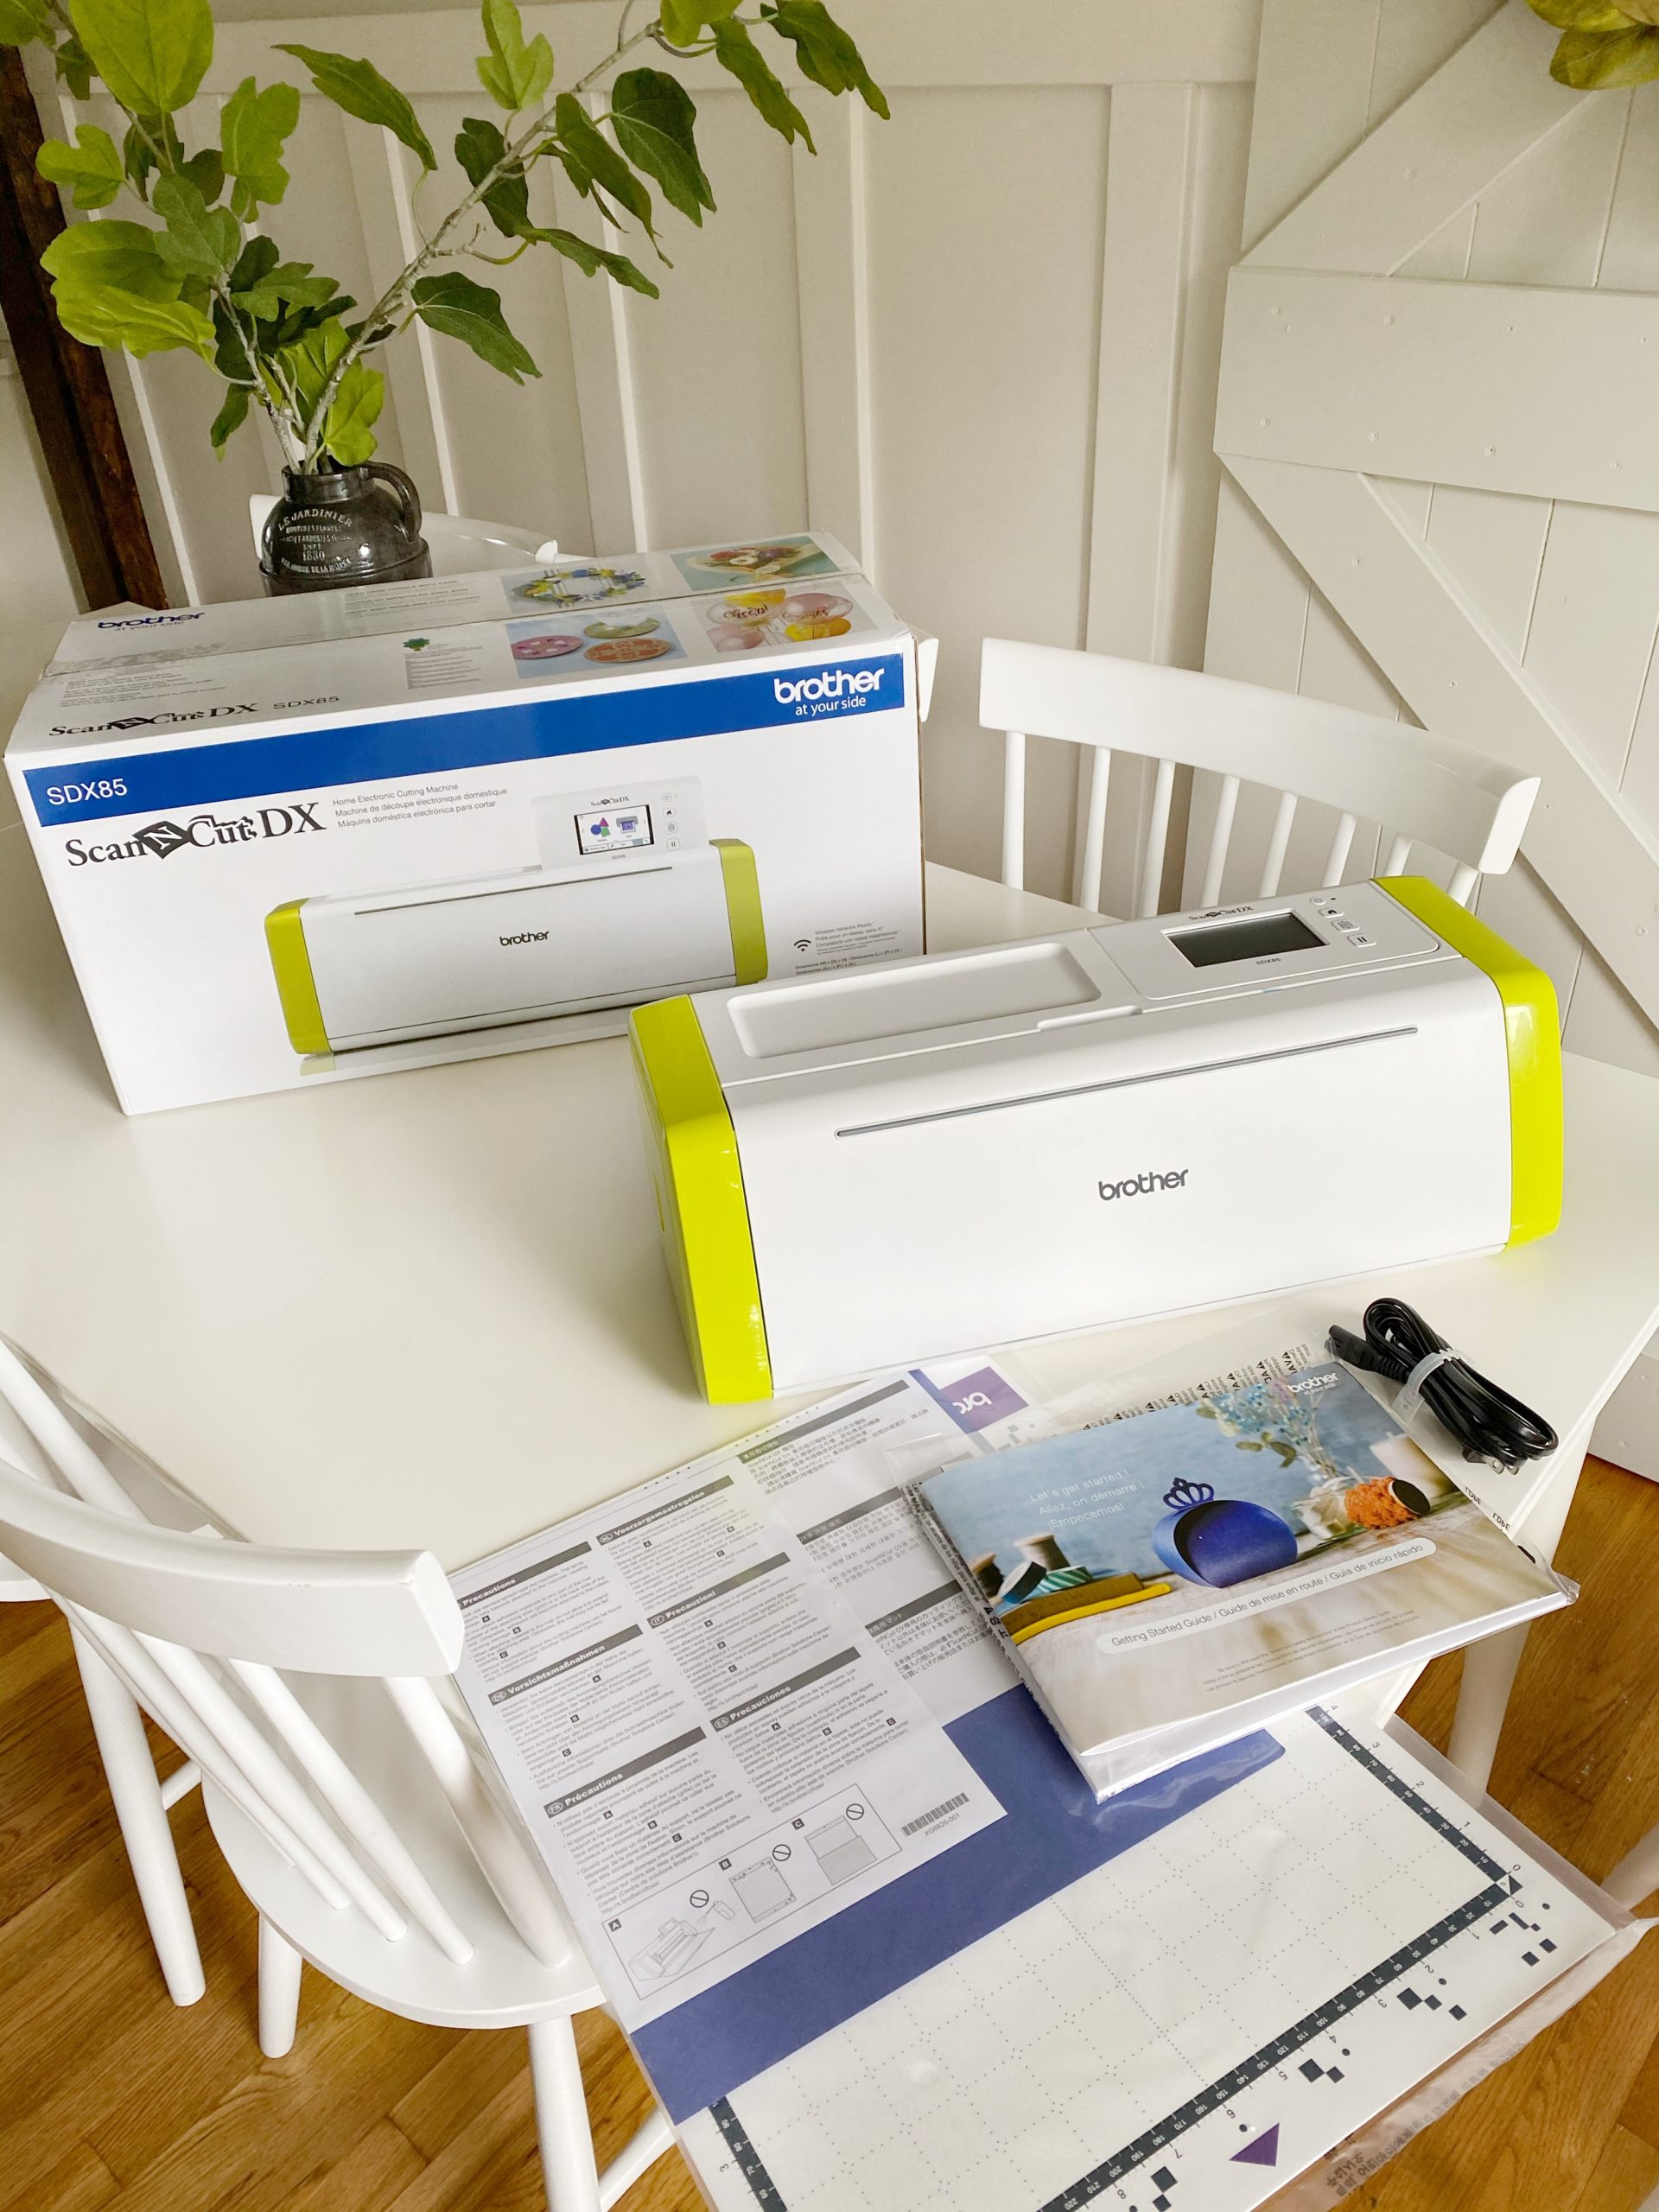
Brother ScanNCut DX or SDX85
Cardstock ( 100lb) 12×12
Glue Stick
Woodland Skating Scene Schwibbogen SVG HERE
For this project, I said that I wanted to go out of my comfort zone. Typically I just use the built in designs on the Brother ScanNCut and today we will be using the CanvasWorkspace with Brother HERE.


When I first started using the Brother ScanNCut what drew me to it was the built in designs, I loved how it was all there and I could just plug in and go! It is so good for those who would typically buy something, and want to leave it in the box because you are overwhelmed trying new things.
Having the built in designs get you HOOKED on the ScanNCut for the ease of it. I was honestly SO nervous to use anything but the built in designs, and I am SO glad I decided to try the CanvasWorkspace. The only downfall is, you will be thinking of what’s next and all you can do!
Let’s get started!
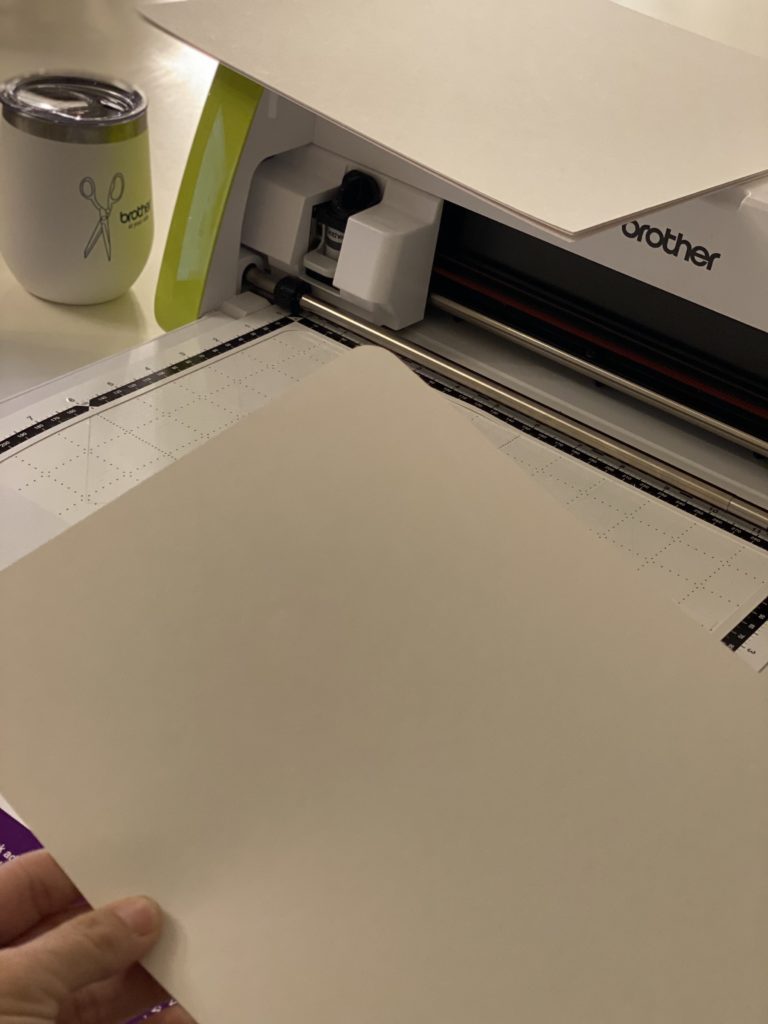
Now that you got the CanvasWorkspace all set up. Make sure your SVG file is downloaded to your computer, then upload to the workspace. Once you do that, you will send it to your Brother ScanNCut.
Time to cut!

While it is cutting out, this is a bit intricate so make sure to watch the paper on the mat.
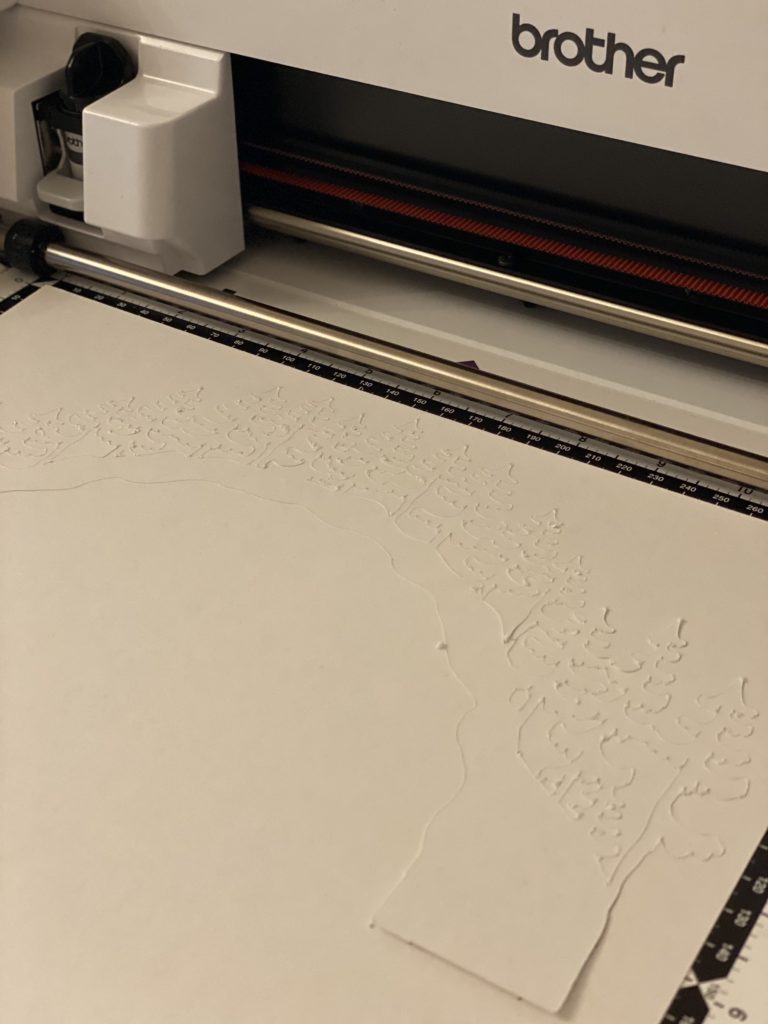
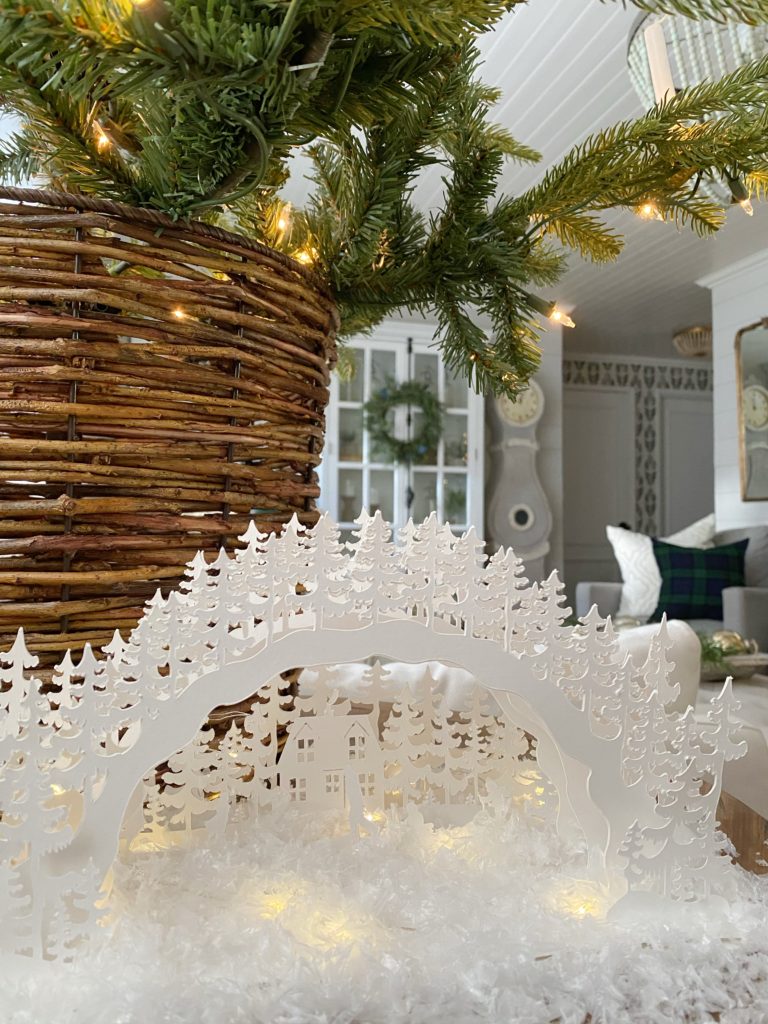
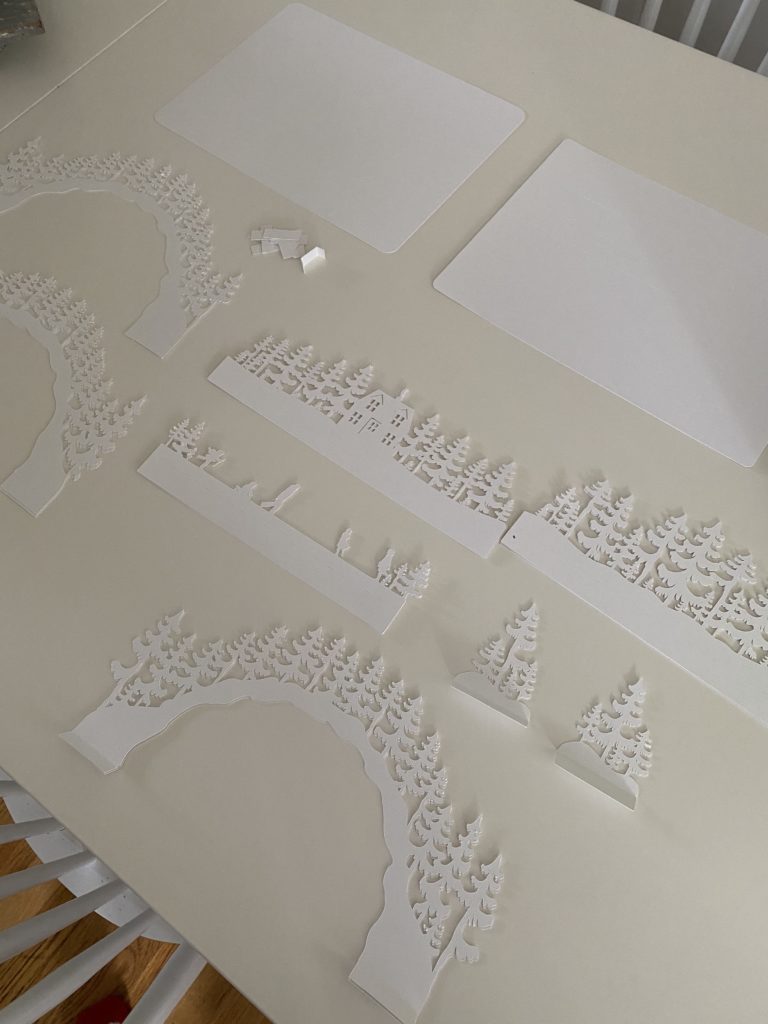
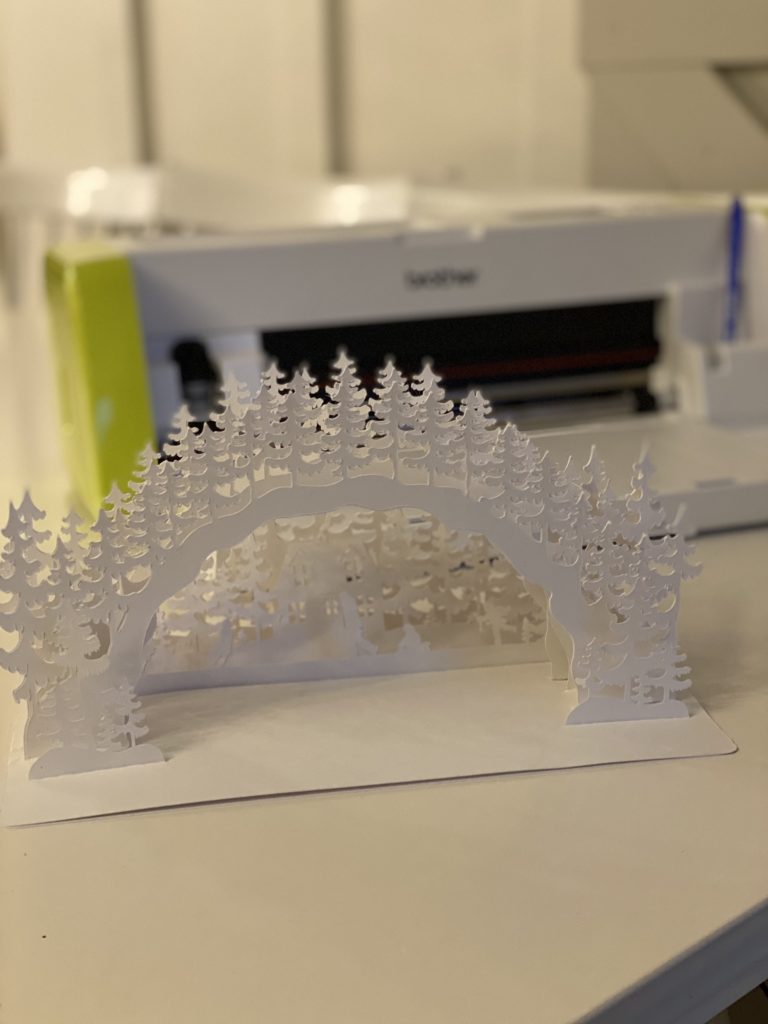
Here it is cut out.

Isn’t this so incredible! I am just amazed watching the Brother ScanNcut do each of these little cuts.

For this SVG file, I had the Brother ScanNCut do each design twice so it makes them thicker when complete.
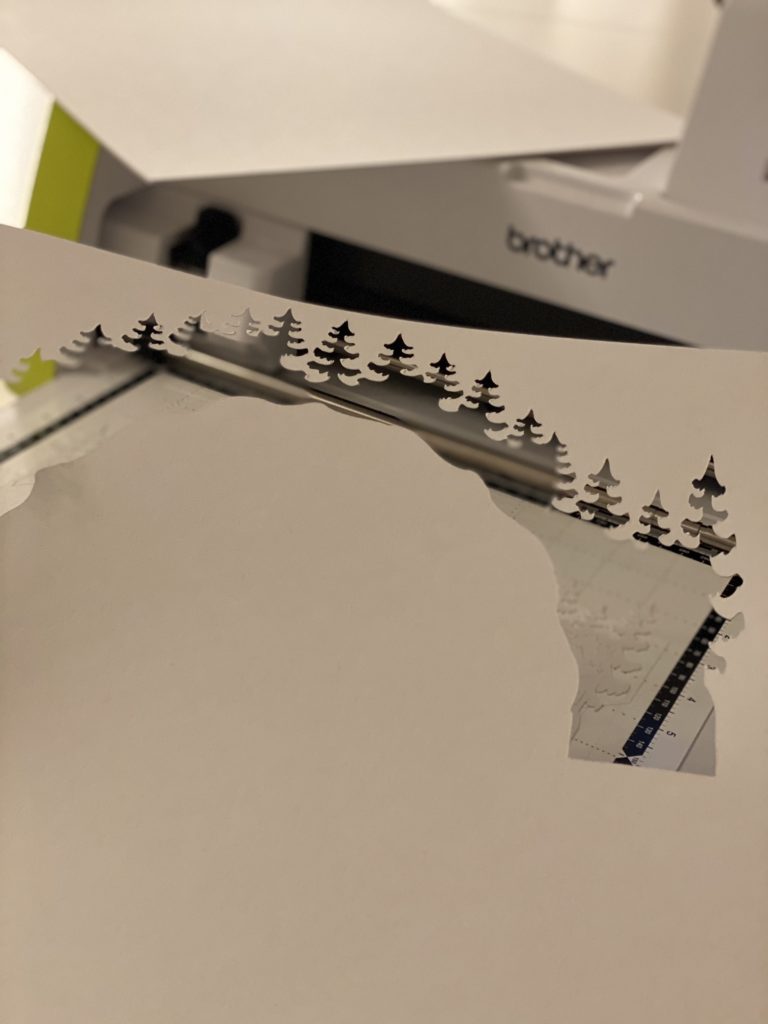
This little scene you can even keep and use for other projects, it is so pretty.
You will go through all the steps and this piece you see here holds all the pieces. I love with this SVG file they thought of it all.
How much time did it take?
I will say, this project is lengthier but so worth it!
The total Time around 3 1/2 hours to cut ( Since we doubled each layer)
Time to put together and finish ( 15 min)
Total : 3:45

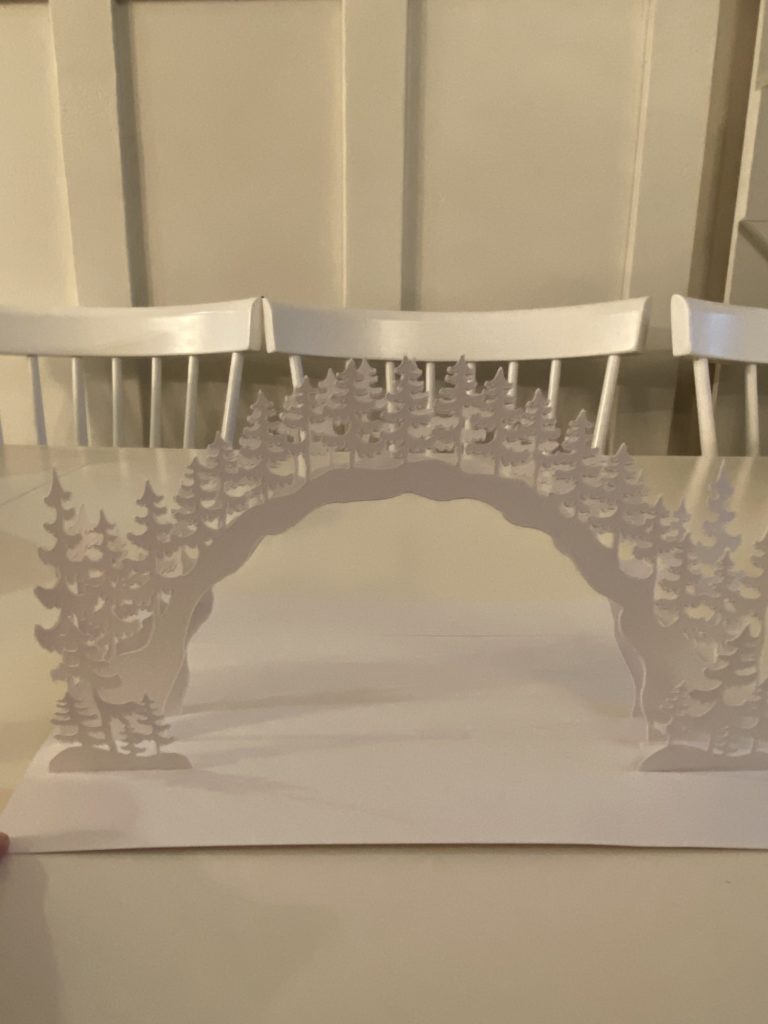
Here it is all complete! Isn’t it so amazing what the Brother ScanNCut can do!
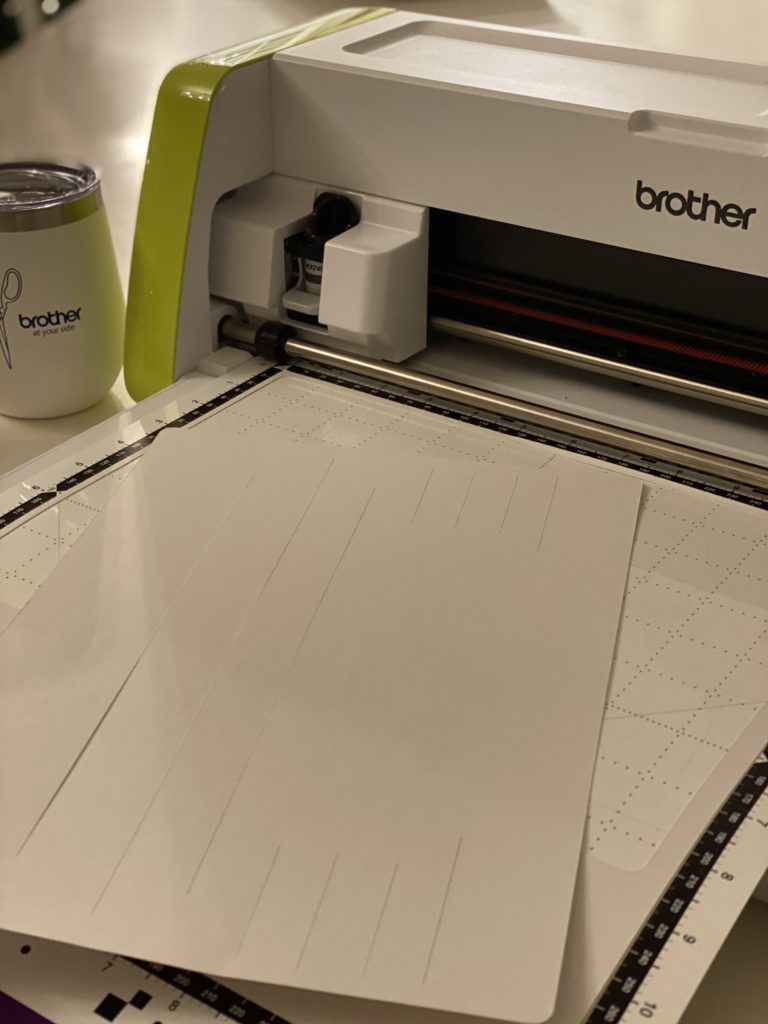
Now we are going to glue the two layers together. Make sure to glue even the part you fold.
Time to put it all together :
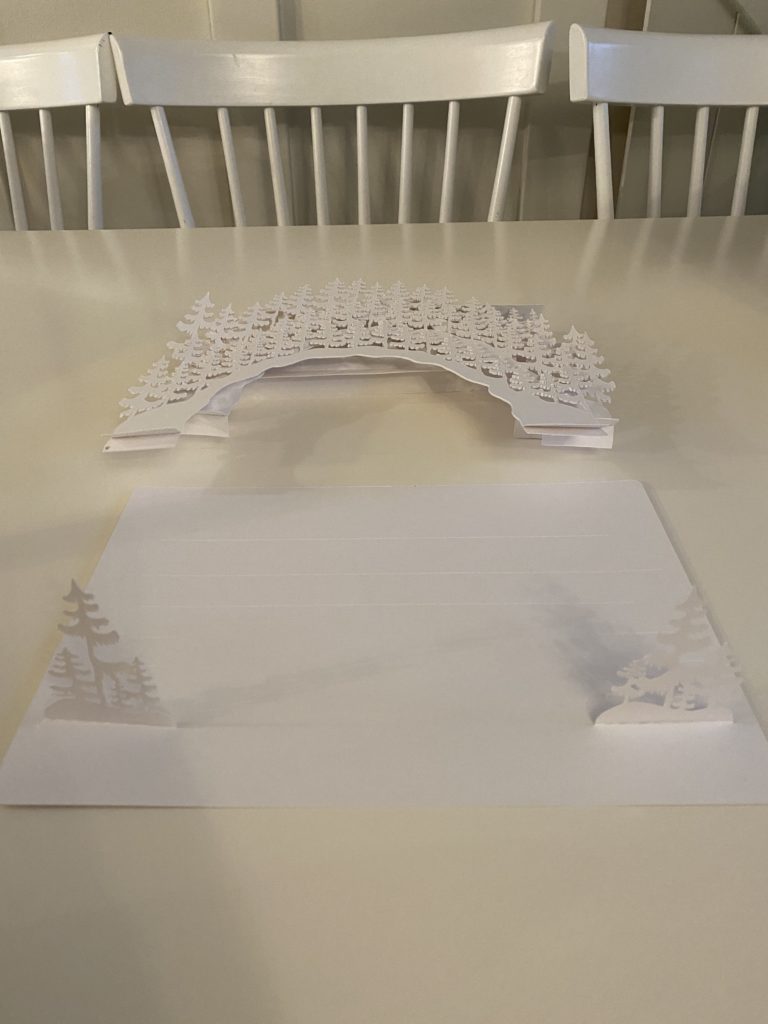
You need to use the paper with all the slits. You will place each layer underneath and glue or tape it underneath. ( I did tape)
You will keep going with each layer till you get to the end.
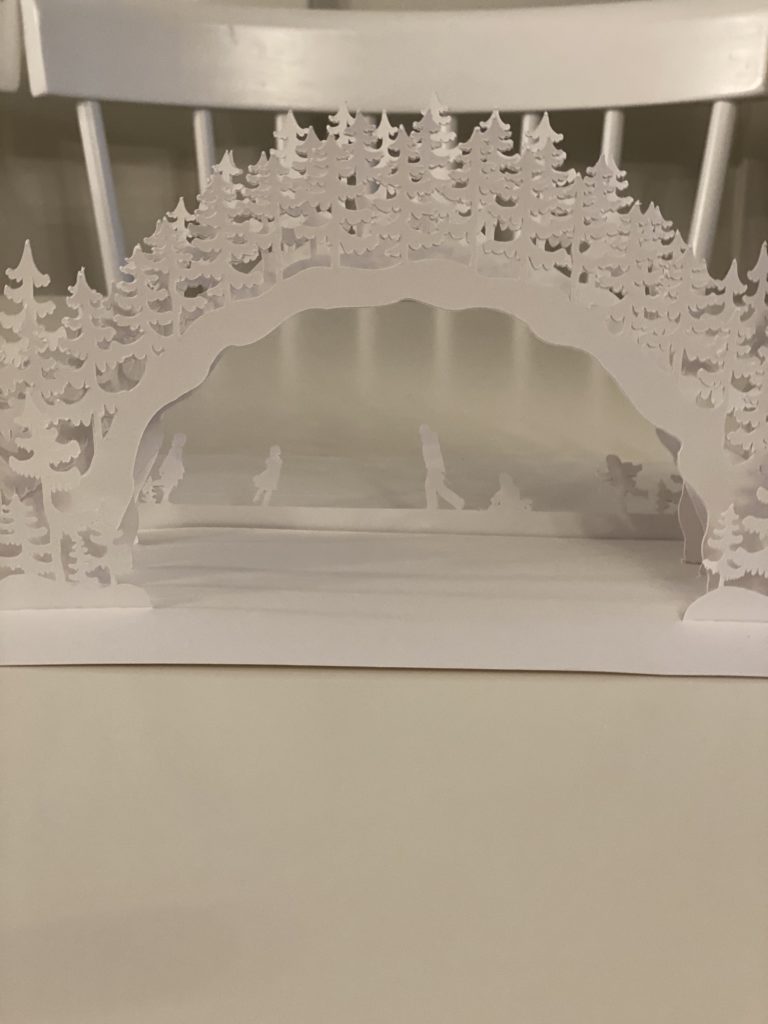
I have to say this one with the TINY little people is my favorite part. Do you see how well the ScanNcut cut these pieces.

Here it is all complete! My Christmas DIY Decor using the Brother ScanNCut DX. I can’t believe how beautiful this Woodland Skating Scene Schwibbogen SVG and I can’t wait for my next project!
Thank you again Brother Crafts for sponsoring this post.
To Shop the items for the project tap on the photo below :
Like this post? Save it on Pinterest. Follow me on Pinterest.