Kitchen Organization: Labels
It’s a new year, and it’s always fun to organize! Let’s make some labels for my kitchen today – I will be showing how I use my Brother ScanNCut!
I have done labels before HERE but this time I purchased a file, and converted it into an SVG! Each time I do a project with my Brother ScanNCut I try to do something out of my comfort zone and its made it so much fun and I have learned a lot along the way!
Ready to get started? I have some fun new Jars we are going to work on and stay tuned we will be doing spice jars soon too!

It’s time to start on our kitchen labels! If you are new to using a Brother ScanNCut I have a bunch of posts at the bottom so don’t miss those!
Supplies :
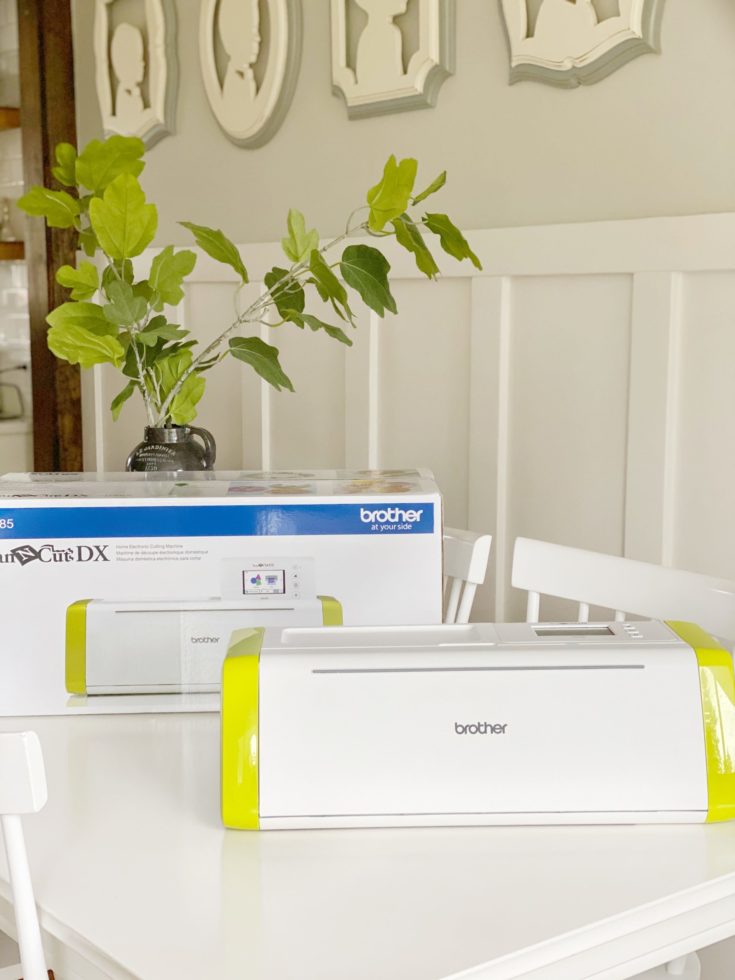
Brother ScanNCut
Vinyl *You can do any color, permanent if you want to dishwash or removable if you like to change things up!
Weeder
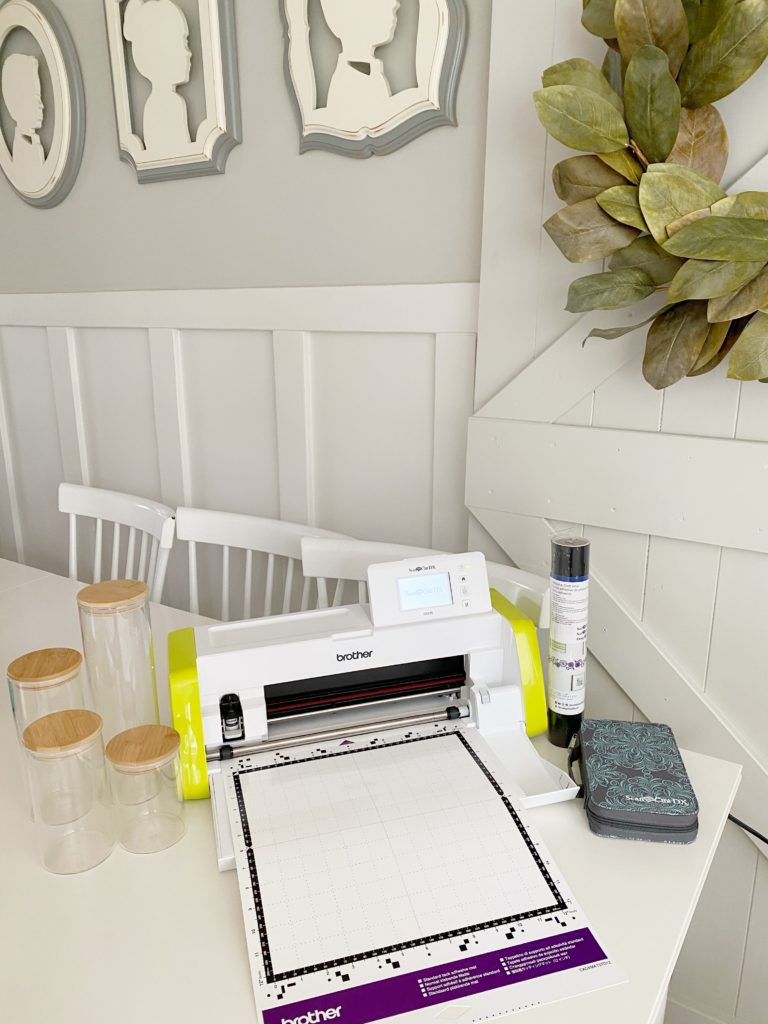
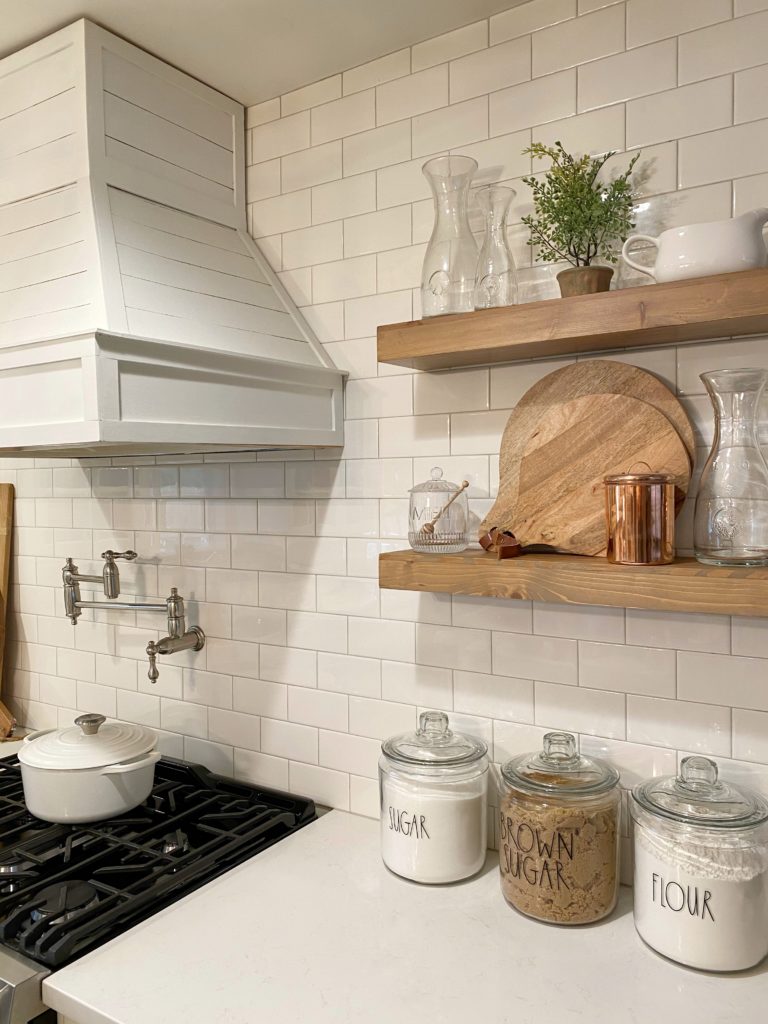
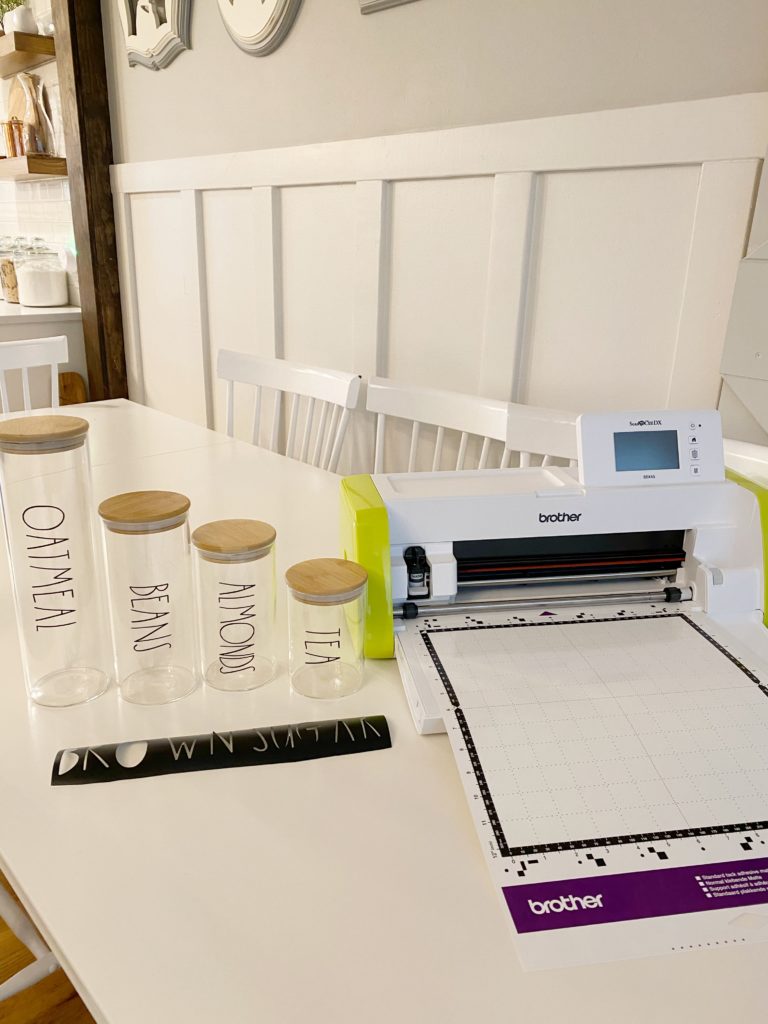
Here are the fun NEW jars we are going to make labels for in my kitchen! You can see the other ones above they are a favorite and they needed some labels too!
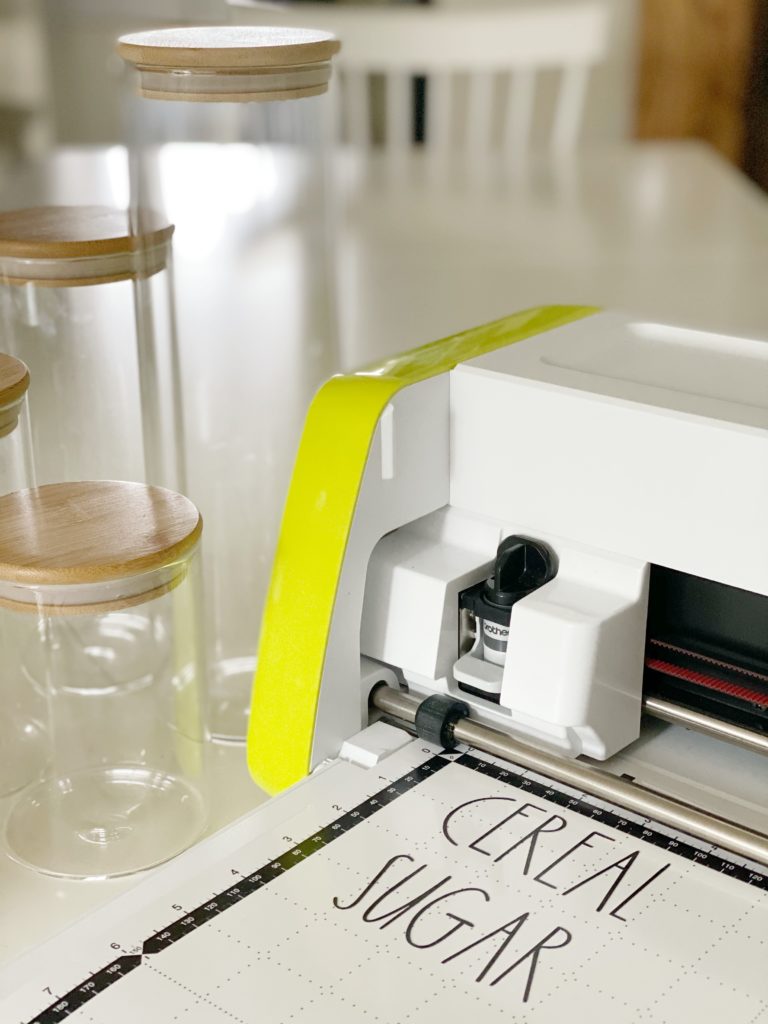
The Brother ScanNCut has it where you can use the LCD touch screen display and use their built in designs or letters. There are so many to choose from but I wanted to try something new for my kitchen labels.
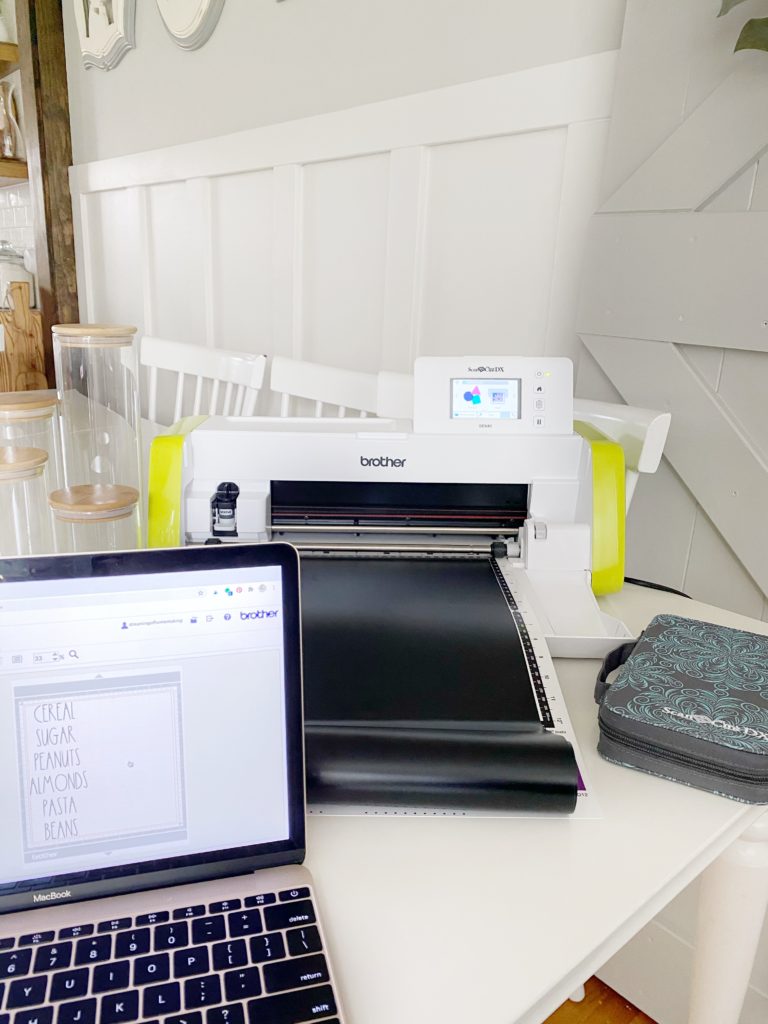
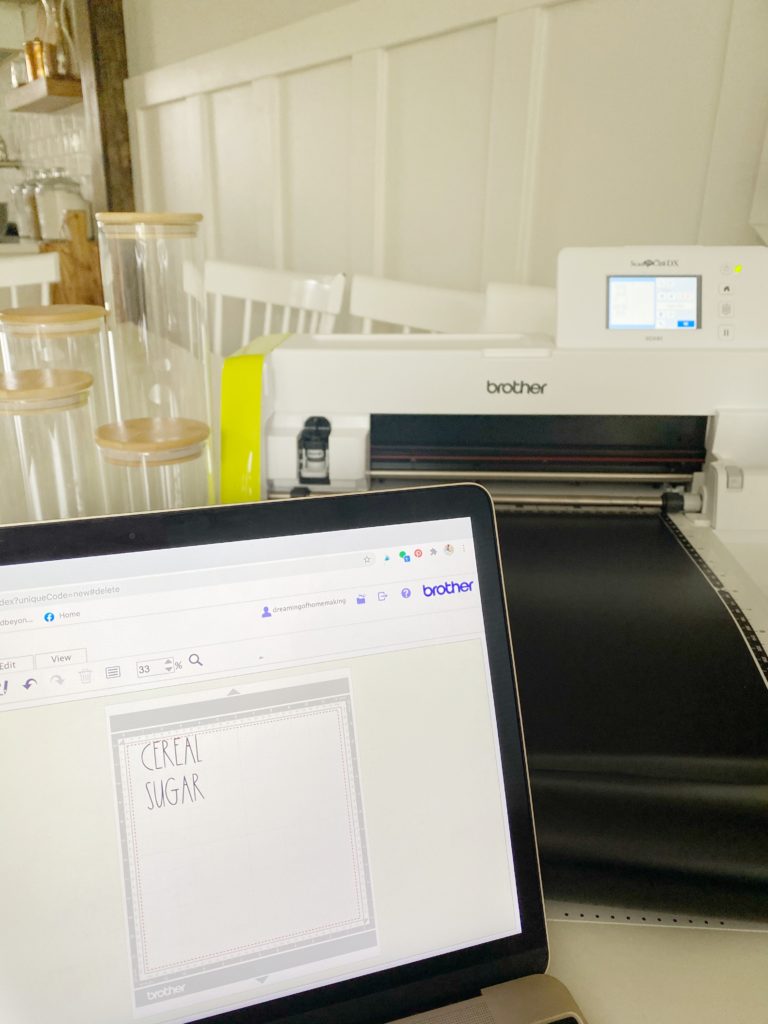
What I did is I went HERE and found the labels I loved. Then I used a program online and converted it into an SVG file. From there I went and used Brothers CanvasWorkspace and it is so easy to use! You just upload your SVG and edit anything you need. After that send it over to your ScanNCut and time to get ready to cut!

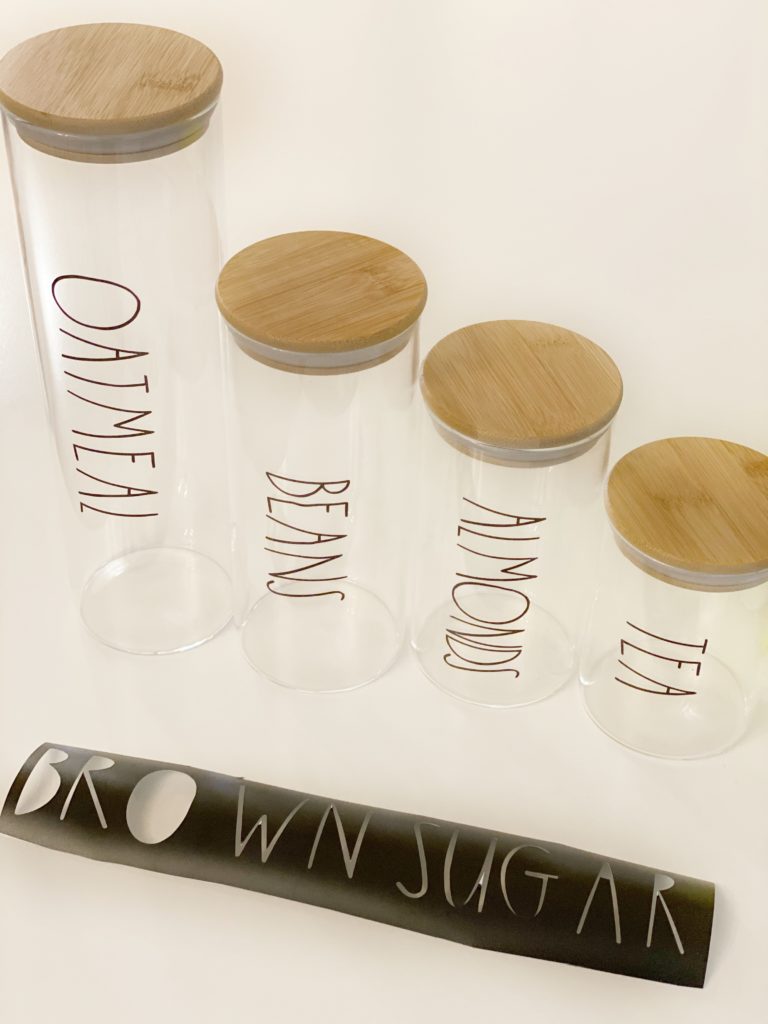
Here you can see it all cut out! Aren’t they so cute! I love how the Brother ScanNCut can do such intricate cuts!

Now it’s time to fill these up and show you the other kitchen labels I made!

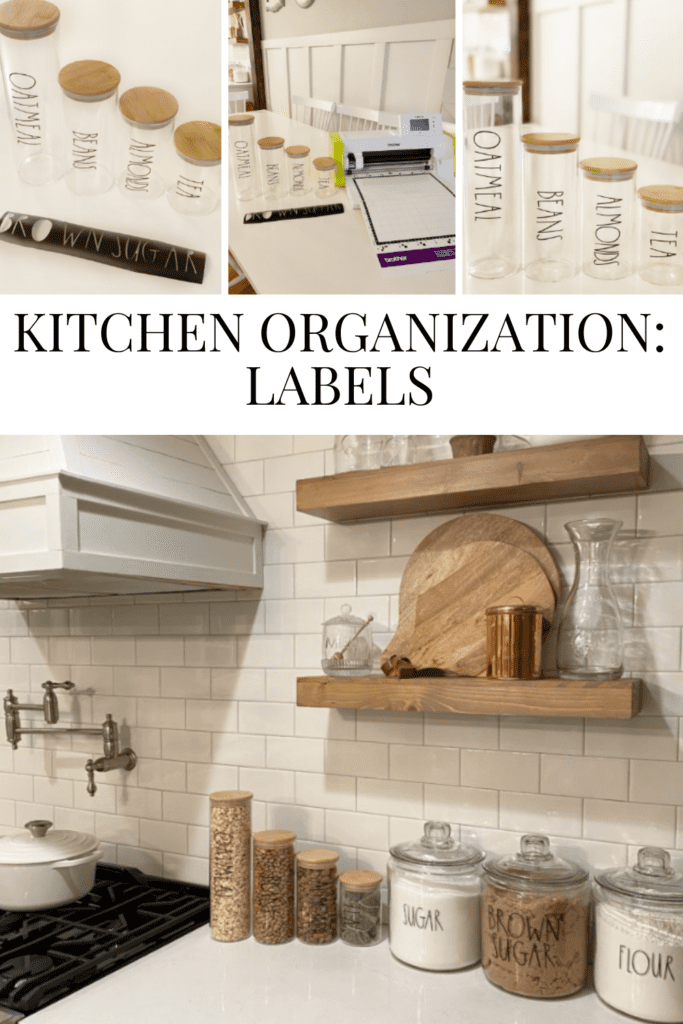
Here they all are! I love how they turned out! Such an easy project that makes such a difference, as soon as my family walked in the kitchen they noticed them! I will be doing spice labels next, and getting a whole area set up – I can’t wait to show you!


For the kitchen labels you can do any color of vinyl! I did the black so you can see it with the flour, and in person you can see it well on the darker colored items! The options are endless!

I hope you enjoyed following along on this project, it was so fun to do and I love to be able to take a moment out of my day to be creative! Check out for the other ideas below, and hopefully you leave inspired!
Like this post? Save it on Pinterest. Follow me on Pinterest.


First off, your blog is amazing! Wow, I love the new design. I can tell you worked hard on this.
Second, your canisters are awesome! The Brother machine looks incredible. I loved this post.