DIY Raised Garden Bed
How to build a DIY raised garden bed, that anyone can do! Let me show you how we built them and stay tuned to see our NEW garden!
I shared all about our garden plans, and while its taken awhile to share, we have been busy little bees. While I wish this all happened as quickly as it may seem we have had lots of projects in the mix with redoing all of our landscape and then working on our garden – so we have lots to share! Let’s start with these garden boxes!
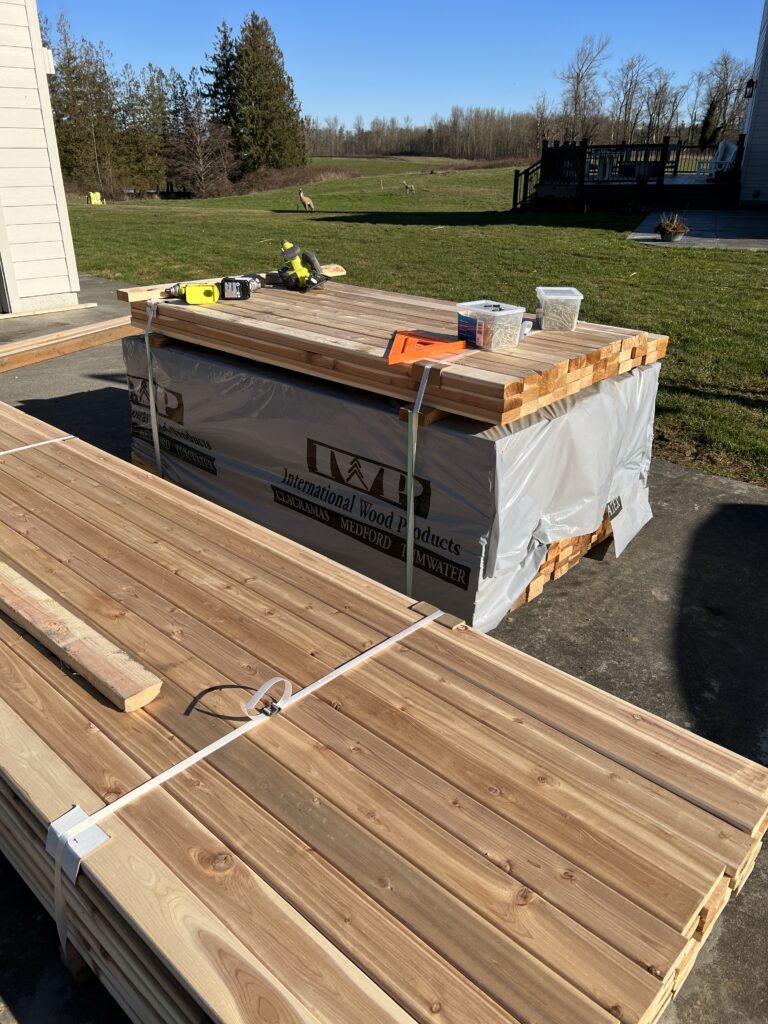
First the hardest part – buying all the materials! Wood is sooo expensive and yes we got cedar so even more!
What you will need for your DIY Raised Garden Beds:
Cedar Wood 2x4x6( You can do in whatever length you choose we did 12 foot beds and 6 foot beds)
* We did buy the smaller 12 foot ones, honestly I wouldn’t recommend spend the extra and do 2×4
Wood Screws
Drill
Saw
Saw horses
Level
Quick Square/T Square is so handy!

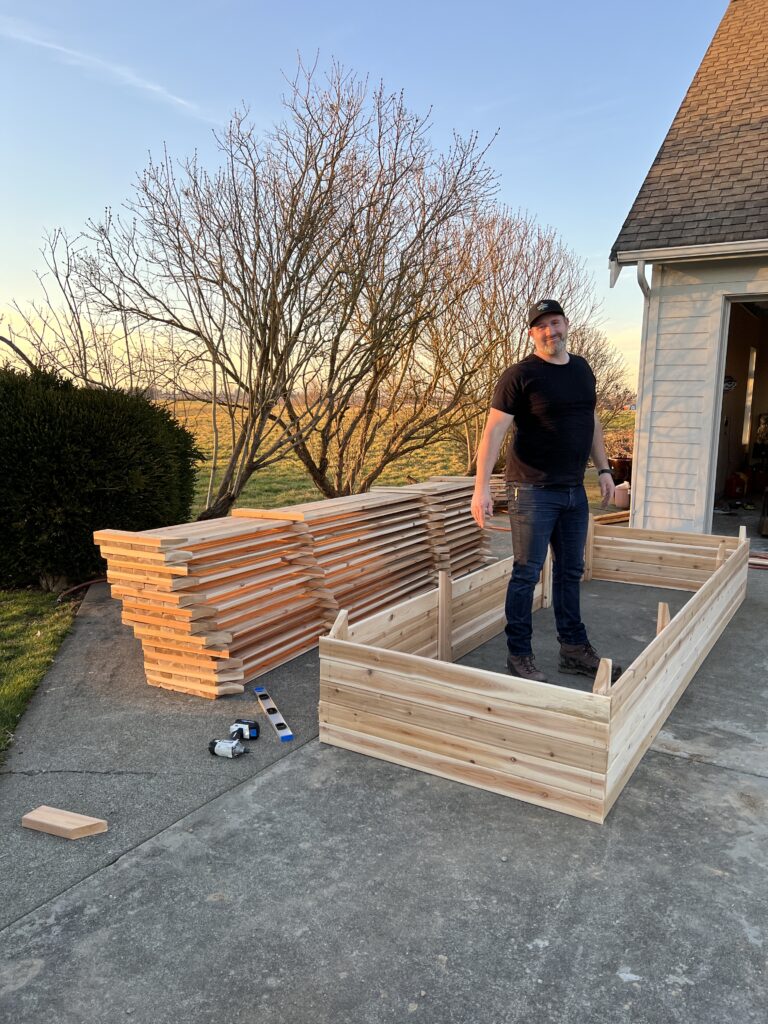
We built a lot of garden beds, and for that reason we made them in batches. When you are making yours you don’t have to make it all at once but it was easier just to cut everything then put together side by side.
There are so many different ways you can make this, I will be honest next year we will be adding a top to these but it wasn’t in the budget this year and something we can add on.
Questions before you build your Garden Beds?
What size to make your Raised Beds?
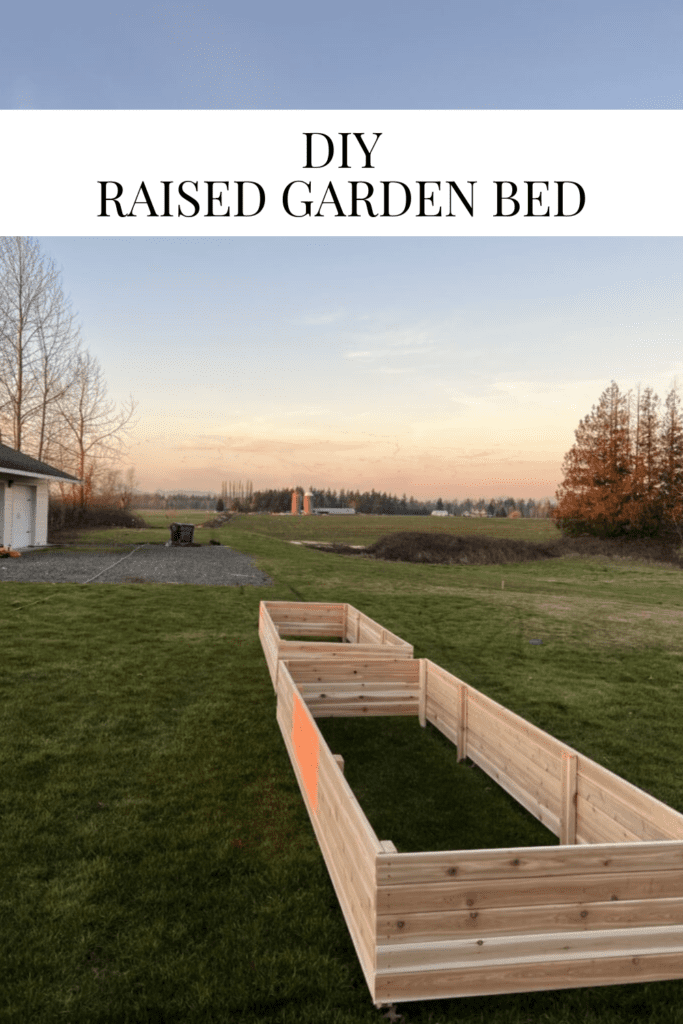
The sizes we did were 4 feet wide by 6 feet long and 4 feet wide by 12 feet long. We wanted a mix of them there is no wrong way its preference.
What kind of wood should you use for your garden beds?
We used cedar, there is mixed reasons on using other and we wanted to be sure its safe to grow veggies. Also cedar will last a long time!
How tall should you build your garden boxes?
It is all preference, but we knew we didn’t want to bend over to much when gardening.
Ok, let me show you as much of the process as I can and explain what we did! I will have more videos later on here and instagram!
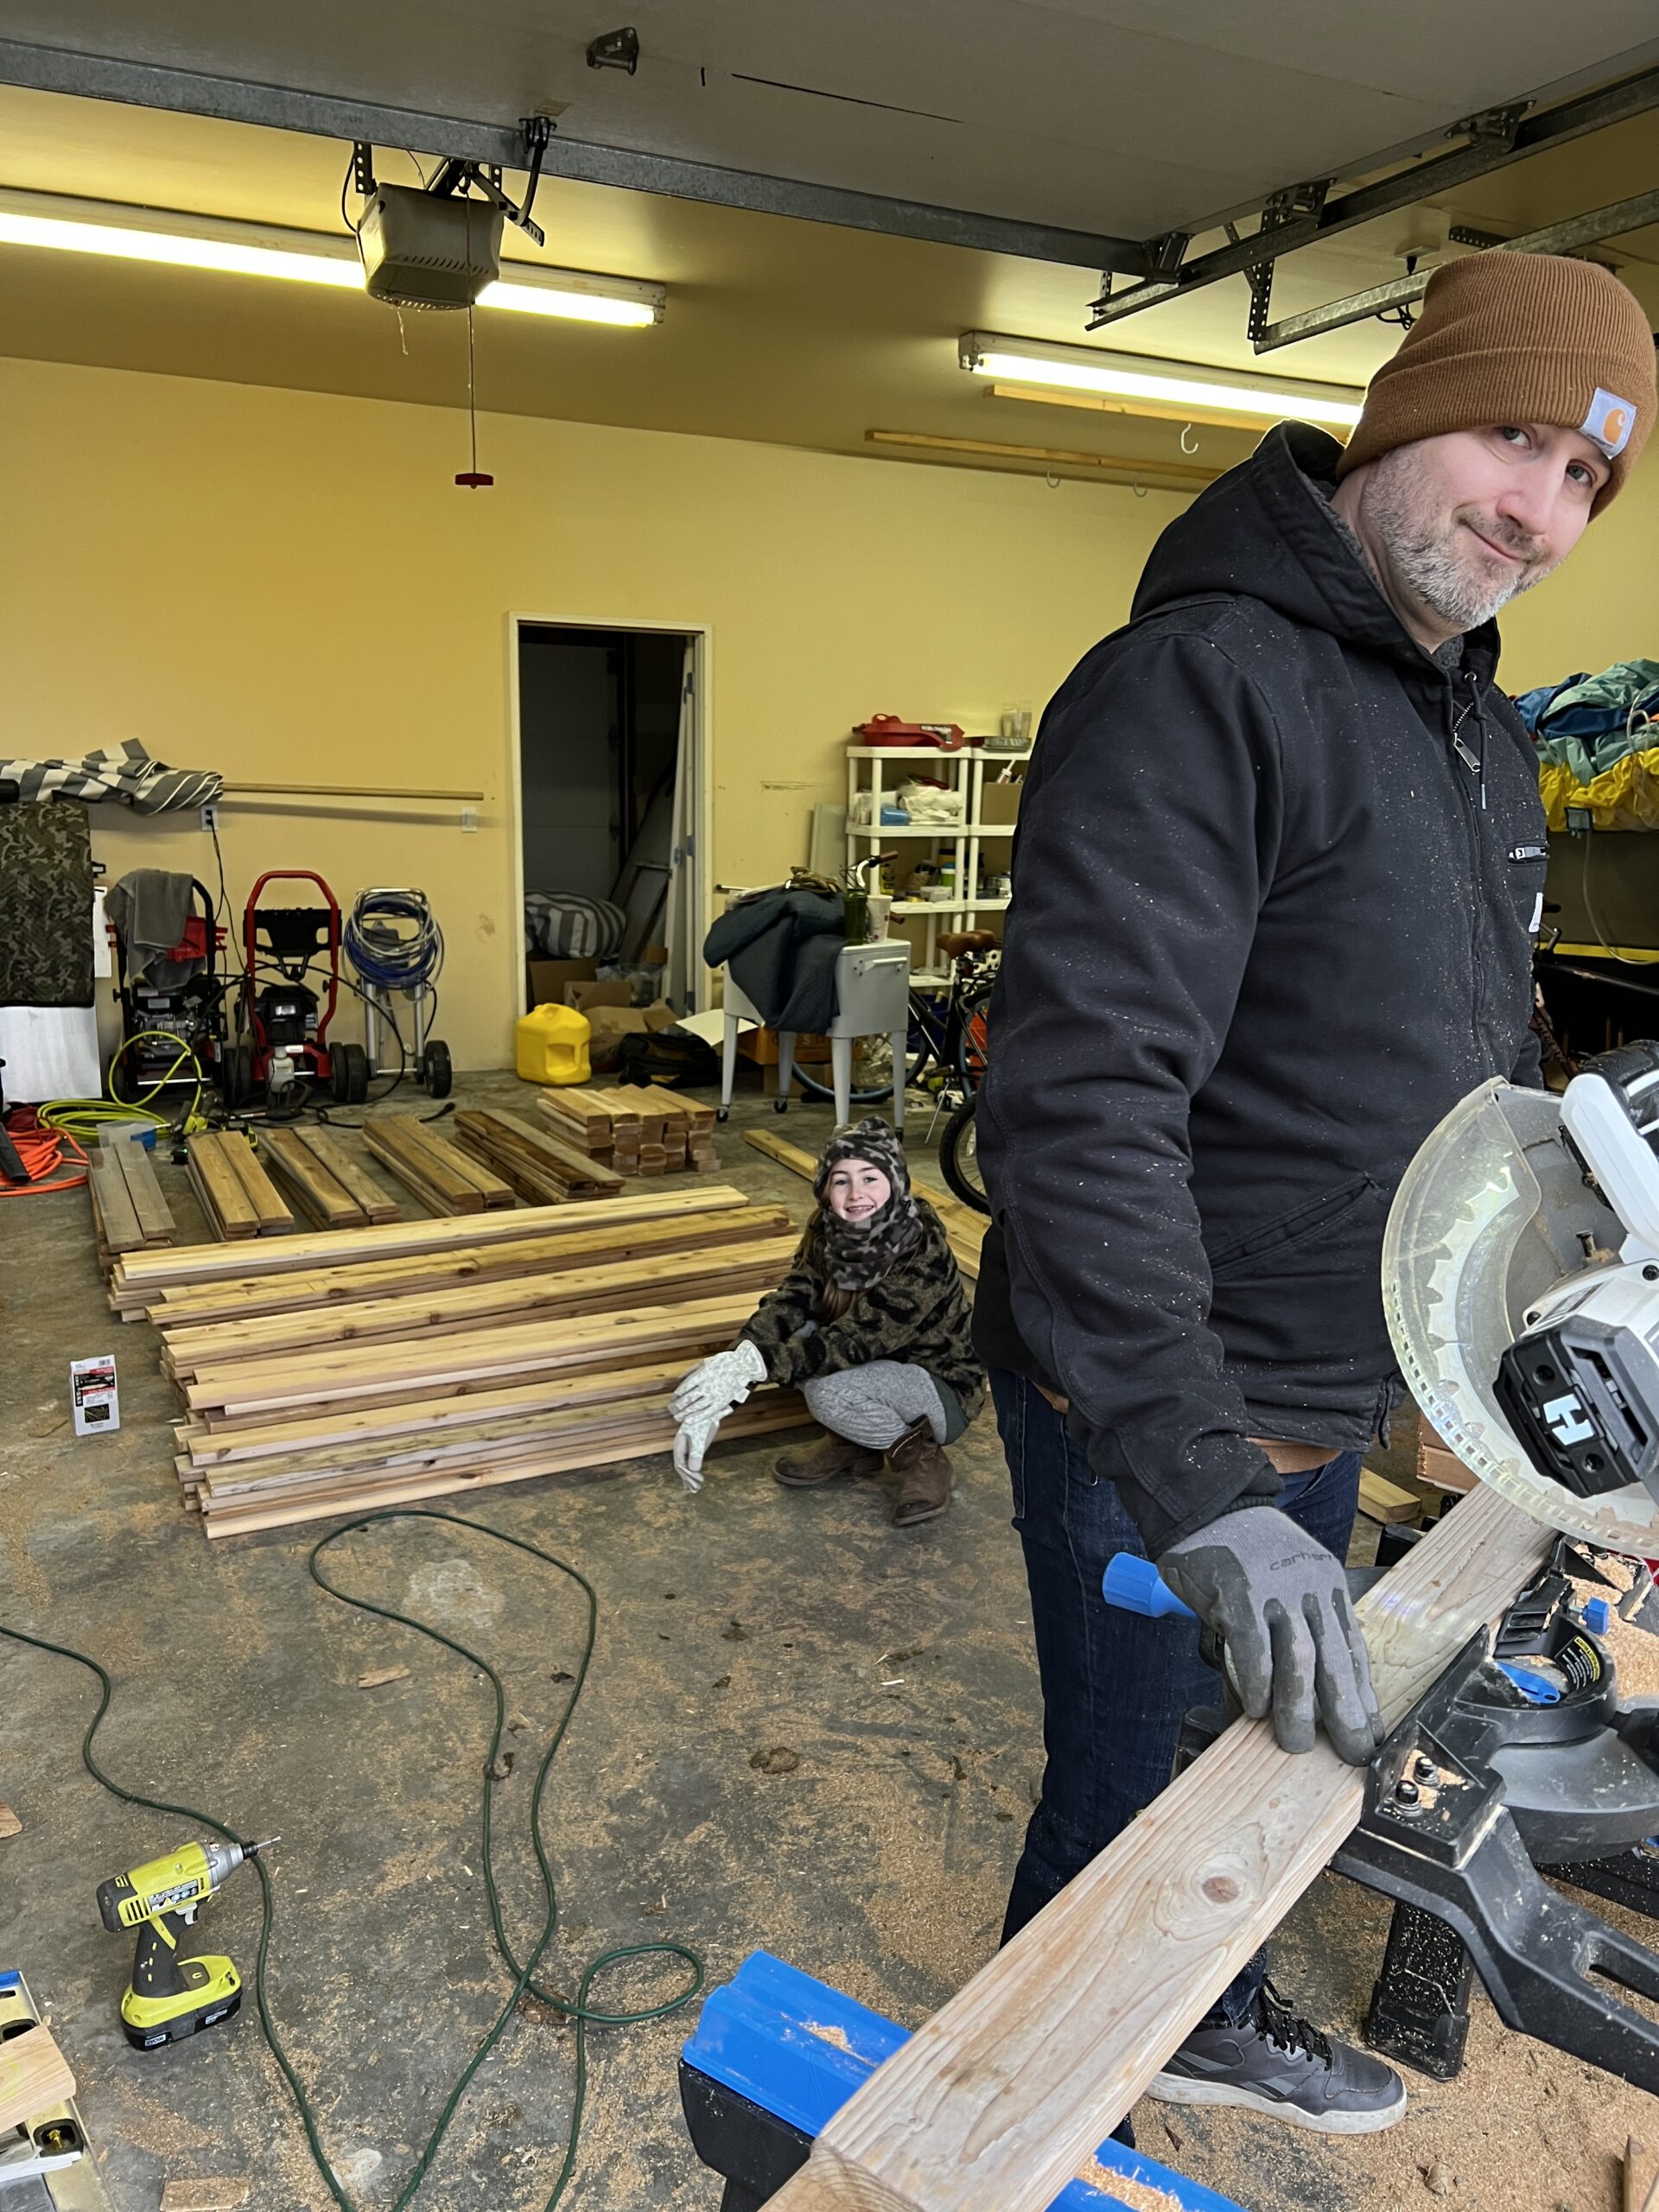
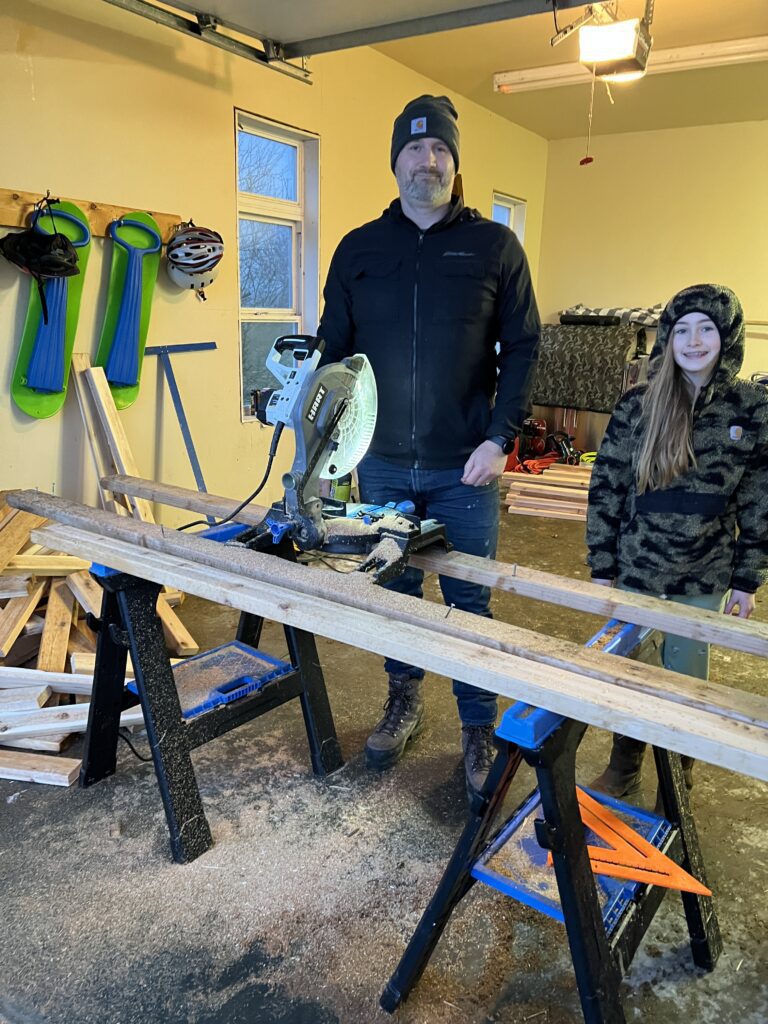
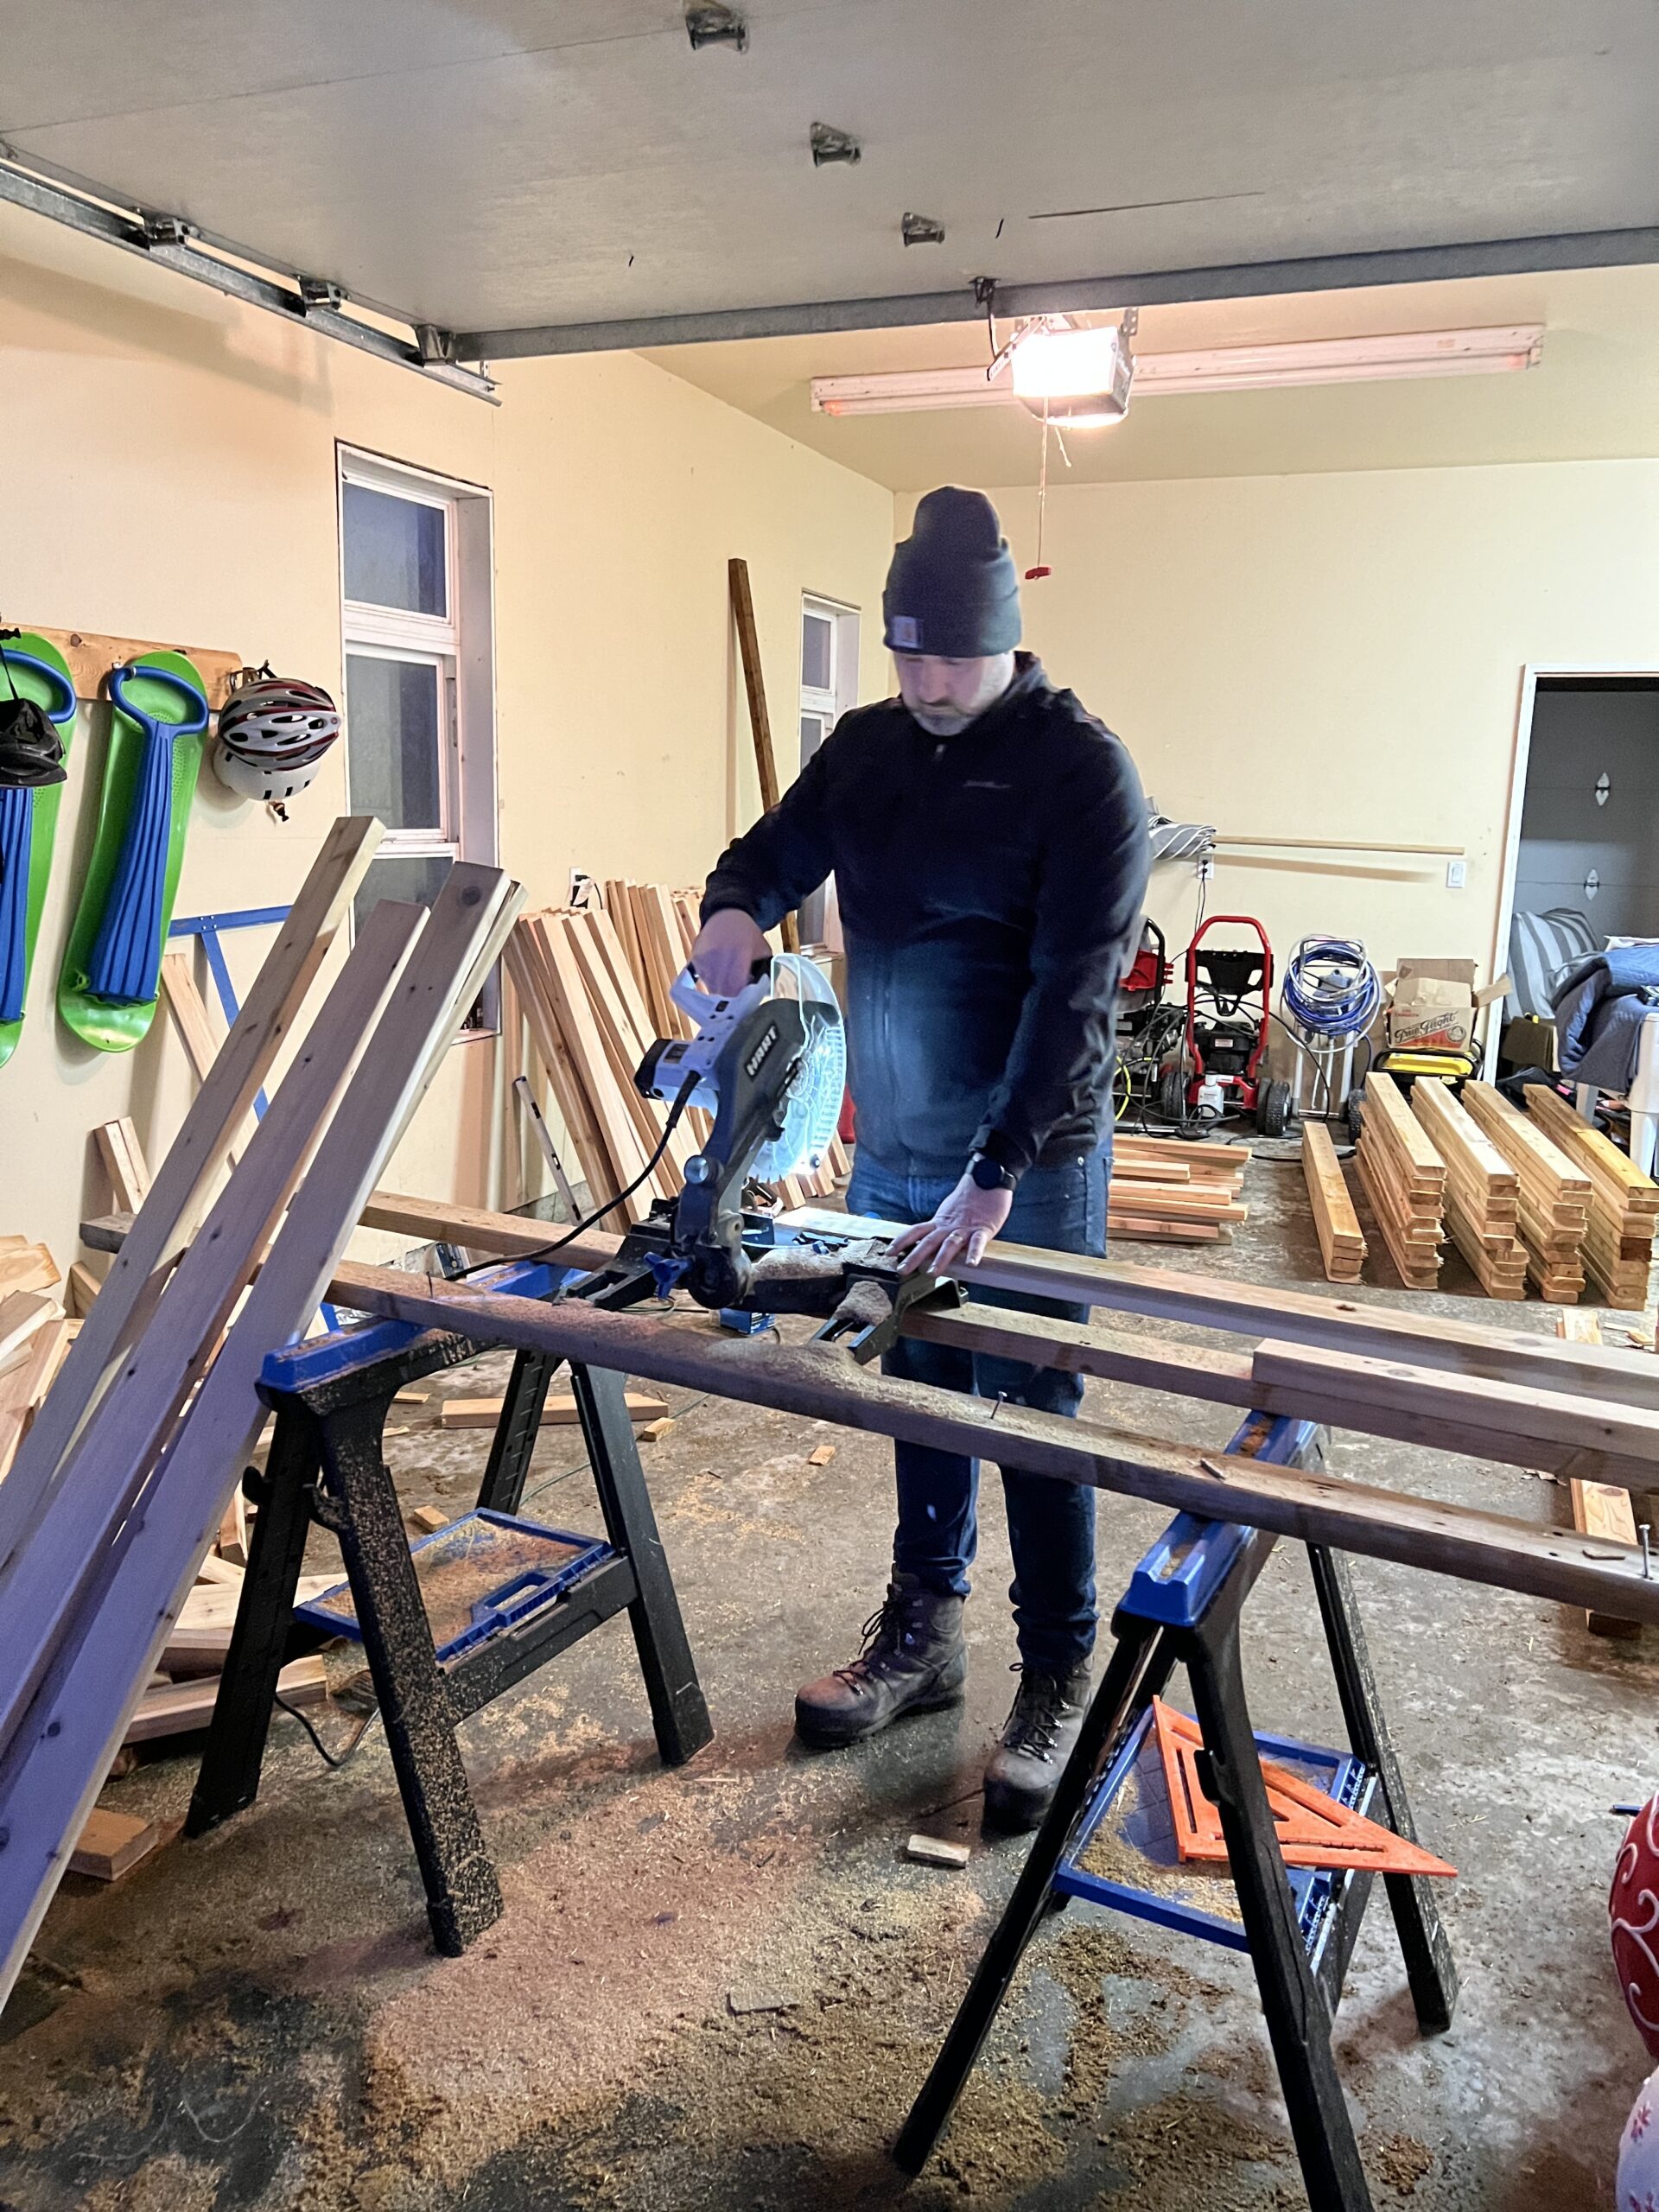
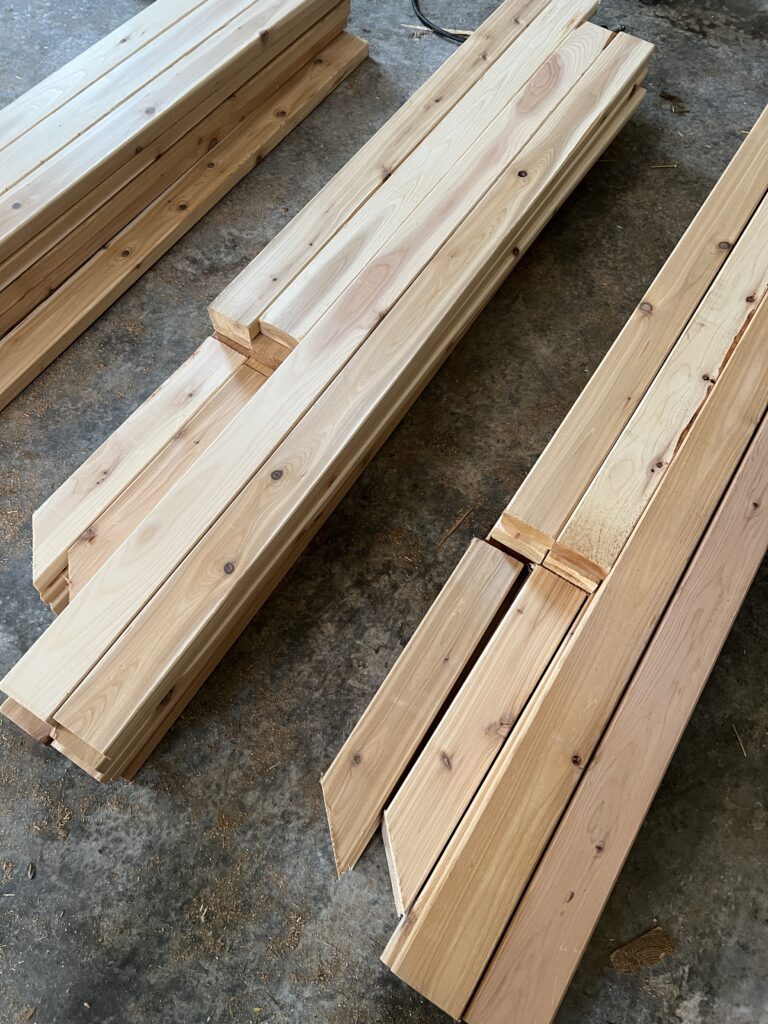
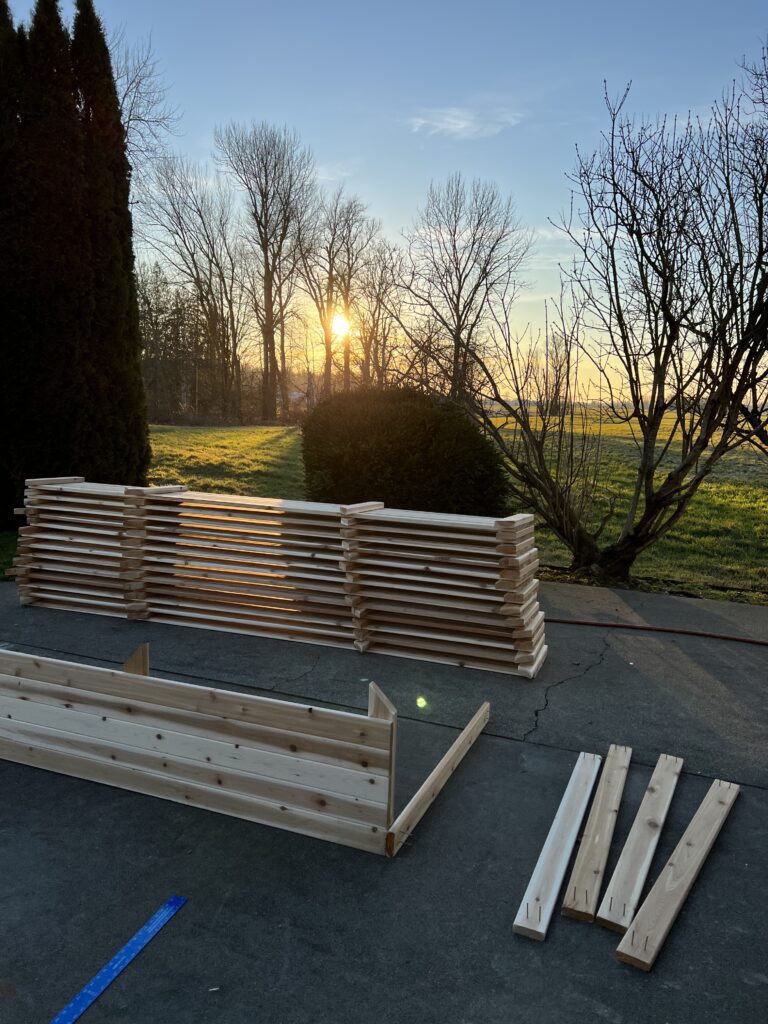
We first cut all of our wood and put it into piles.
For each side we did 5 – 2×4’s with left over wood we made support stakes to go around the garden beds to help with leveling.
6 foot Raised Bed
Side 1 – 2x4x6 – 5 of these pieces
Side 2- 2x4x6 – 5 of these pieces
End 1 – 2x4x4 – 5 of these pieces
End 2 – 2x4x4 – 5 of these pieces
Then we did 6 support stakes that help with leveling.
12 foot Raised Bed
* These we actually did the cedar deck fencing I wouldn’t recommend make the splurge for the 2×4 so sharing as that.
Side 1 – 2x4x12 – 5 of these pieces
Side 2- 2x4x12 – 5 of these pieces
End 1 – 2x4x4 – 5 of these pieces
End 2 – 2x4x4 – 5 of these pieces
Then we did 6 support stakes that help with leveling.

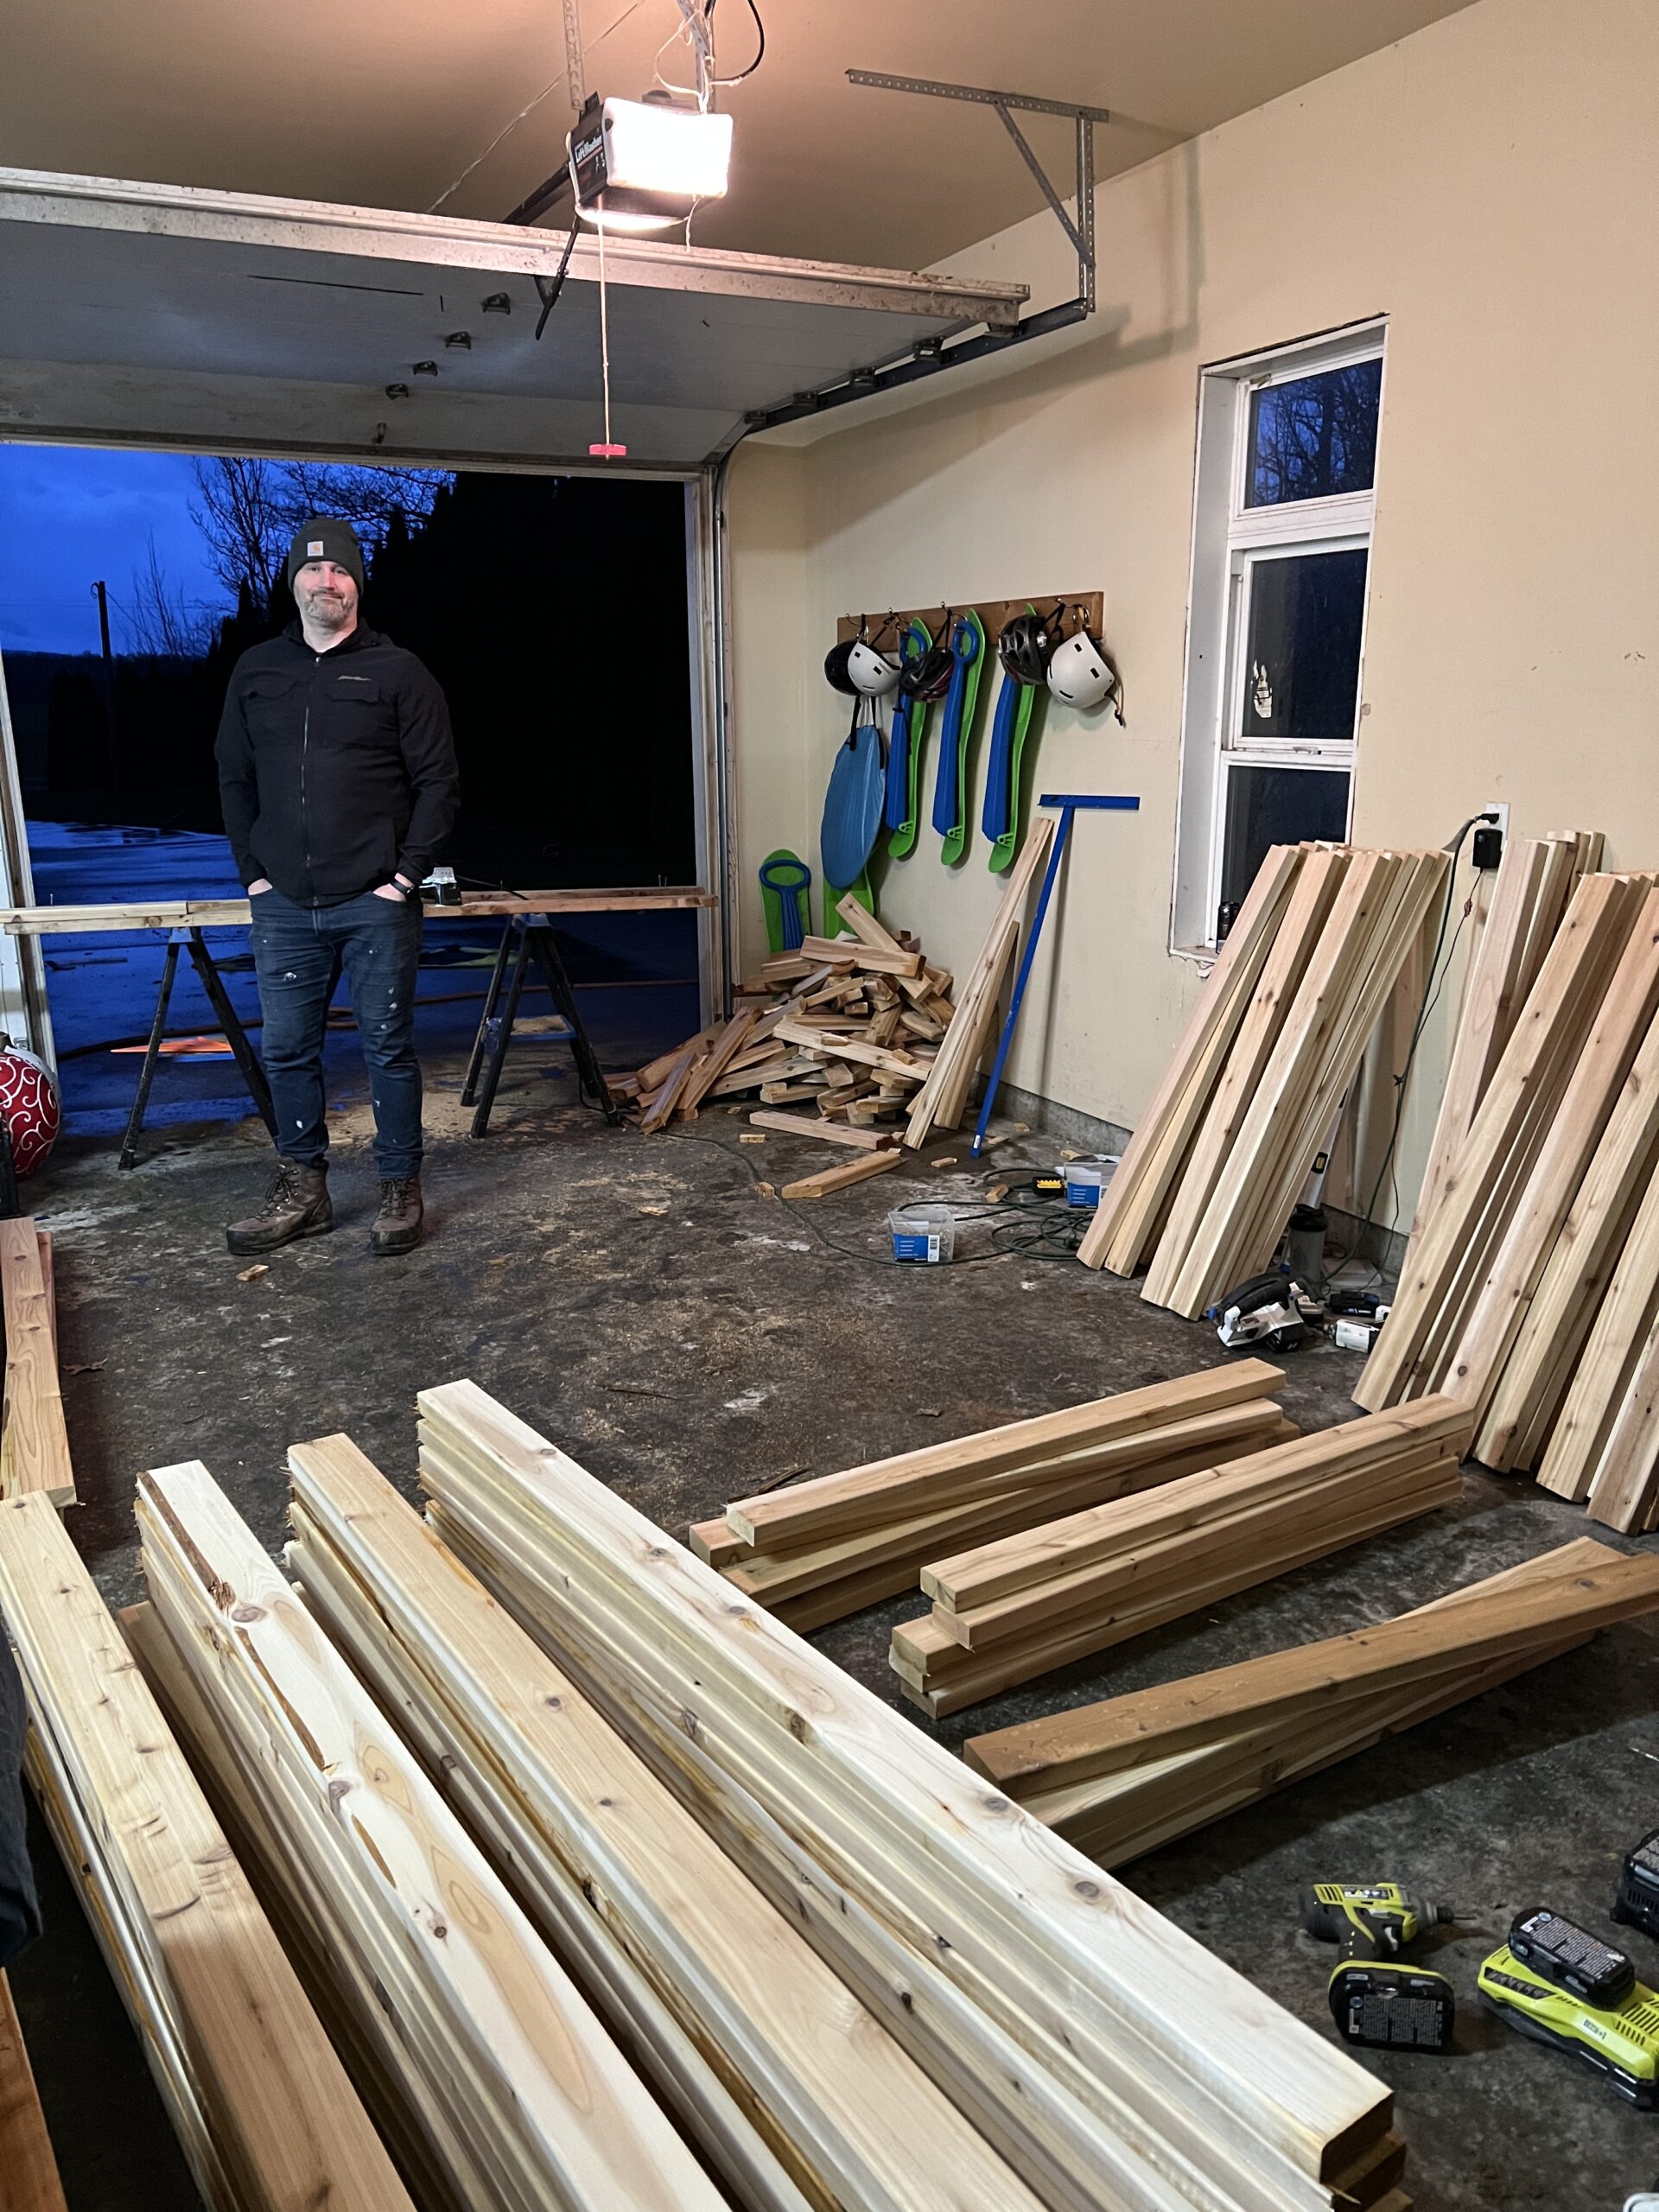
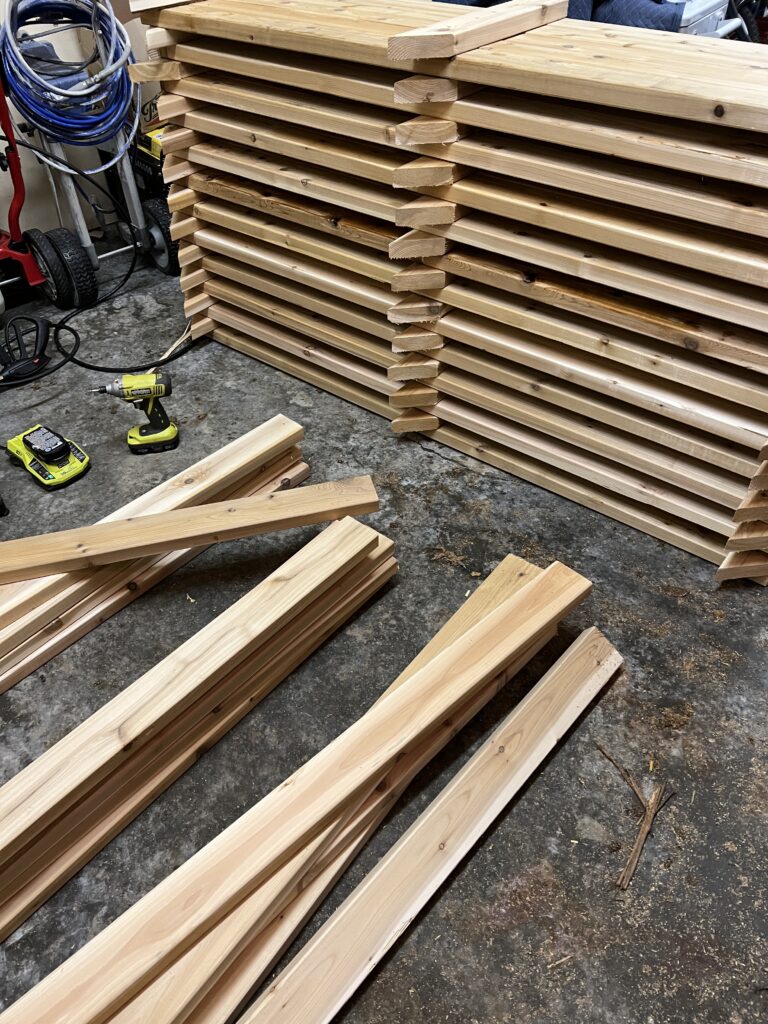
Here you can see we made a lot of boxes! It was so nice to cut all the wood all at once, then make piles and put together.
We did run out of wood since the store ran out so had to wait, and screws you need a lot more than you think – so couldn’t do it all at once.

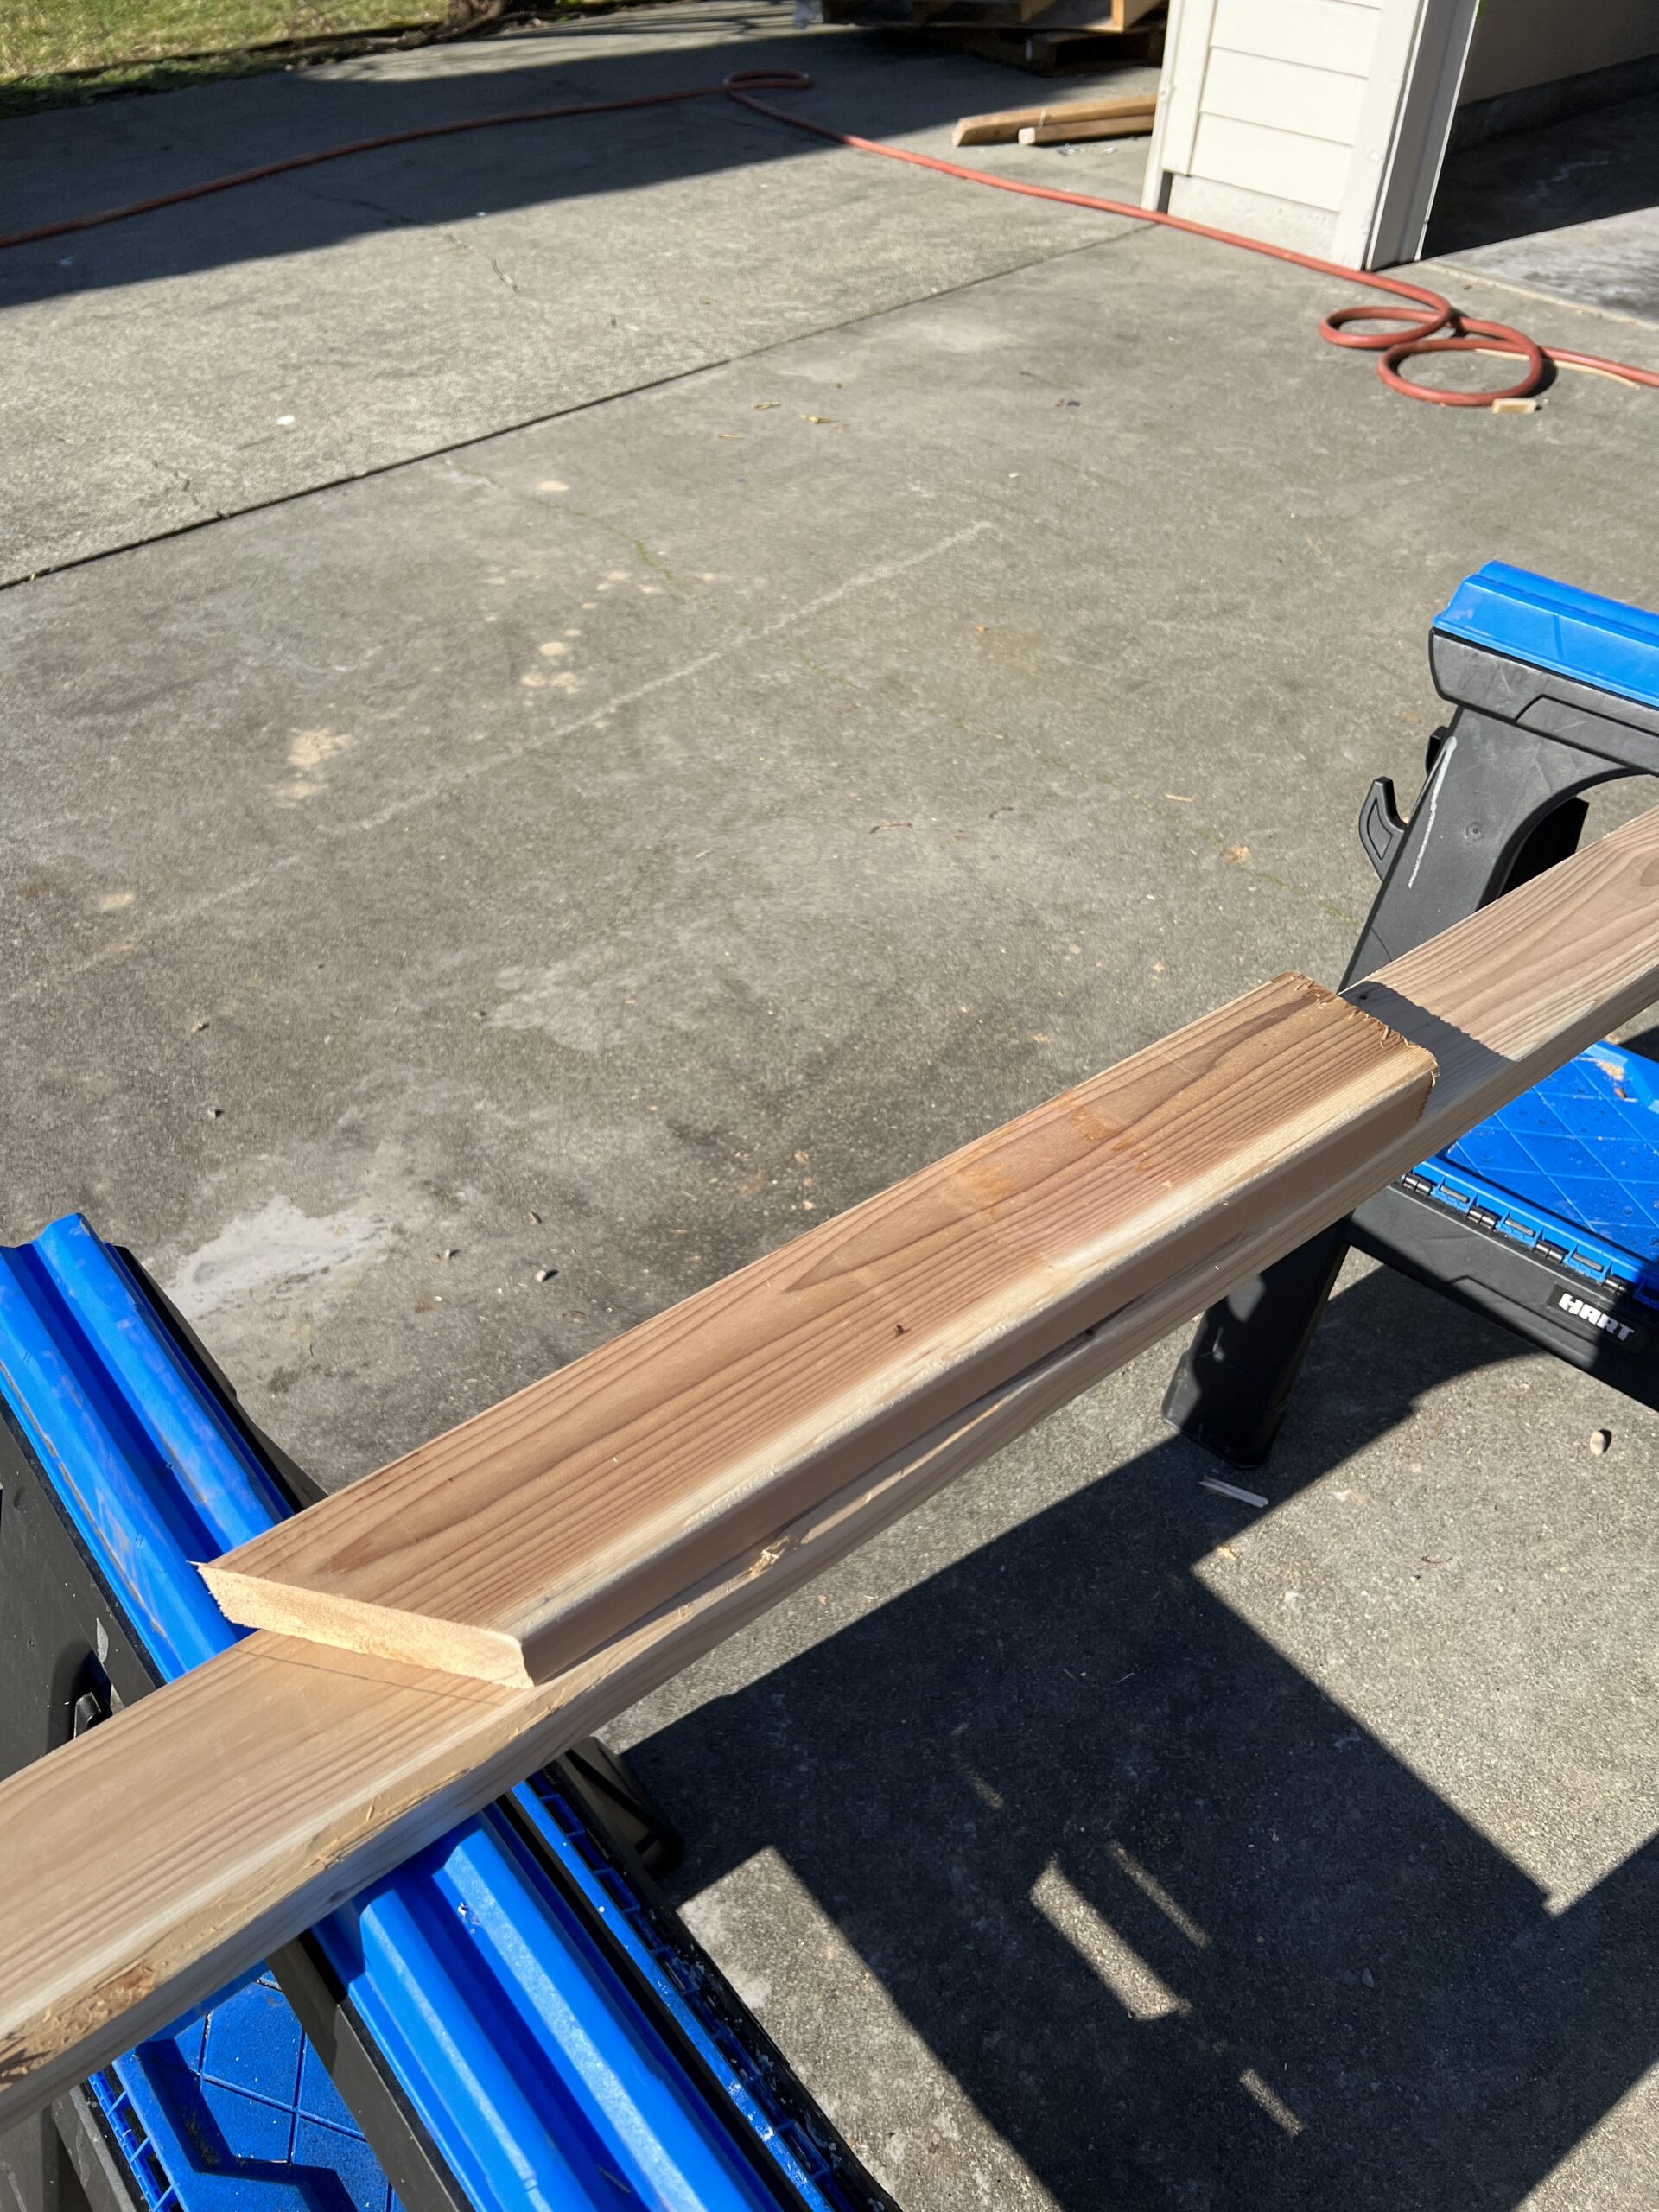
Make sure to use your level and quick square it will make sure everything is even and will make everything easier!
Then it is time to put it all together!

Now that everything is cut, you will attach the side pieces to the support pieces.
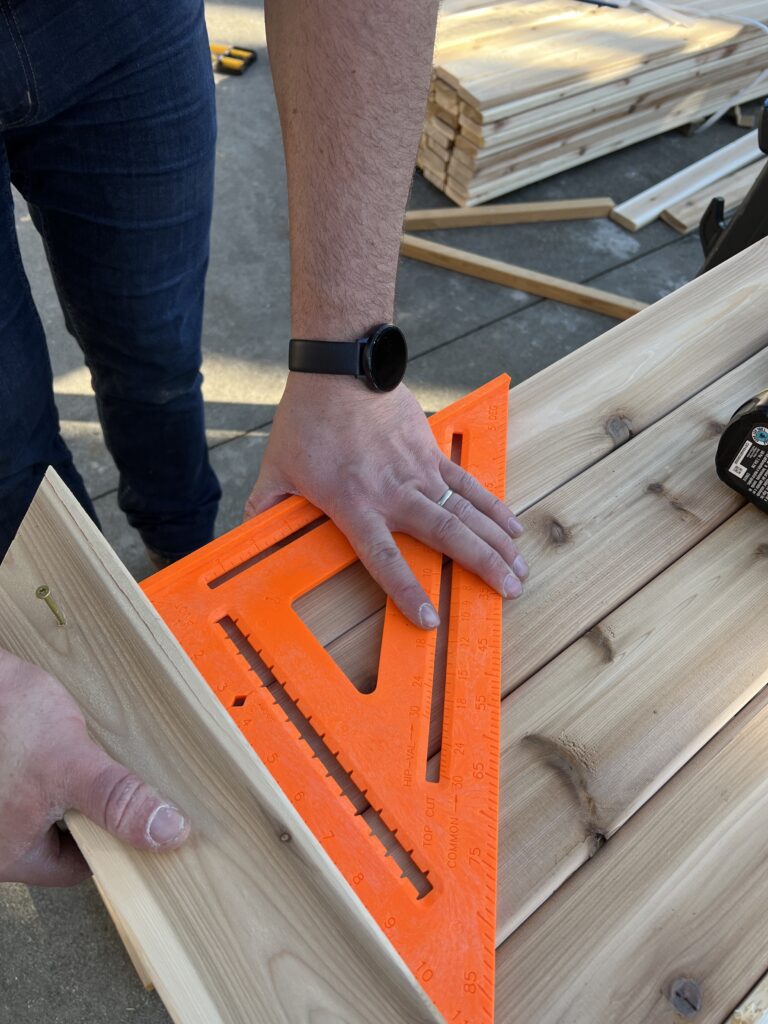
Make sure everything is square and level.
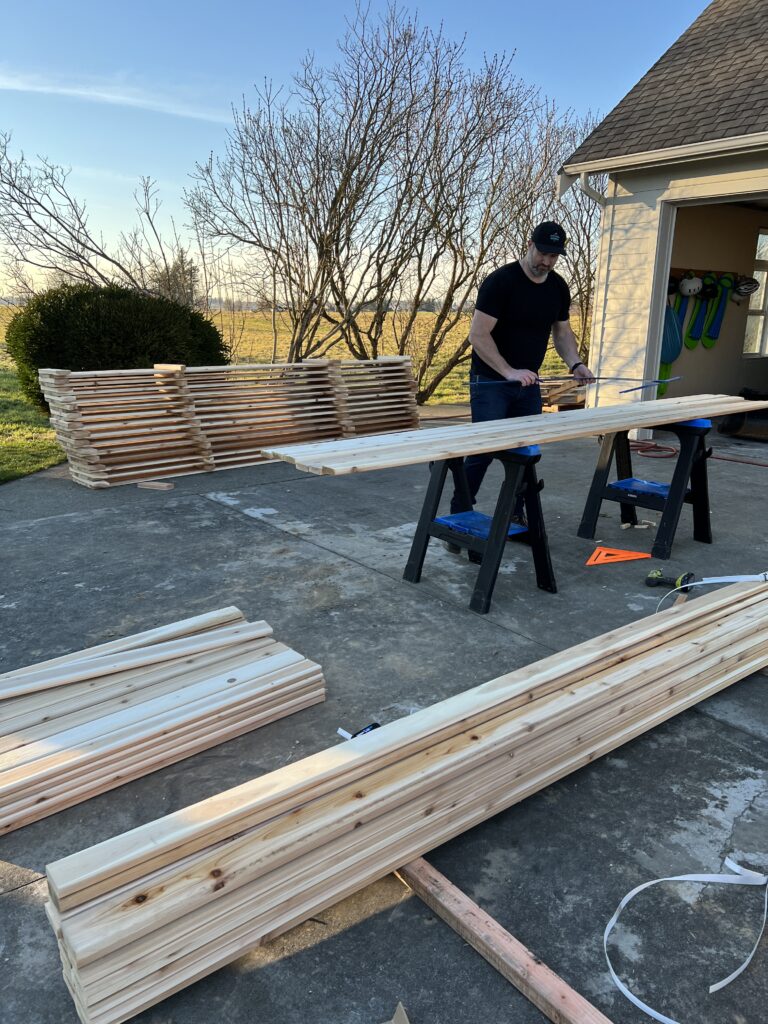
Using saw horses help a ton for this project!
You can see in both the photos above how they go together and its so quick with two of us!

Now that the sides are done, lets put together the DIY raised garden beds.

If you want to make it a little easier you can use your ruler and mark where all the screws go so its a straight line and even put the screws in place!
And it is this easy! Screw each side in and then you will attach the other side!

Once you do one side, go to the next and tada!!
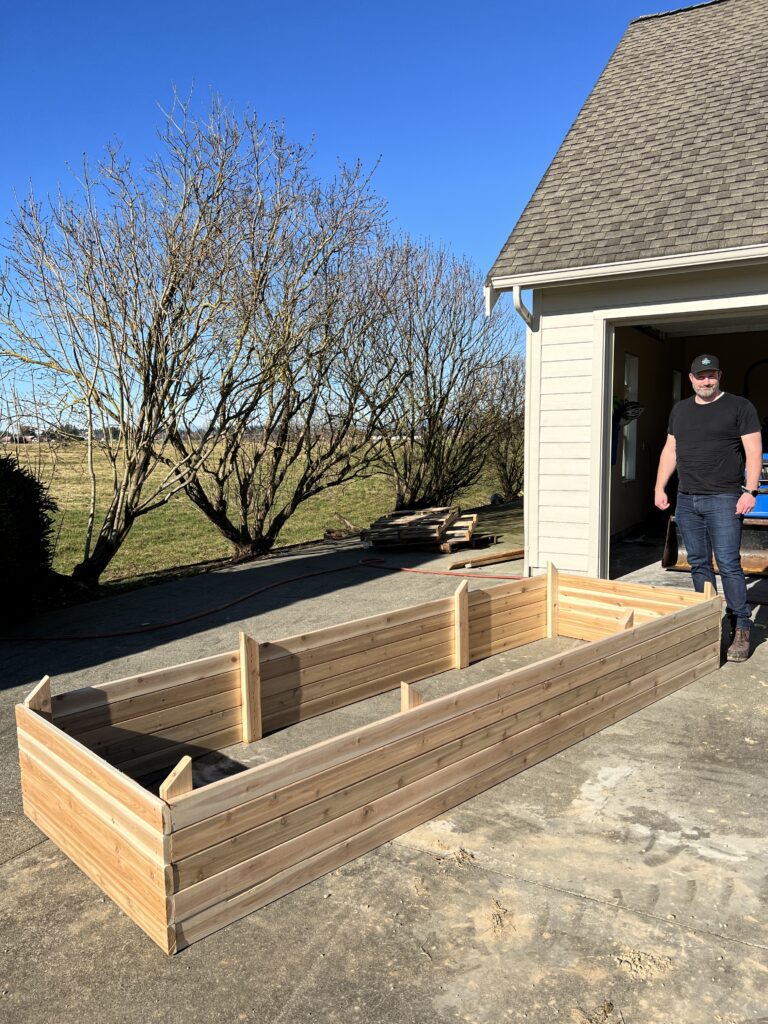
Here is the finished twelve foot garden bed.

Here is the six foot garden bed, and you can see here how its thicker and will just last longer!
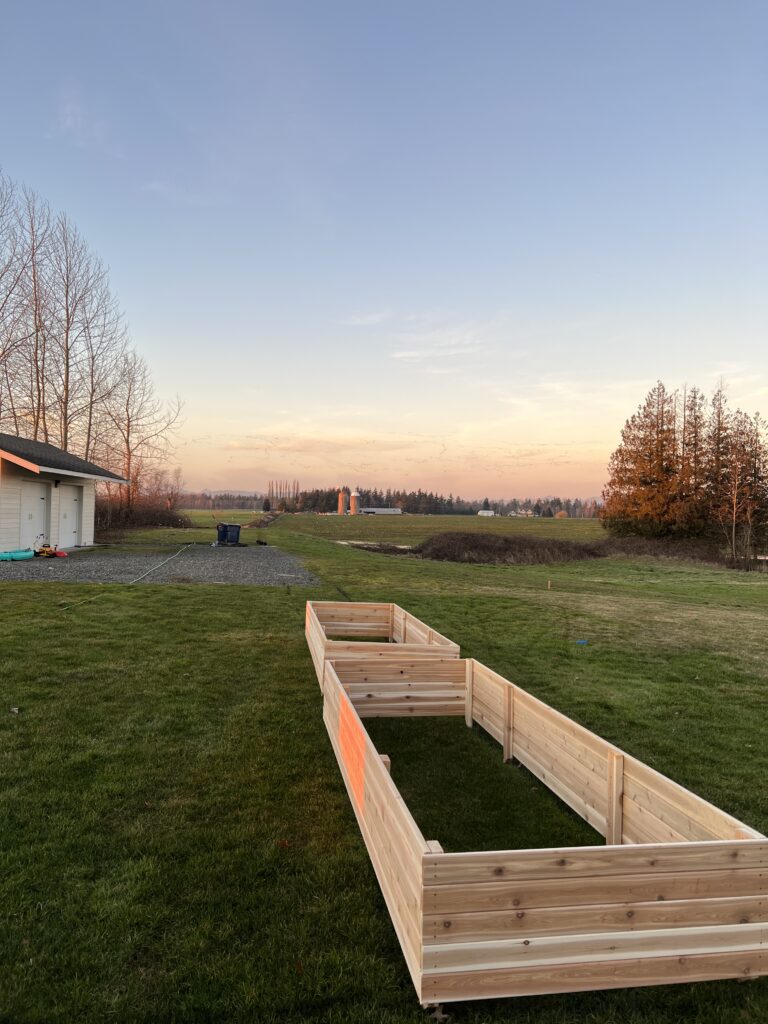
This is where the garden beds will go, and I can’t wait to show you this before and after!!
Stay tuned for whats next and then next spring we will add the tops of the beds too!!!
Like this post? Save it on Pinterest. Follow me on Pinterest.