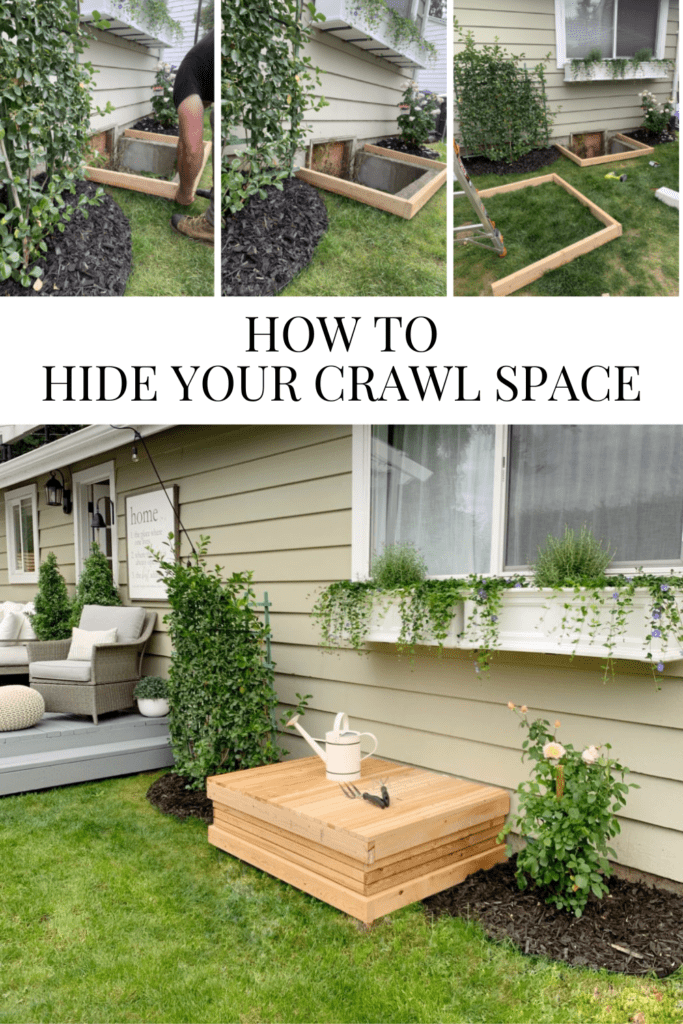
How To Hide Your Crawl Space
Do you have a crawl space, and want to cover it but not sure where to start? Let us show you how we did this, and now no one can fall in!
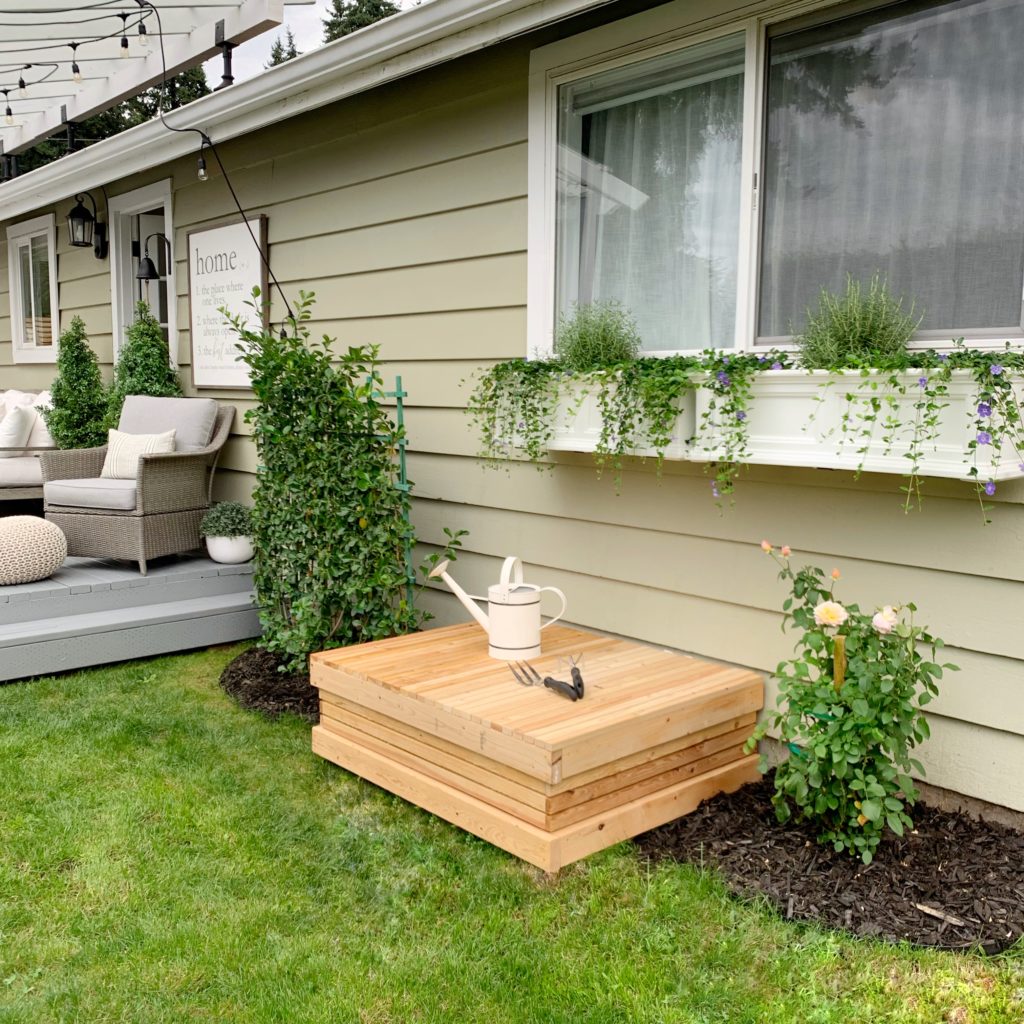
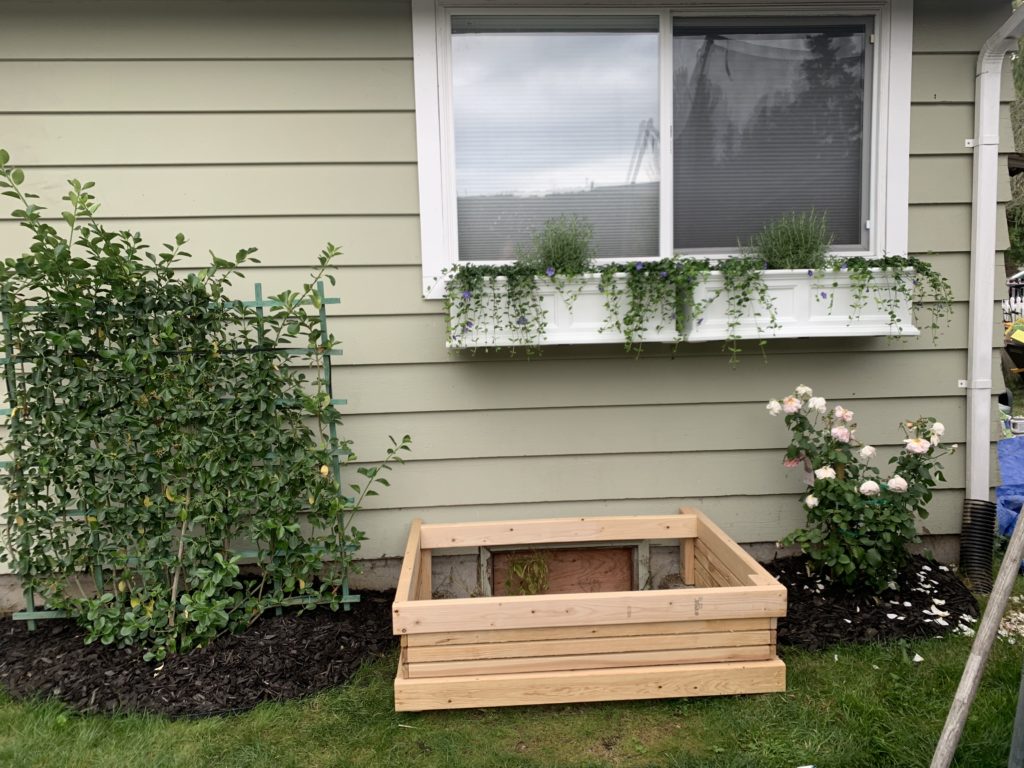
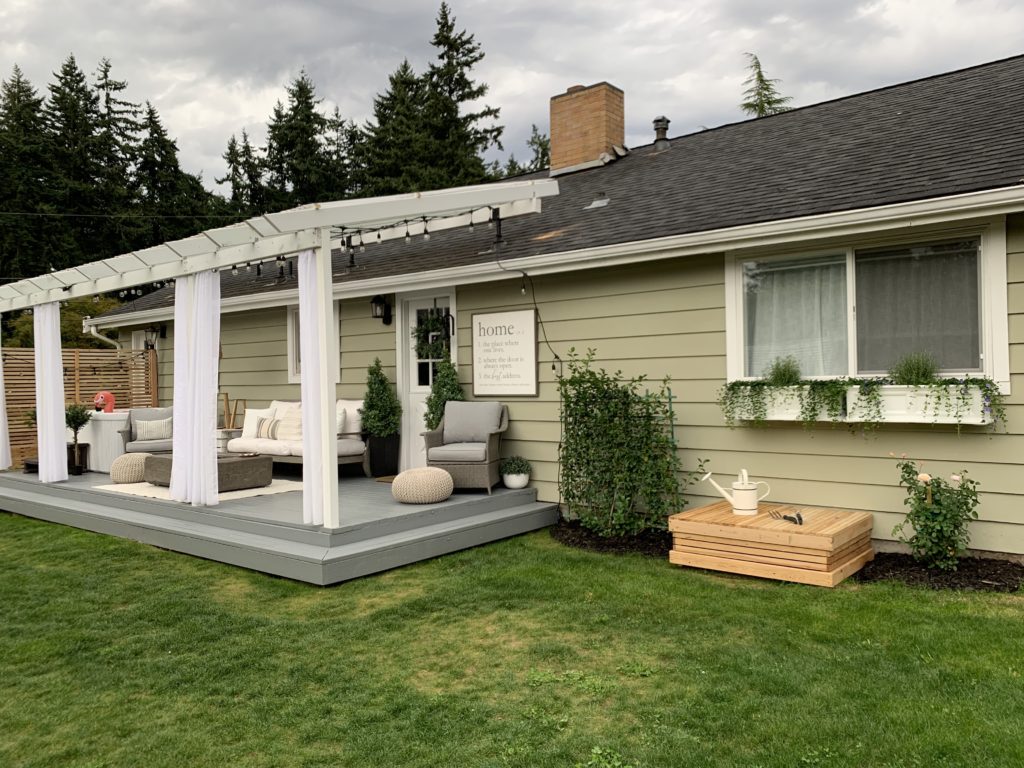
Here is the completed project – now time to show you how it was made!
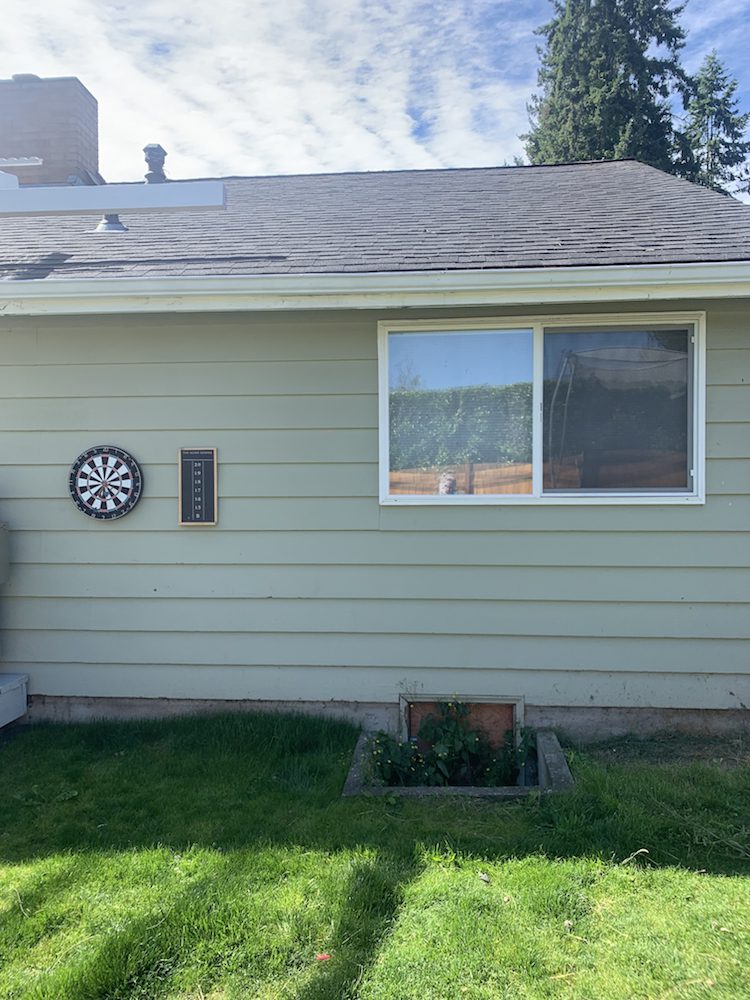
This is the space we started with, for years we have put different things over this crawl space hole so no one would fall in.. but nothing really worked. I had the idea why not make a covering for it and that’s where the idea came from!
SUPPLIES YOU WILL NEED:
2×4’s
1×2’s
Screws
Brad Nails
Drill
Brad Nailer
Level
Carpenters Pencil
tape measure
Saw – Whatever type is best for you its easy cuts!
* SEALER OR PAINT TO FINISH IT.
* You will need to measure and see how much wood you need. We had this leftover and it worked out great!
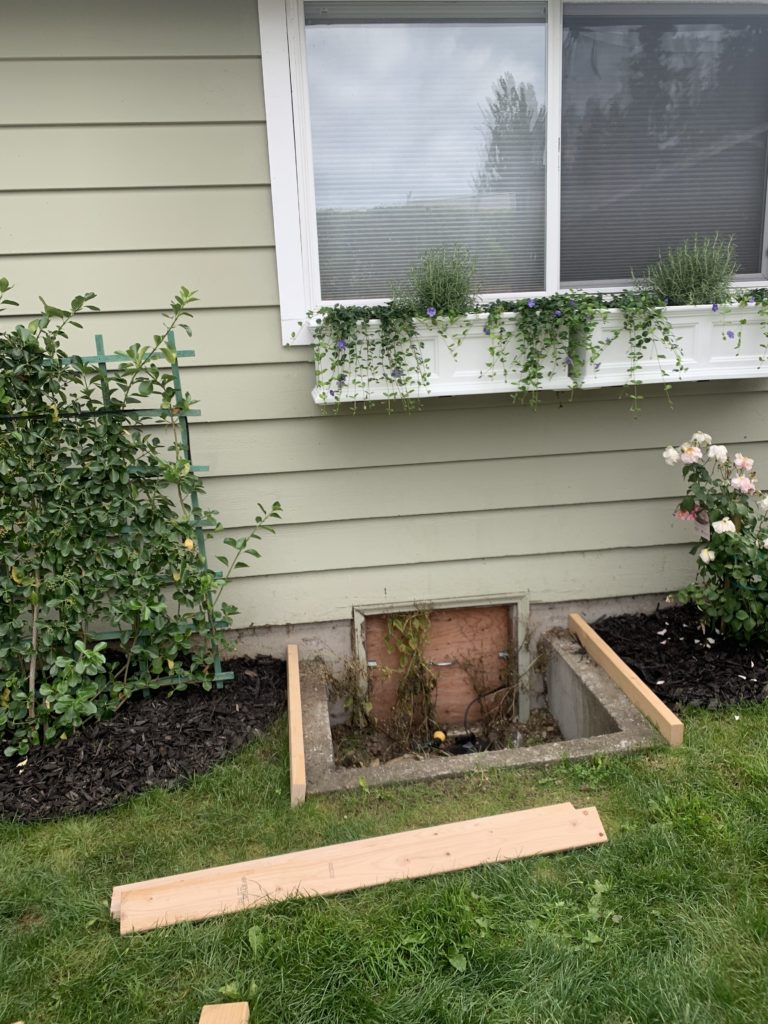
First make sure to measure the space and cut the 2×4 accordingly. Our space is not level go figure, make sure to take that into account.
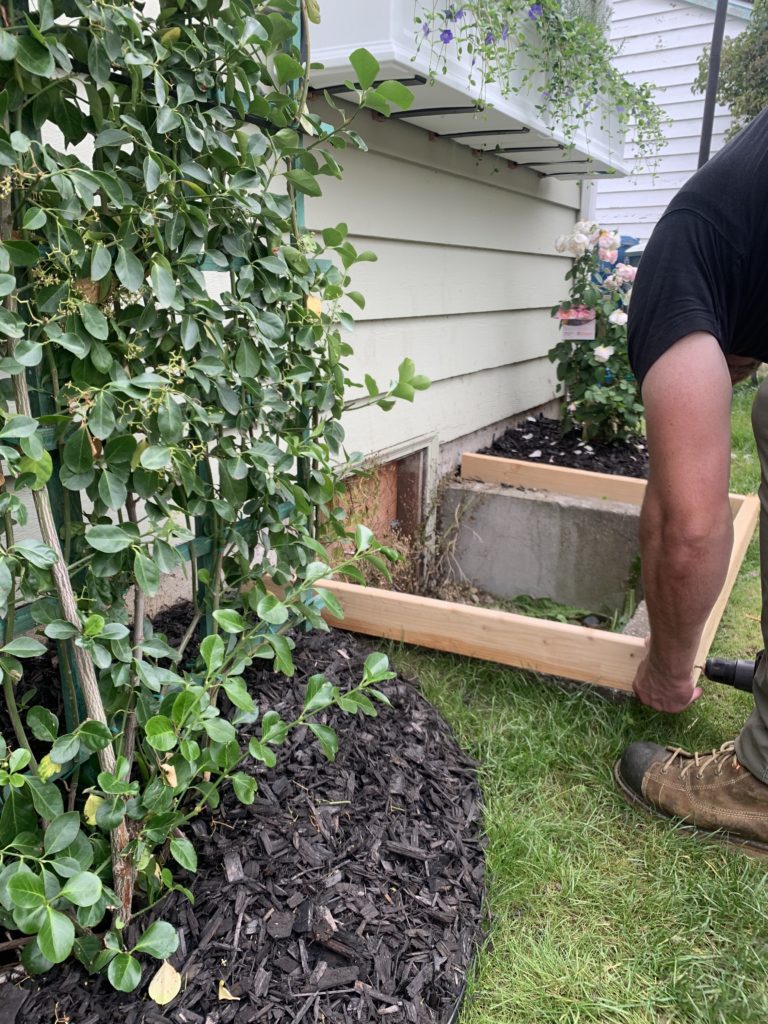
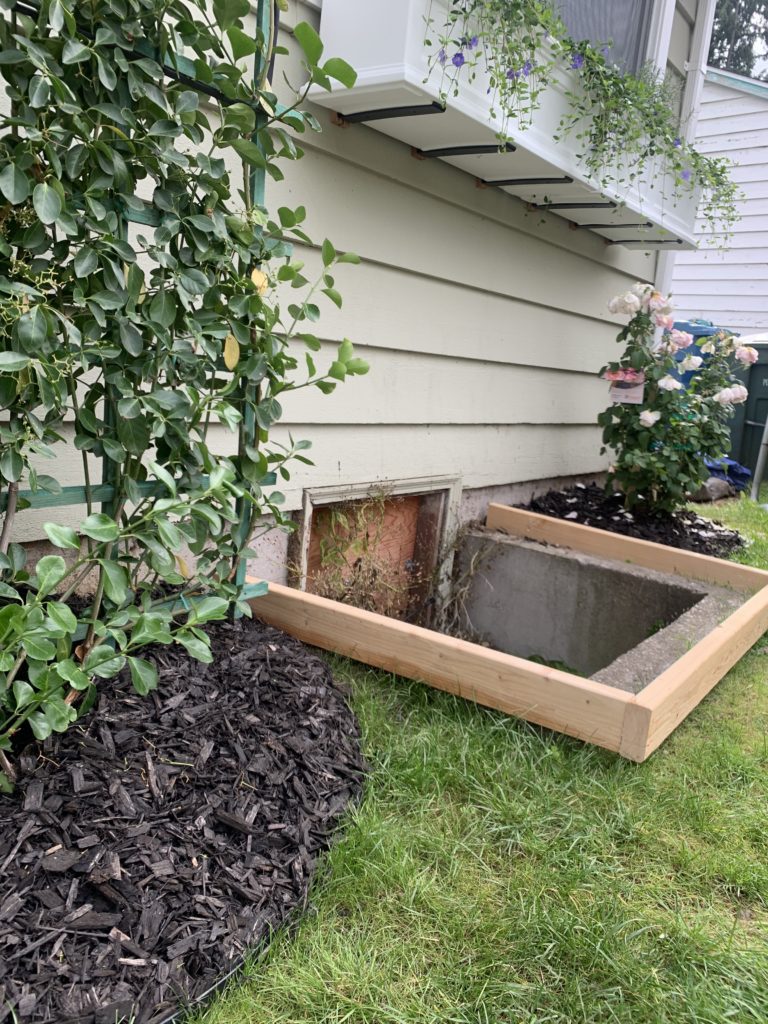
We wanted our cover to just be a slide on so we will not be adding a full back.
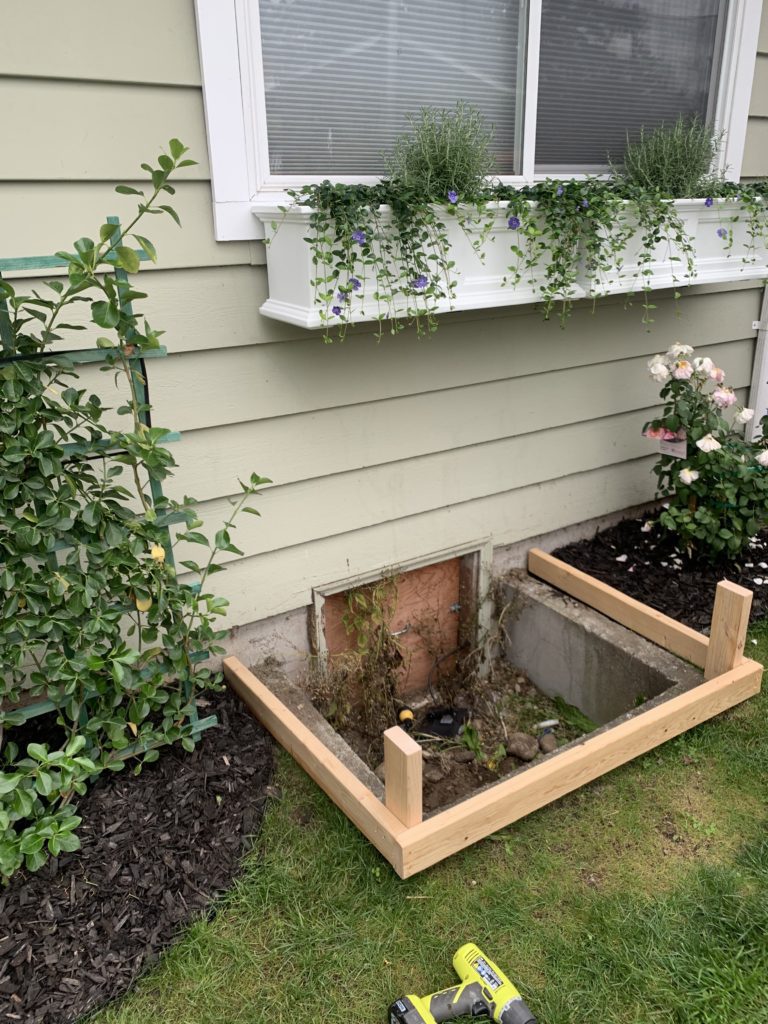
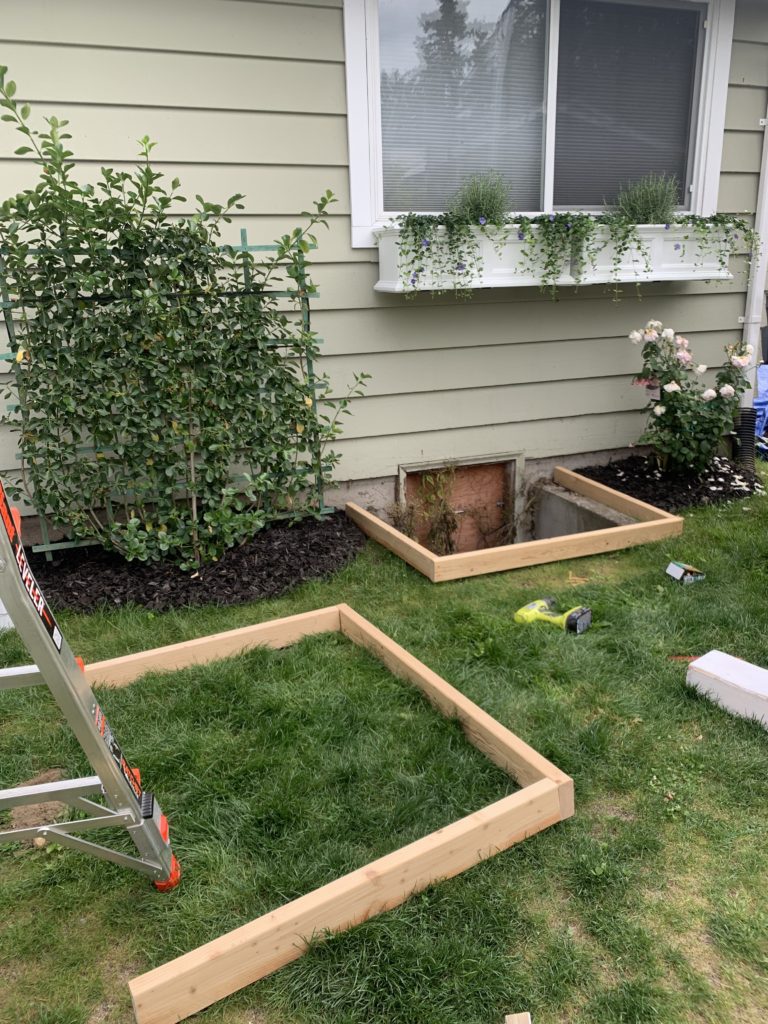
Now that we have our base it is time to build up! Decide how tall you want your crawl space cover to be and then cut your 2×4.
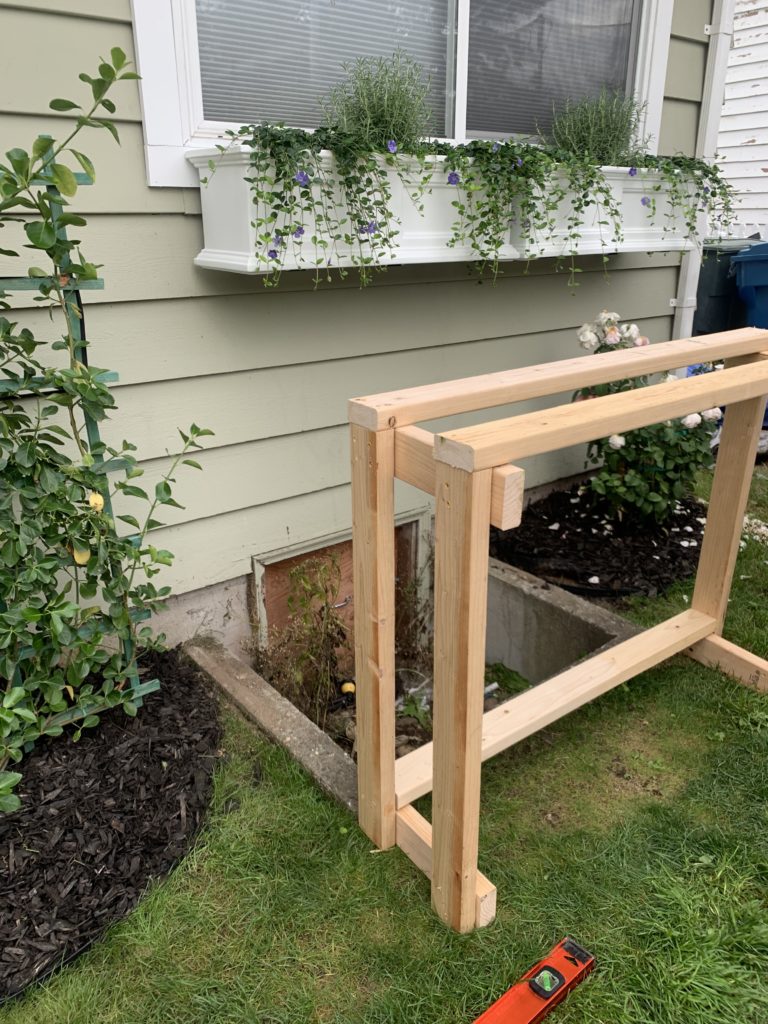
You can see here how we built it out with the 2×4’s, we had to make the front stick out more since our space is so unlevel – make sure to use a level for your space.

Now that we have the structure built, we will cut the 1×2’s. We like to use a miter saw, but really any saw will do. You will use a brad nailer to attach these pieces.
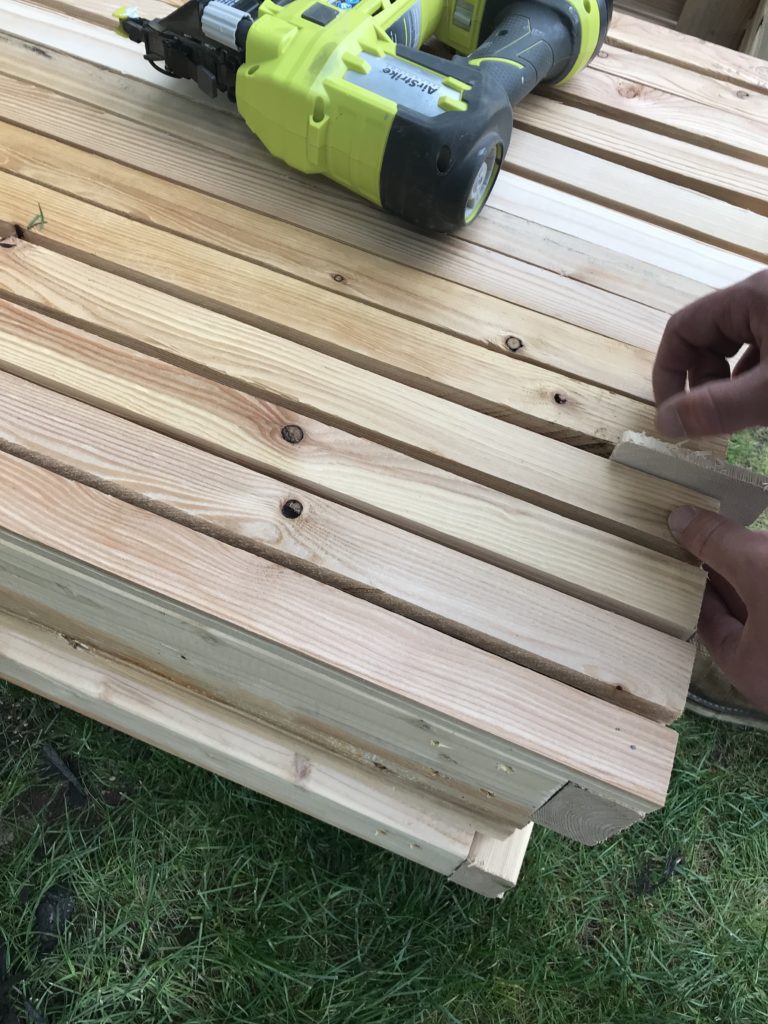
For the spacing we used a scrap piece of a 2×4. You can space it however you want, its fun to be creative!
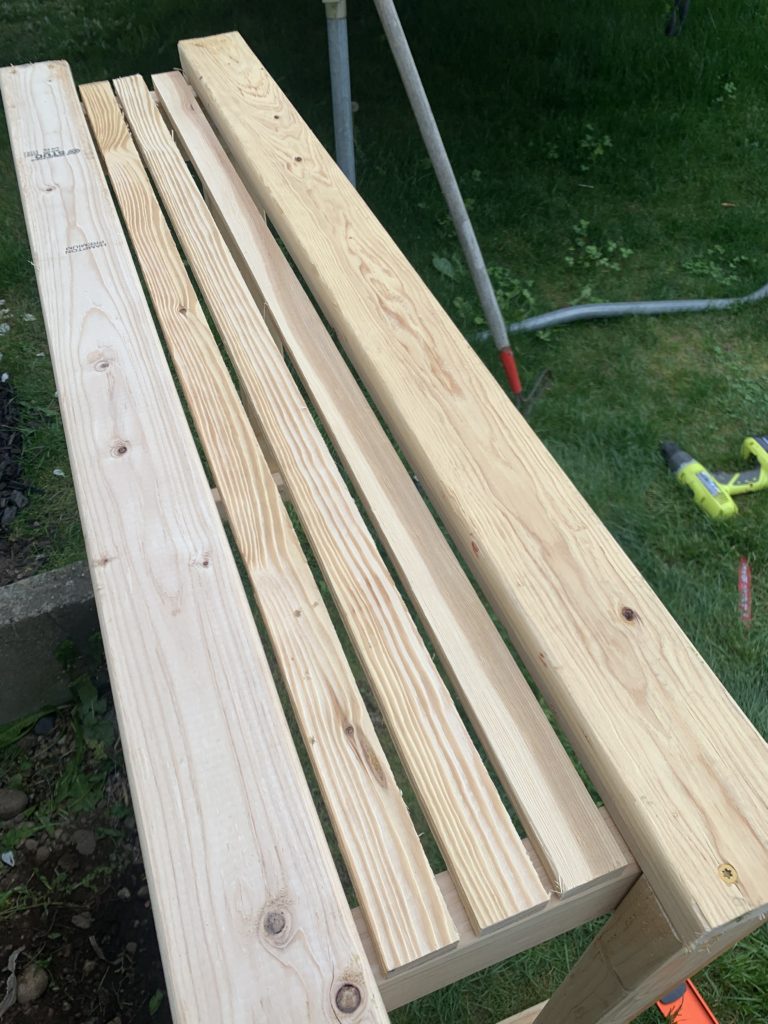
Now that you figured out your spacing, use the brad nailer to attach the 1×2’s.
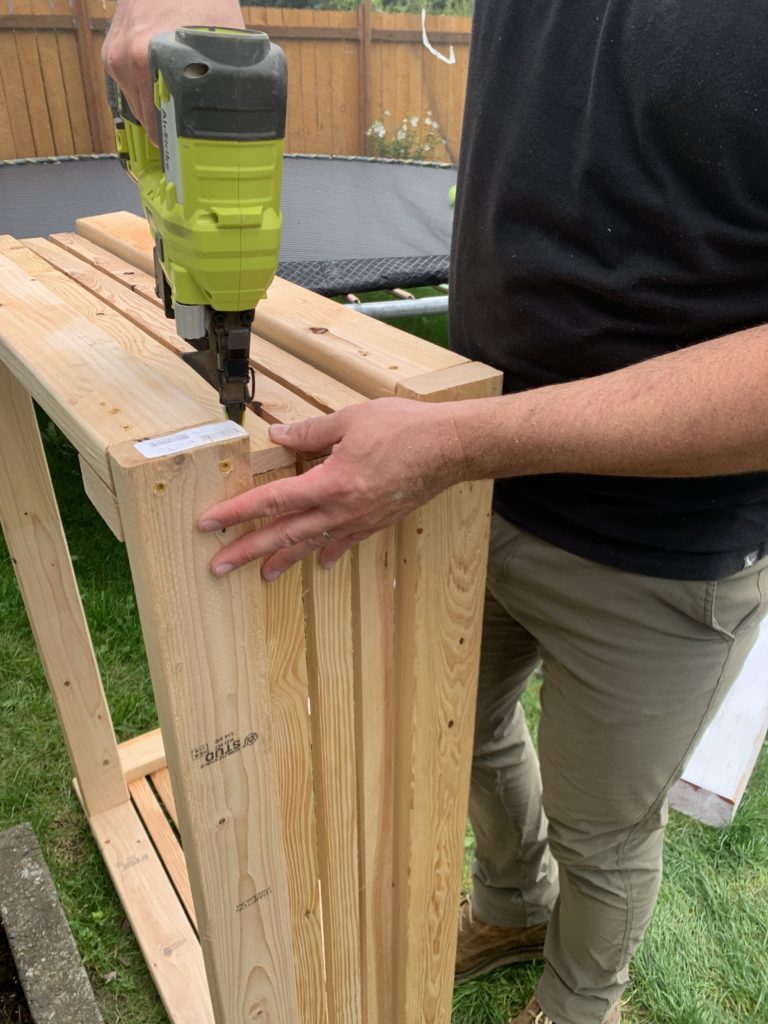
Keep going till all the sides you want done are complete!
Now that you have all the sides done it is time to do the top!
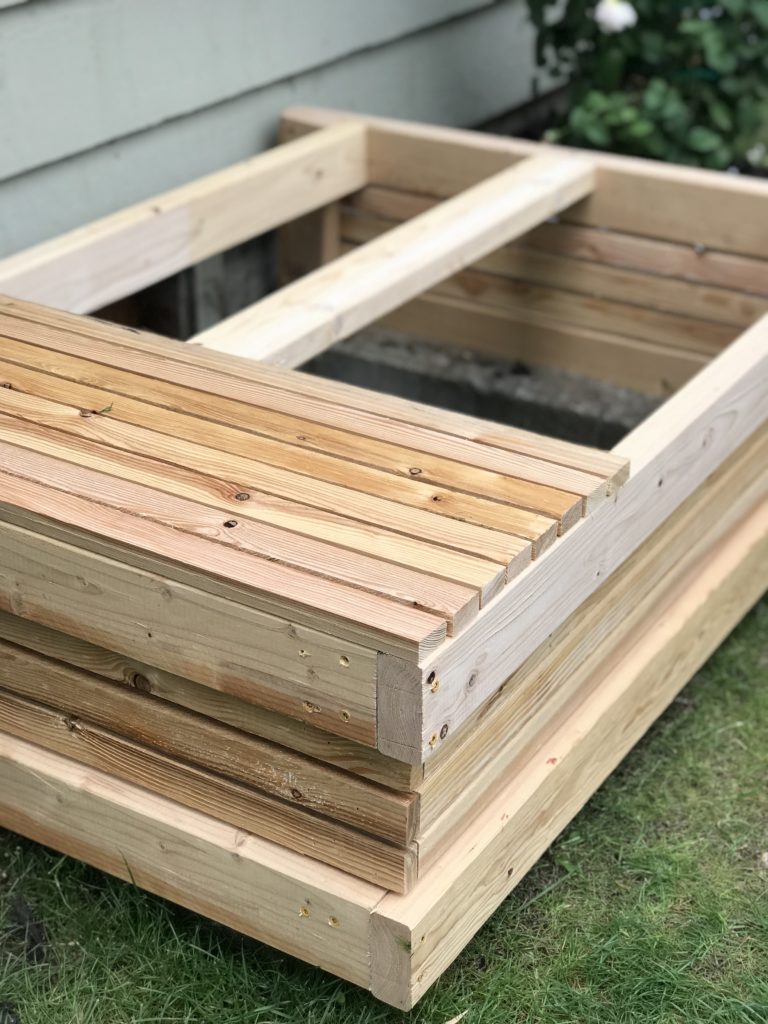
We added a support for the boards on the top and that way we had more to nail into! Now make sure to use the spacer and the nice thing with using the brad nails its easy to take out!
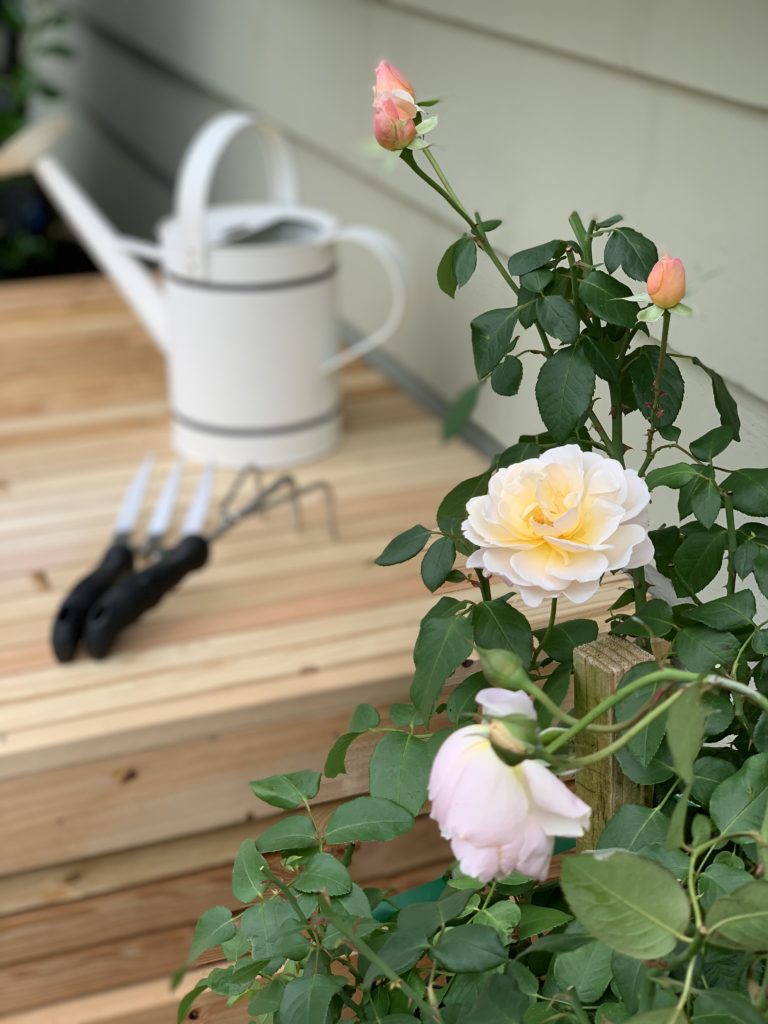
Here are some up close photos of it all complete! It was such a quick and easy project!
*I would recommend if you aren’t painting it with a weather proof paint, to put a sealer or poly on top if you don’t use pressure treated wood.
There are so many ways to do this project, we just winged it as we went and love how easy it was and how it turned out! I love that we were able to use leftover wood to create something that finished our space. If you make one make sure to share with me your completed project!
Like this post? Save it on Pinterest. Follow me on Pinterest.