How To Stain A Raised Garden Bed
How to stain a raised garden bed, and all the details on why we chose the Gardeners PolyWhey stain!
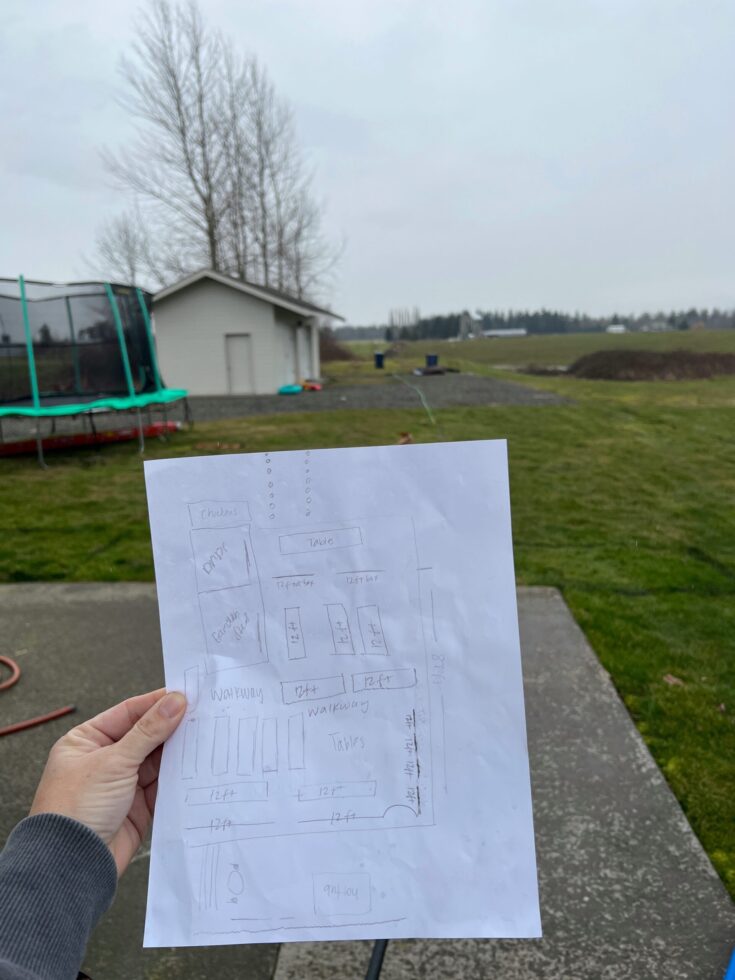
Now that you can see the after, lets go look at the before and how we did it! Don’t miss out on all the pretty flowers too.
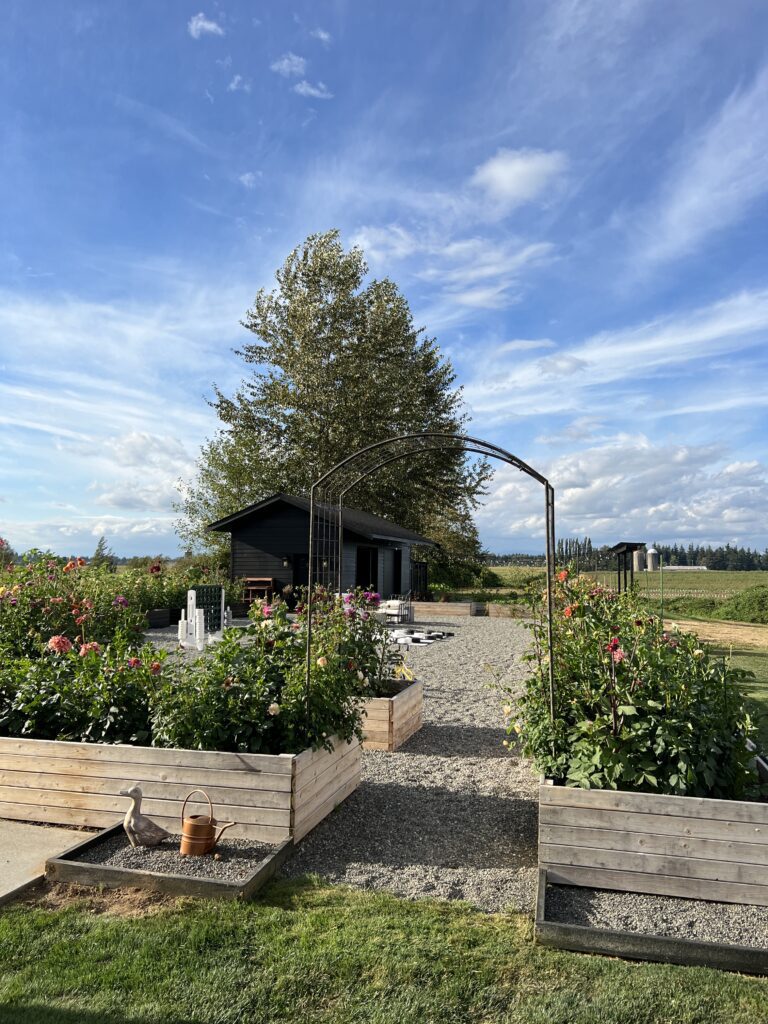
Here you can see the before, while I did love the natural look of the cedar boxes I knew it would just pop with a dark stain. We decided to stain the boxes not only for the look but for the durability. Cedar on its on holds up for a long time but even in the short time we have had these the color has drastically changed. We knew the rainy season is coming upon us!
Why we chose to stain our raised garden beds with Gardeners PolyWhey stain :
- Looks was on the top of the list as I mentioned above, we loved the cedar color but knew the dark would be gorgeous with the flowers and green.
- It would be so easy to just spray all the beds with paint, but did you know that isn’t actually good for your raised beds especially if you are going to put veggies in it? While some of ours have flowers and some veggies we plan on switching them up. It is Non-toxic and made from Whey.
- We live in Washington and in the winter we get a fair amount of rain, the Gardeners PolyWhey stain protects your wood from water, mildew, and UV damage!
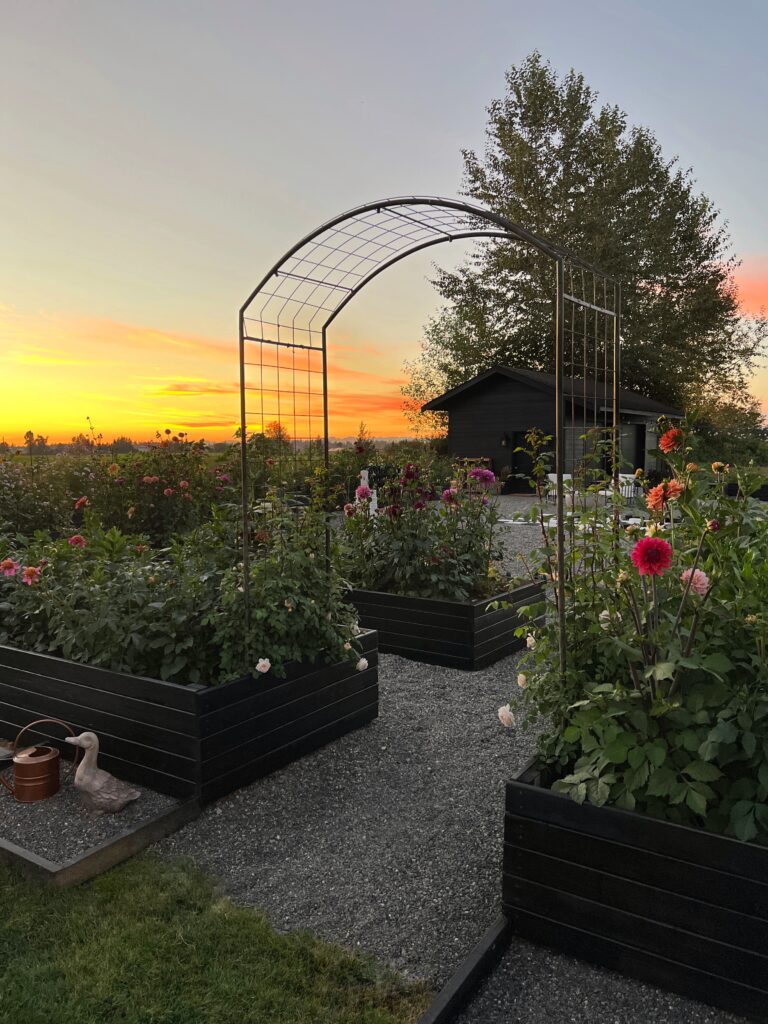
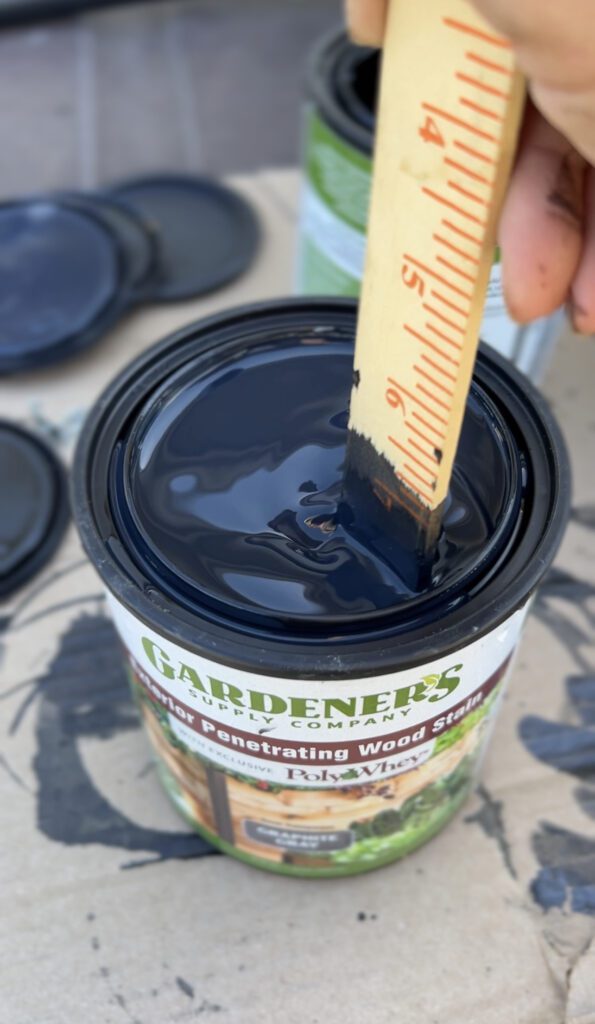
The winner was the protecting our beds! It is amazing to watch the water just bead off the boxes and did you know the Gardeners stain comes in multiple colors too? This one we used is the Graphite Gray and looks black when multiple coats.
Let’s start to stain our raised garden bed – What you should know!
This Gardeners stain is a PolyWhey, it is non toxic and food, people, and pet safe! It covers 50-100 Sq ft. We applied with a sponge applicator and a brush, we found it easiest to put in a paint tray. Make sure to stir it in the can before you put in the tray. It is VERY liquidy but it makes it an easy and quick application.
*The sponge covers a big space quickly and the brush covers the nooks and crannies.
What you will need to stain your raised garden bed:
- Gardeners Stain
- Paint Brush
- Sponge Applicator
- Paint Tray
- Stirrer Stick
- Any supplies if you need to tape off an area – paper, tape etc.
How to :
- Order your Gardeners Stain
- Make sure you have no rain in the forecast for 48 hours and can forgo watering.
- Get ready for a fun day of staining – it actually is fun and goes quick.
- Get your stain cans, have something to set them on it can be messy.
- Stir and Stir your stain, then put in your paint tray!
- Time to stain!
What we learned :
It says on the Gardeners stain can to do two coats, we basically did three for ours. We first started with the sponge applicator, then went behind with a good coat with a paint brush to get it covered and went through the nooks and crannies. We let it dry just a bit ( DON’t wait to long we learned when it dries to much it waterproofs and the stain doesn’t want to take.) While still wet we did the final coat of the Gardeners stain with the applicator and tada your box is done! It goes quickly and the trick like the can says – stain while still damp!
You guys know I was set on the black, then I got comfortable with the wood.. after the rain after rain and then the hot weather … then thinking of all the work to stain BUT then we did it and I can’t get over HOW AMAZING and then watching the water just bead off its incredible! Just do it and it was actually such a fun project!
Just look at the difference so amazing right???? The kids even said mom it just makes the plants and flowers look that much better.

Here is the perfect before and after, and well you can see another project our roof but thats for spring!
Can you even get over how amazing it makes all the flowers look?
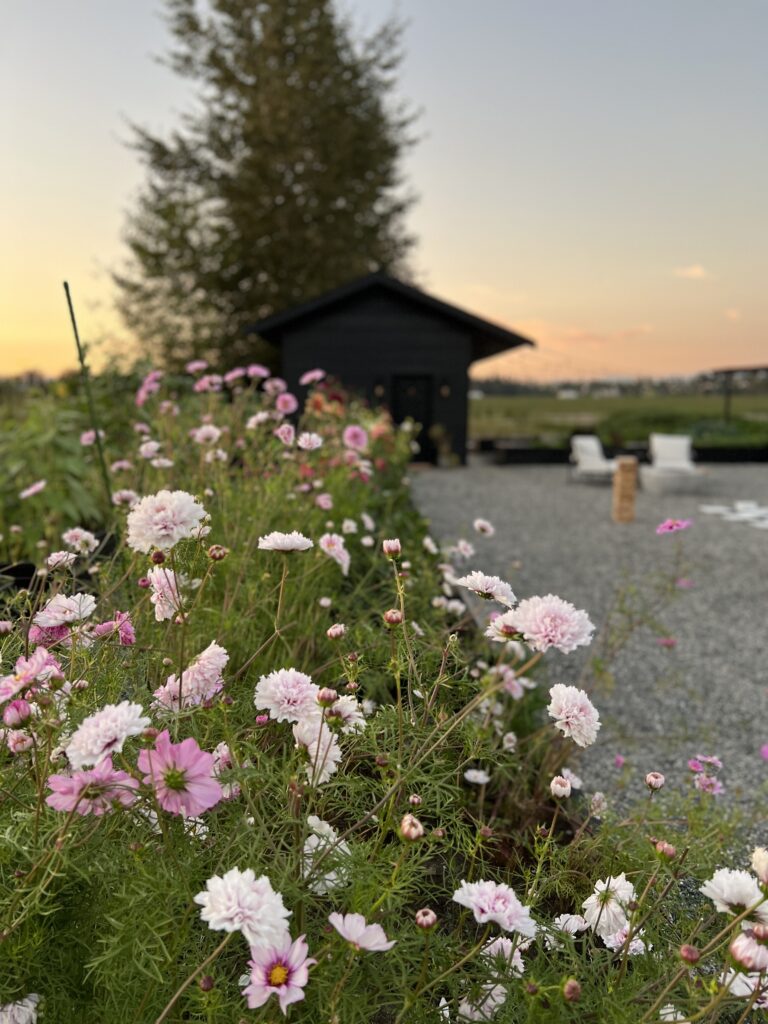
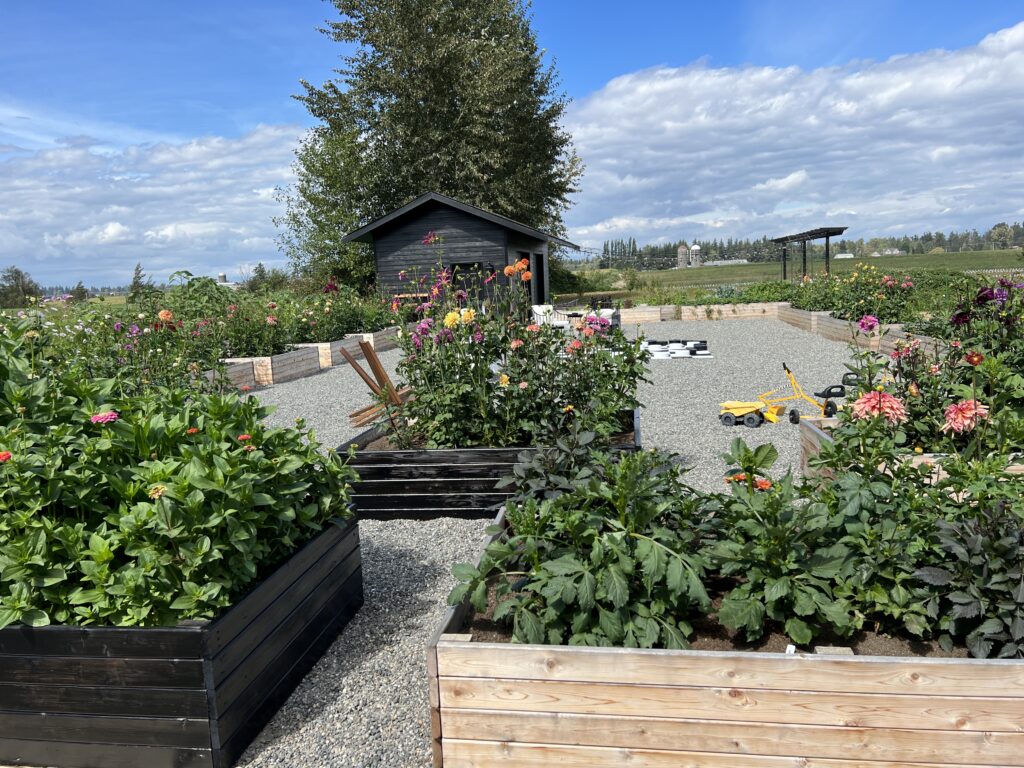
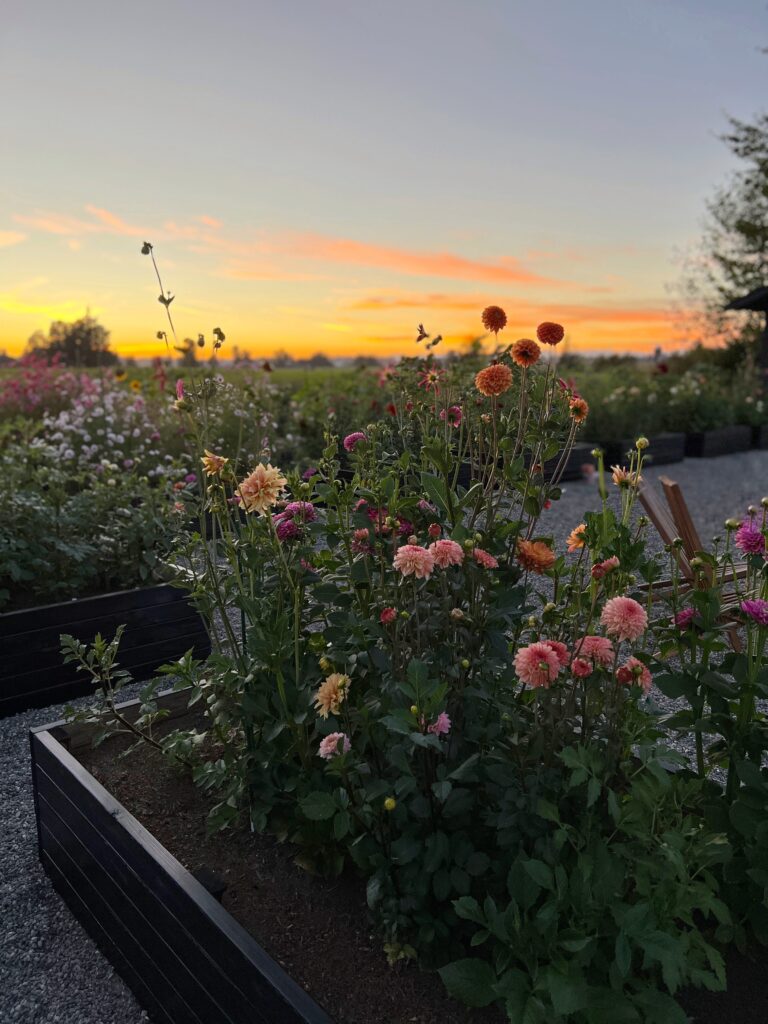
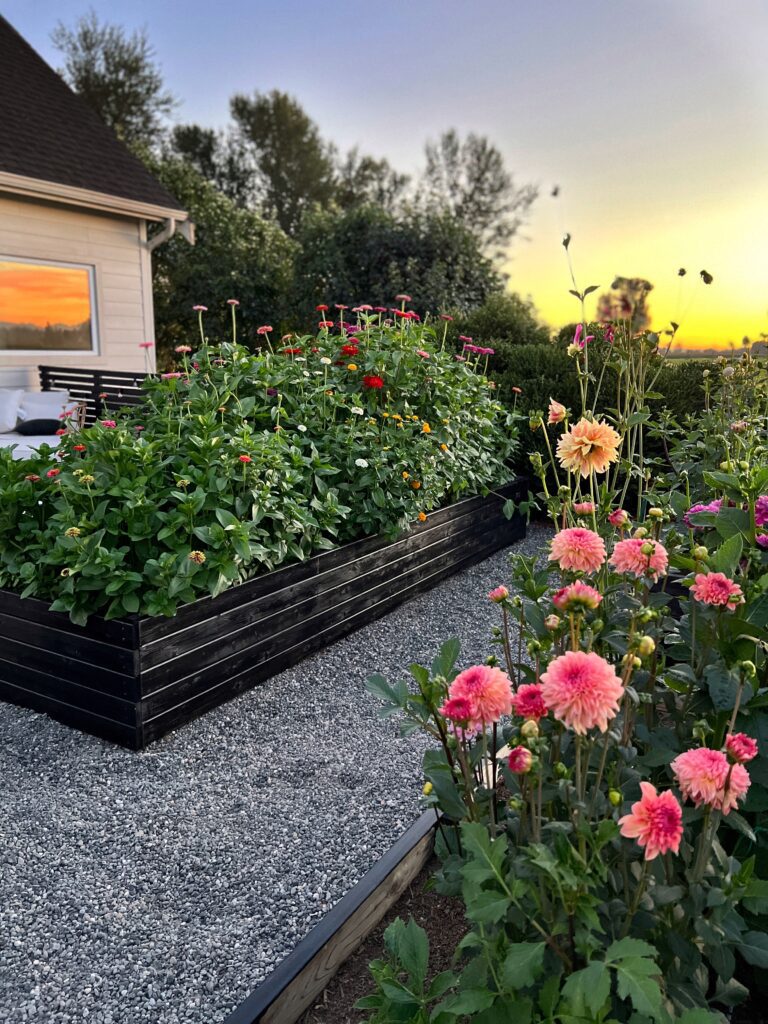
Let’s take a little peek and stroll through the garden with our stained beds, these are the cosmos.
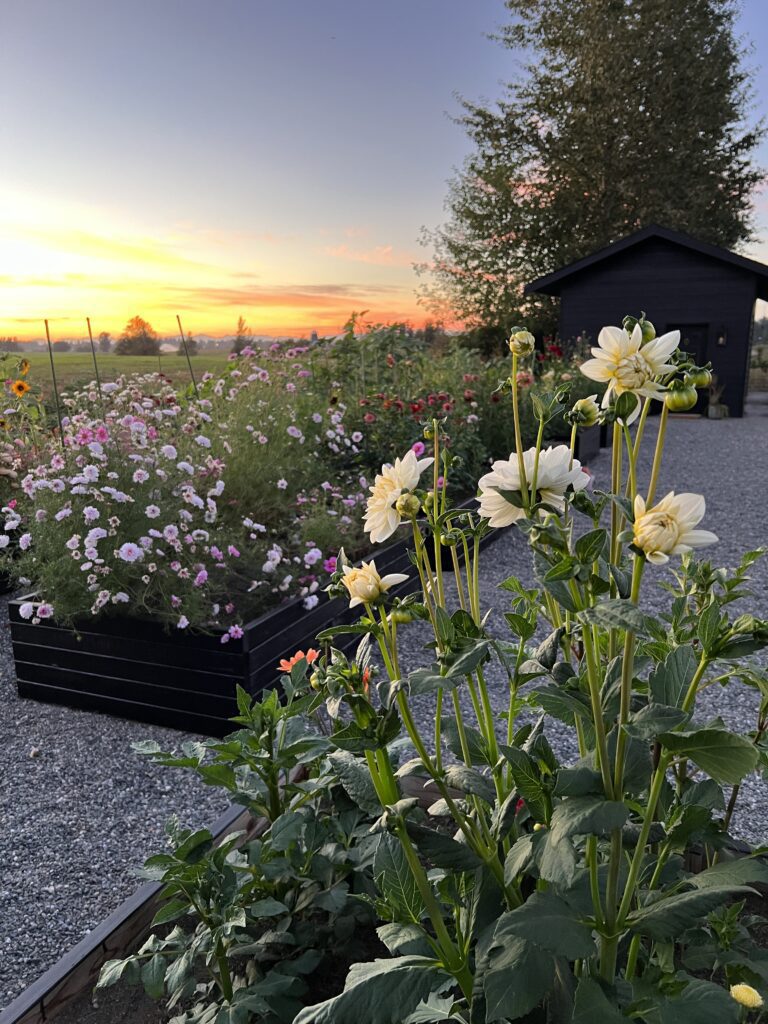
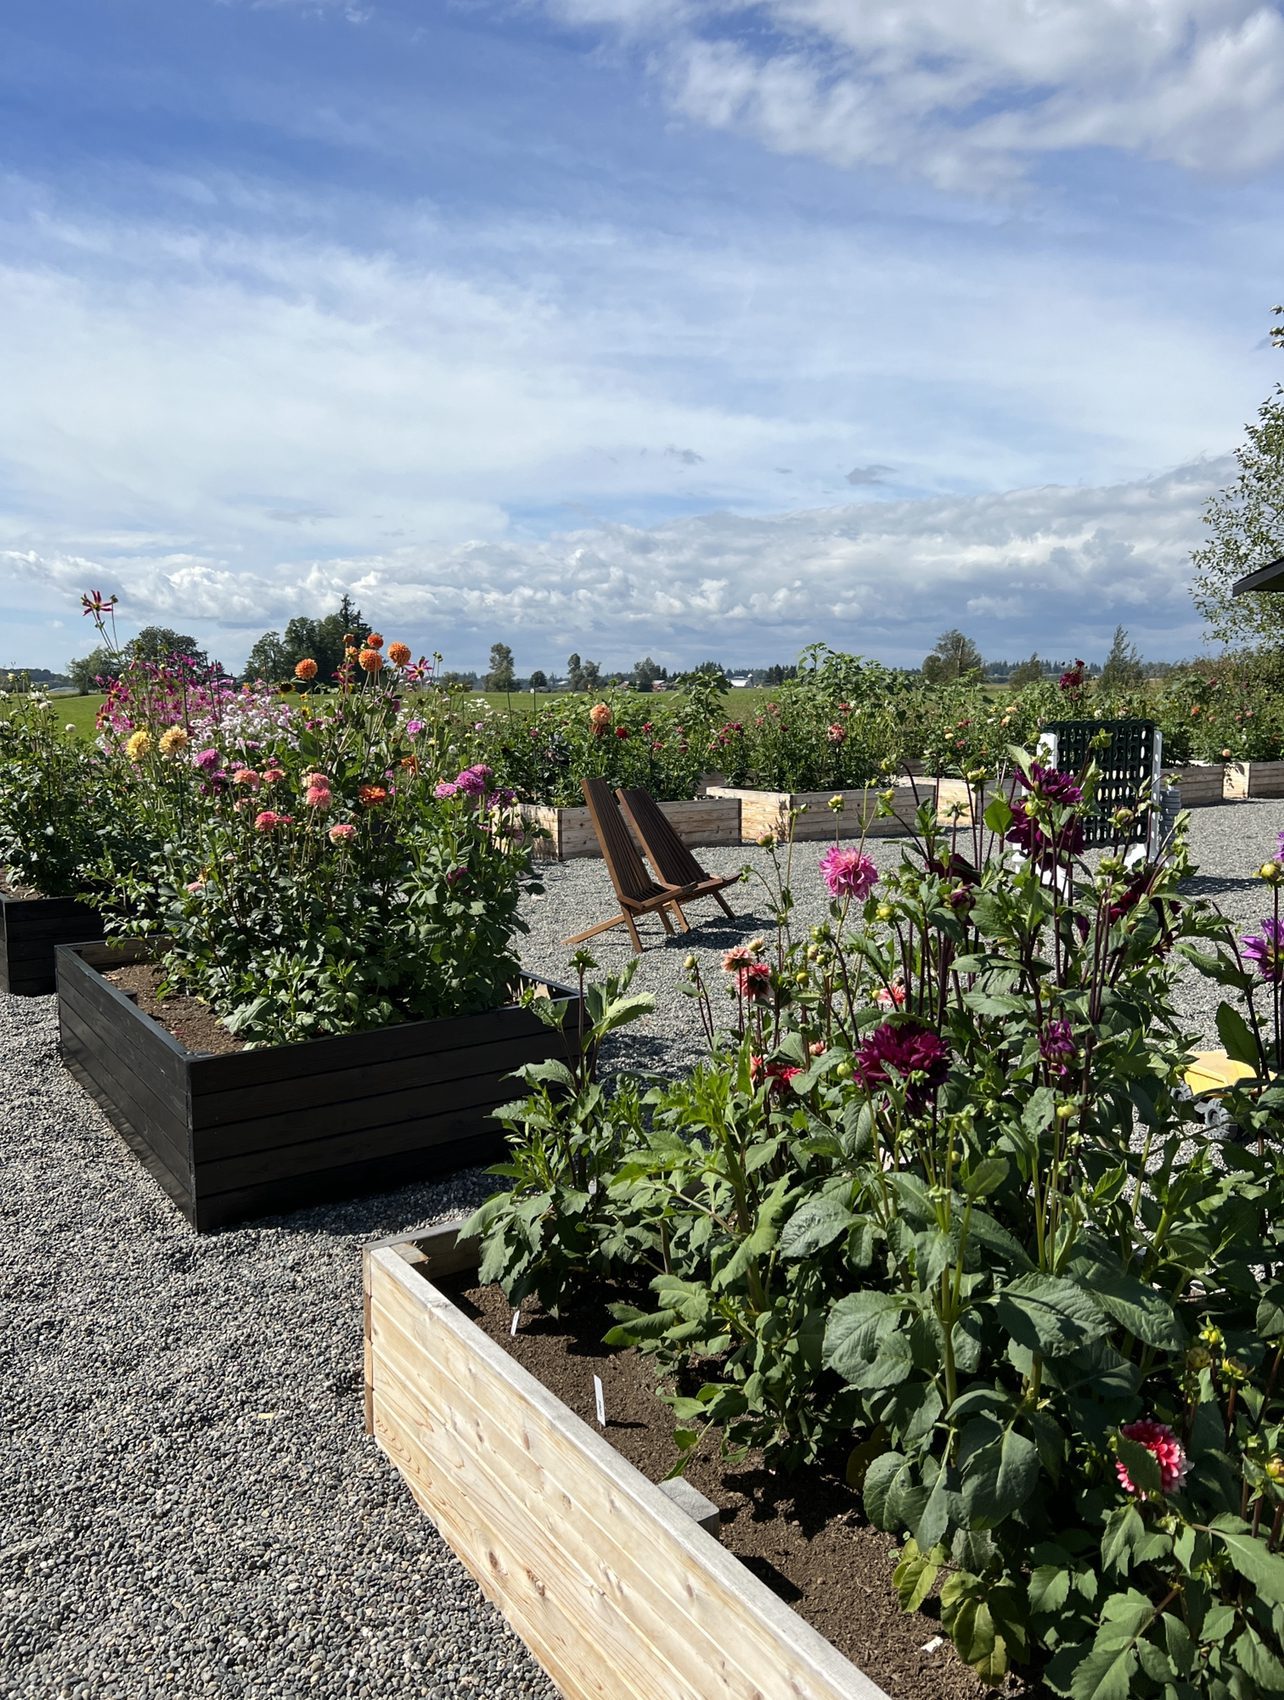
Here you can see dahlias, cosmos, and sunflowers.
We did run out of stain, more on the way to do the insides of these boxes! But, look at these dahlias!

If you had to choose any flower to have, what would it be?
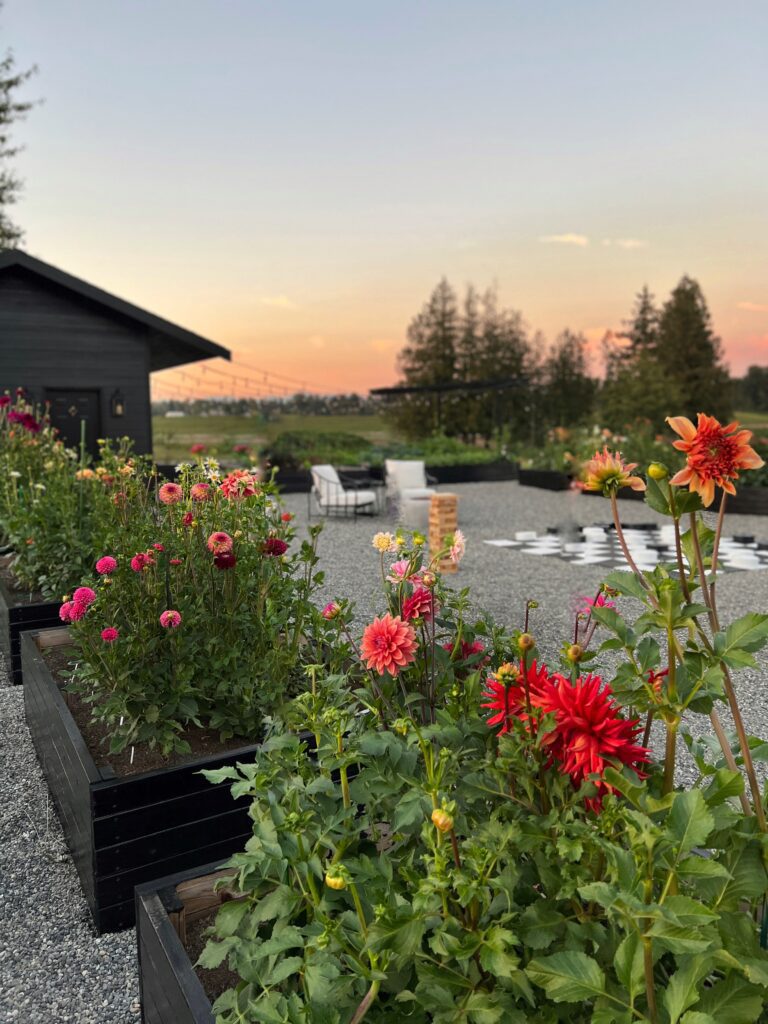
I love how unique each dahlia is in our garden, did you know we have over 100 different varieties and over 300 that we planted this year?
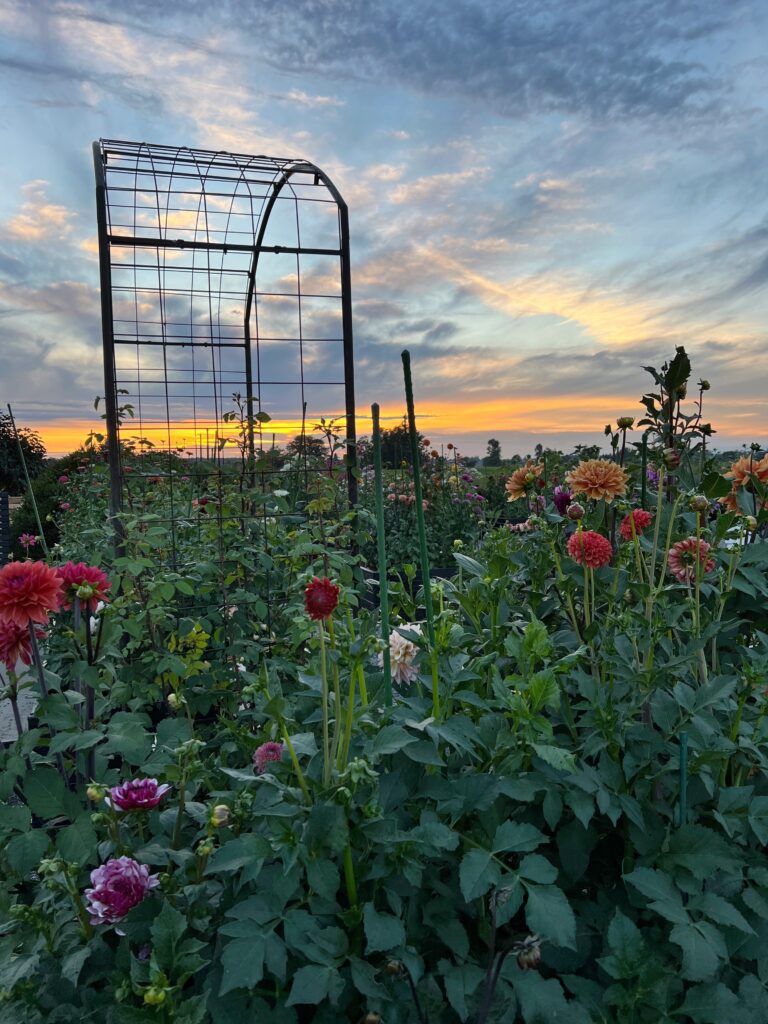
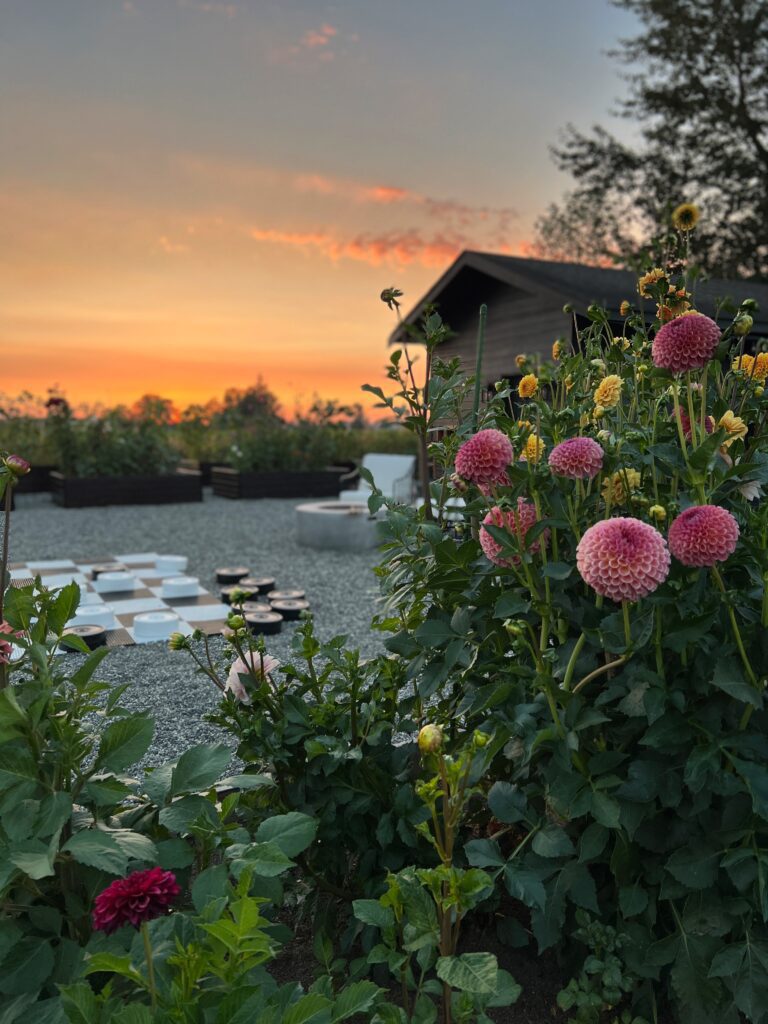
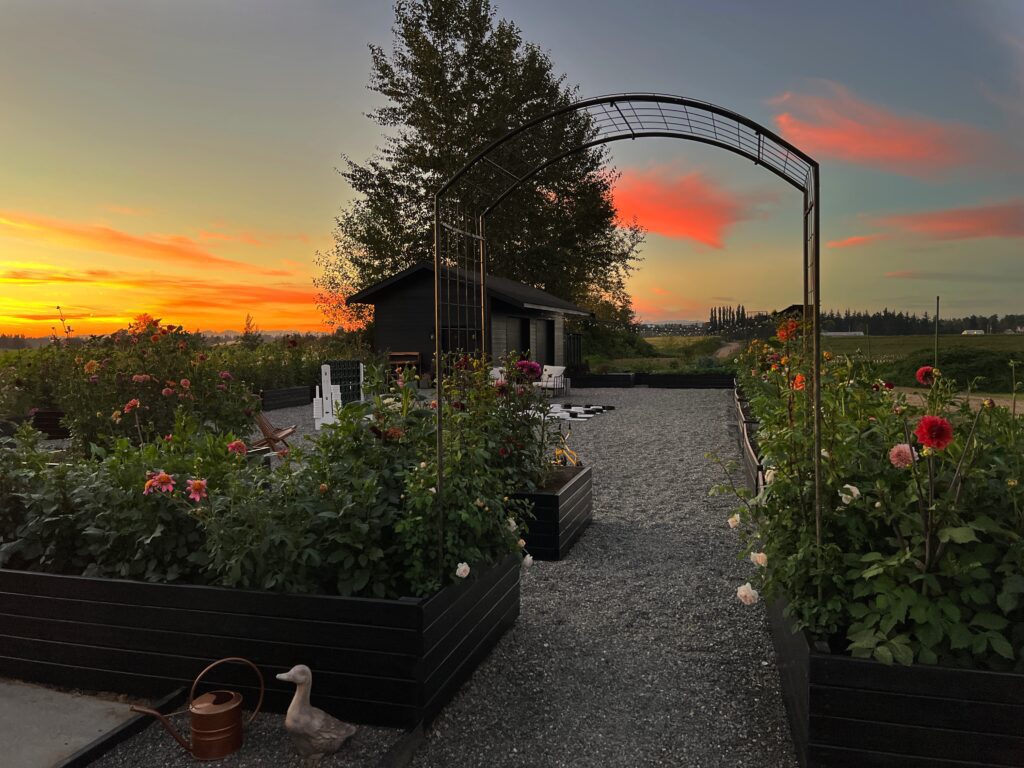
James and I talked on how we can share a different sunset view each night, and none would ever be the same so much beauty!
I am so excited to see all the sunflowers you can see popping up in the back soon emerge!
I know some wanted it to stay, but look at it – so gorgeous!
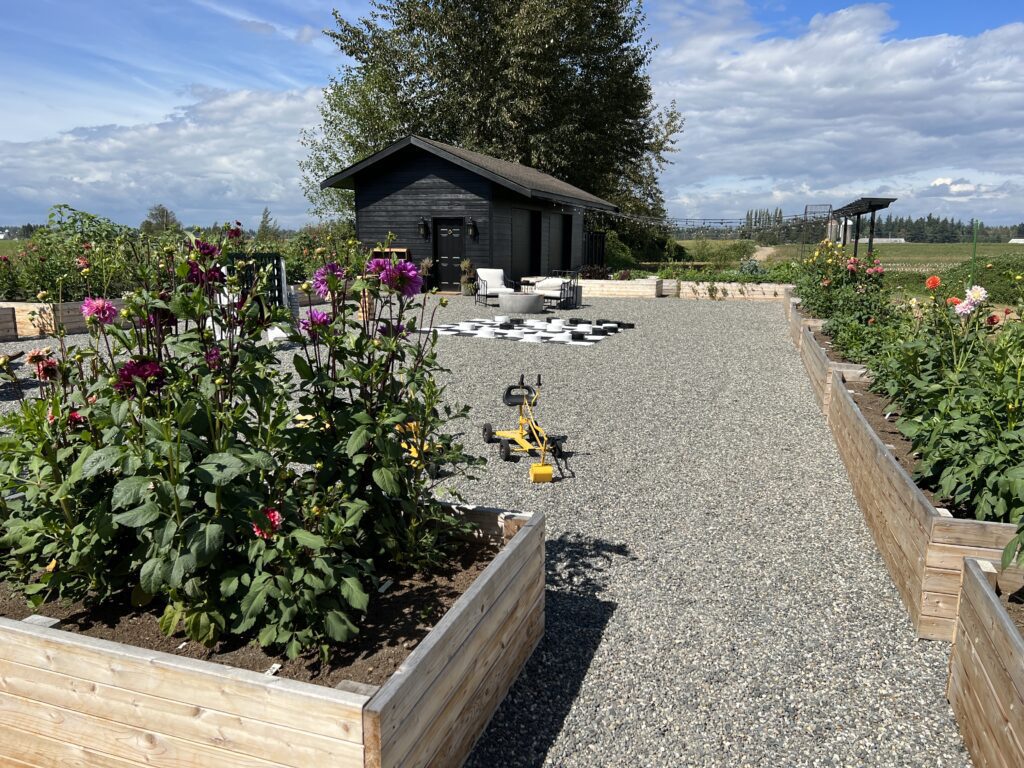
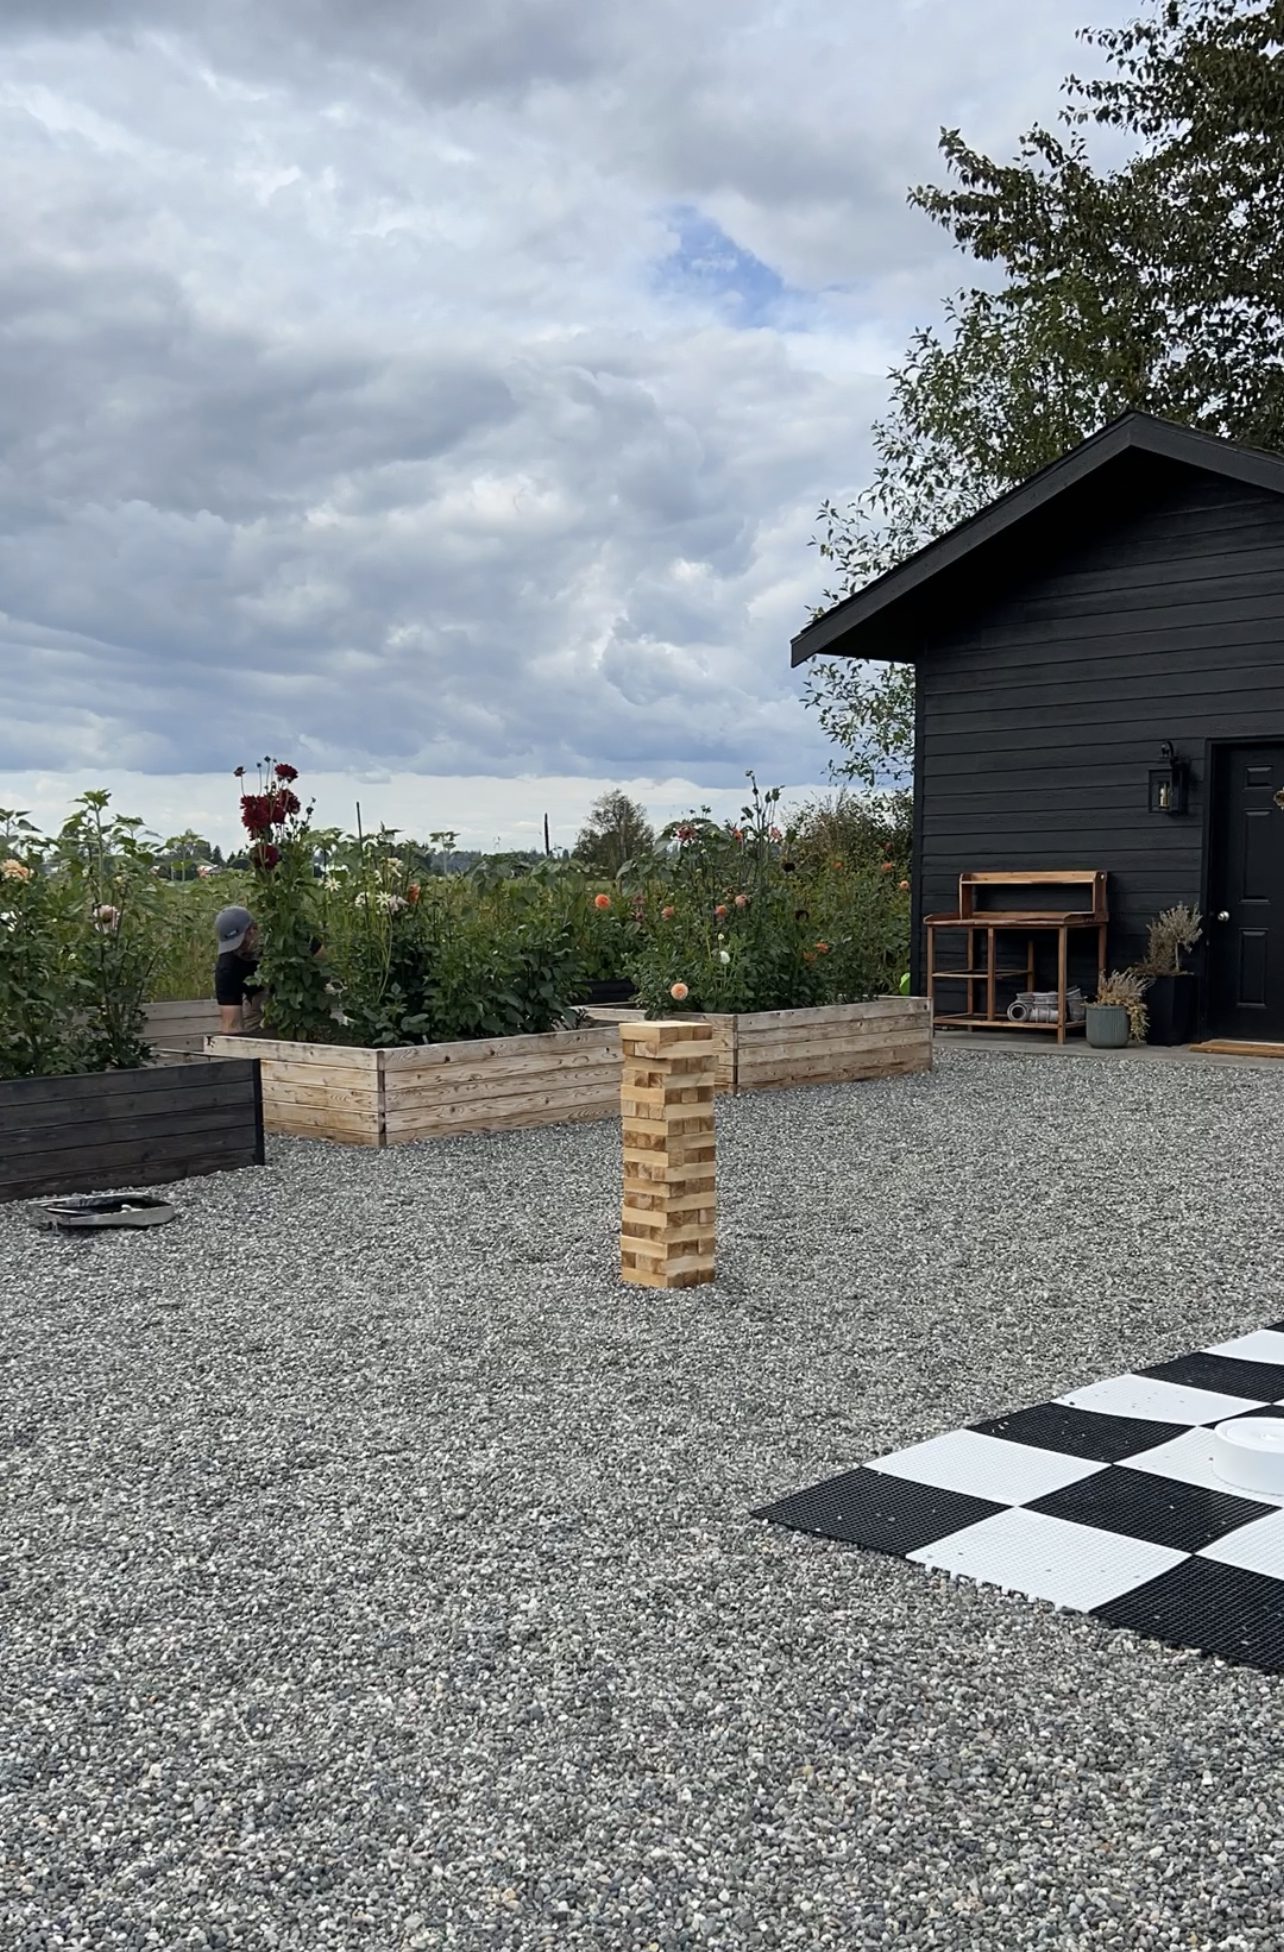
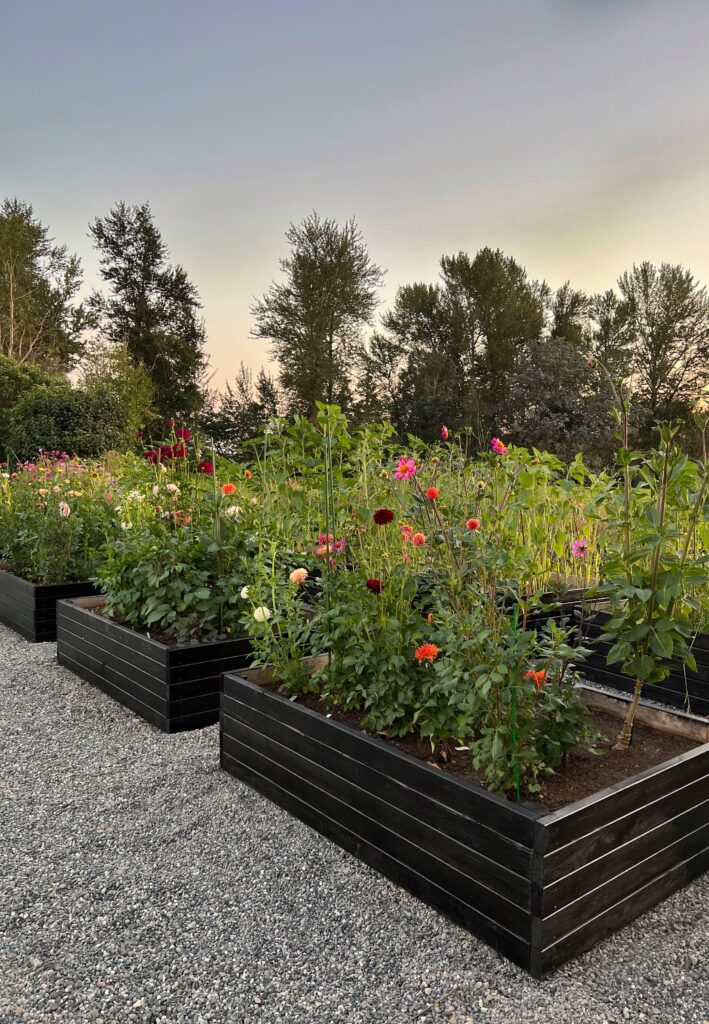
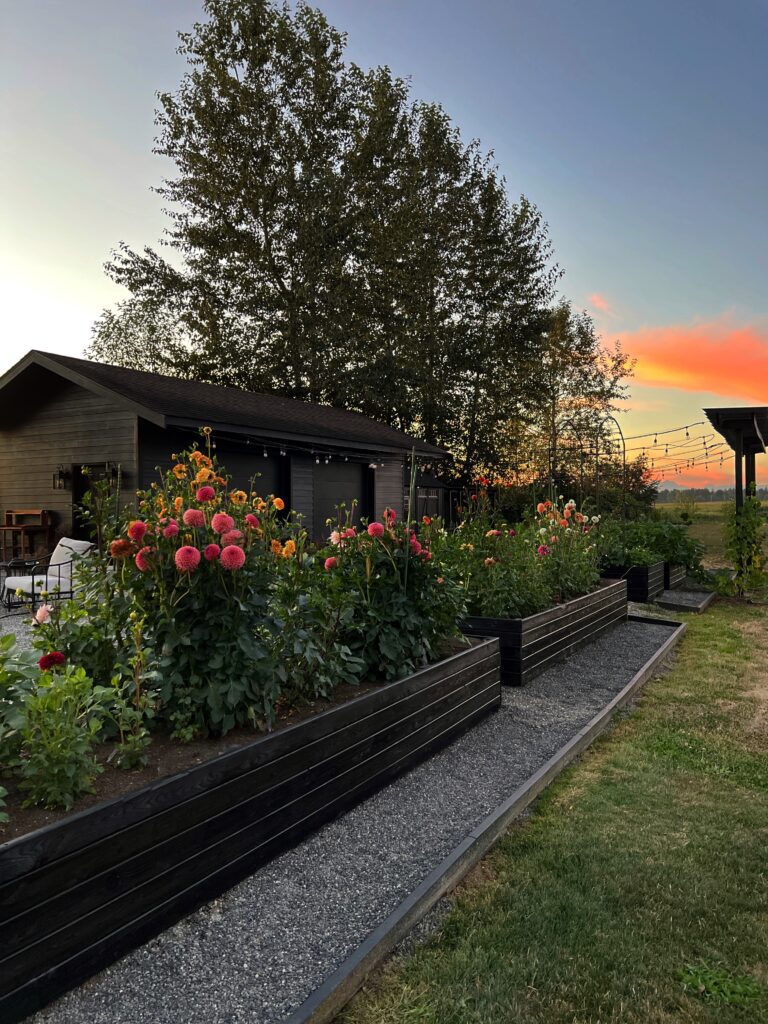
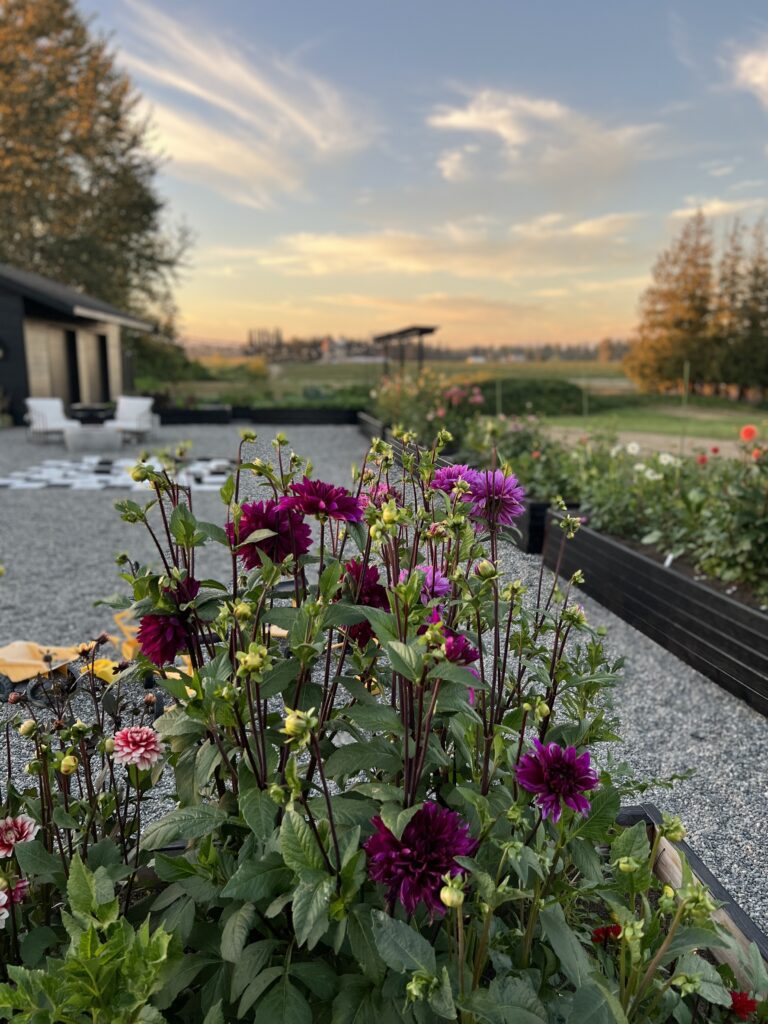
Now look at the black against the house, its sure a dream and we can’t wait to share whats next!
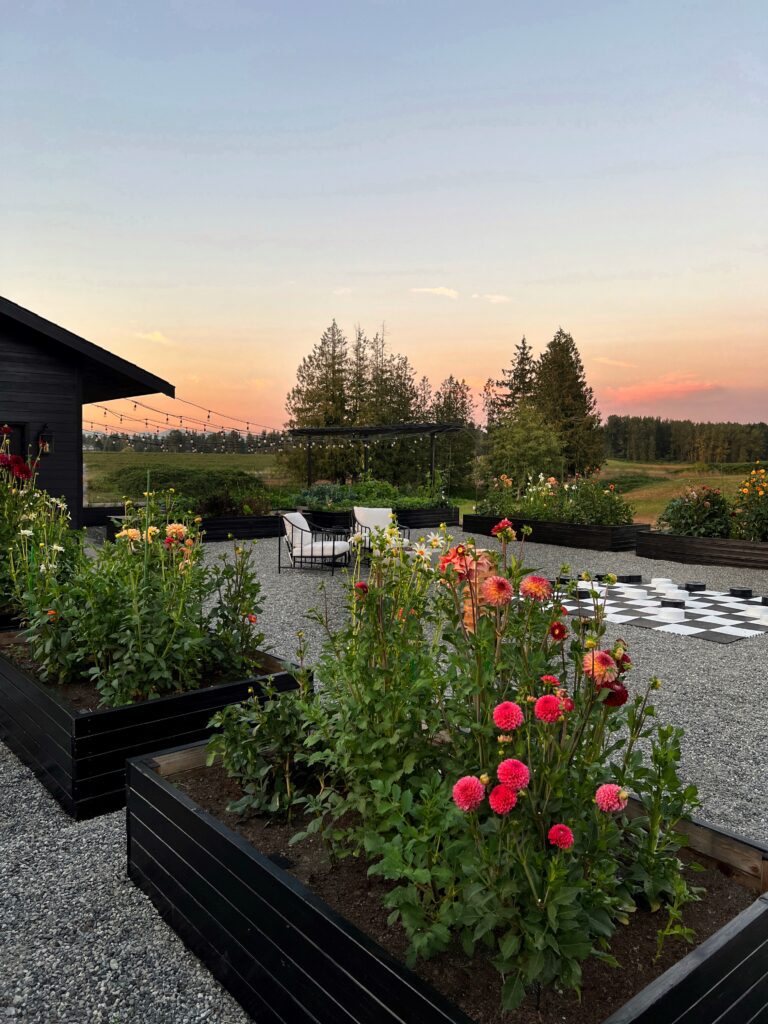
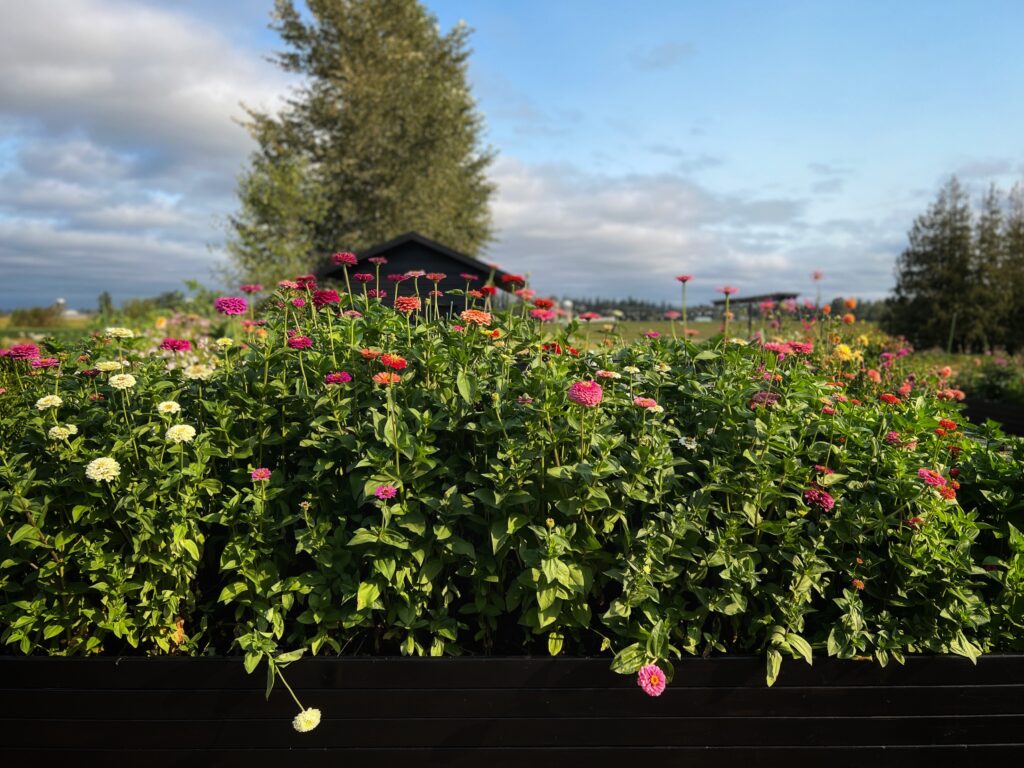
Here is the back side view!
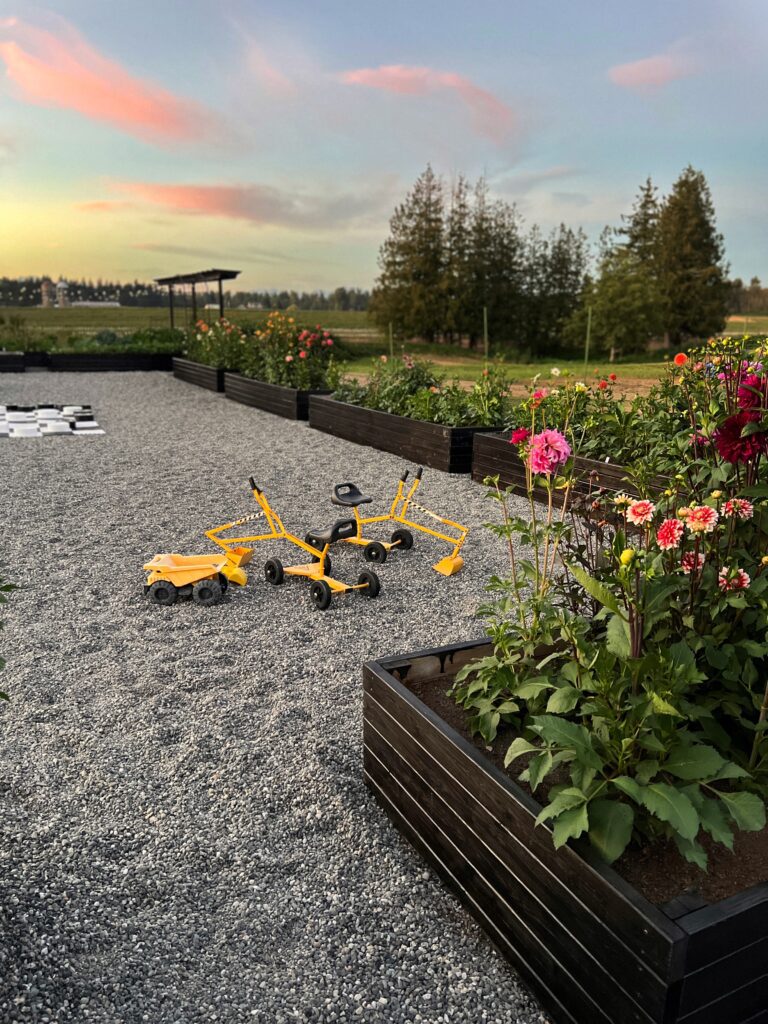
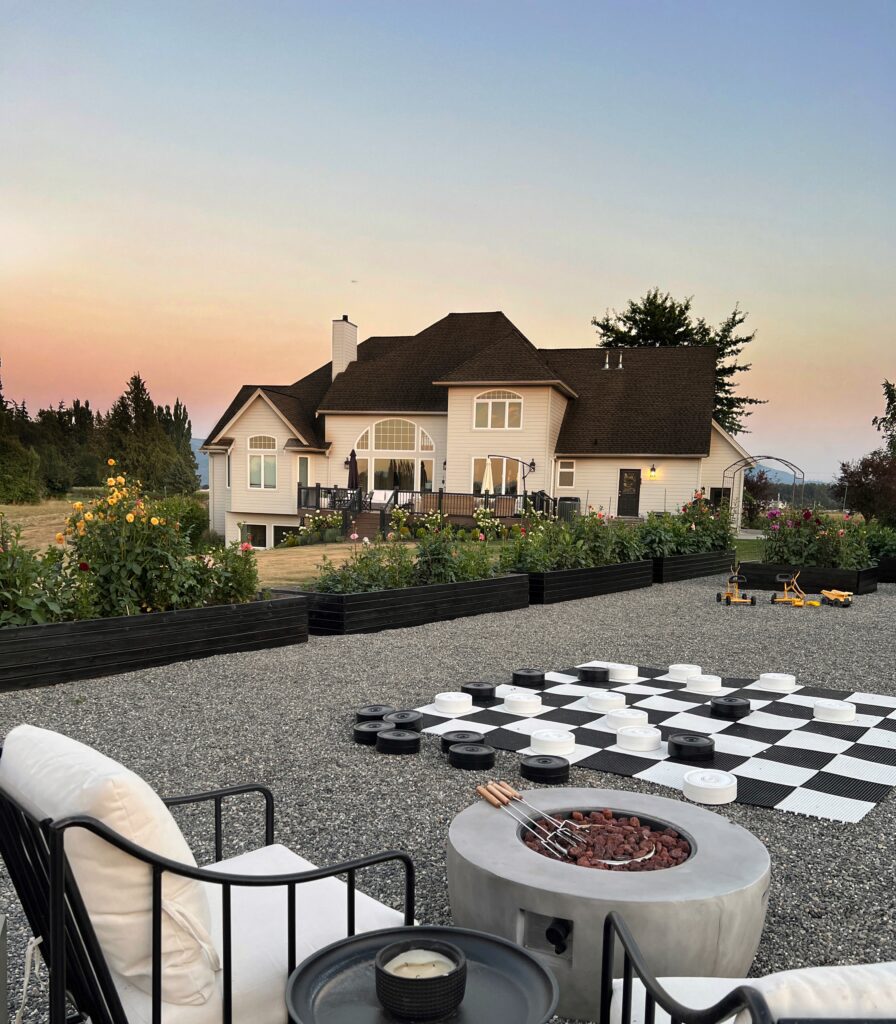
The kids love to dig, and play all the games in here!
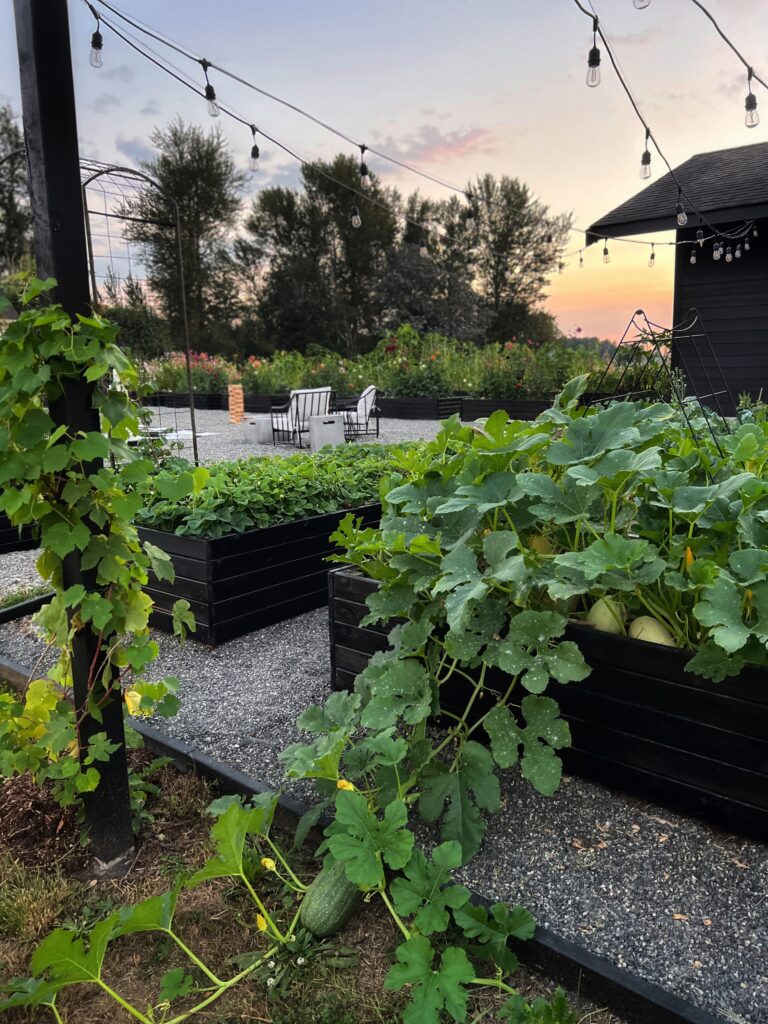
Look at everything grow its been amazing to see!
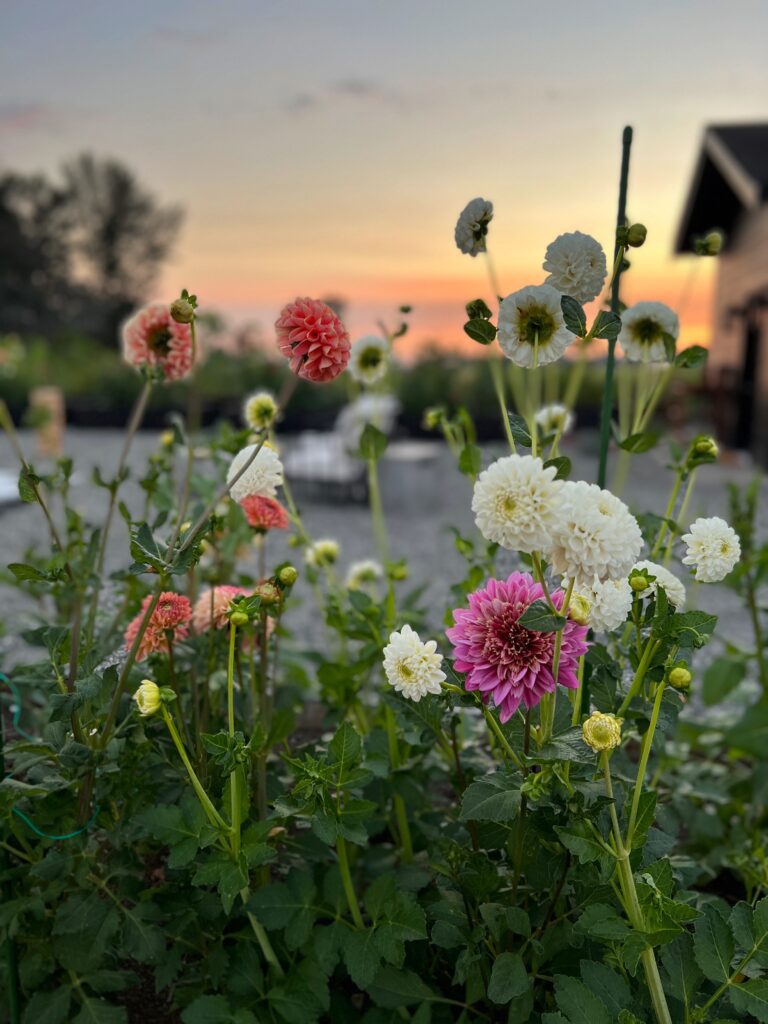
I don’t know if I can even pick a favorite.
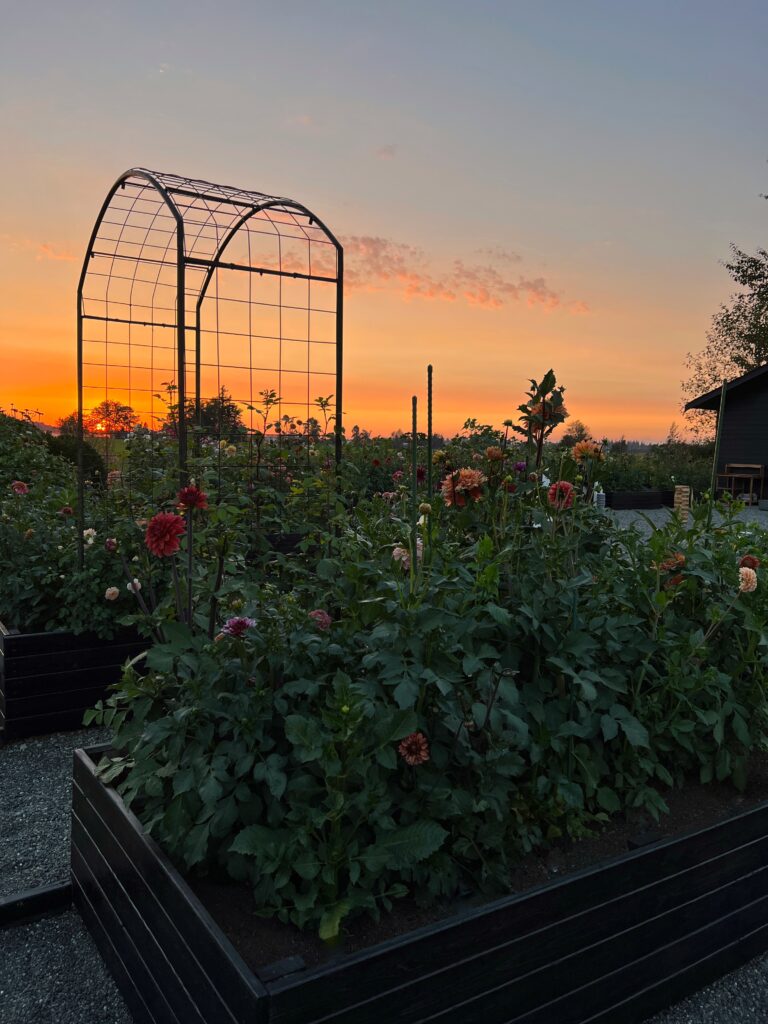
But these sunsets sure make it glorious!
These ones are sure beautiful…

The sunflowers not only have my heart, but the bees and butterflies!
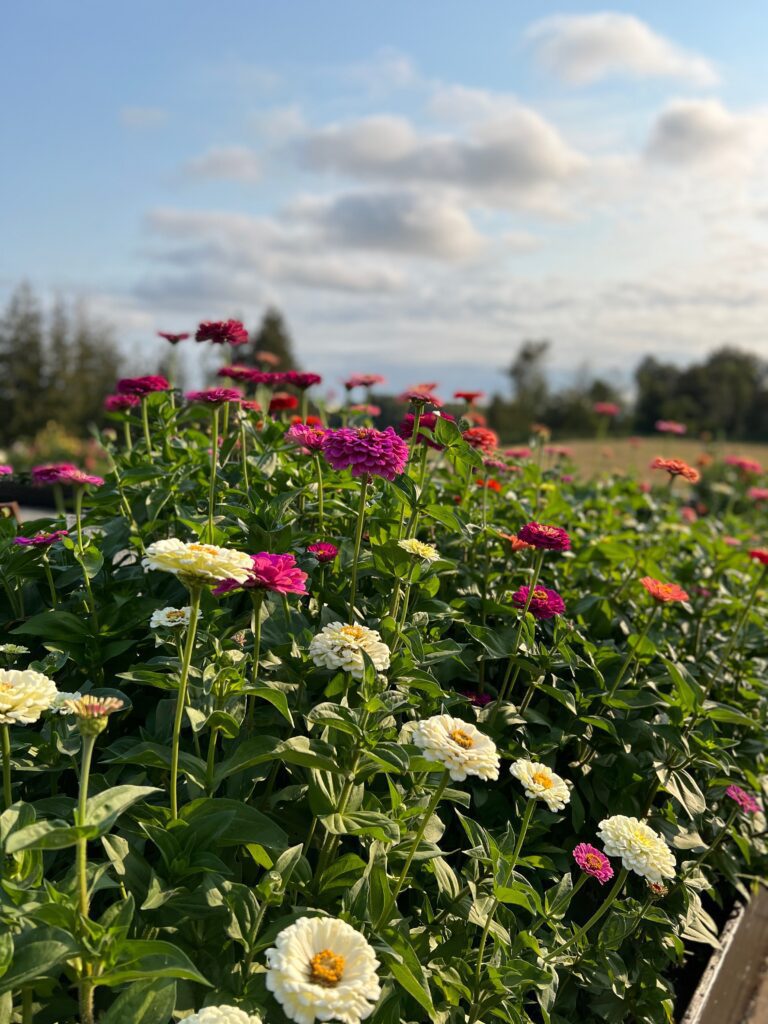
The zinnias might win for how fun and really how easy they are!
So amazing right? Sadly, its almost fall and all these must go…but next year we can’t wait for!
Get ready for some fun and exciting news!
I hope you enjoyed a little stroll through the garden and look forward to seeing more as it evolves. Don’t miss these posts below to see how we created it.
Like this post? Save it on Pinterest. Follow me on Pinterest.


hi. I’d like to see how these beds you’ve stained have held up over the last 3 years? would you mind sharing a photo? thank you.
Hi! They have held up, but with our high winds we have had to touch up! I would do again! Black paint is also good – if using it for flowers… for inside a garden bed thats for food I would for sure use stain!