Touch Dimmer Lighting + DIY Plain Door to Paneled Door
Here is another sneak in our new “grown-up”’room. Today I want to share with you two easy projects we completed, honestly the easiest upgrades we have done to our home and so inexpensive! The first one was the Sunnata touch dimmer lighting from Lutron, and I wish we did it sooner. I will share the process and why we love it, but don’t miss the easy DIY Plain door to paneled door tutorial too!

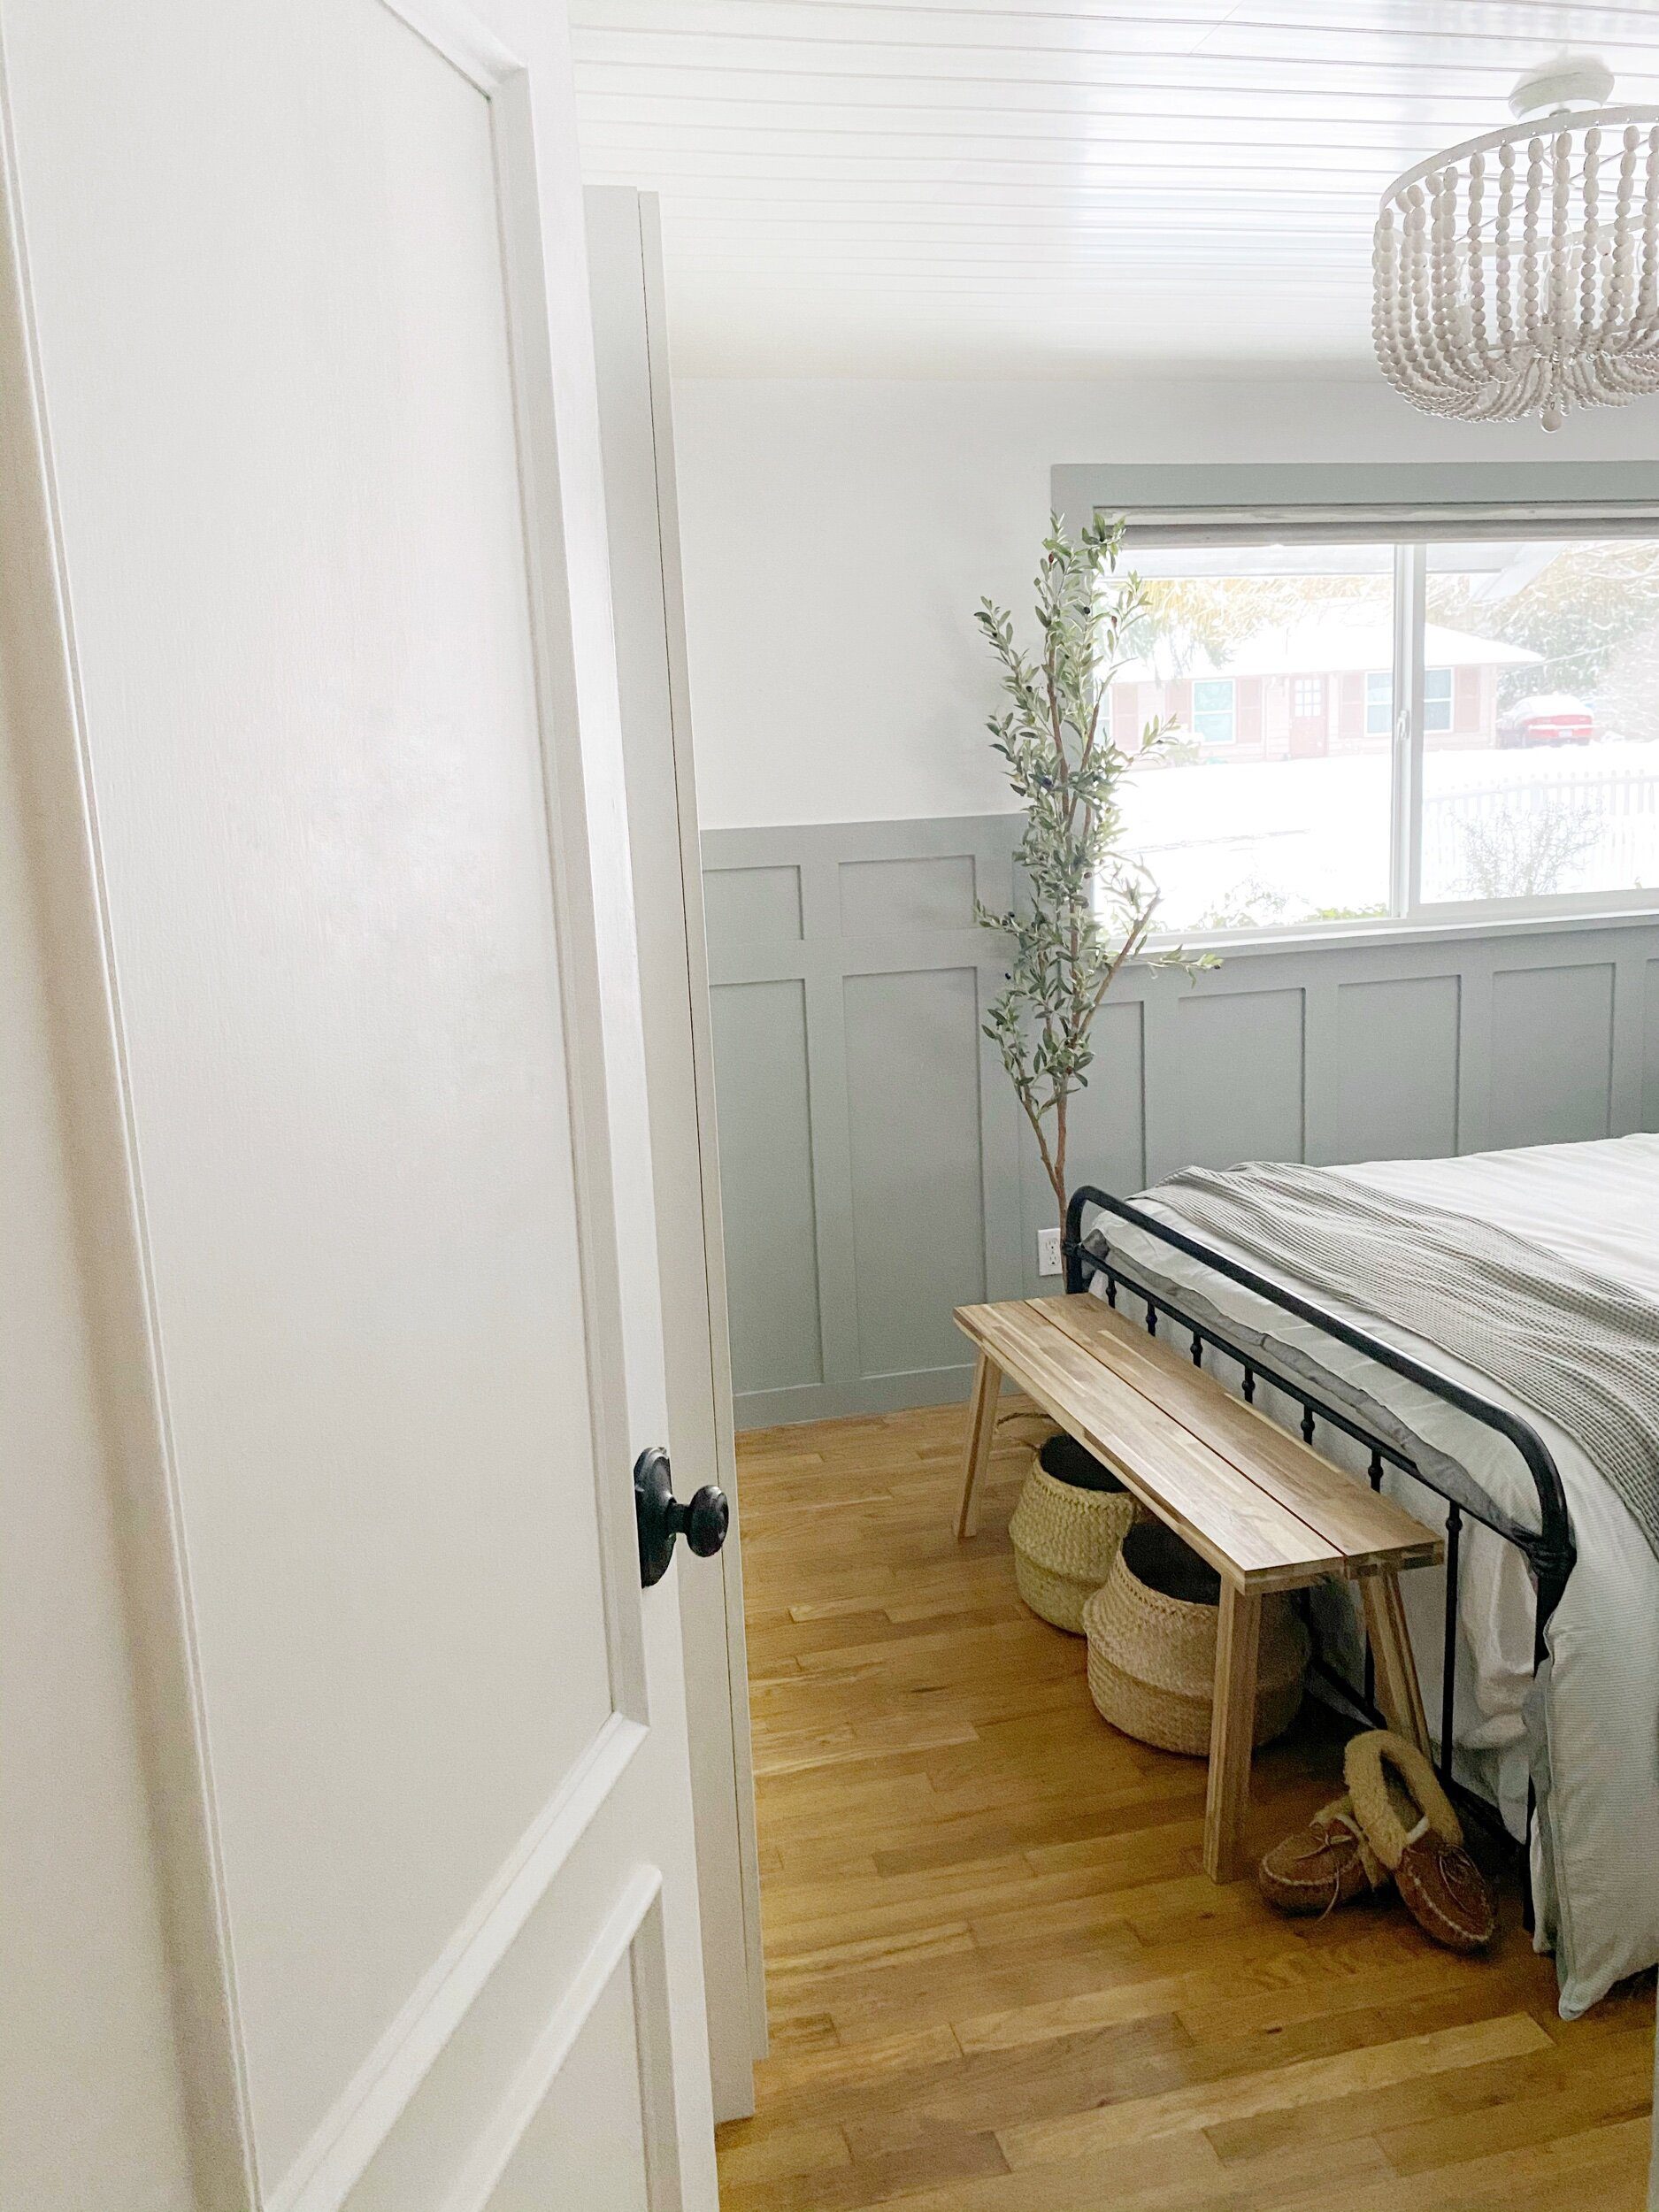
Before & After

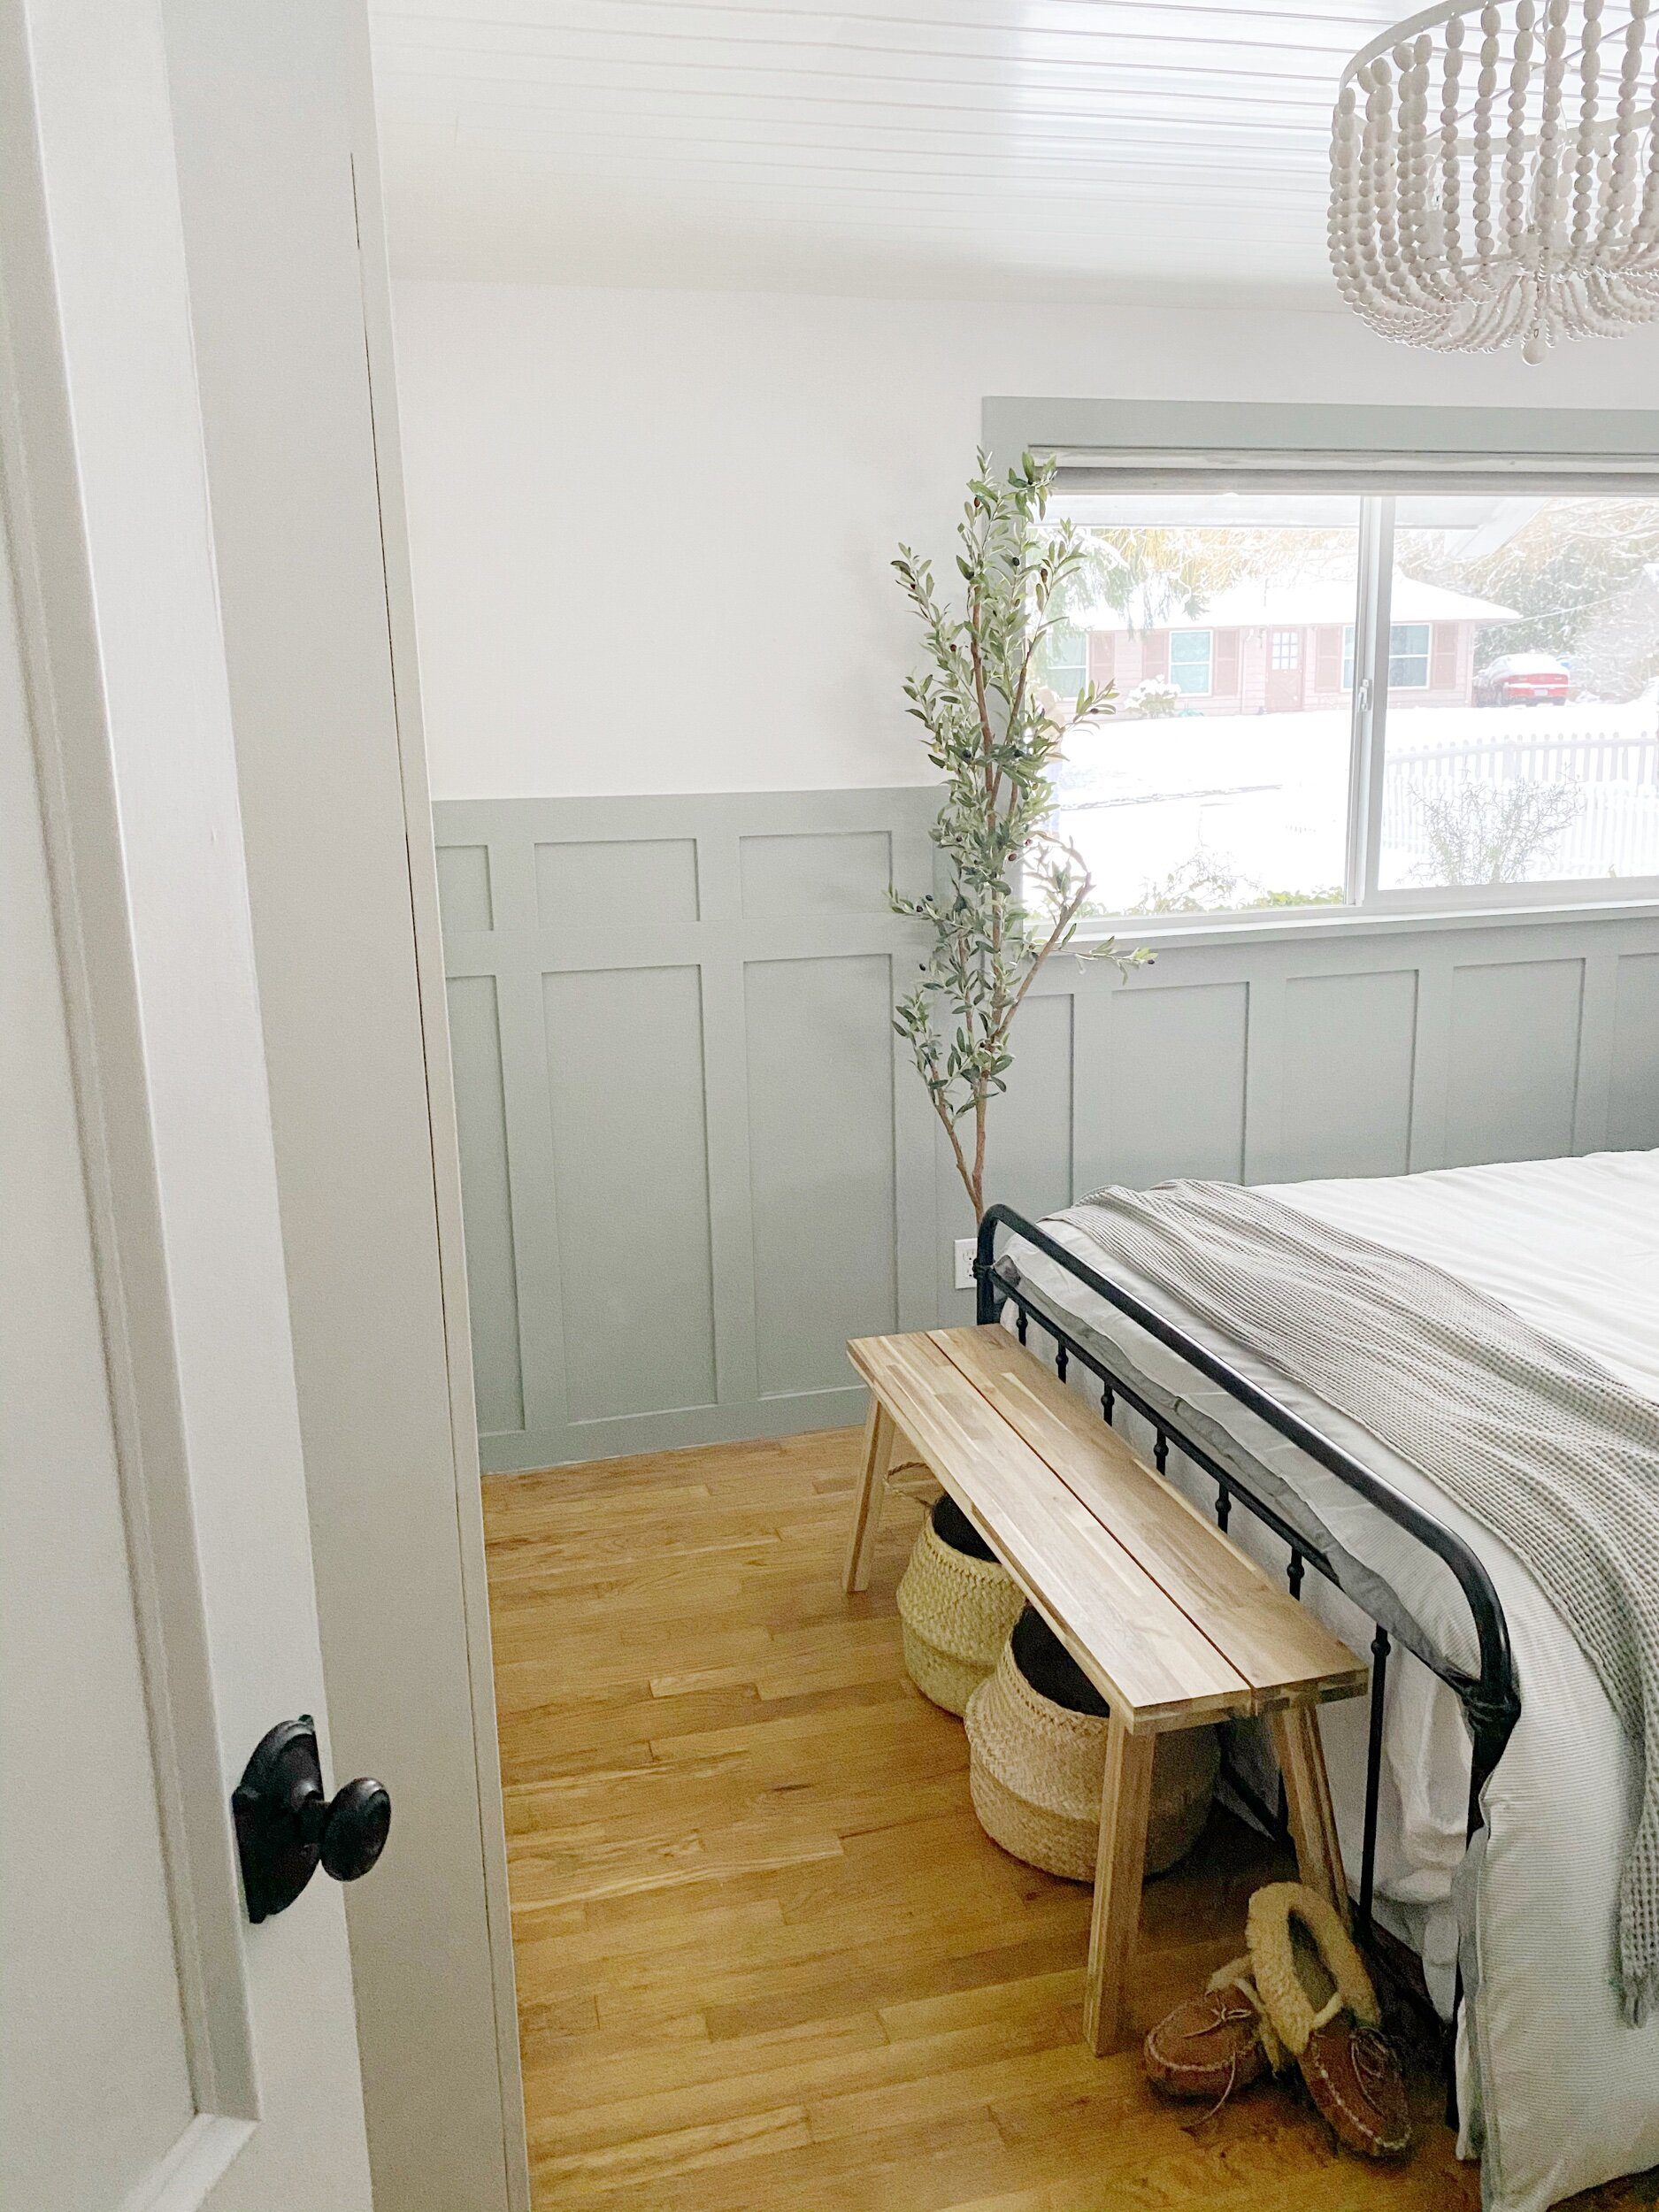
Its amazing what you can do to a space in such a short time, and while I am sharing two easy projects I wanted to show you the before and after of this room. I love our new lighting but what makes it even better is the Sunnata touch dimmer lighting from Lutron ,seriously just a simple touch will do all that you need, let me show you how we installed it and how it works!
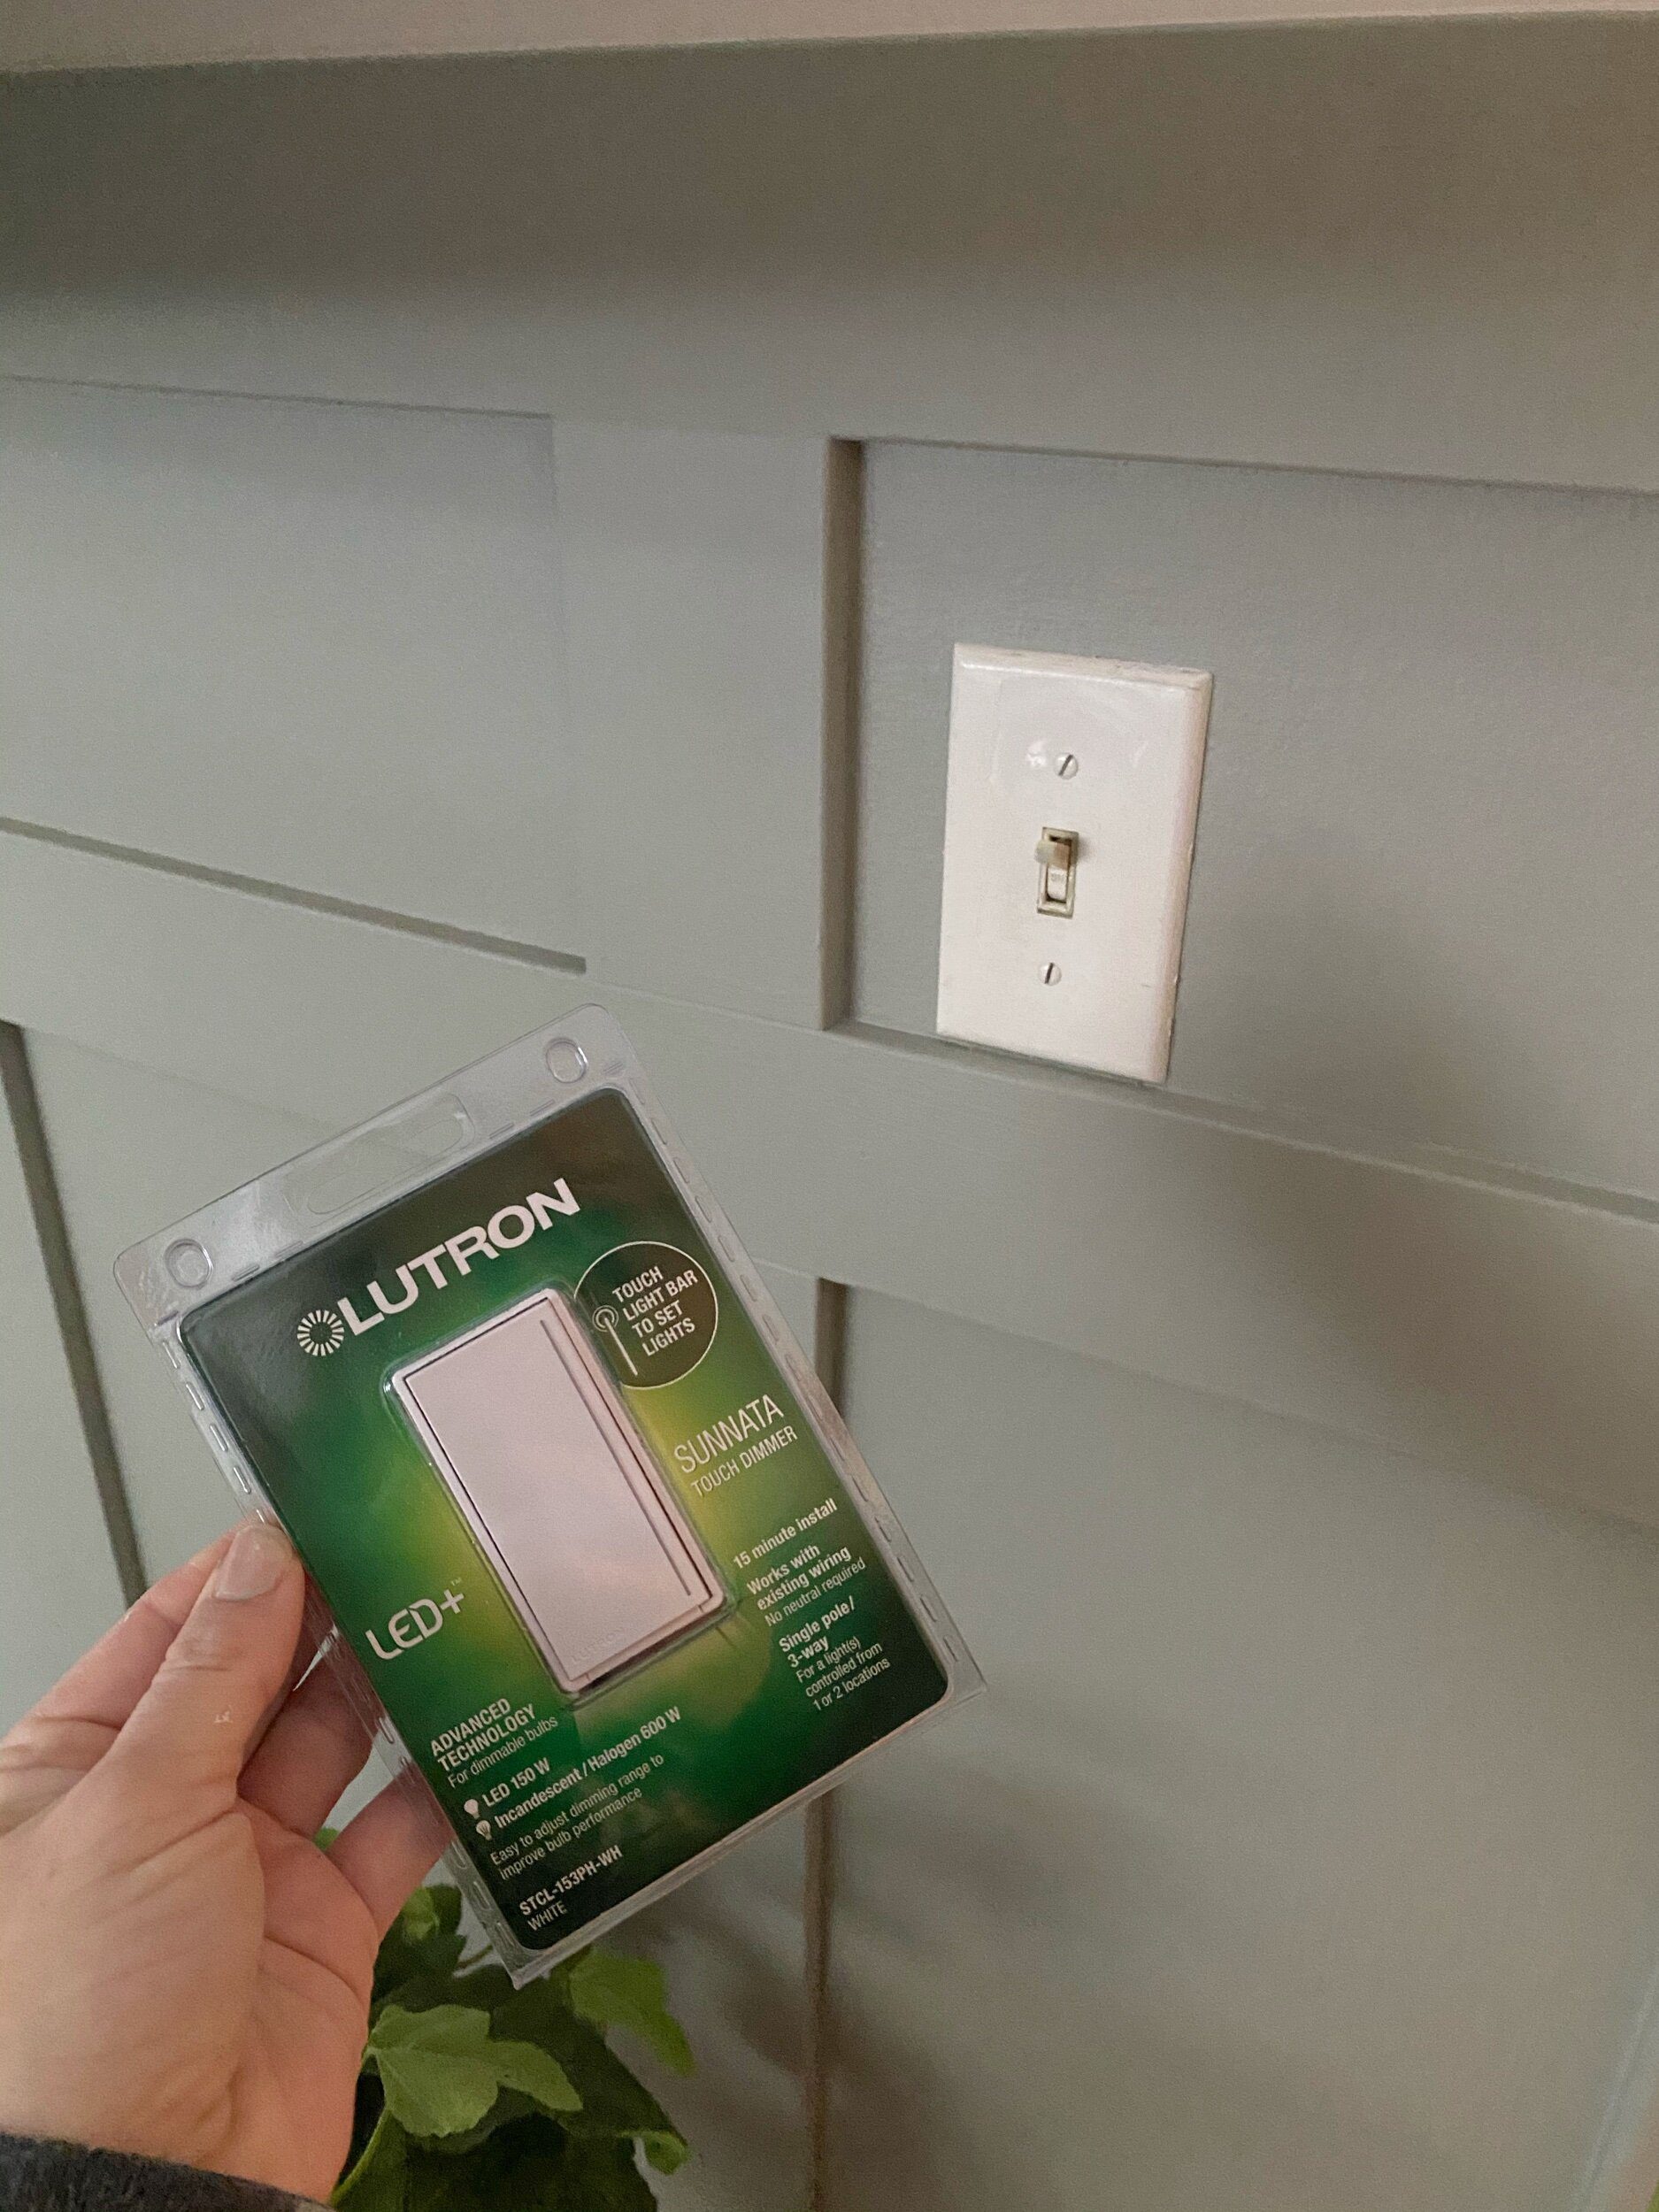
Here is another “before” our plain old light switch and this is what we will replacing it with. You see here that it shows 15 minutes to install with the existing wiring in your home… really it should say minutes because it is that easy!
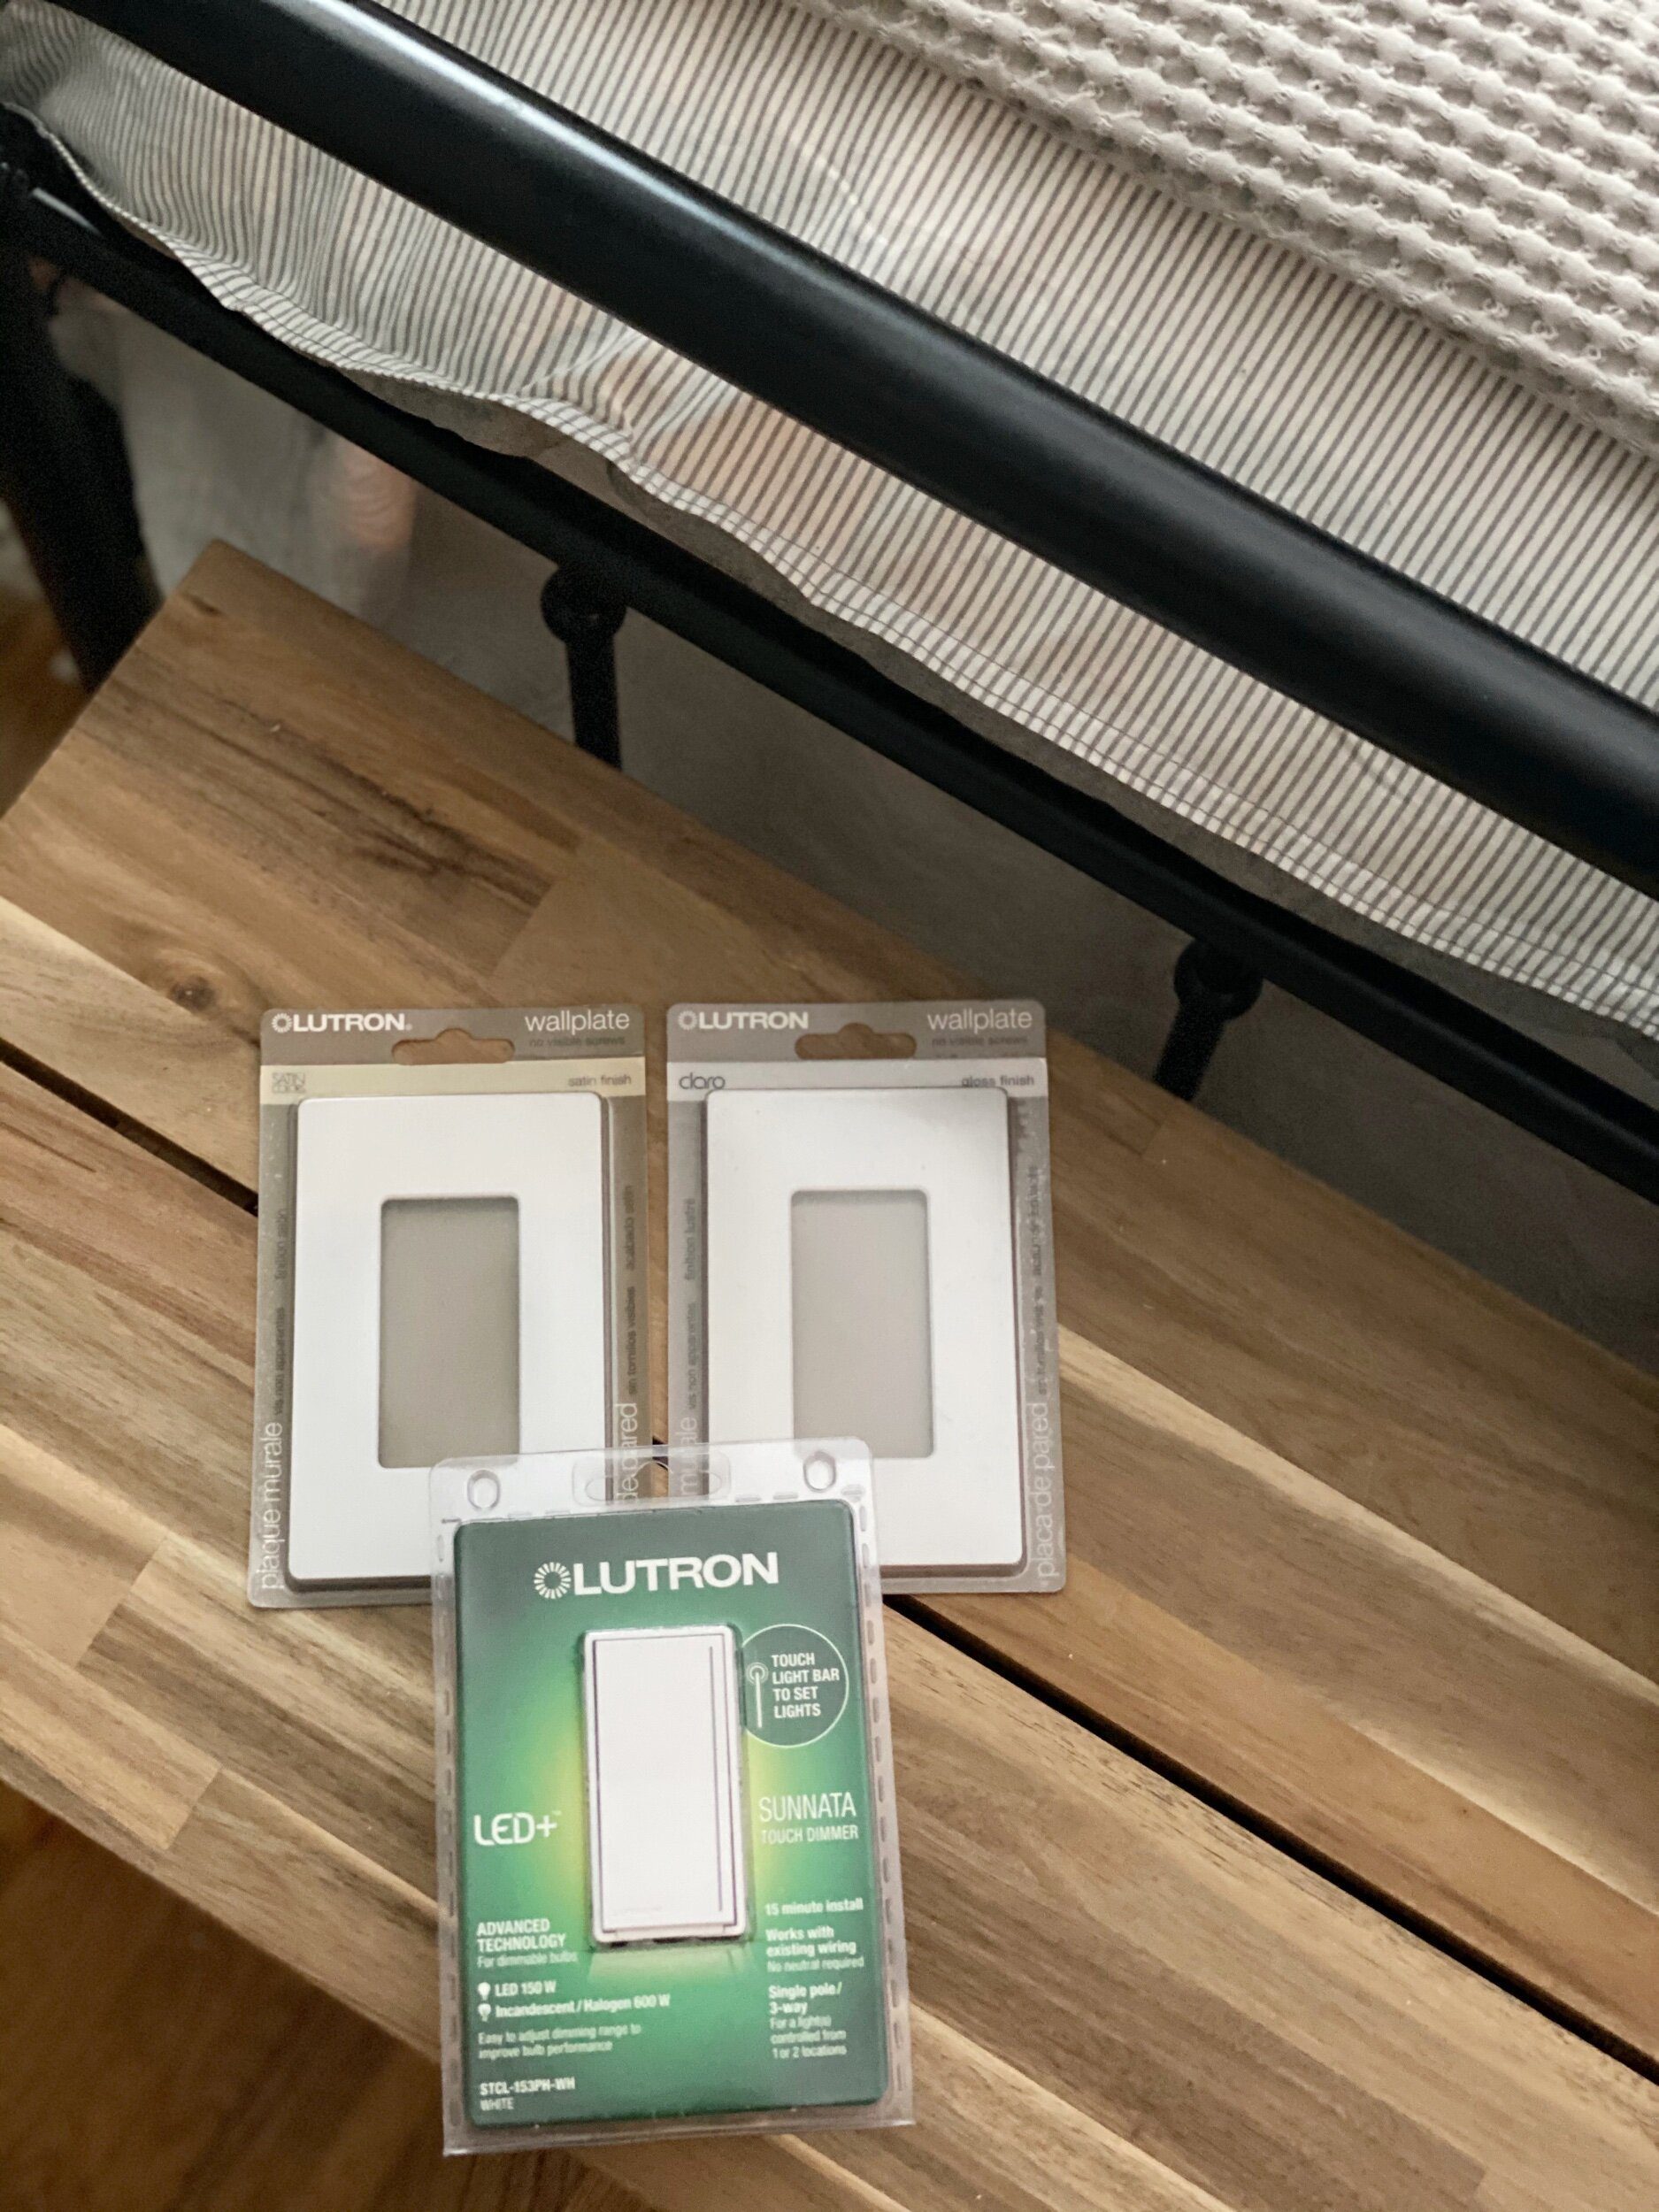
I ordered two wallplates and now I have to decide which to install … good thing is now we can just replace another light switch!
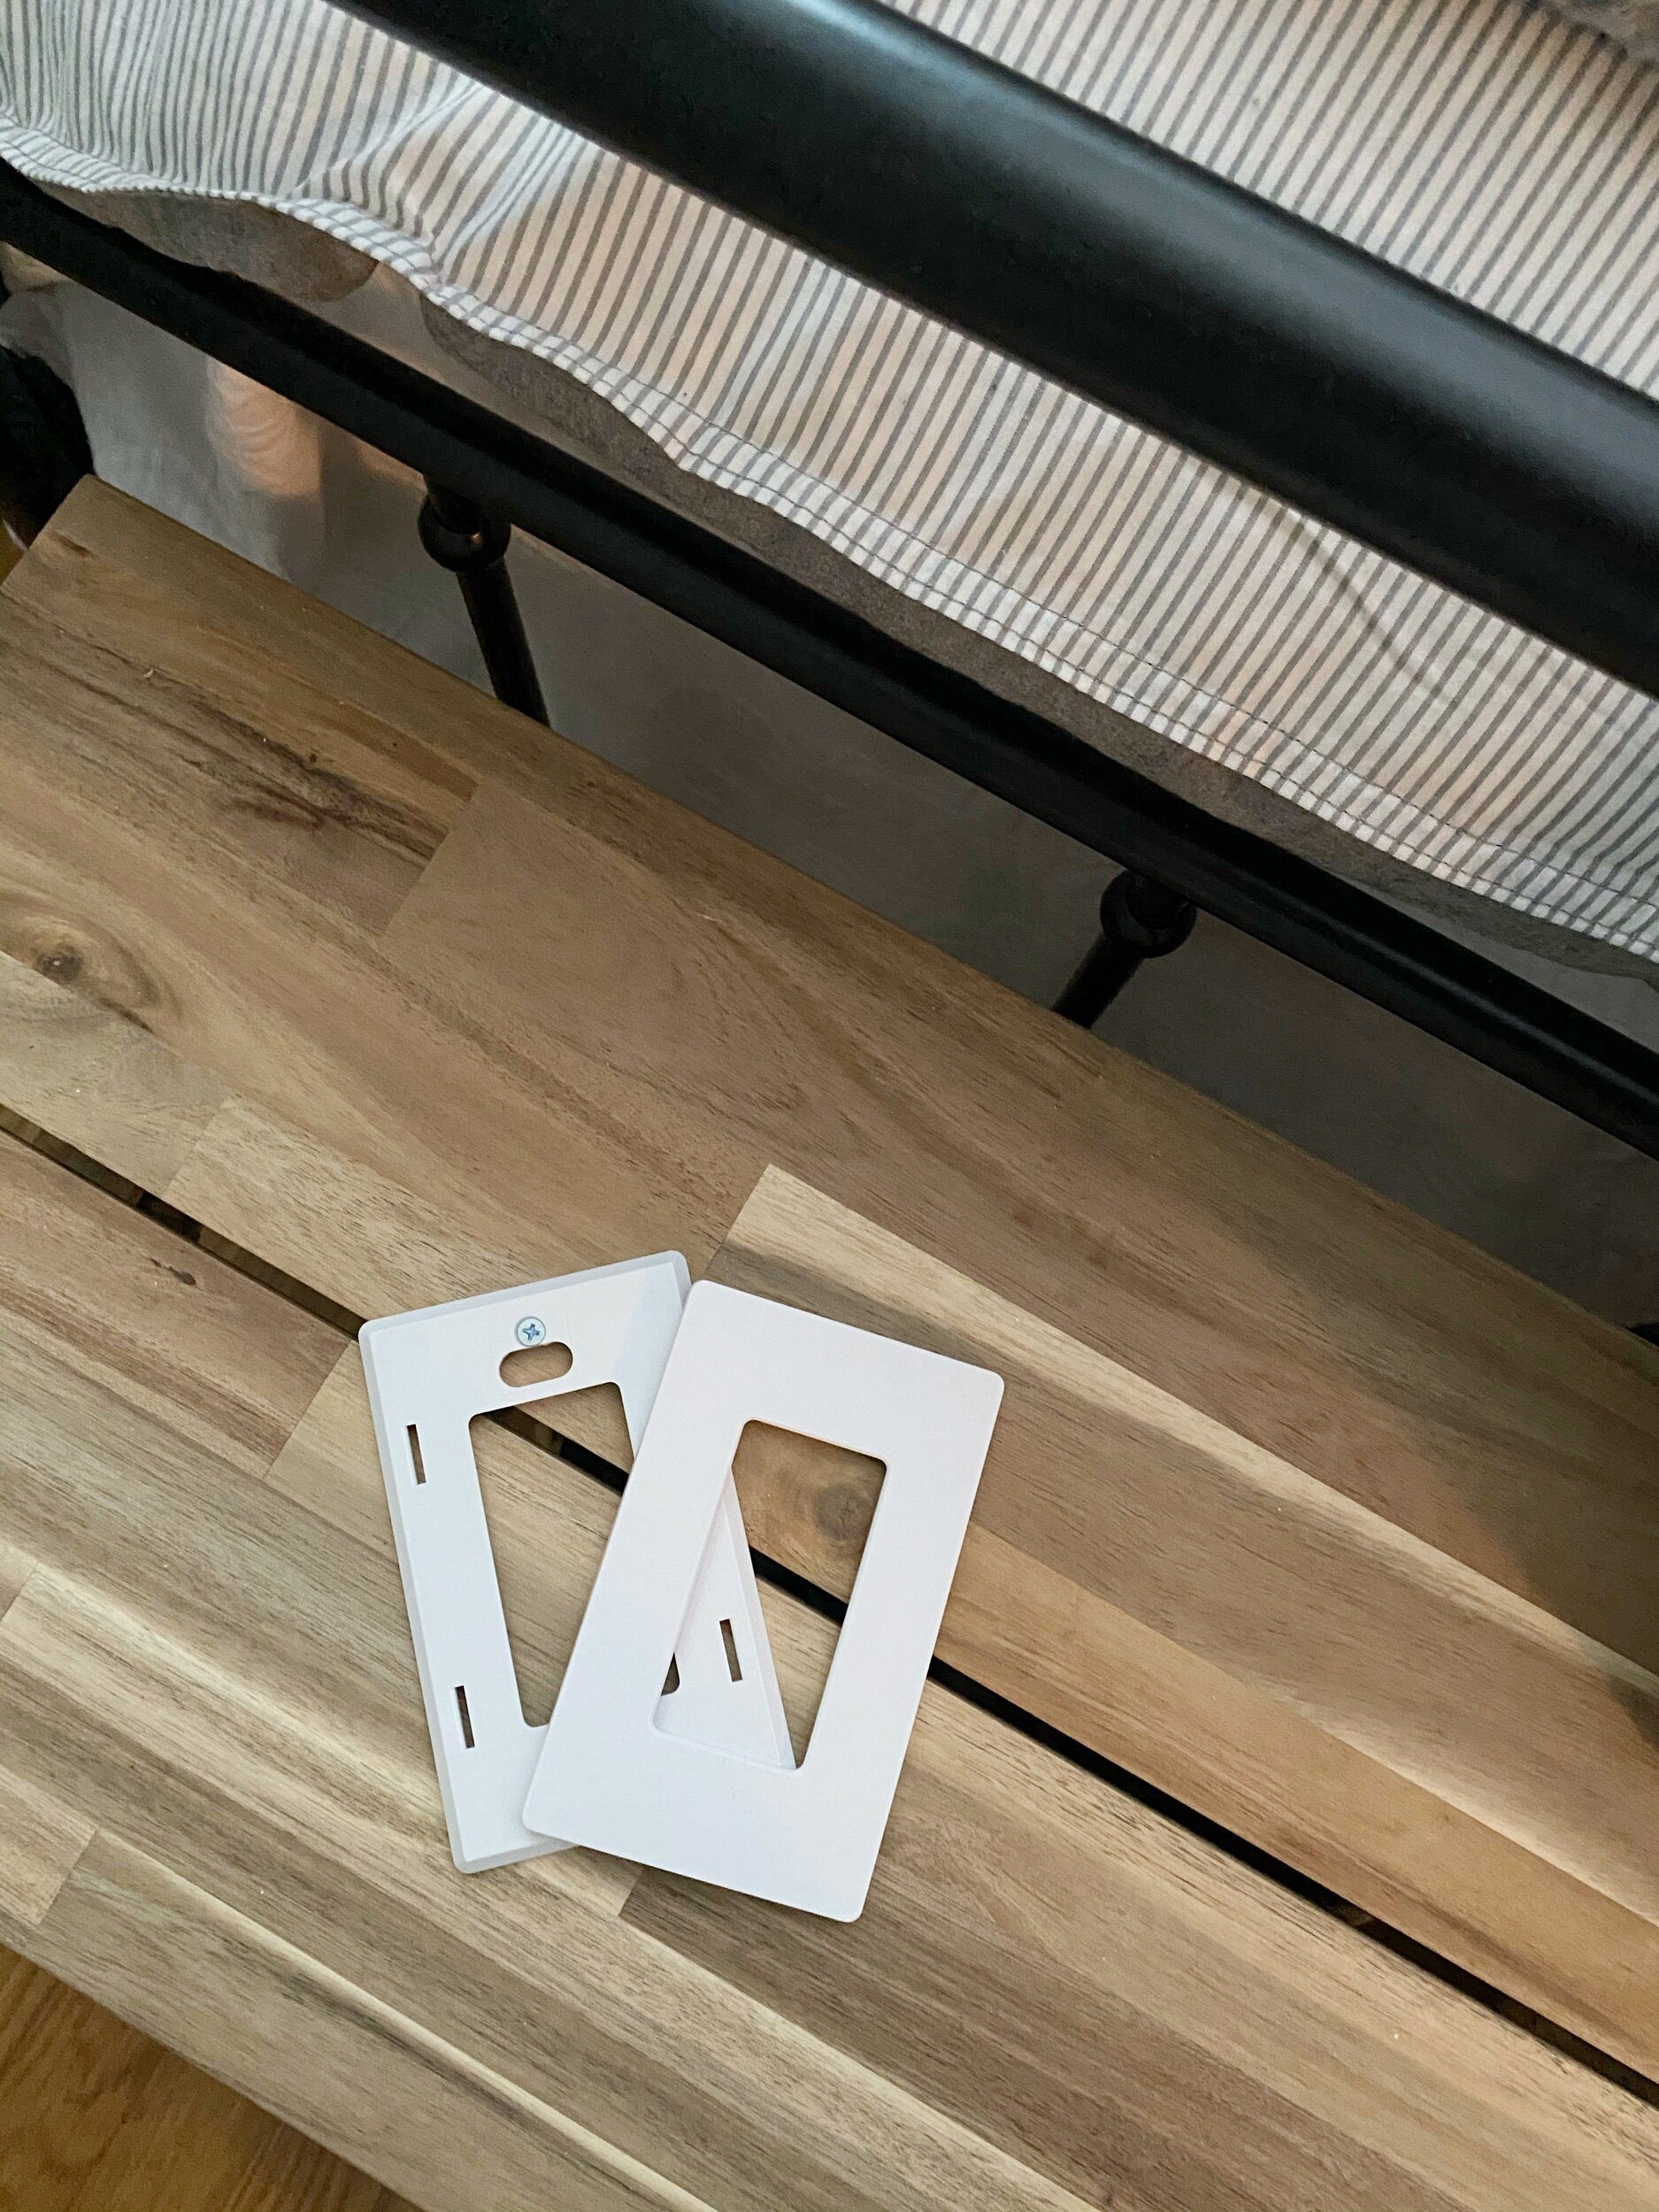
Can I tell you why I am so excited for this wallplate? Once installed you don’t see the screws, and that is seriously a dream come true. You can see in this photo on how that works… isn’t it amazing?
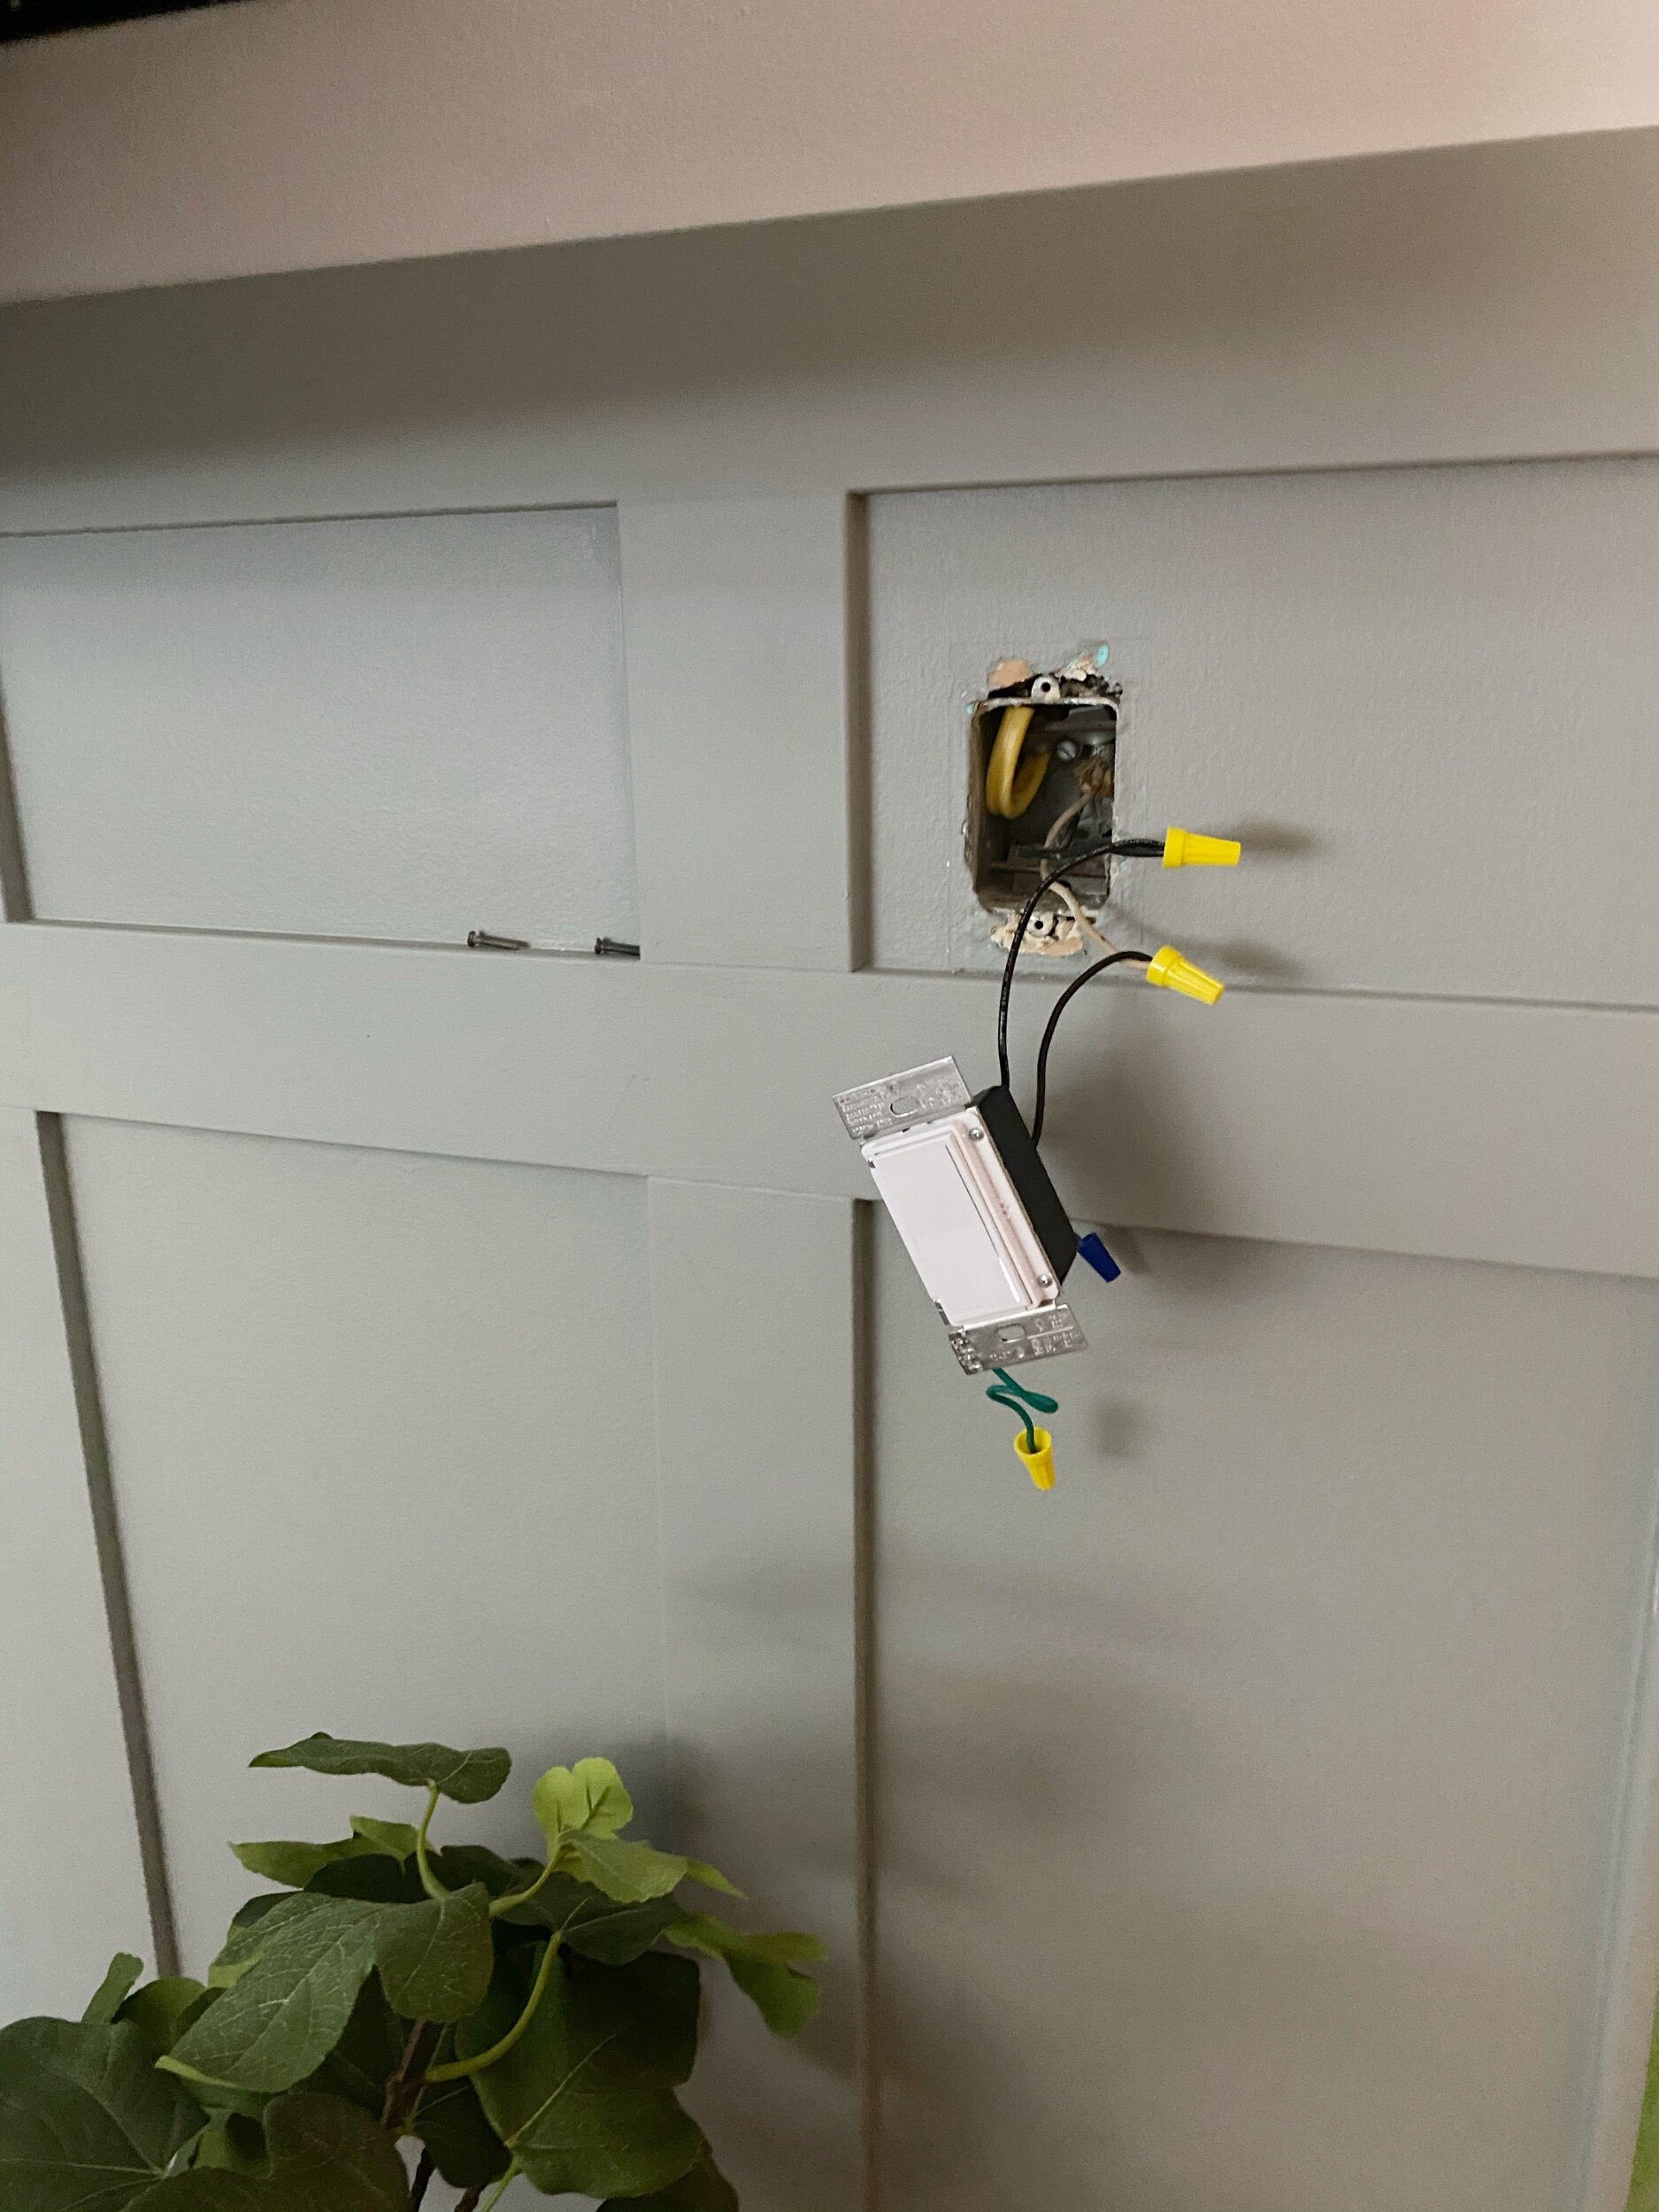
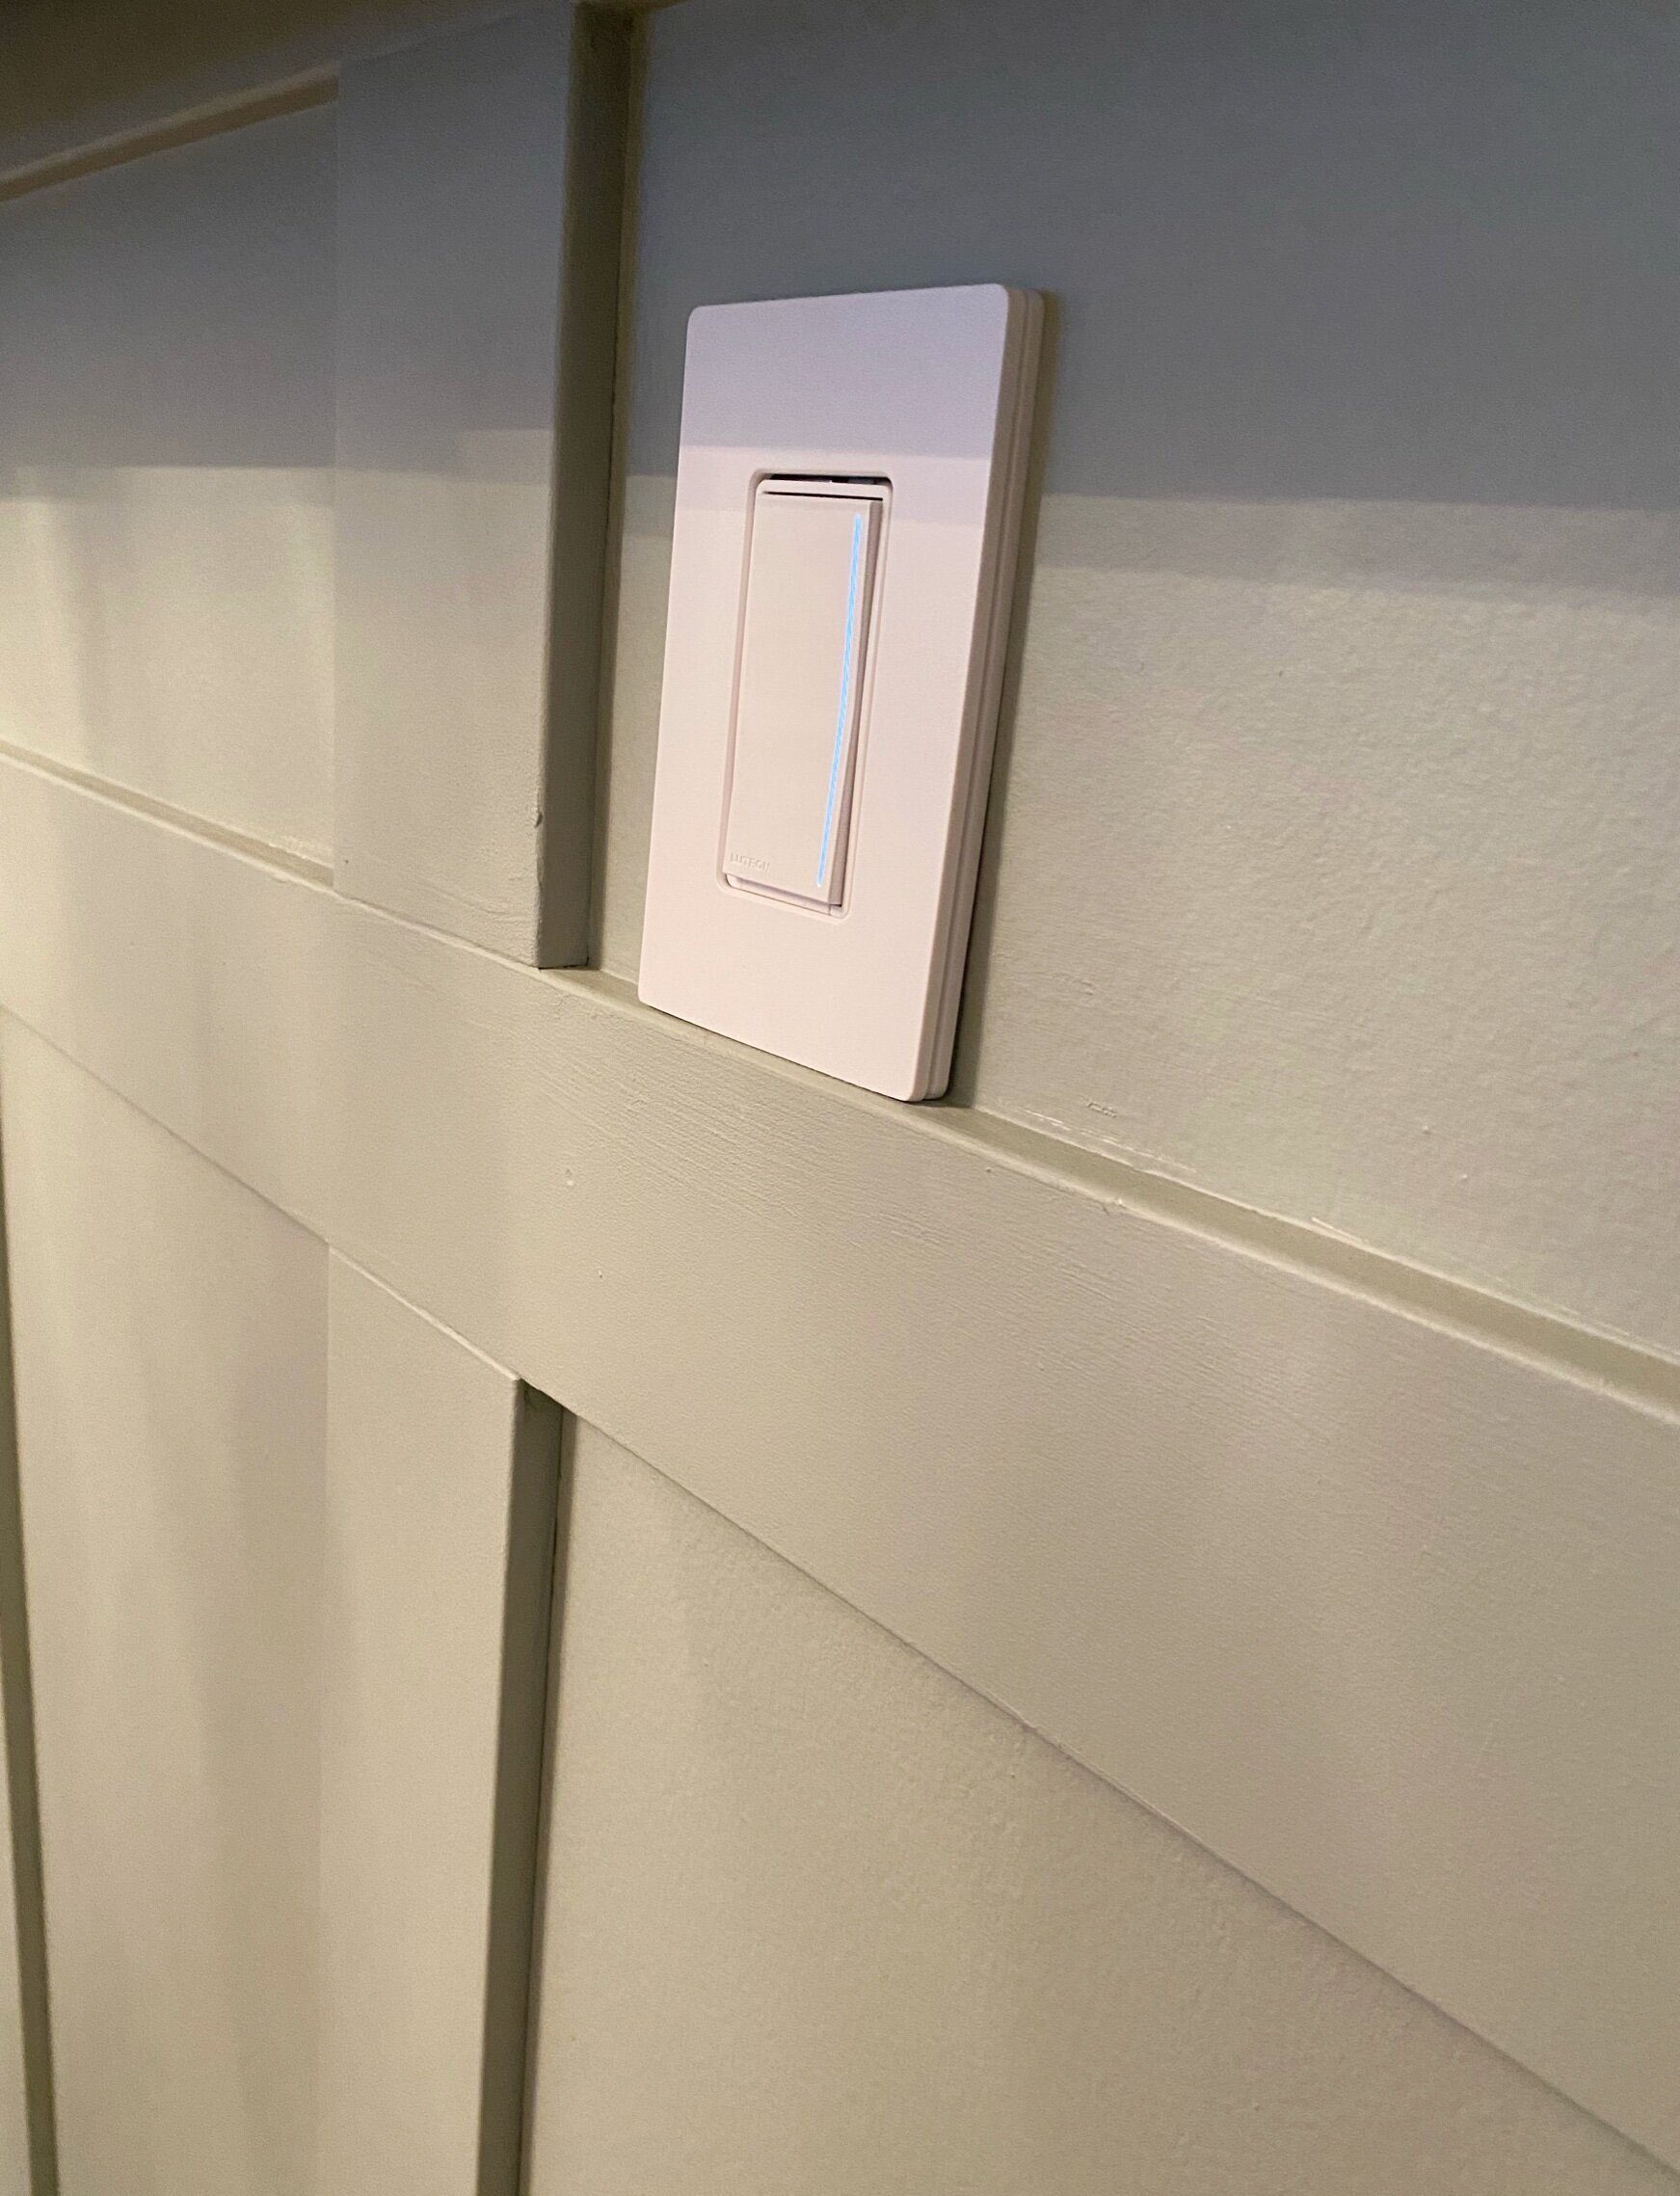
Ready, 1,2,3…. yes thats about all it took to install this Sunnata touch dimmer lighting from Lutron! Now why is it so amazing, well you can create the perfect ambiance with just a swipe. I love that you don’t have to worry about finding the switch when you head to bed, with the soft glow that each Sunnata touch dimmer has, you’ll always be able to find it. Now I want to add them to every room, which room are you going to start with?
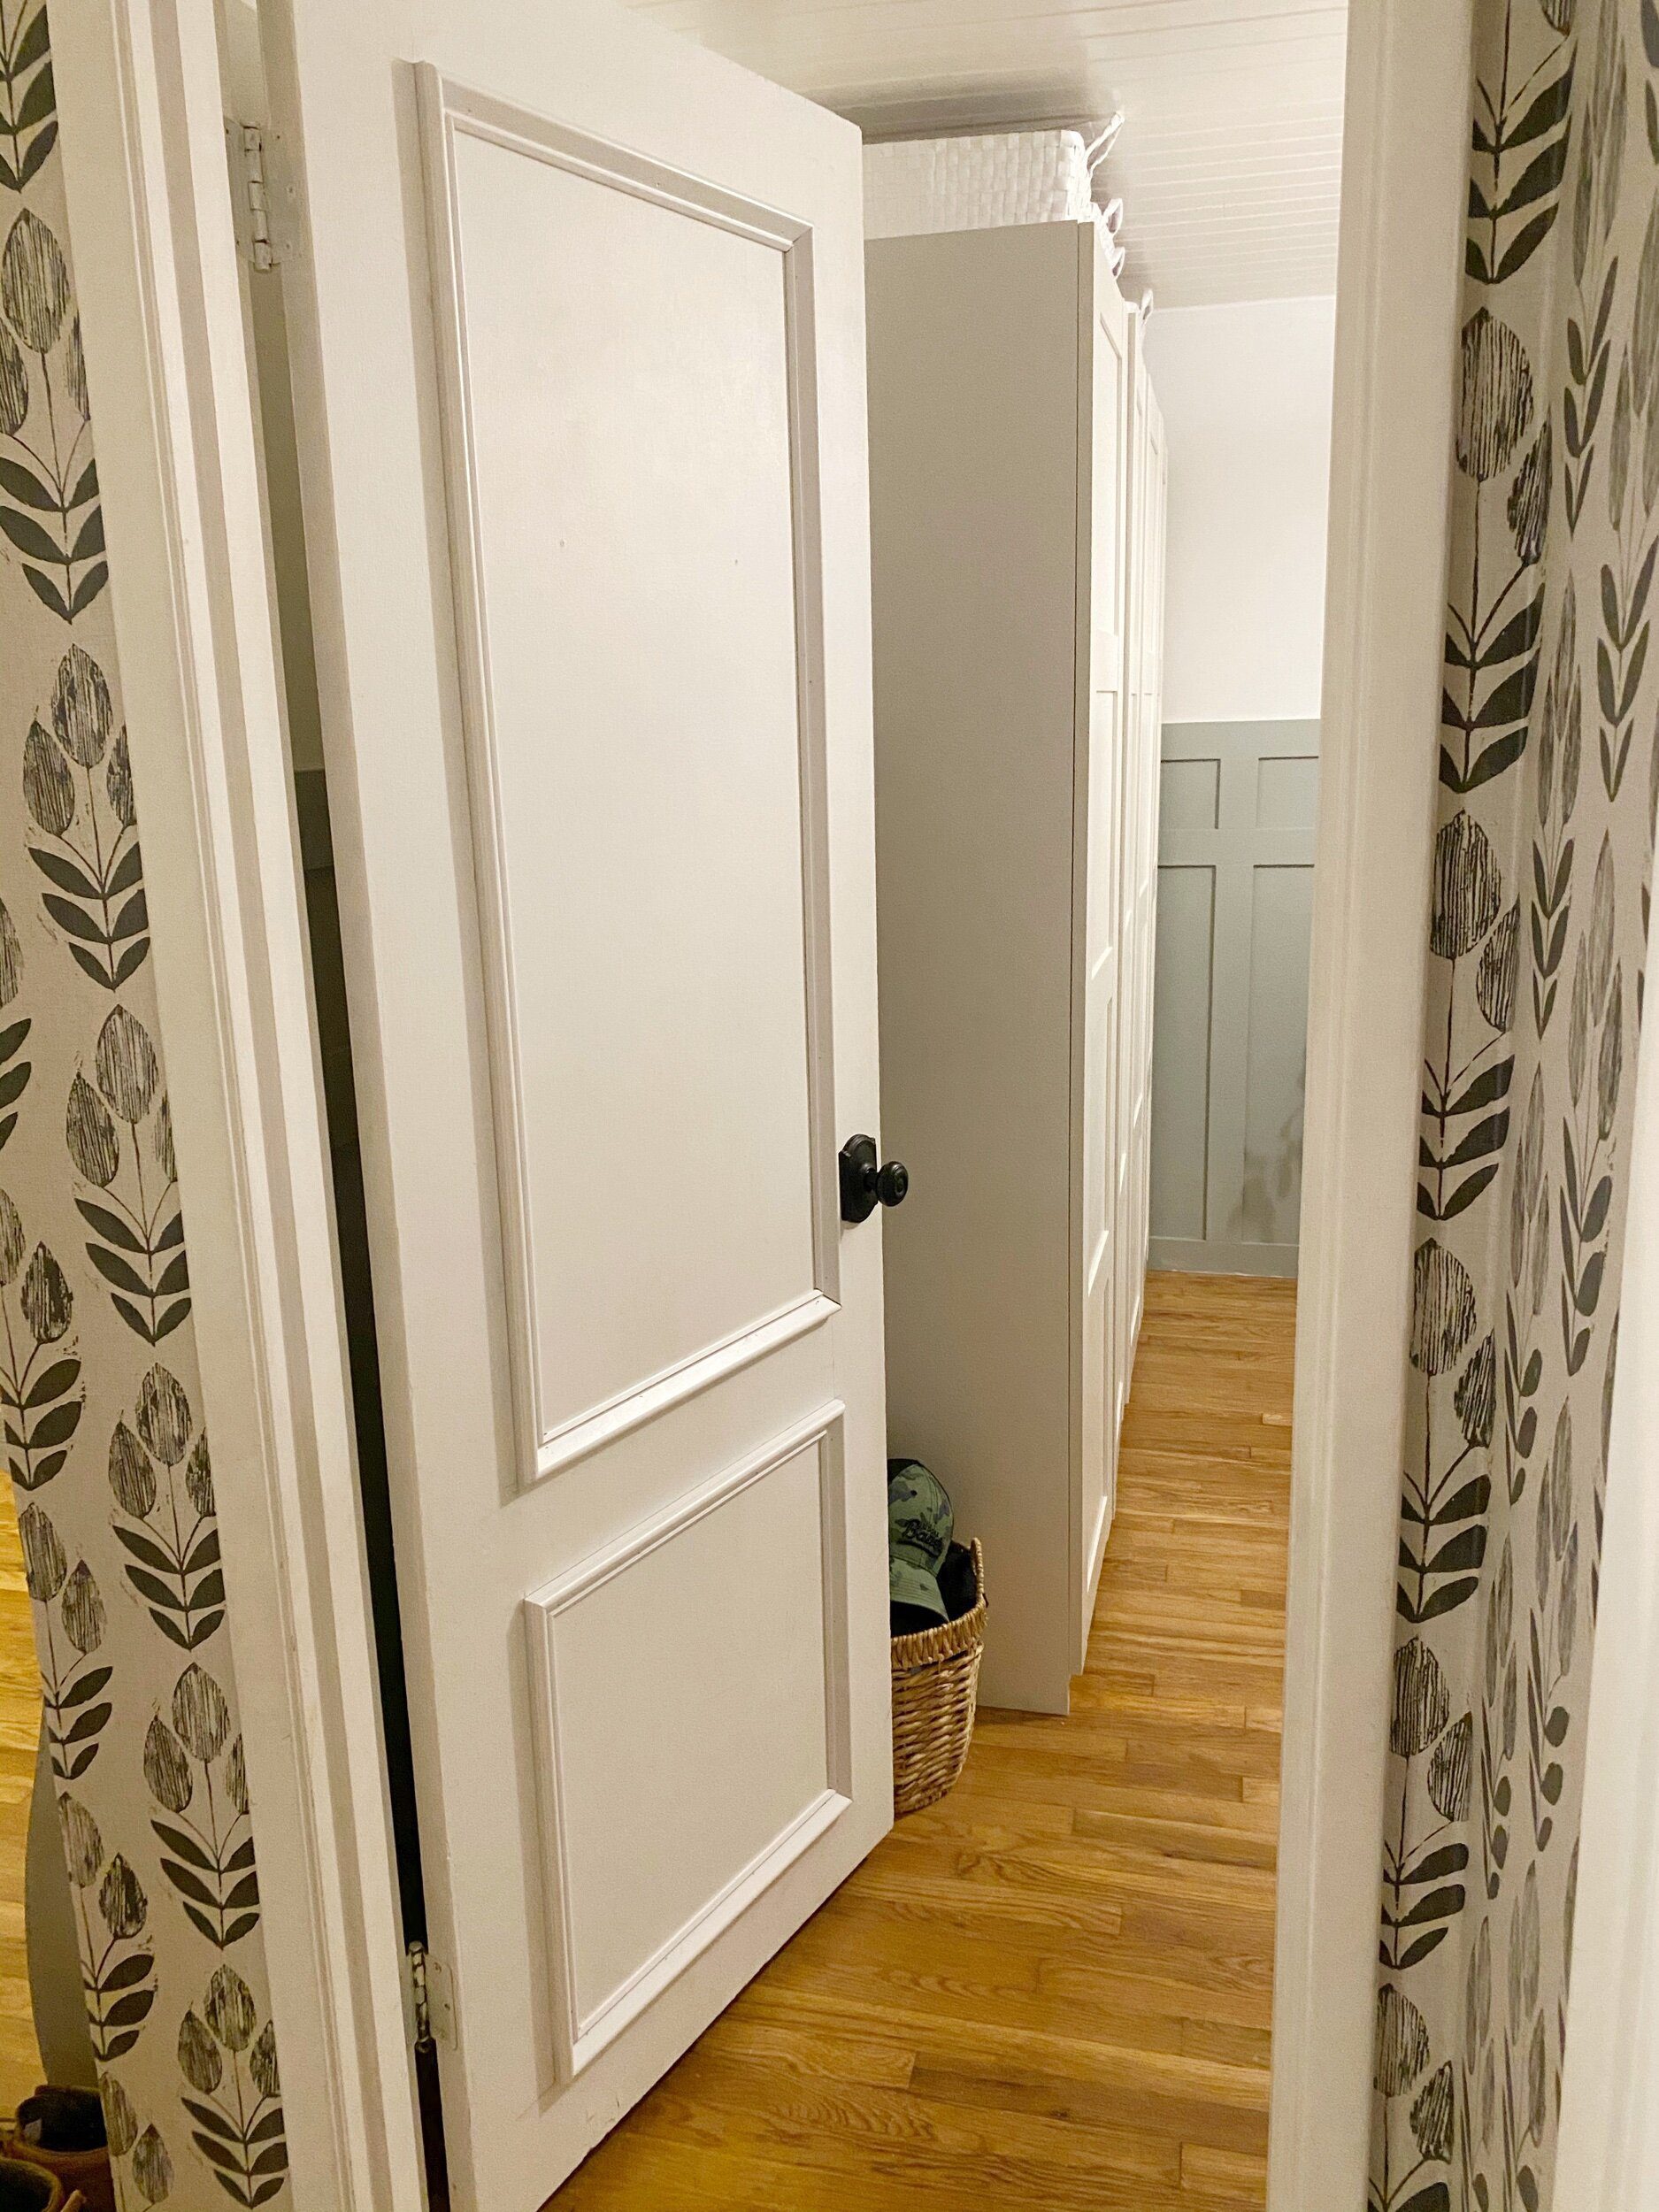
Now how did we transform our plain door to this paneled door? It was so easy and under $30!
Let me show you how it was done!

We found our supplies at The Home Depot – we used approx. 16 linear feet for each door, but we bought extra to make sure we had enough for all the doors we were working on. There are many ways to upgrade a door by adding trim, since this door sits on the inside of the door frame this was the only way for us to add trim without making major modifications.
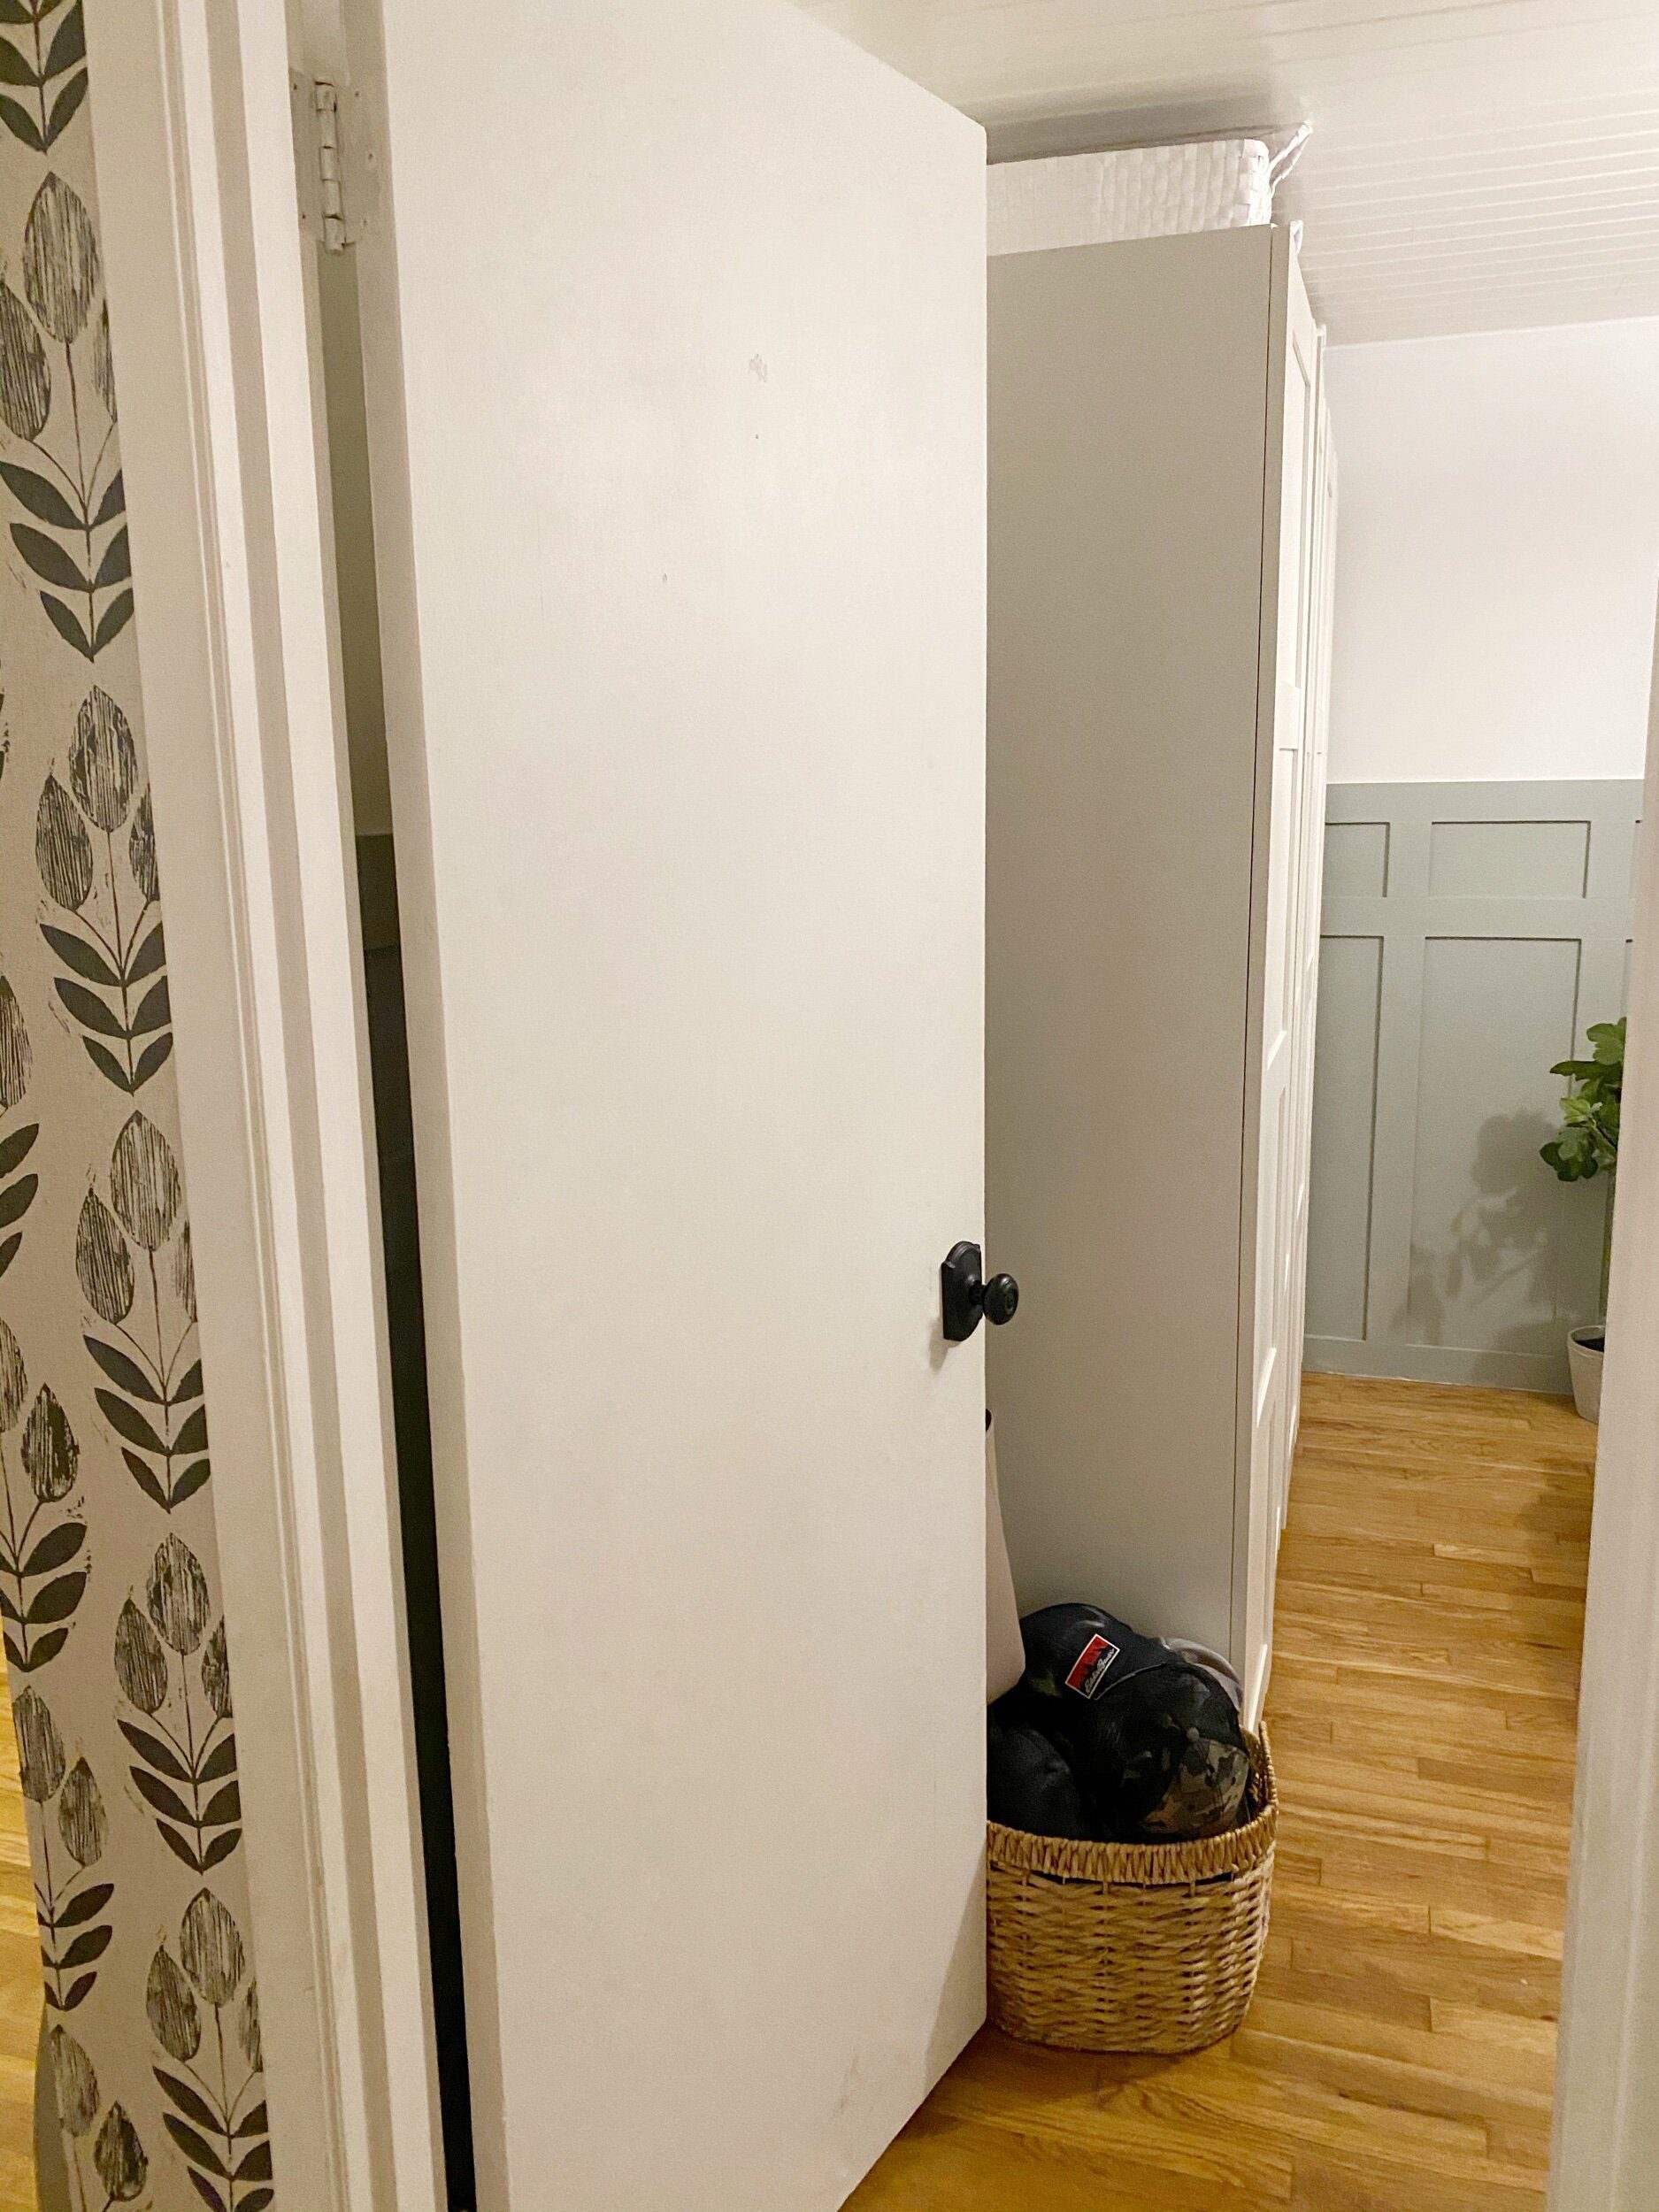
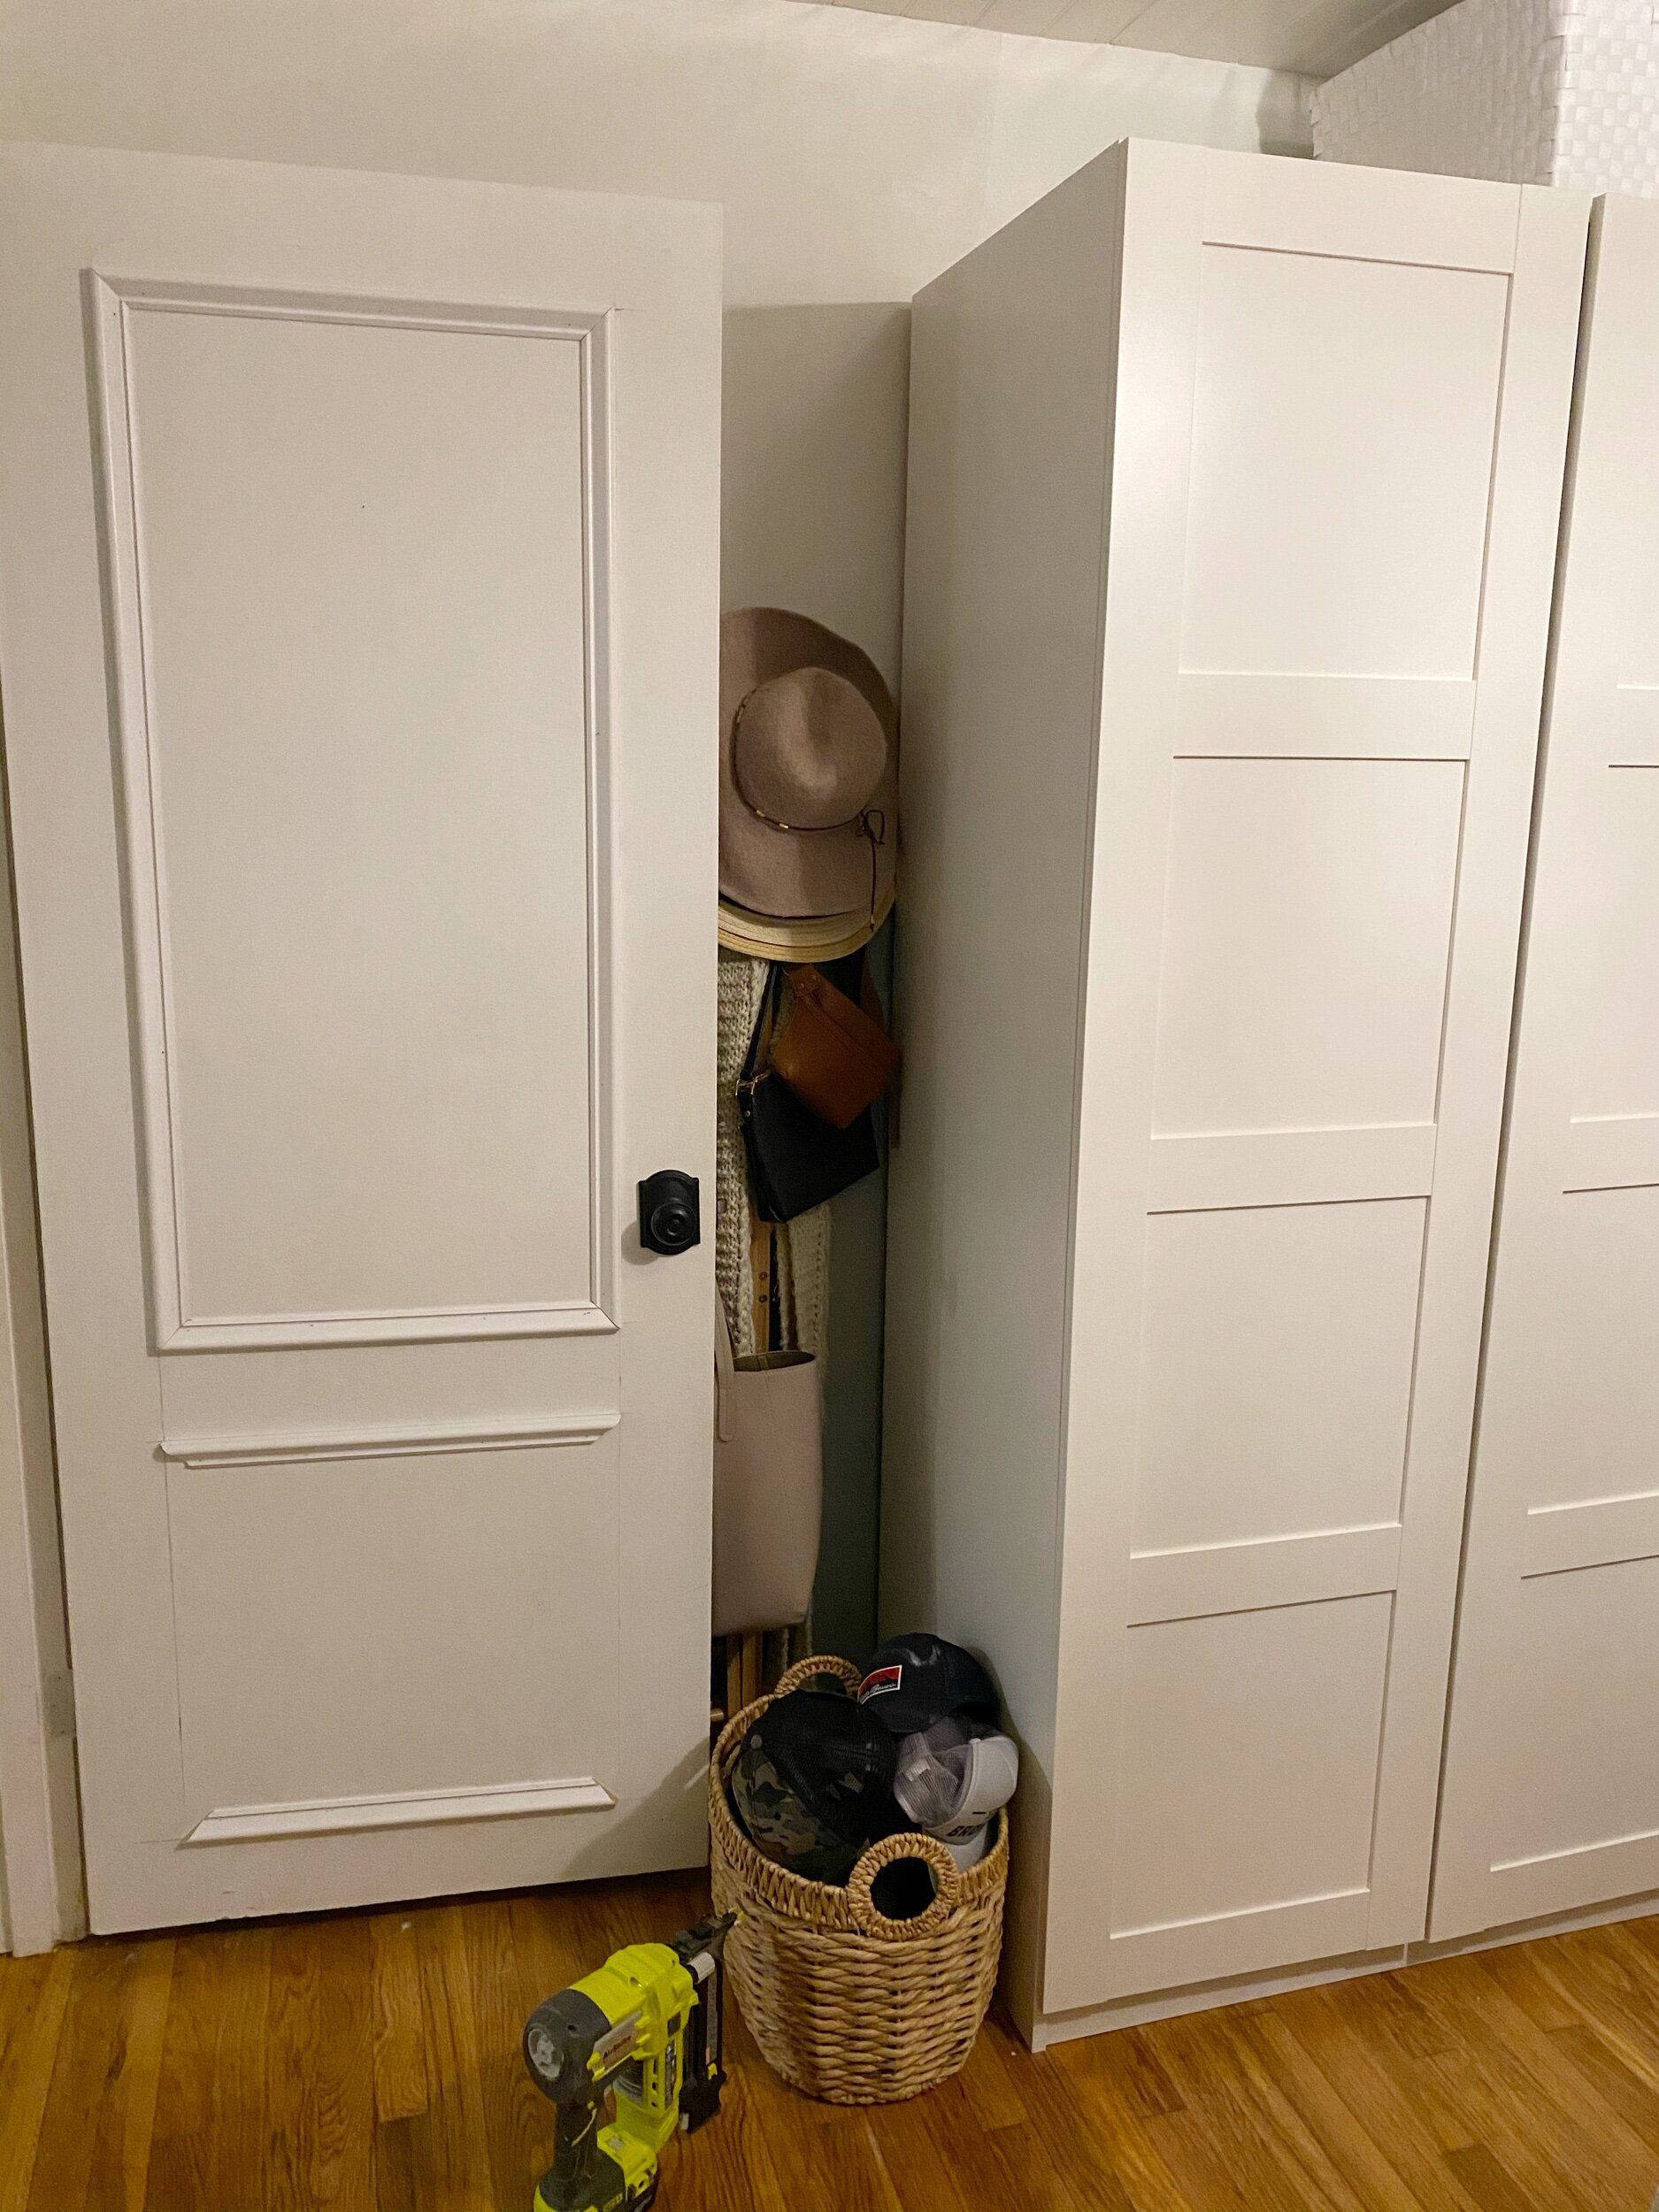
Here is the boring old hollow panel door, and let me show you how easy it was to transform!
Supplies you will need:
Brad Nails
Brad Nailer
Miter Saw
Measuring Tape
Pencil
Level
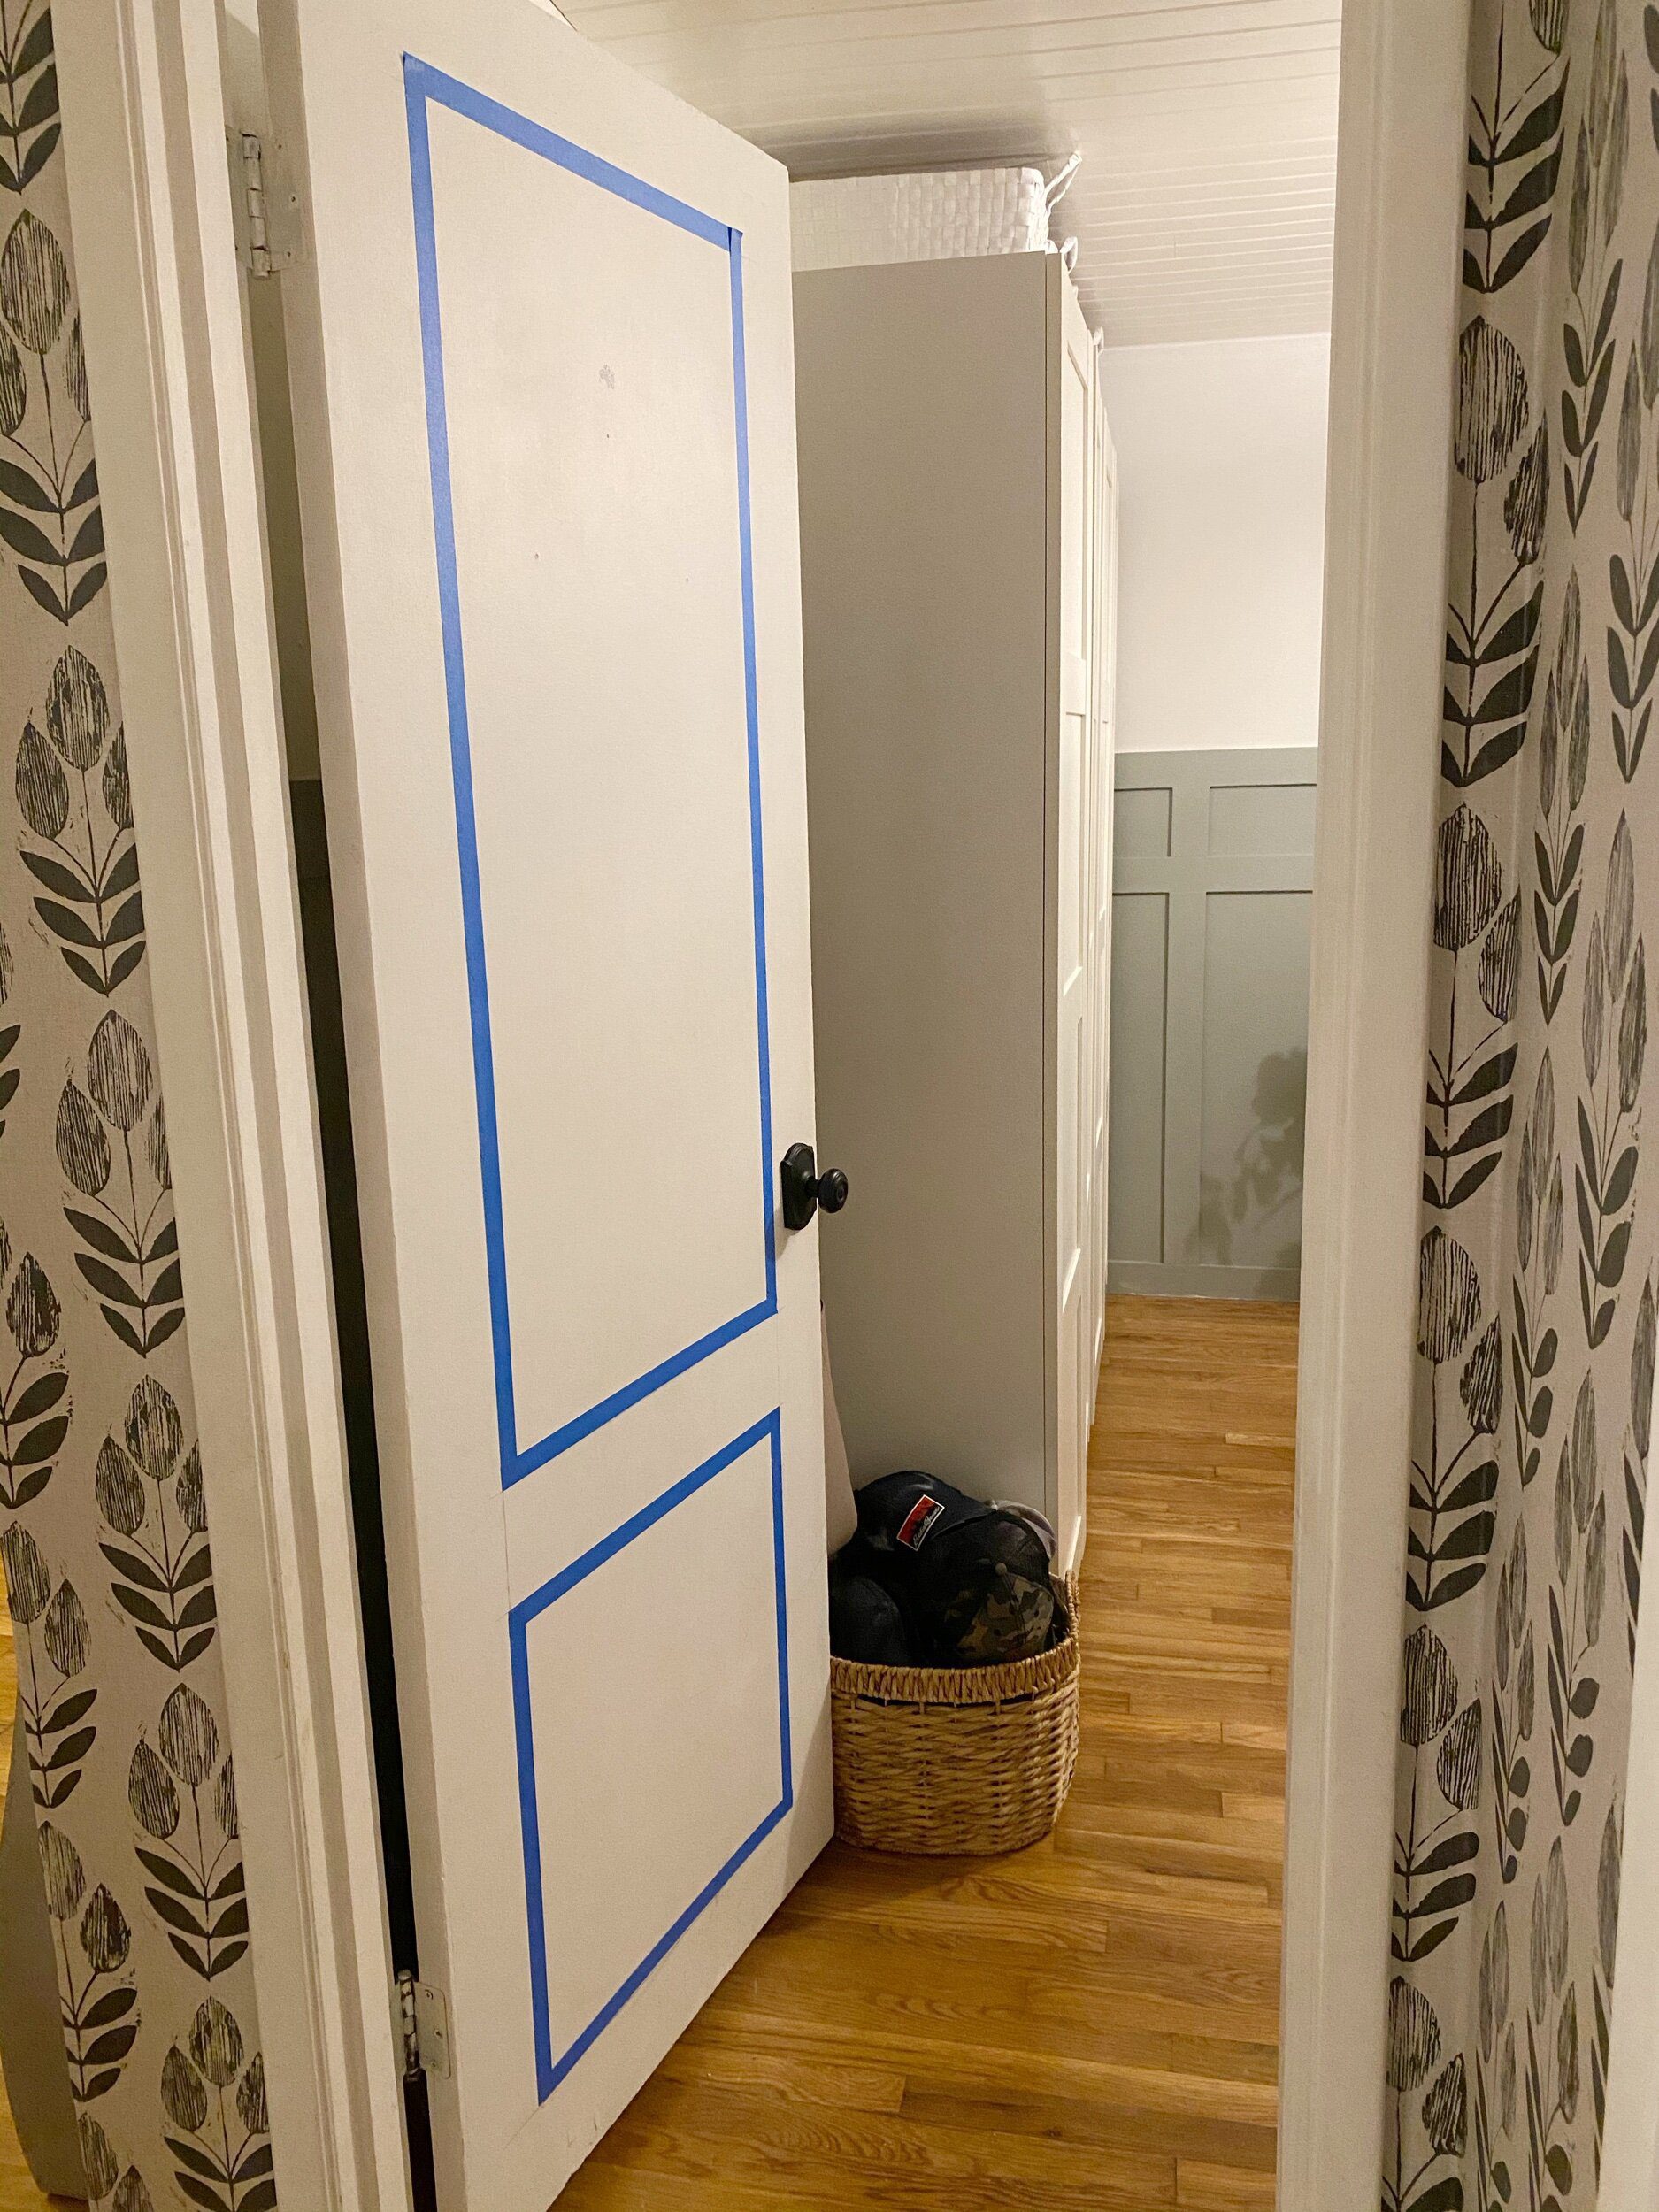
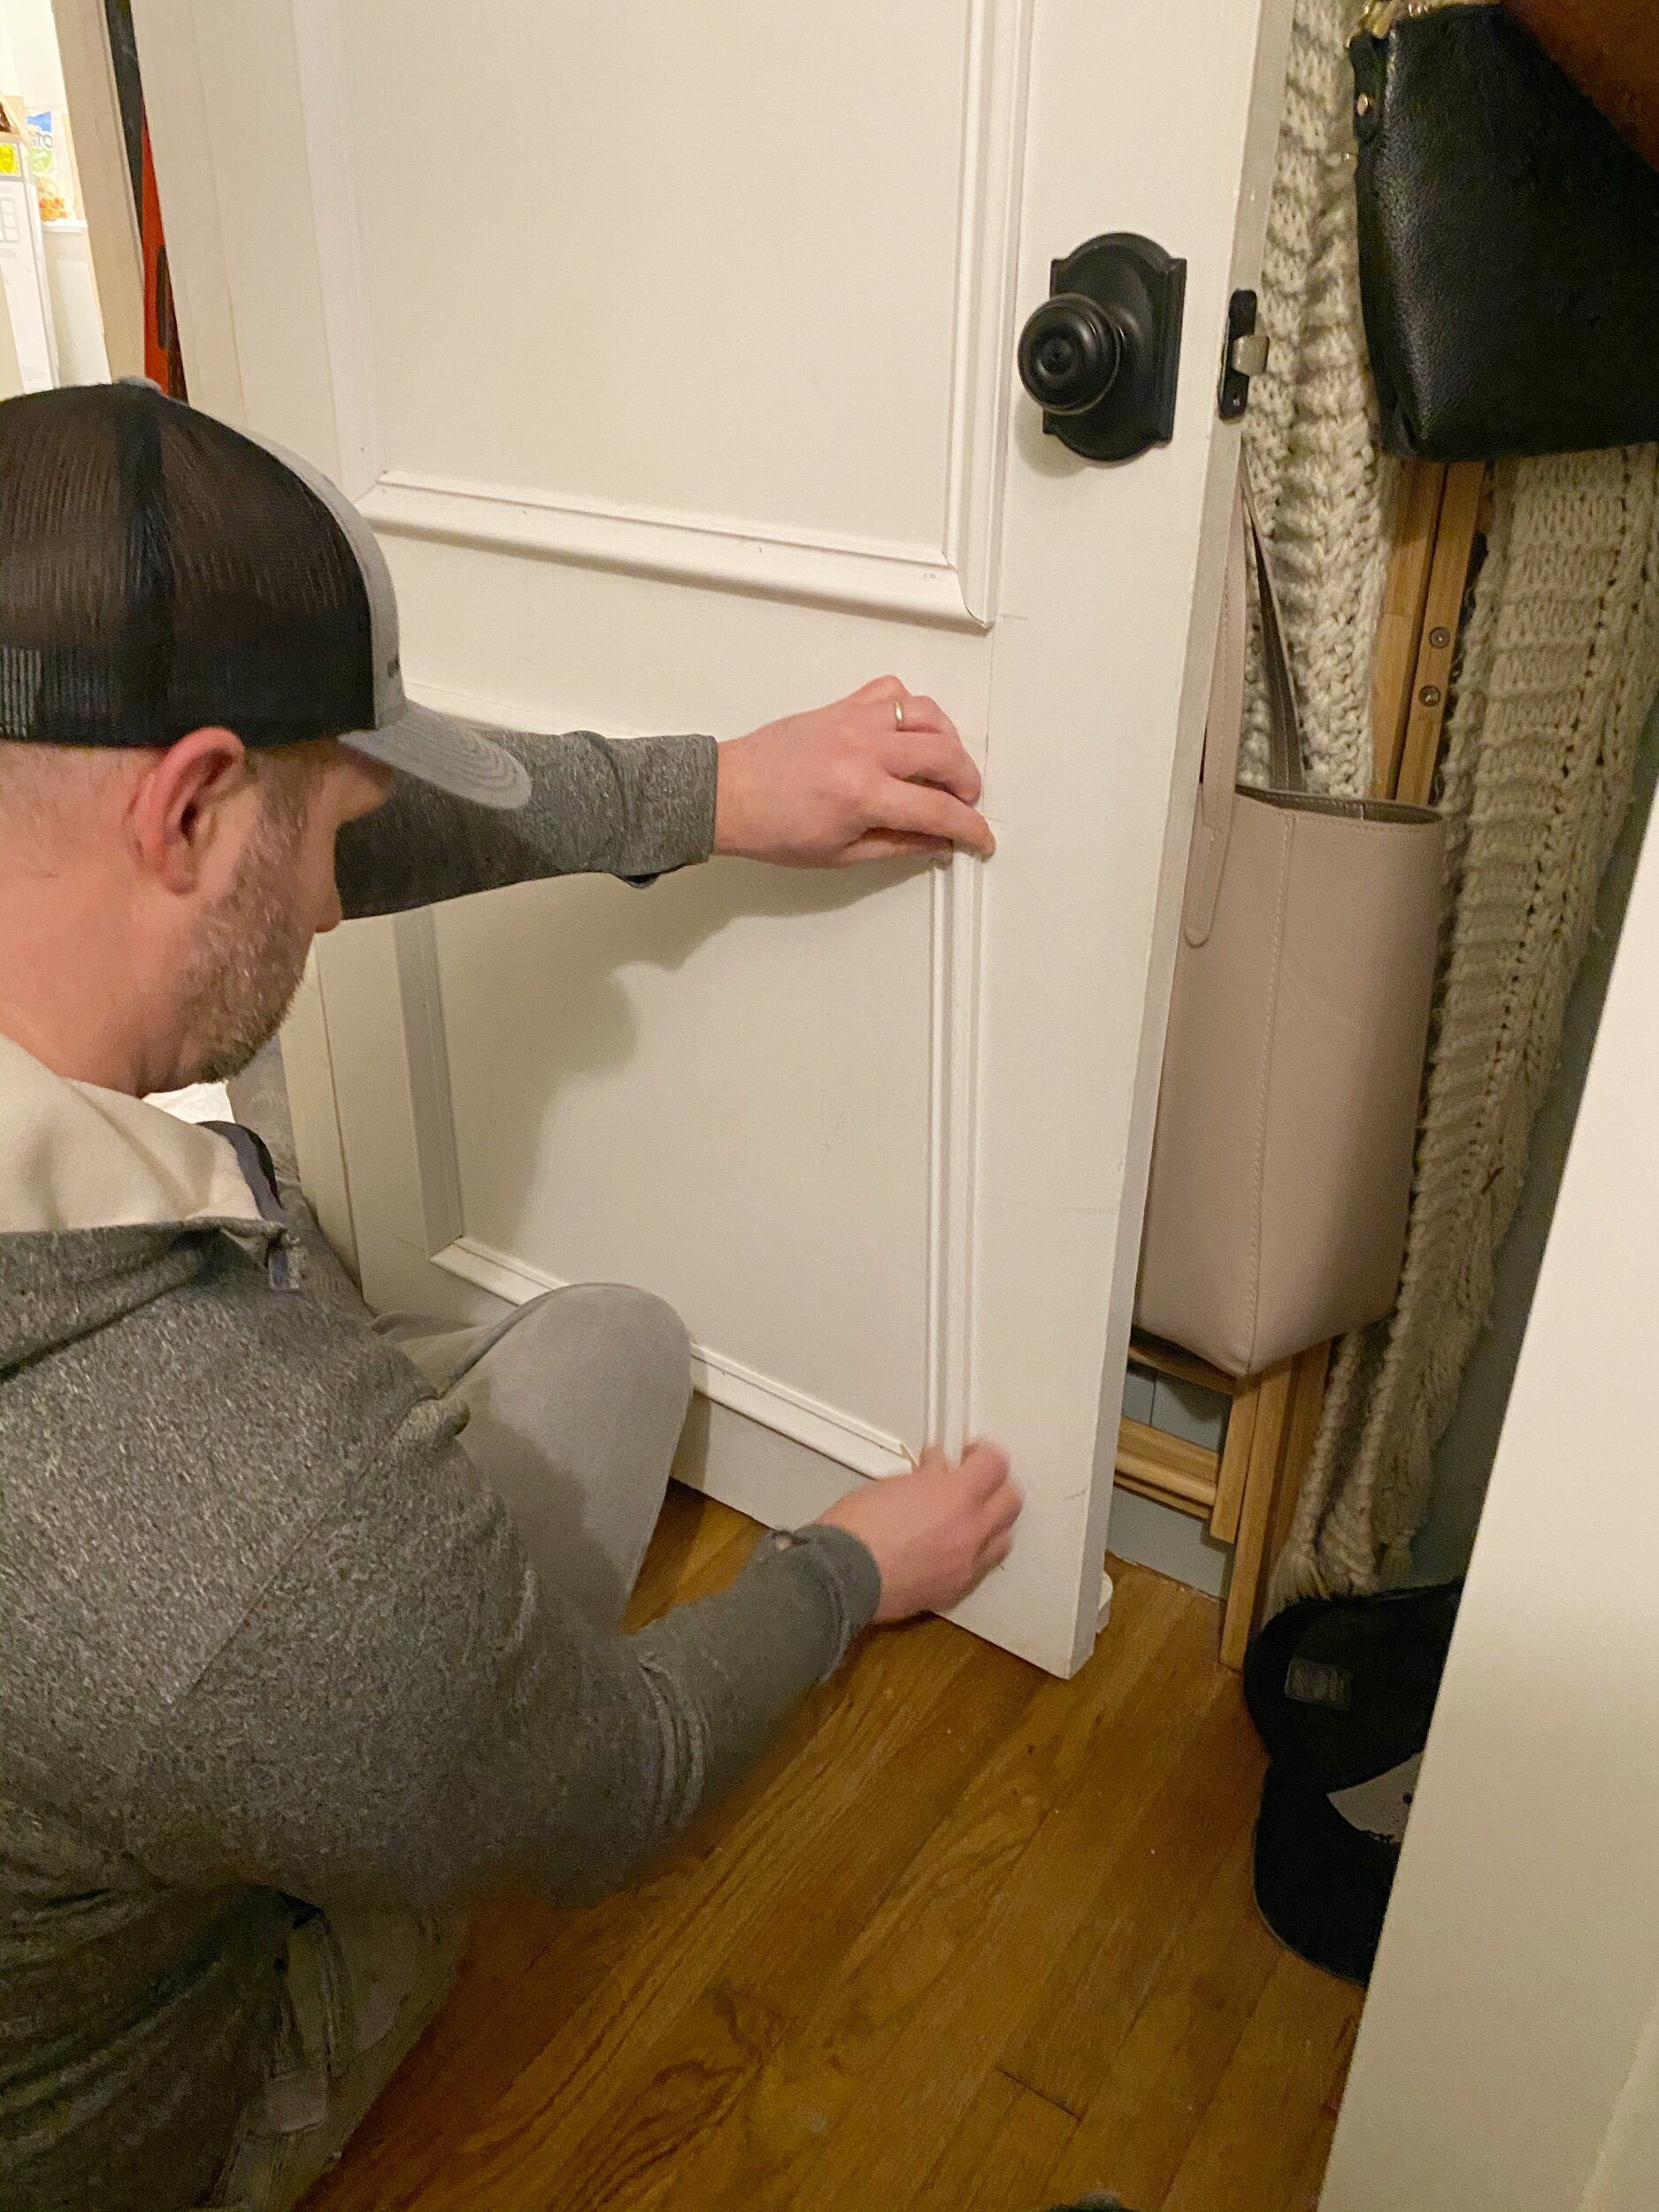
We outlined where we were placing the trim in pencil, and really that would be enough. I taped it in blue painters tape so you could really see our vision.
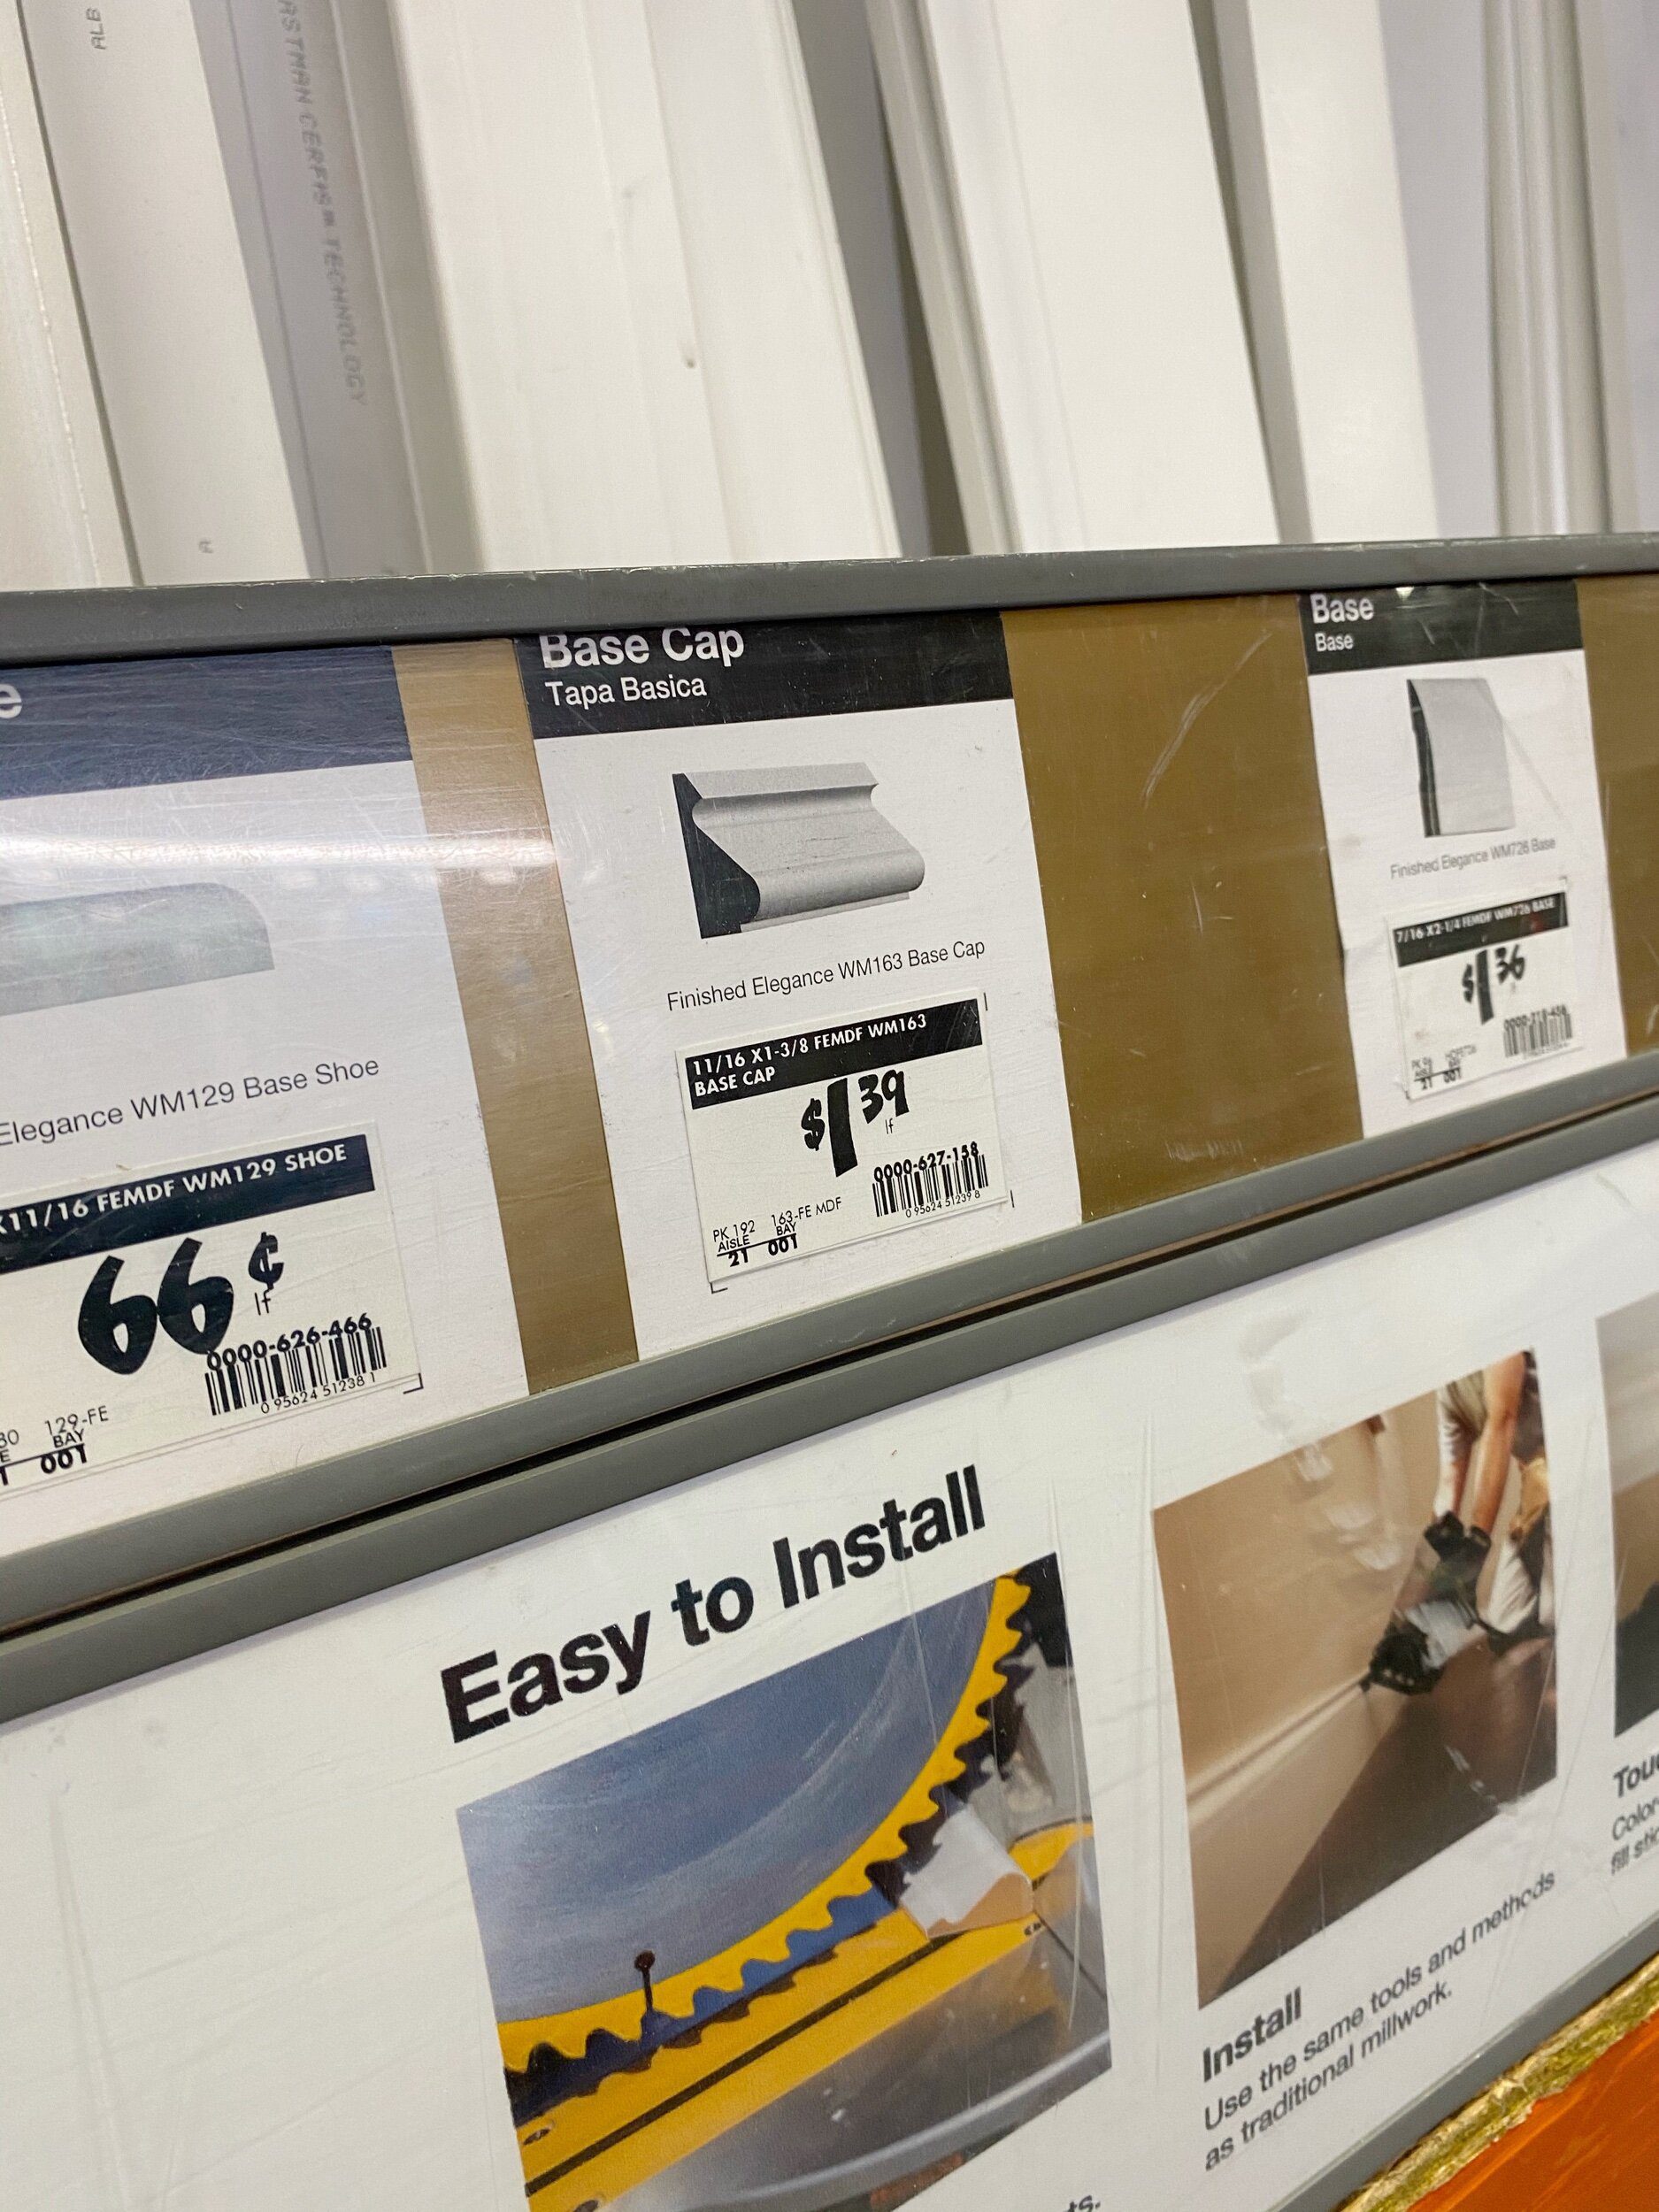
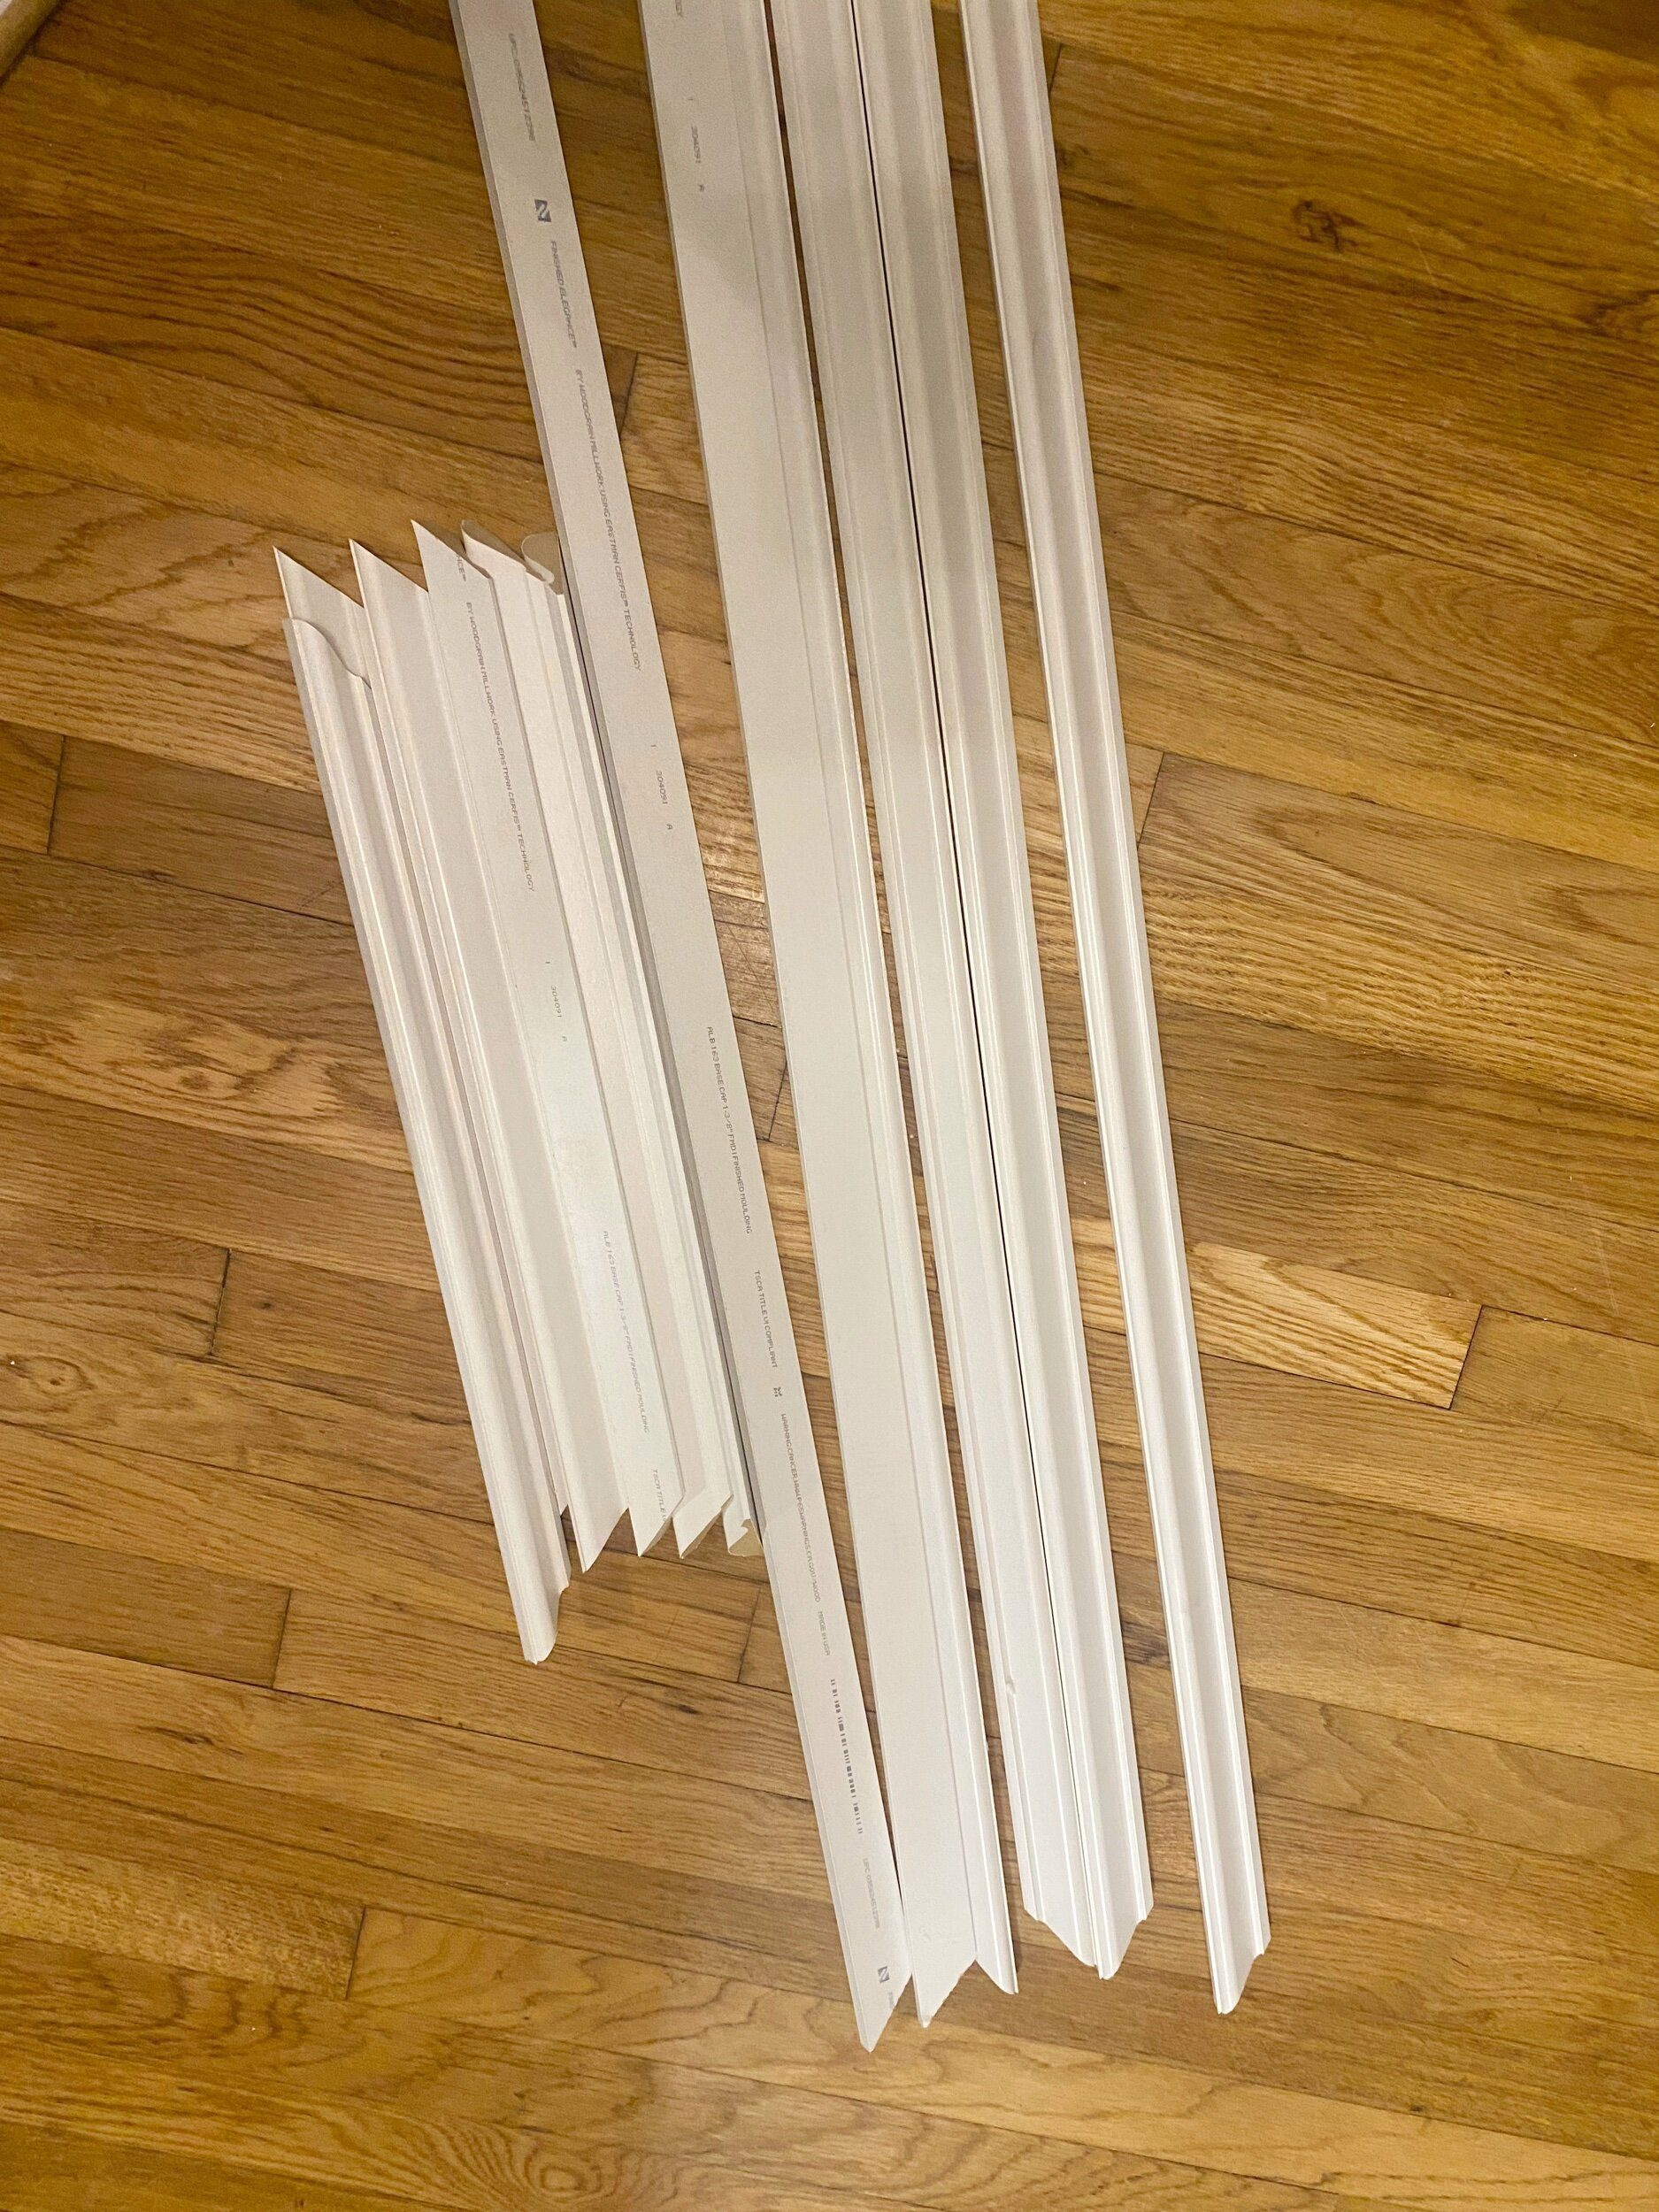
There are many types of trim you can use, we found this base cap at The Home Depot and it was just what we were looking for! We cut each piece and it was time to install!
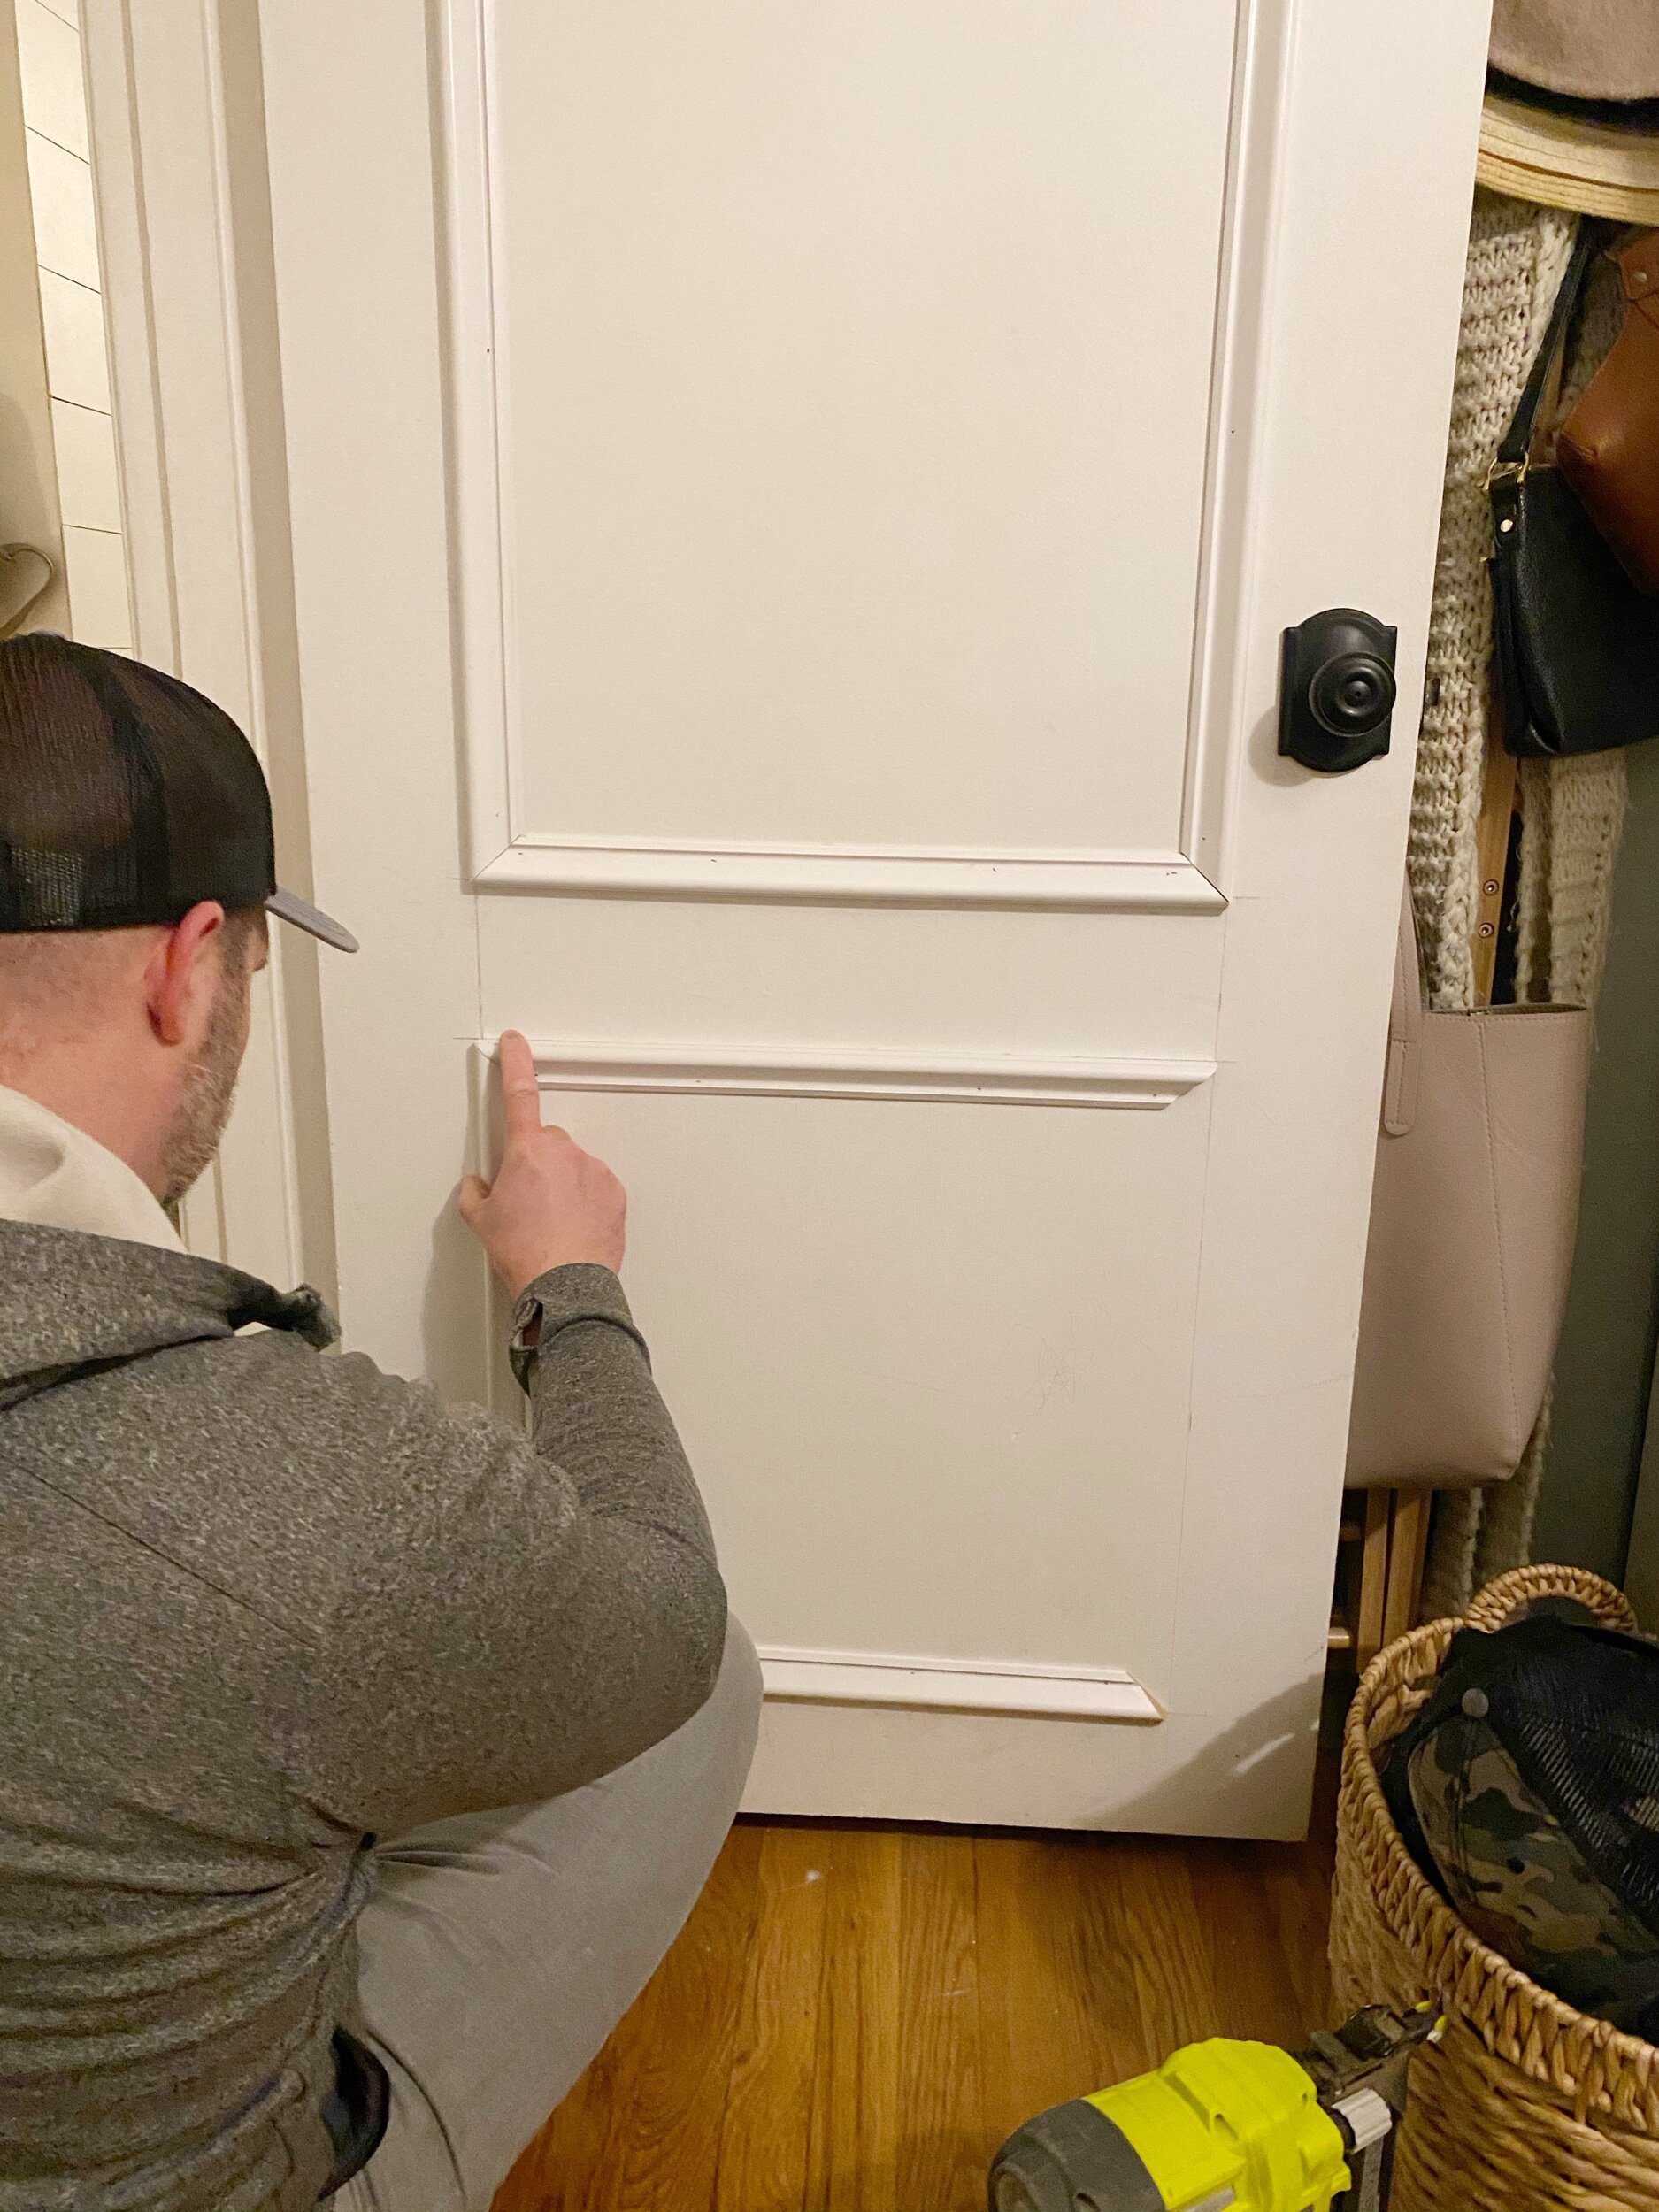
It goes on so quickly, you will just use your brad nailer!
James had all the top and bottom pieces cut, the sides he waited to double check the measurements till he was to that spot… because as they say measure twice and cut once.
Here you go, the final piece and you are done! If you have any questions just leave them below and I will be doing a follow up tutorial with a video!
There you go, two of the easiest projects we have completed and I am sure you will be see them being added to every other area of our home! Which of these projects are you going to start first?
Sources :
I have placed all the links below, you can click on each item.
Lutron Sunnata Touch Dimmer
Lutron Wall Plate
Ryobi Brad Nailer
Ryobi Miter Saw
Measuring Tape
Olive Tree
Wallpaper
Bed Frame
Beaded Light


Like!! Really appreciate you sharing this blog post.Really thank you! Keep writing.
Beautiful room! I can’t locate the wall color. Do you mind sharing? Thank you!
Also can you tell me where you purchased your light it’s so pretty!
Great idea , your bedroom is so pretty can you tell me where you purchased your bedding from?
I have been wanting to do this exact thing to our very plain doors!! I would love this look on all of our interior doors! It looks amazing!!