DIY – Bunk Bed Library Ladder
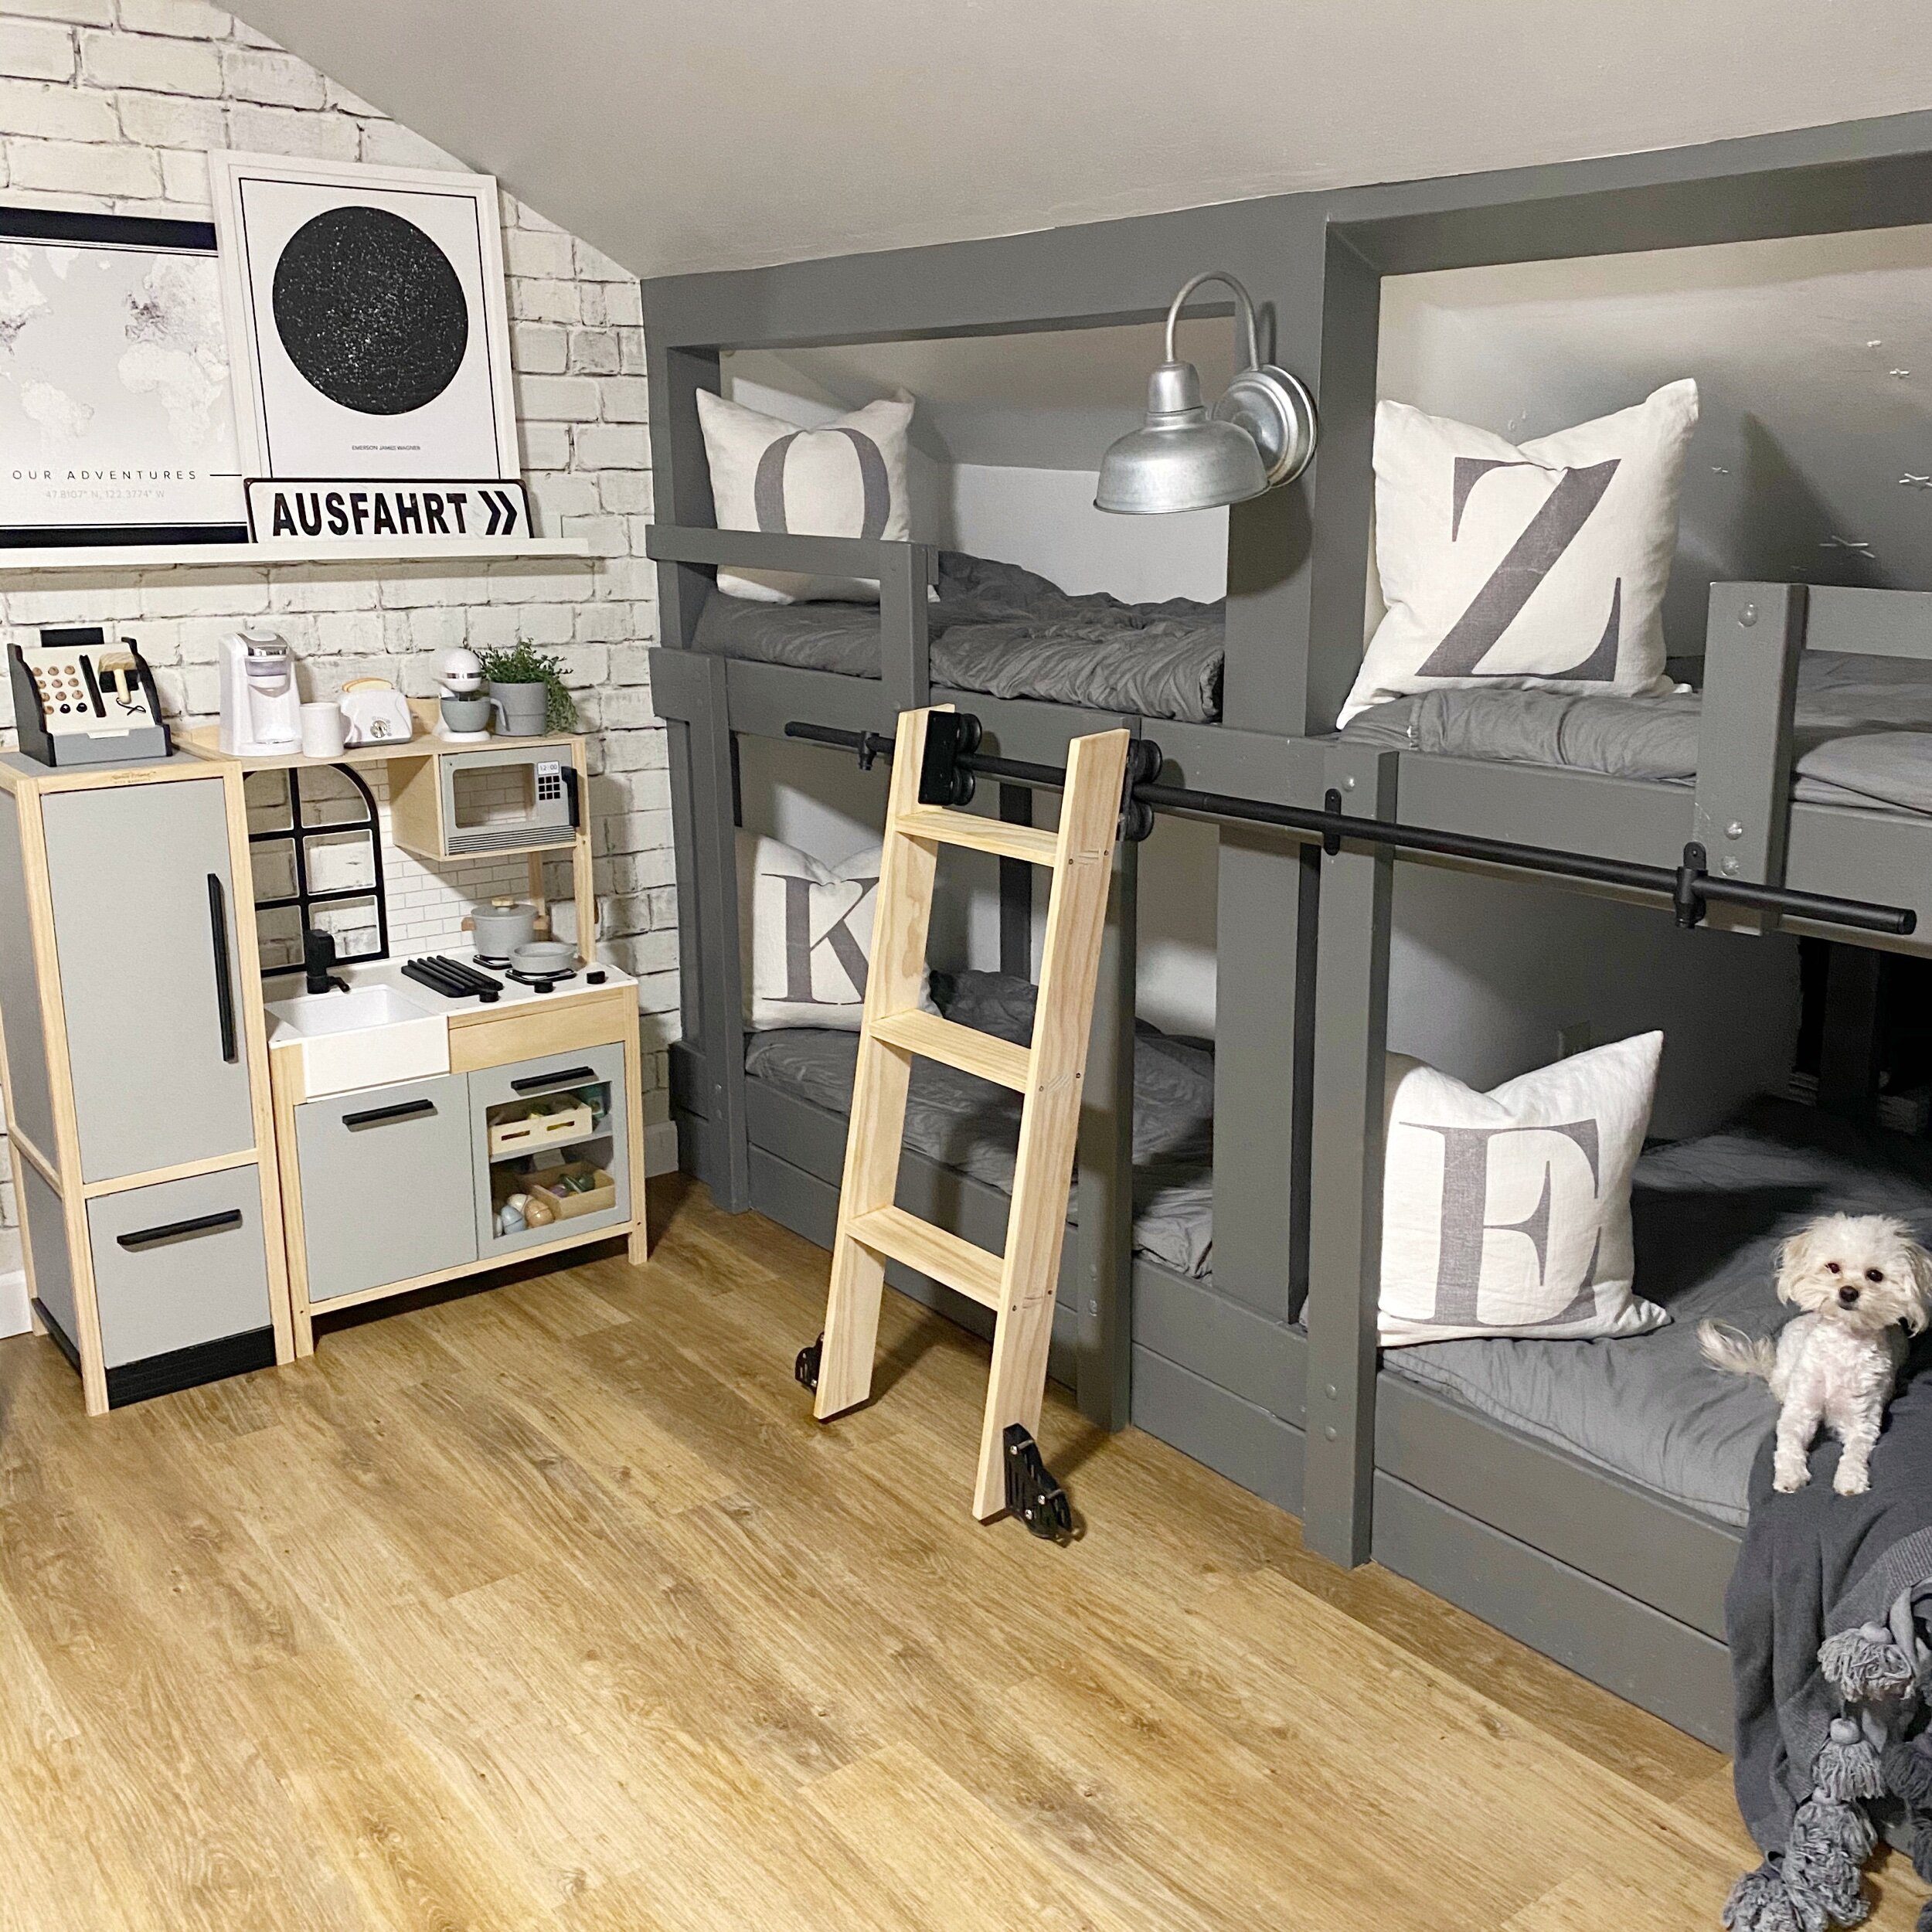
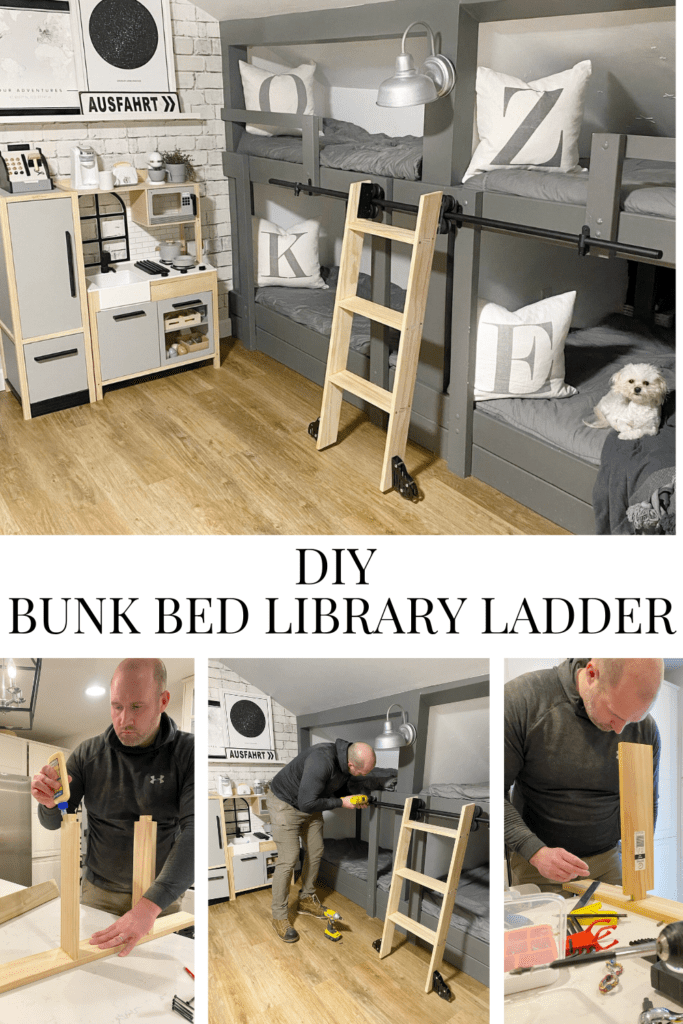
We finally did it! The library ladder is done! This room has gone through a lot of changes over the years, before kids it was our bedroom because its the biggest … but we needed a spot for the three boys and this is the perfect room. A traditional bunkbed takes up to much space, and living in our small house we always have to find a solution – so built in bunk beds were the key! We had this plan to add a library ladder so the kids could move it side to side and that it didn’t take up a lot of space and finally it is complete! Keep reading for the tutorial and for all the sources of their room!

Here it is! The kids are in heaven, and it is just as I imagined! We are on a deadline to get projects done, and this is one of the last… I think we are to the point where we just want the list marked off and here is another checkmark off the list! Honestly I wasn’t expecting to get this done when we did… I had all these plans to share with you how we made it…. so we tried to document it as well as we can, if we missed anything let me know below.
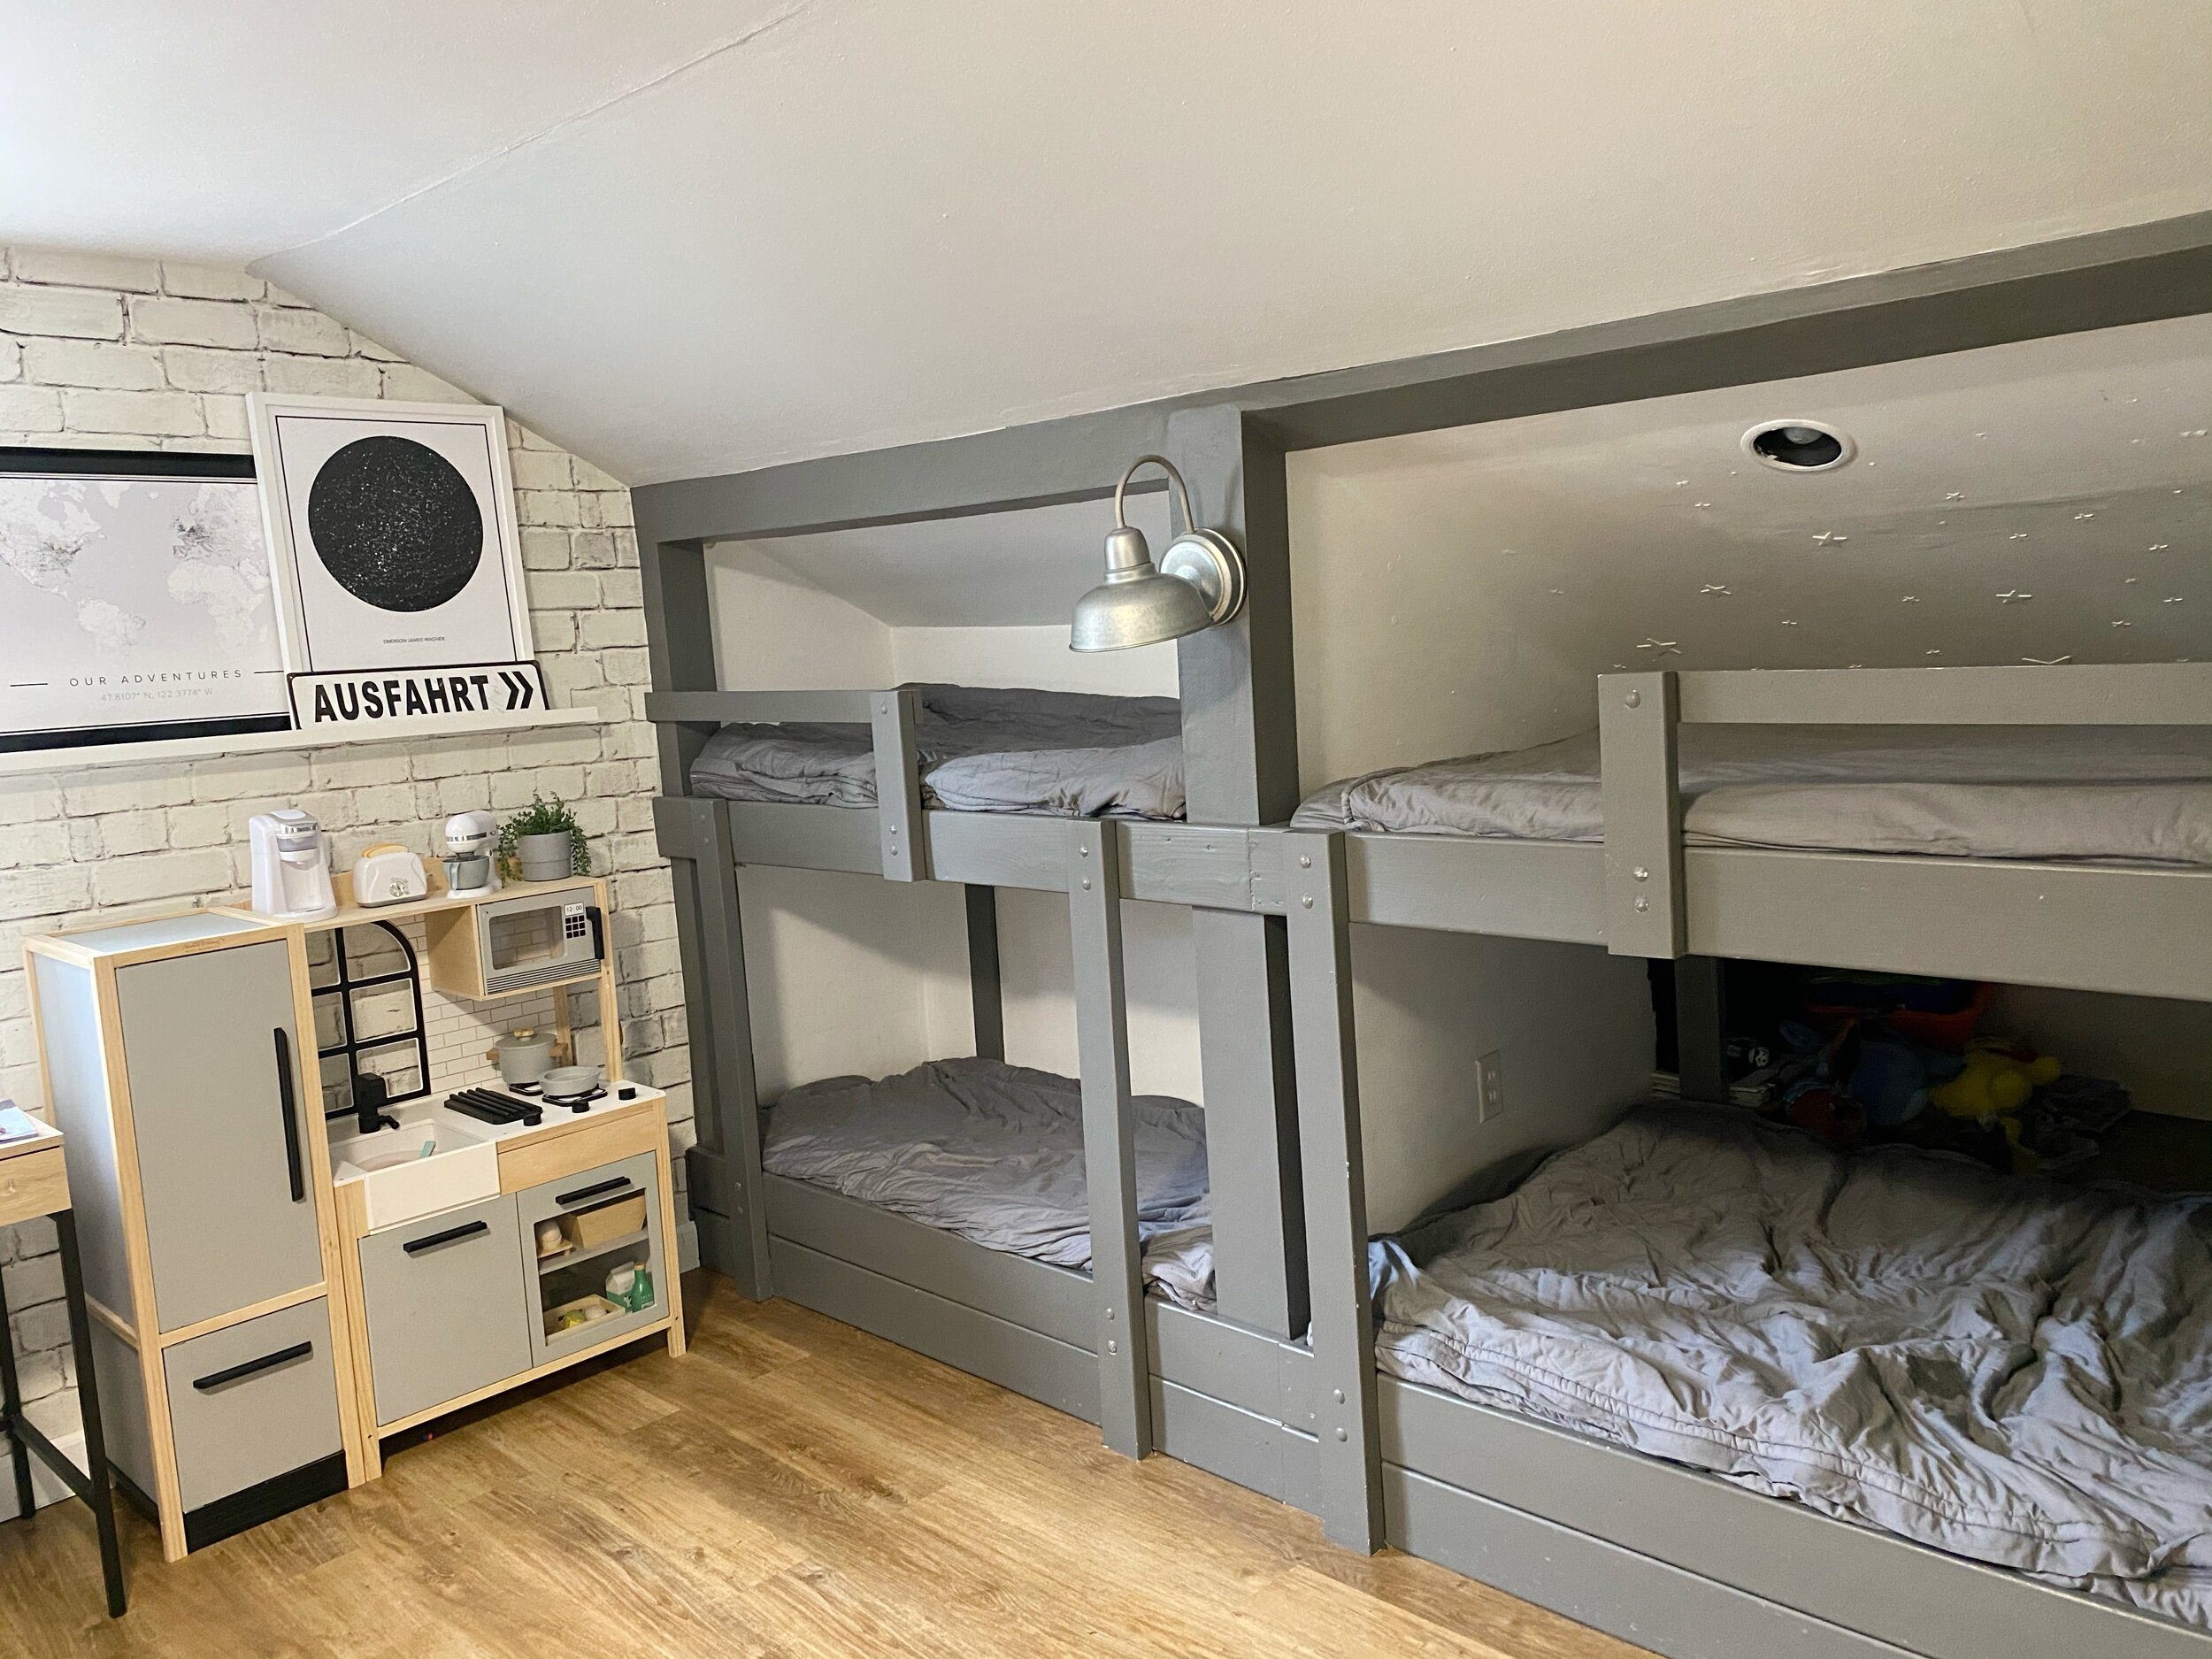
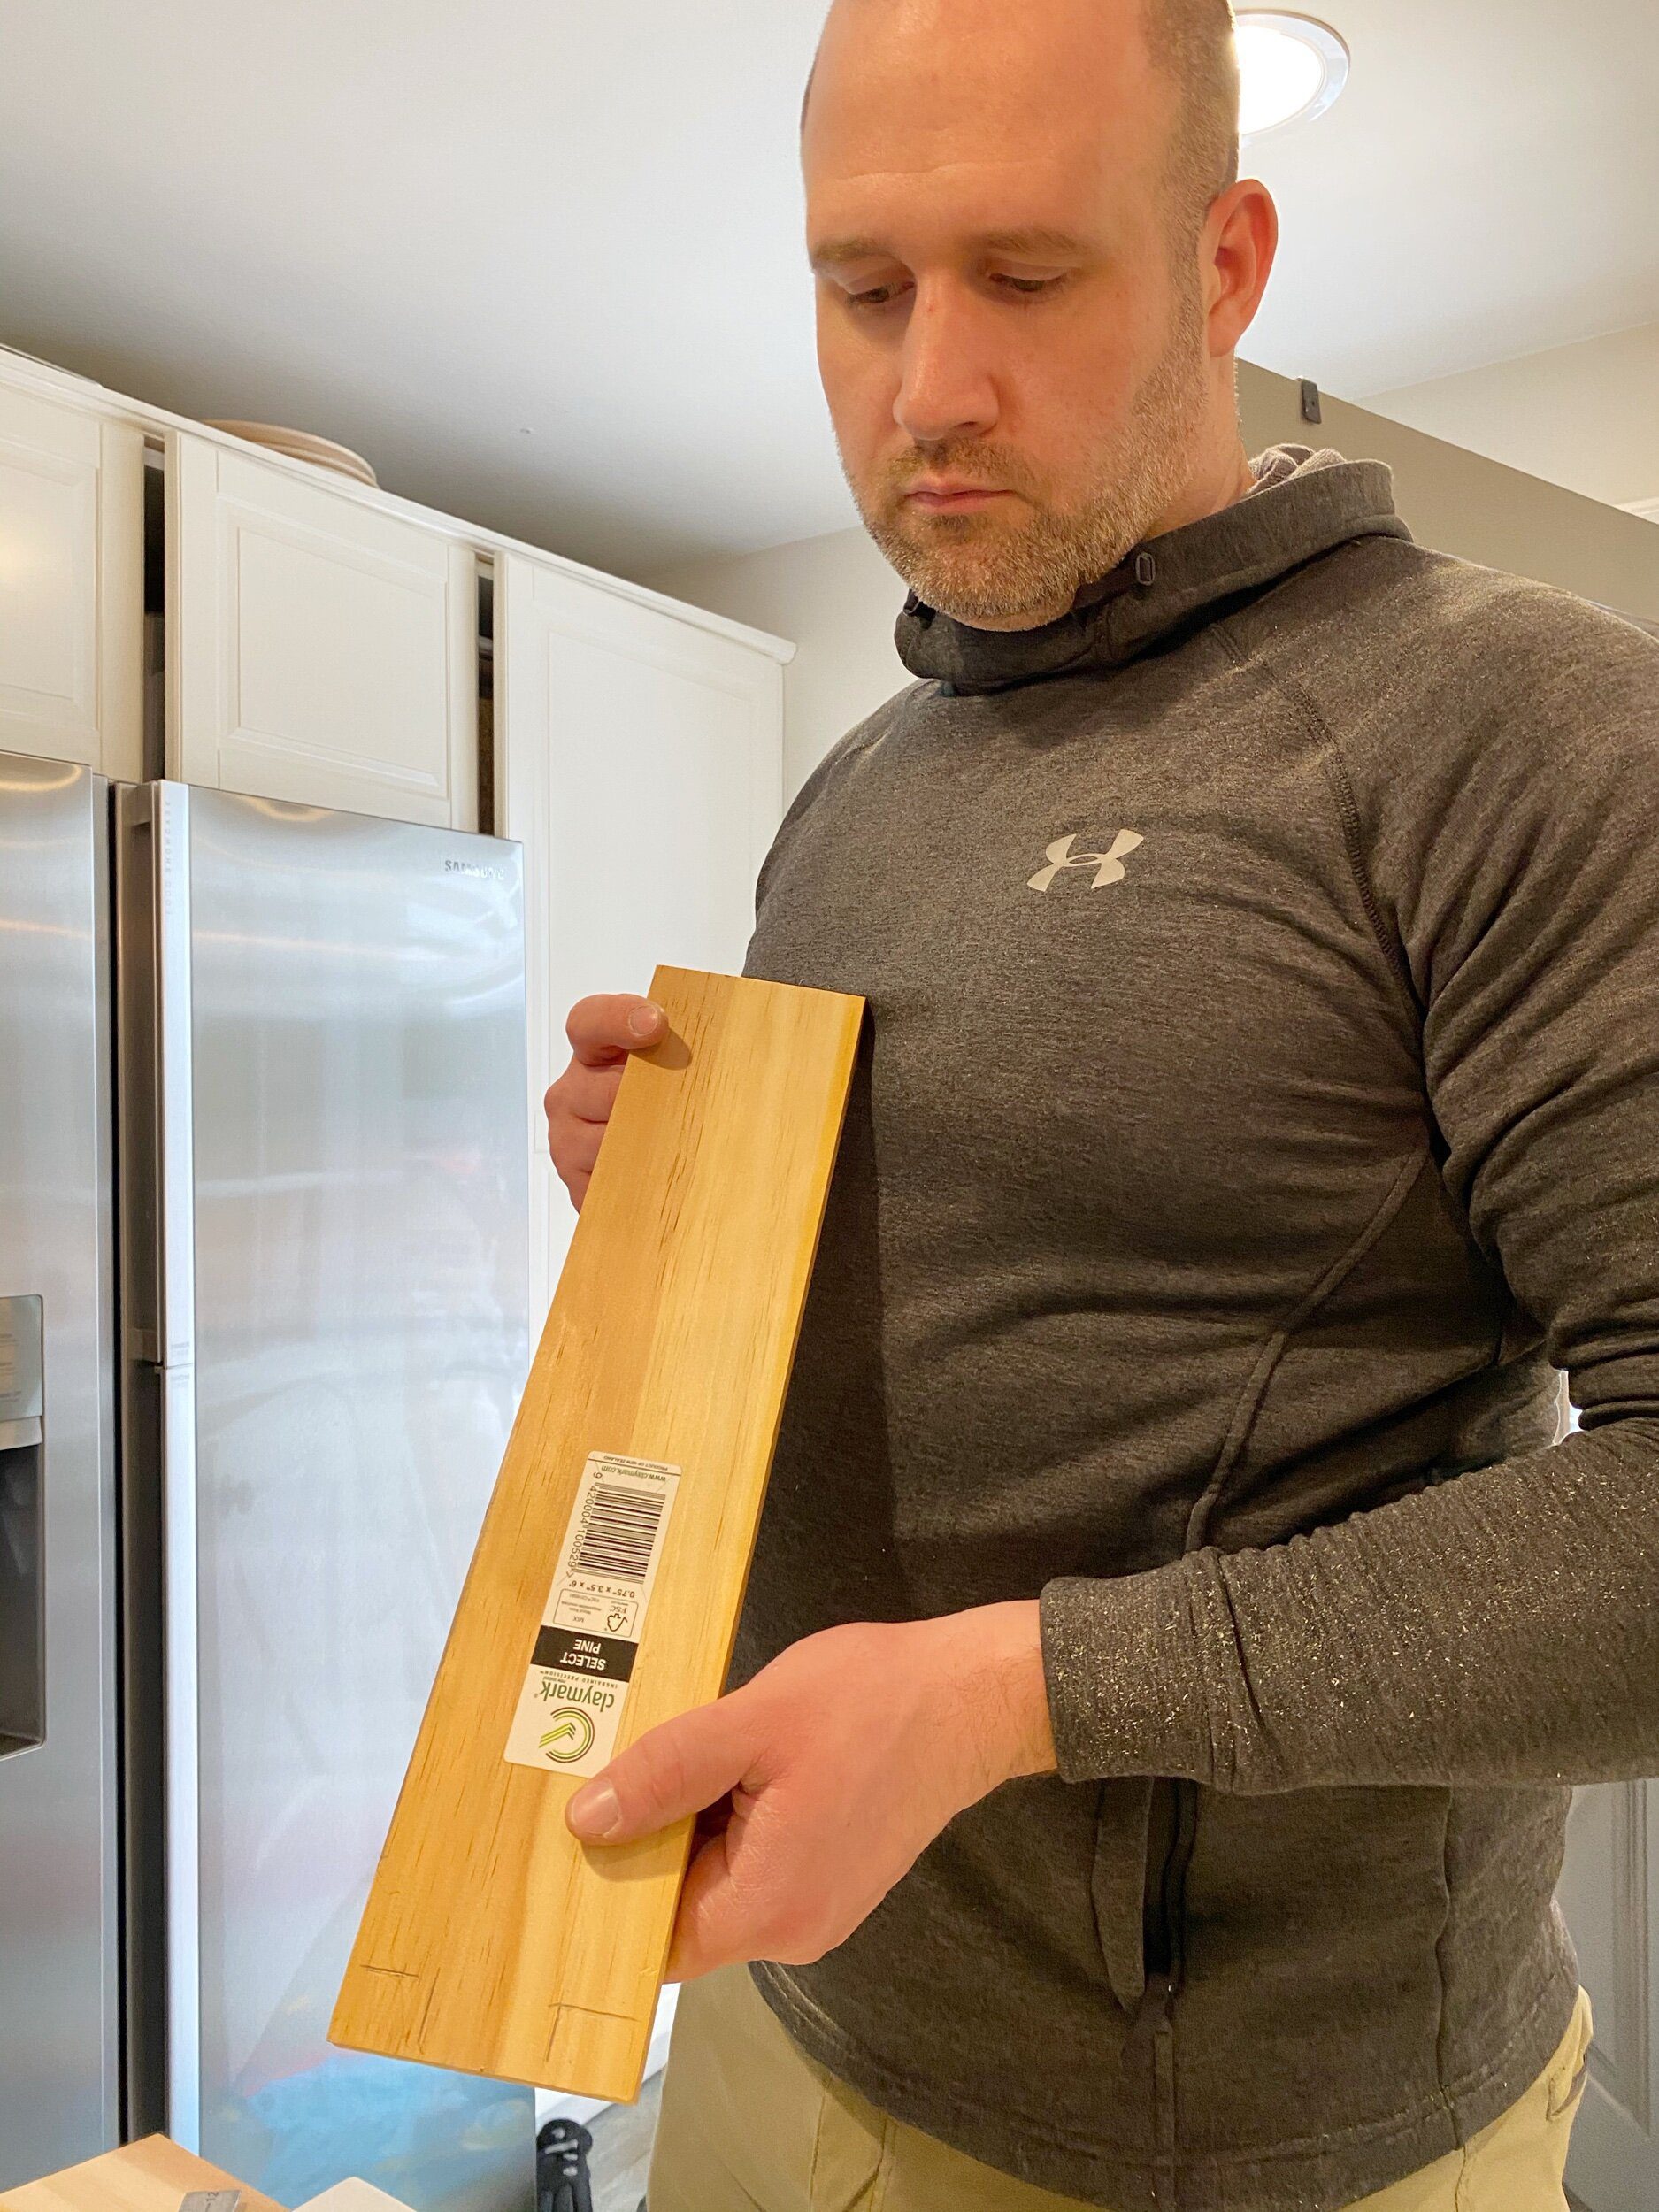
Here is the space before the ladder, It was just a bit tricky for the kids to really use the bunk they used a pouf or chair to get up and it was long overdue to complete this project. So we went to Home Depot, got the wood we needed and its time to start! James was quick to cut the wood, so no photos of the process – he did it to the size we need so just measure twice and cut once.
SUPPLIES :
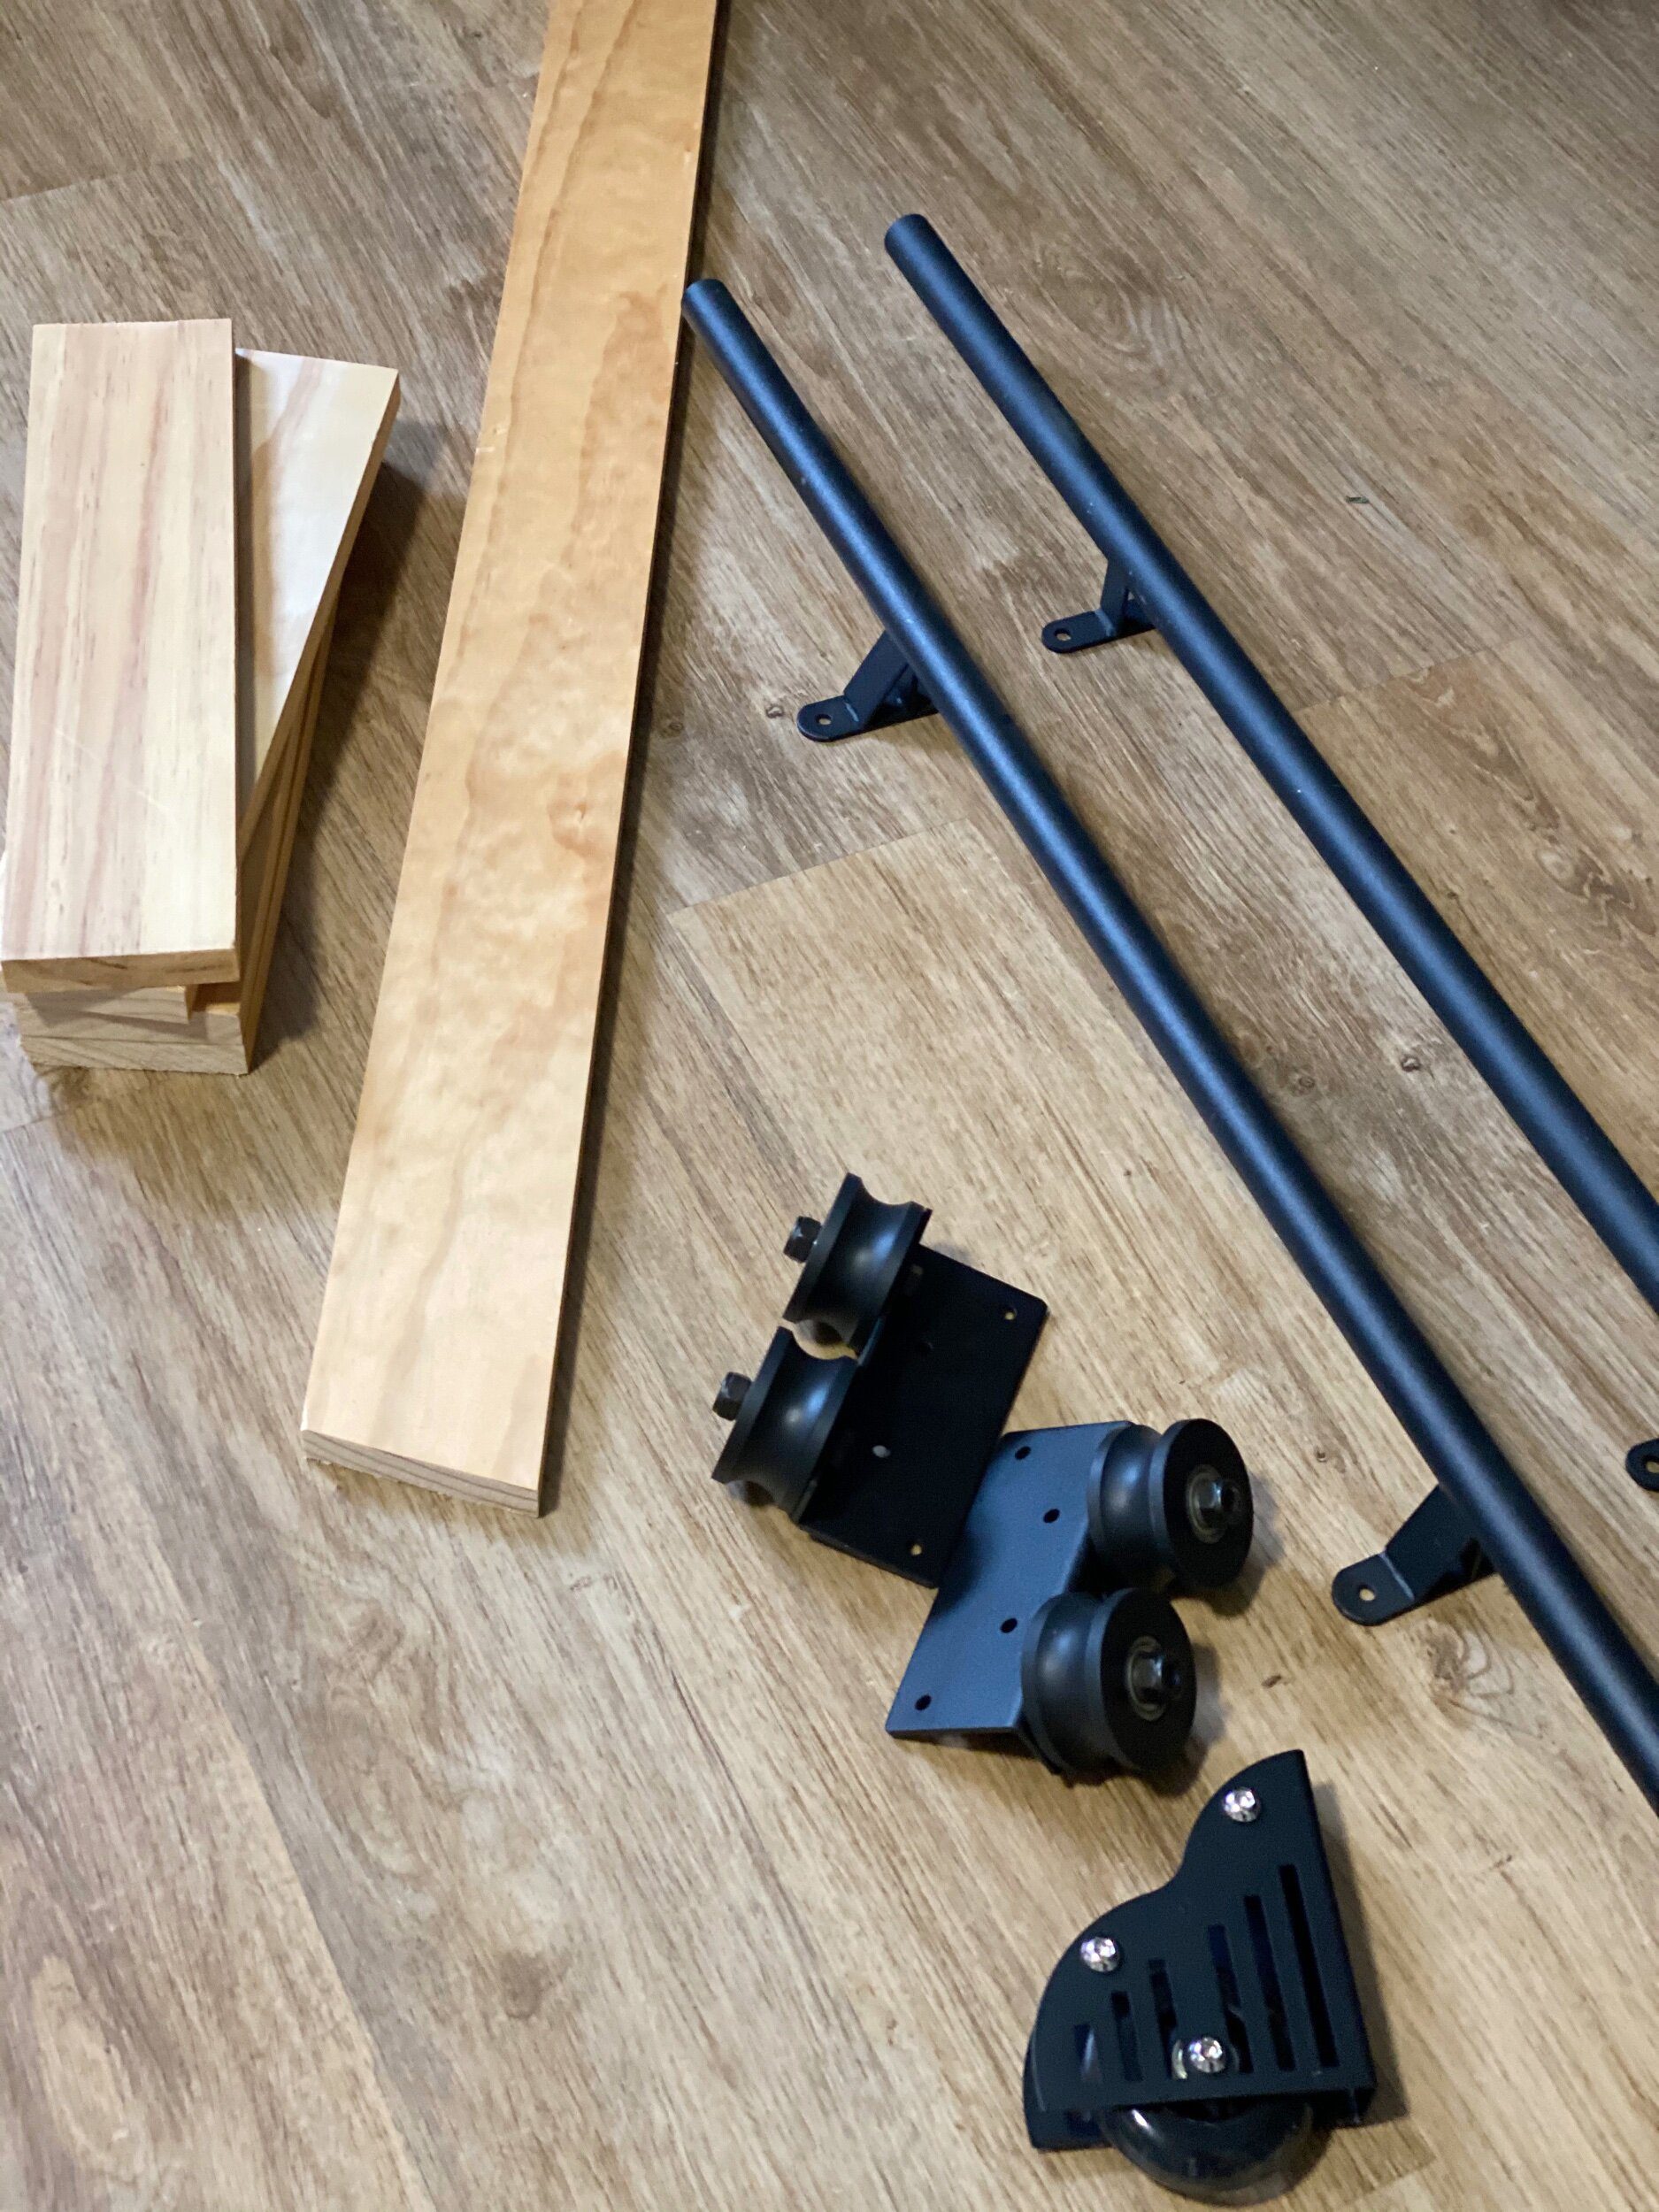
1x4x6 – {You will need however many depending on the size of your ladder}
Library Ladder Hardware
Library Ladder Extension {Depending how wide your space is}
Screws
Sand Paper
Sander
Drill
Wood Glue
Miter Saw
Multi Tool
Hack Saw
Tape Measure
Carpenter Pencil
* Here is the ladder that you can buy with the kit I got – a good option if not a DIYer
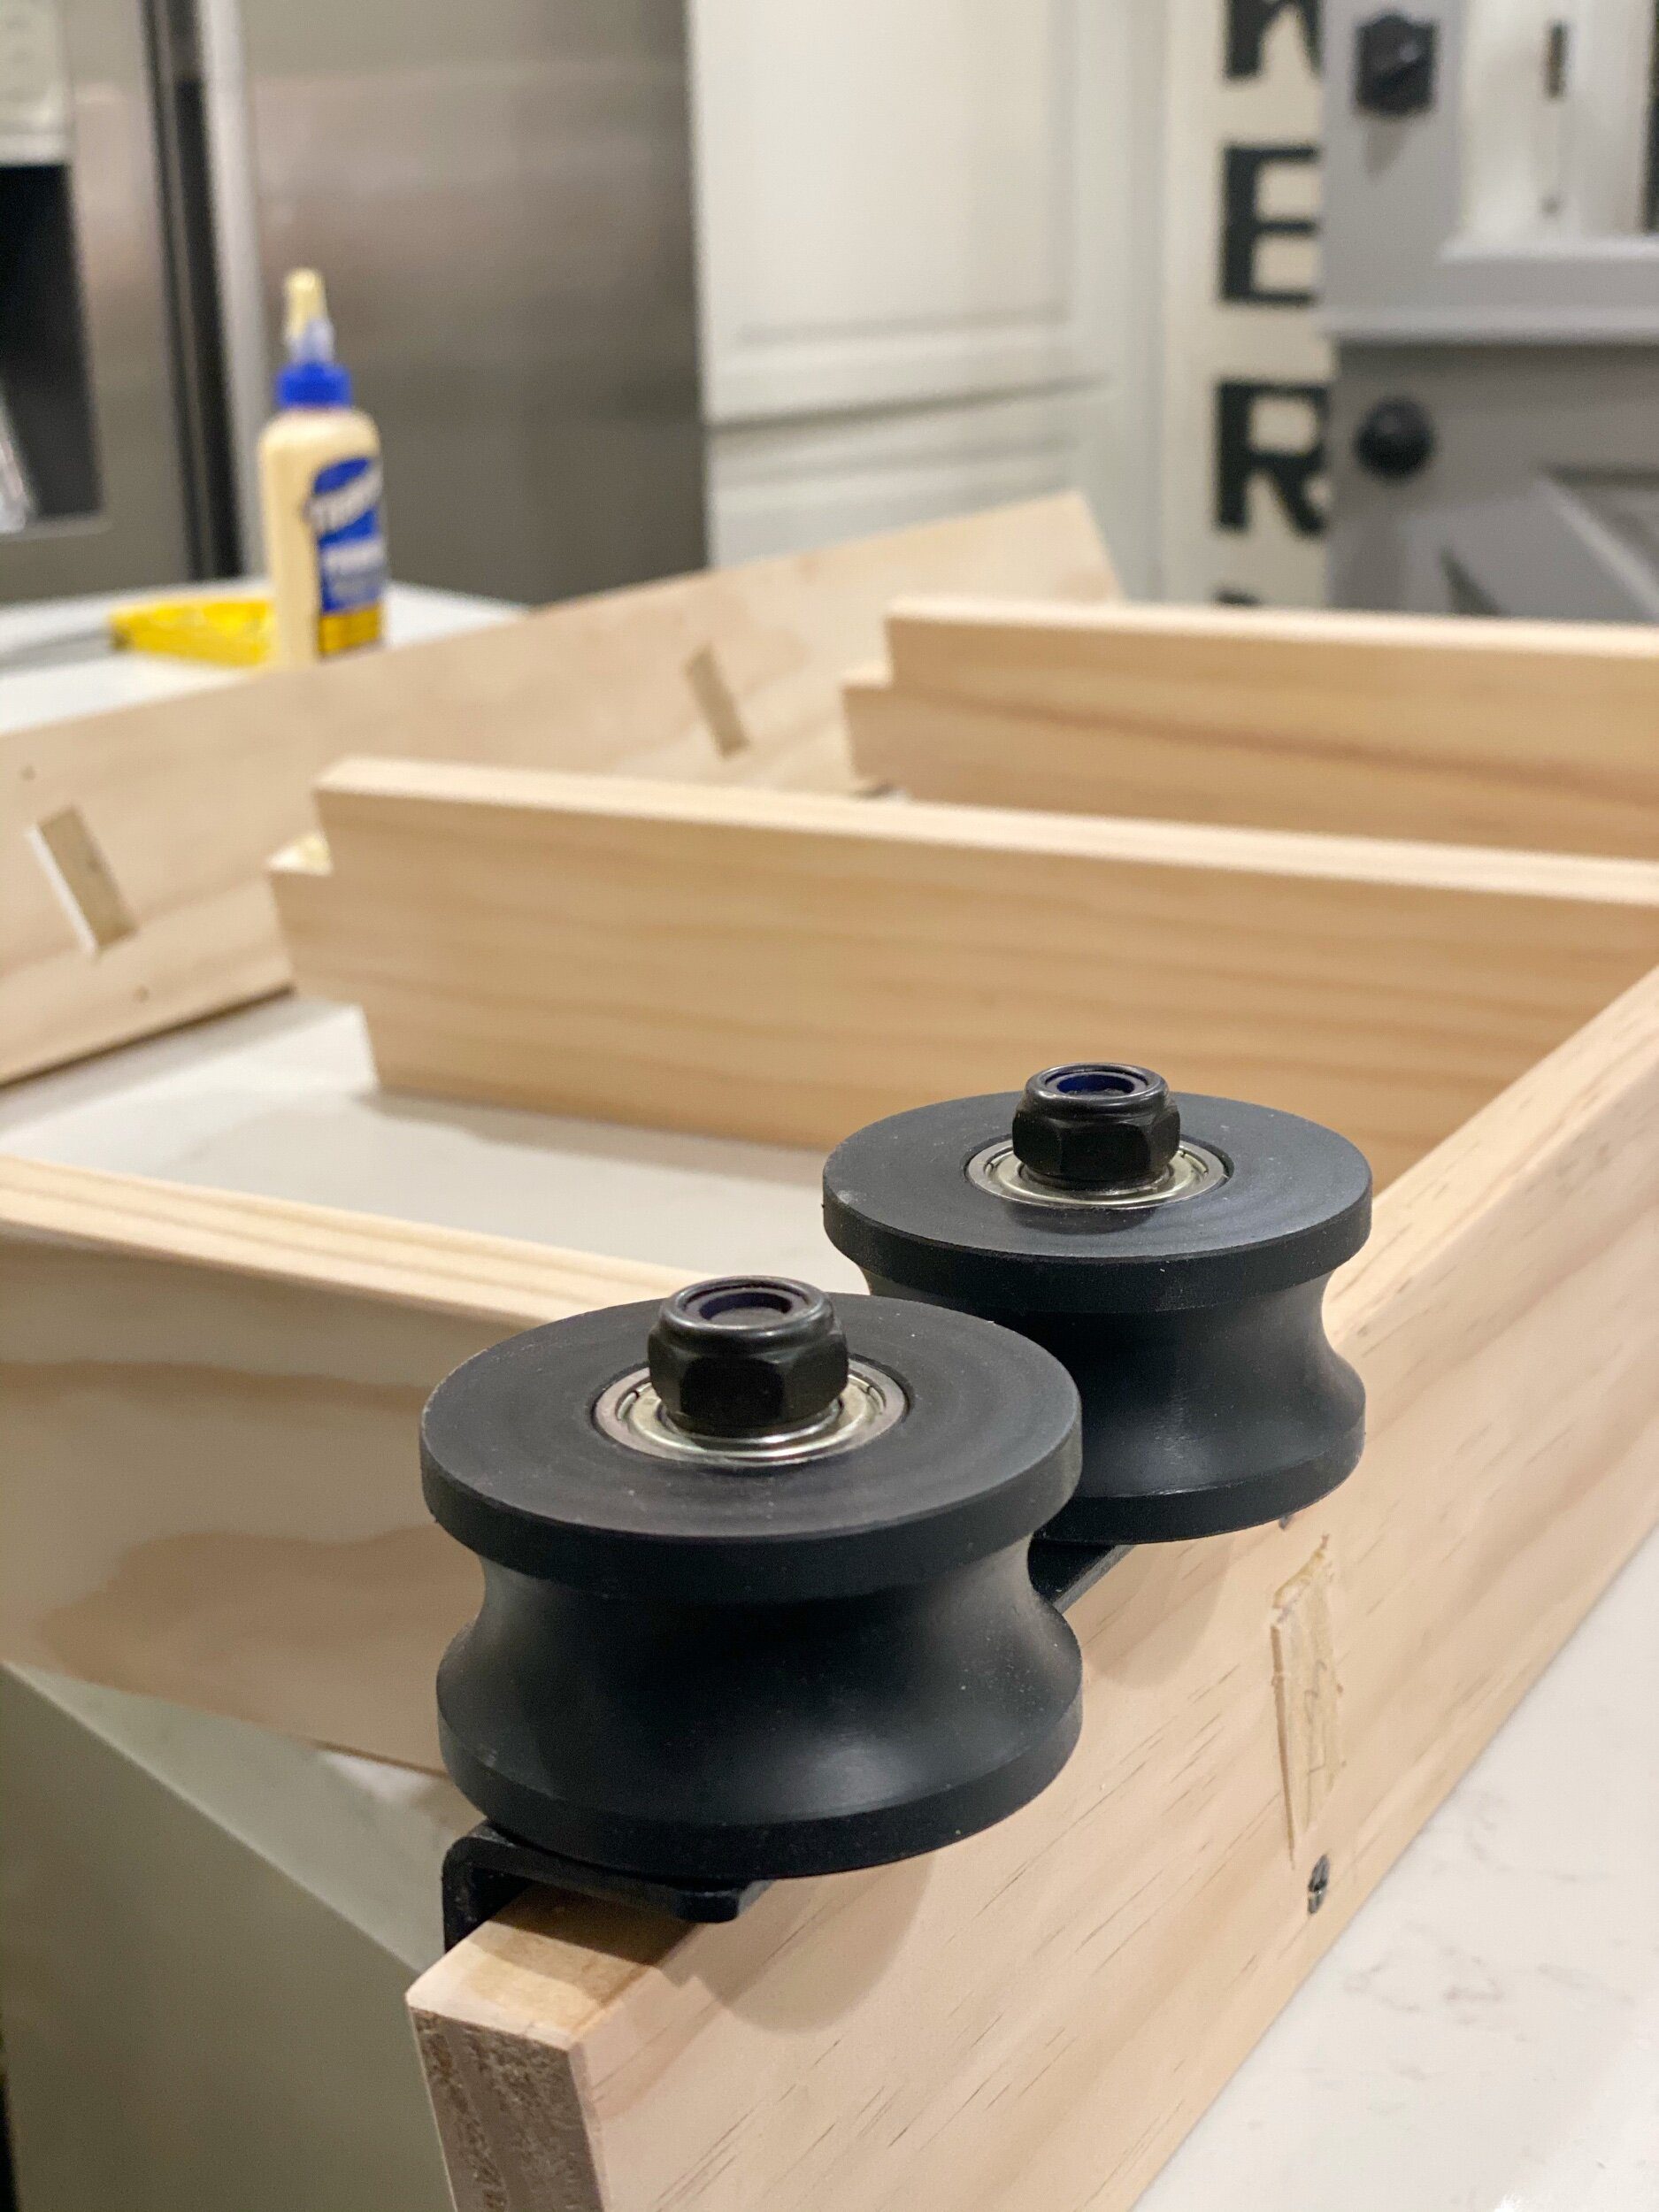
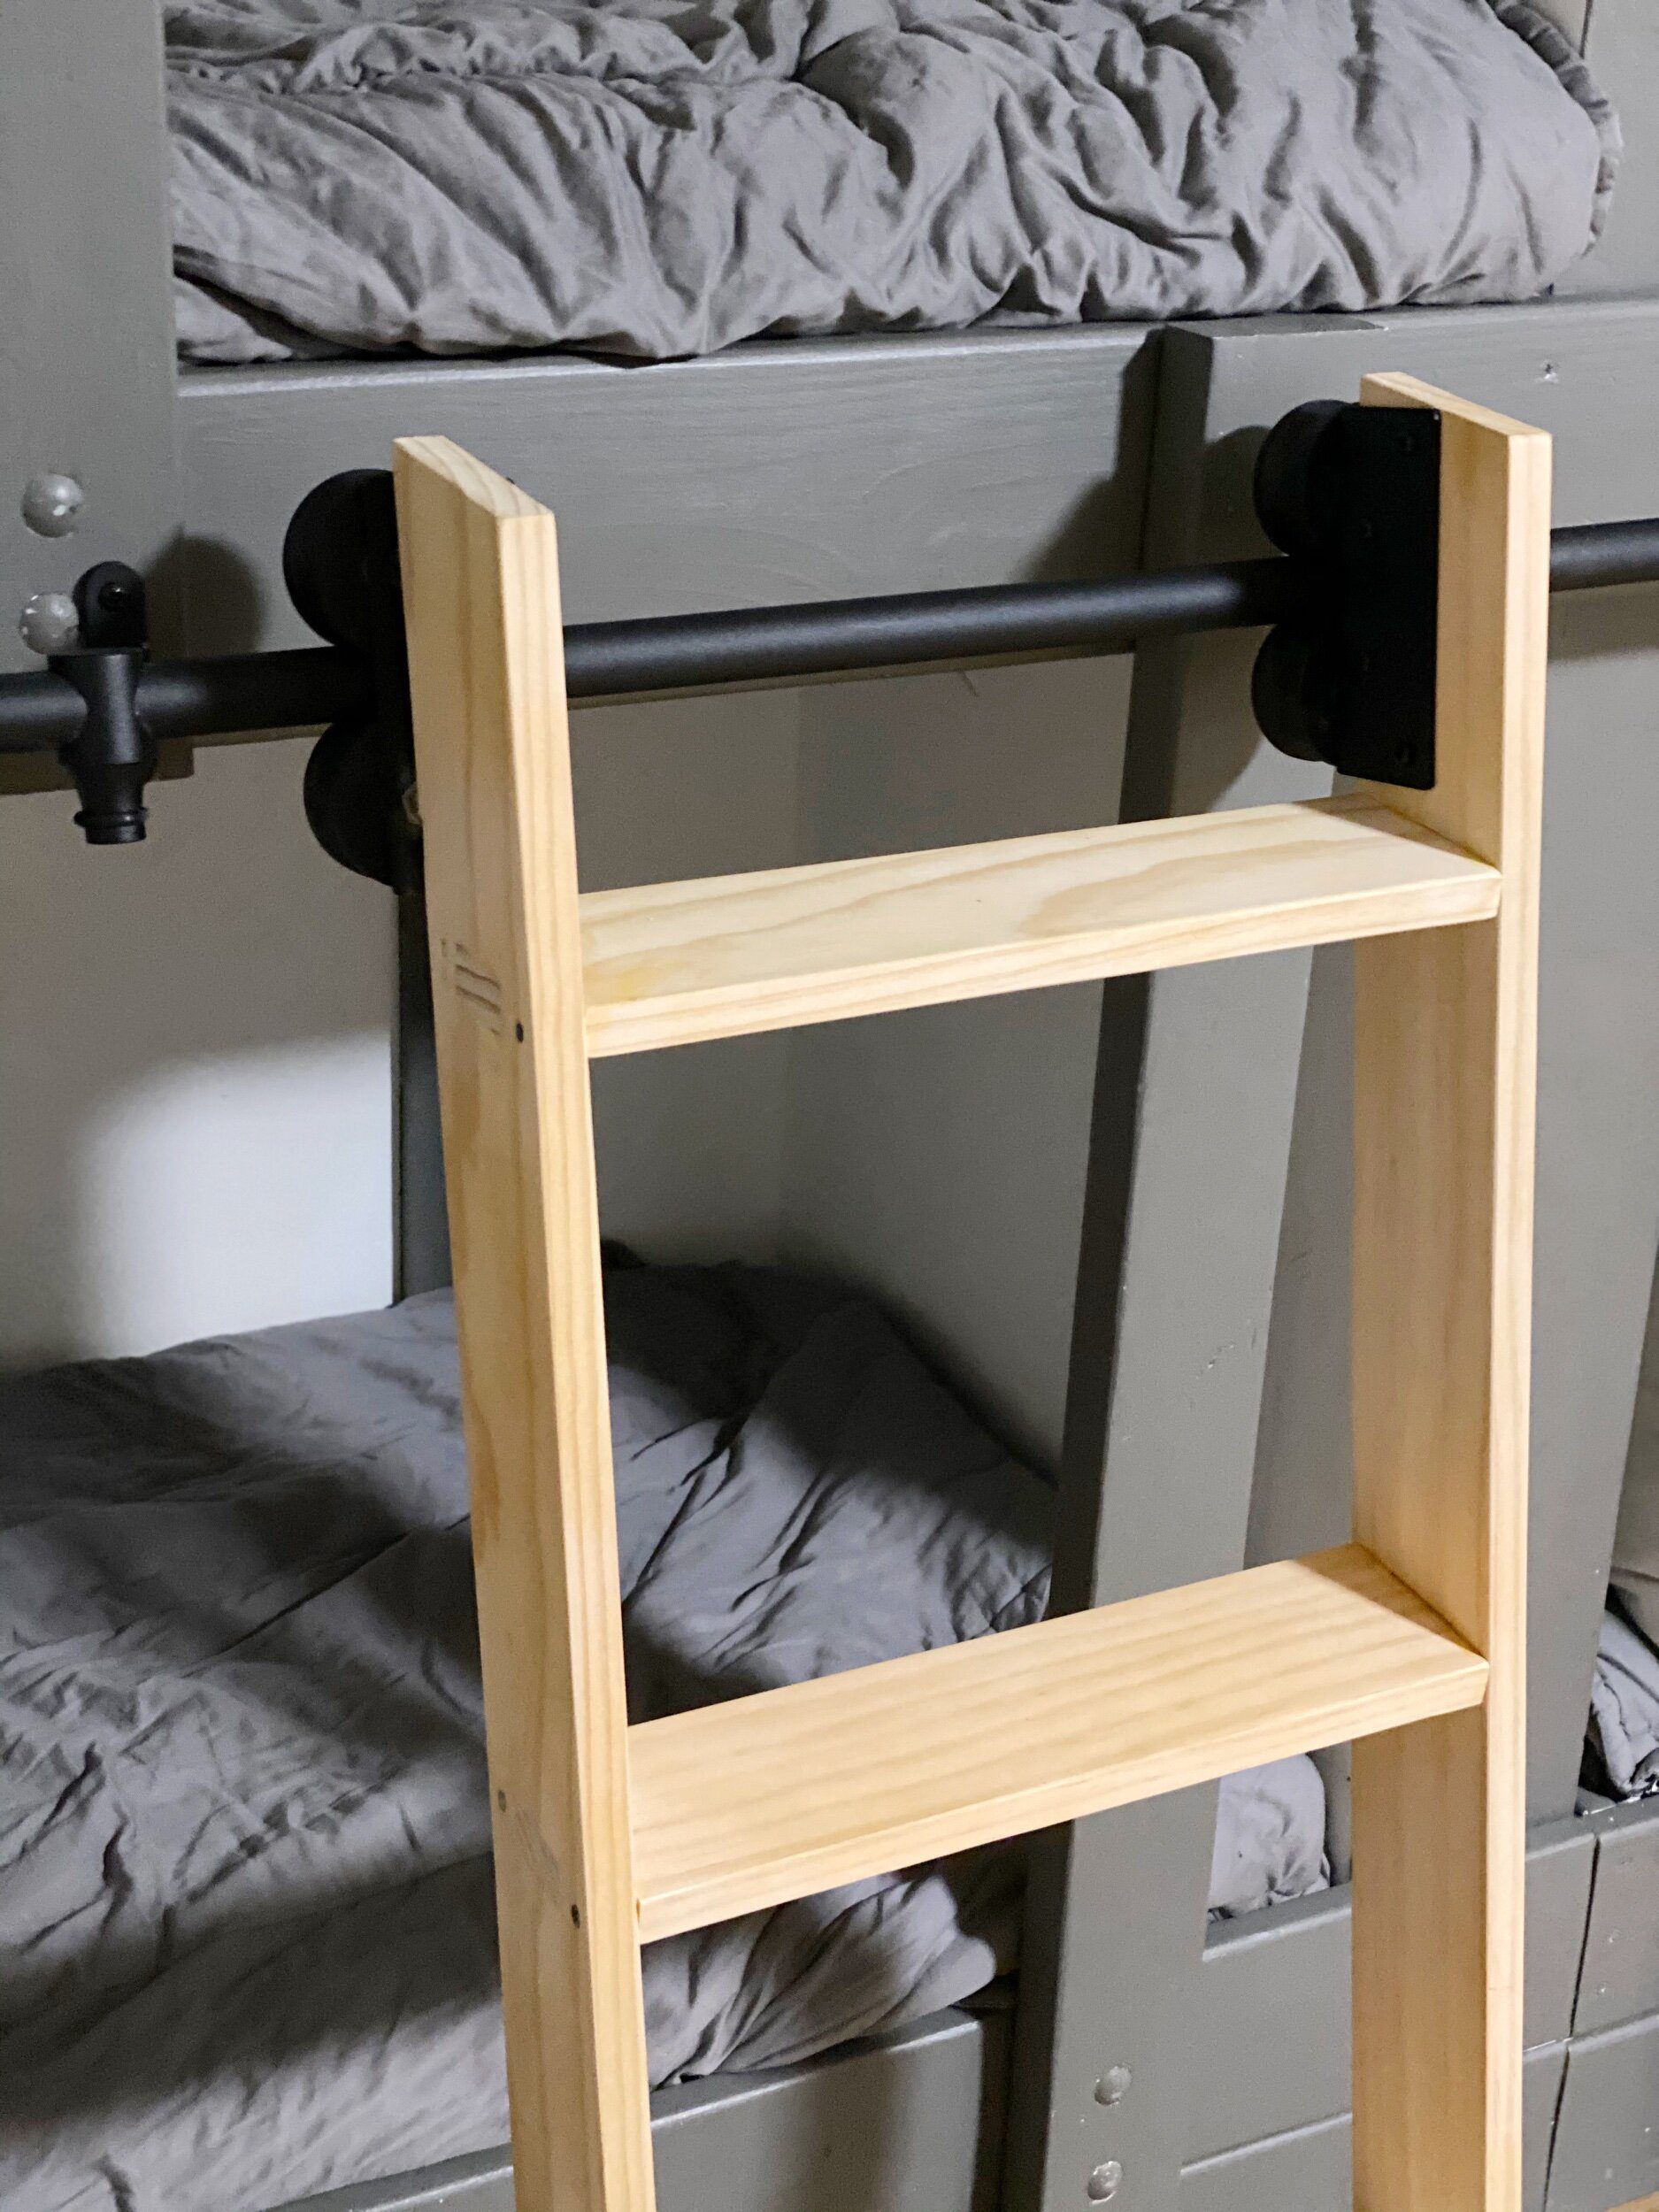
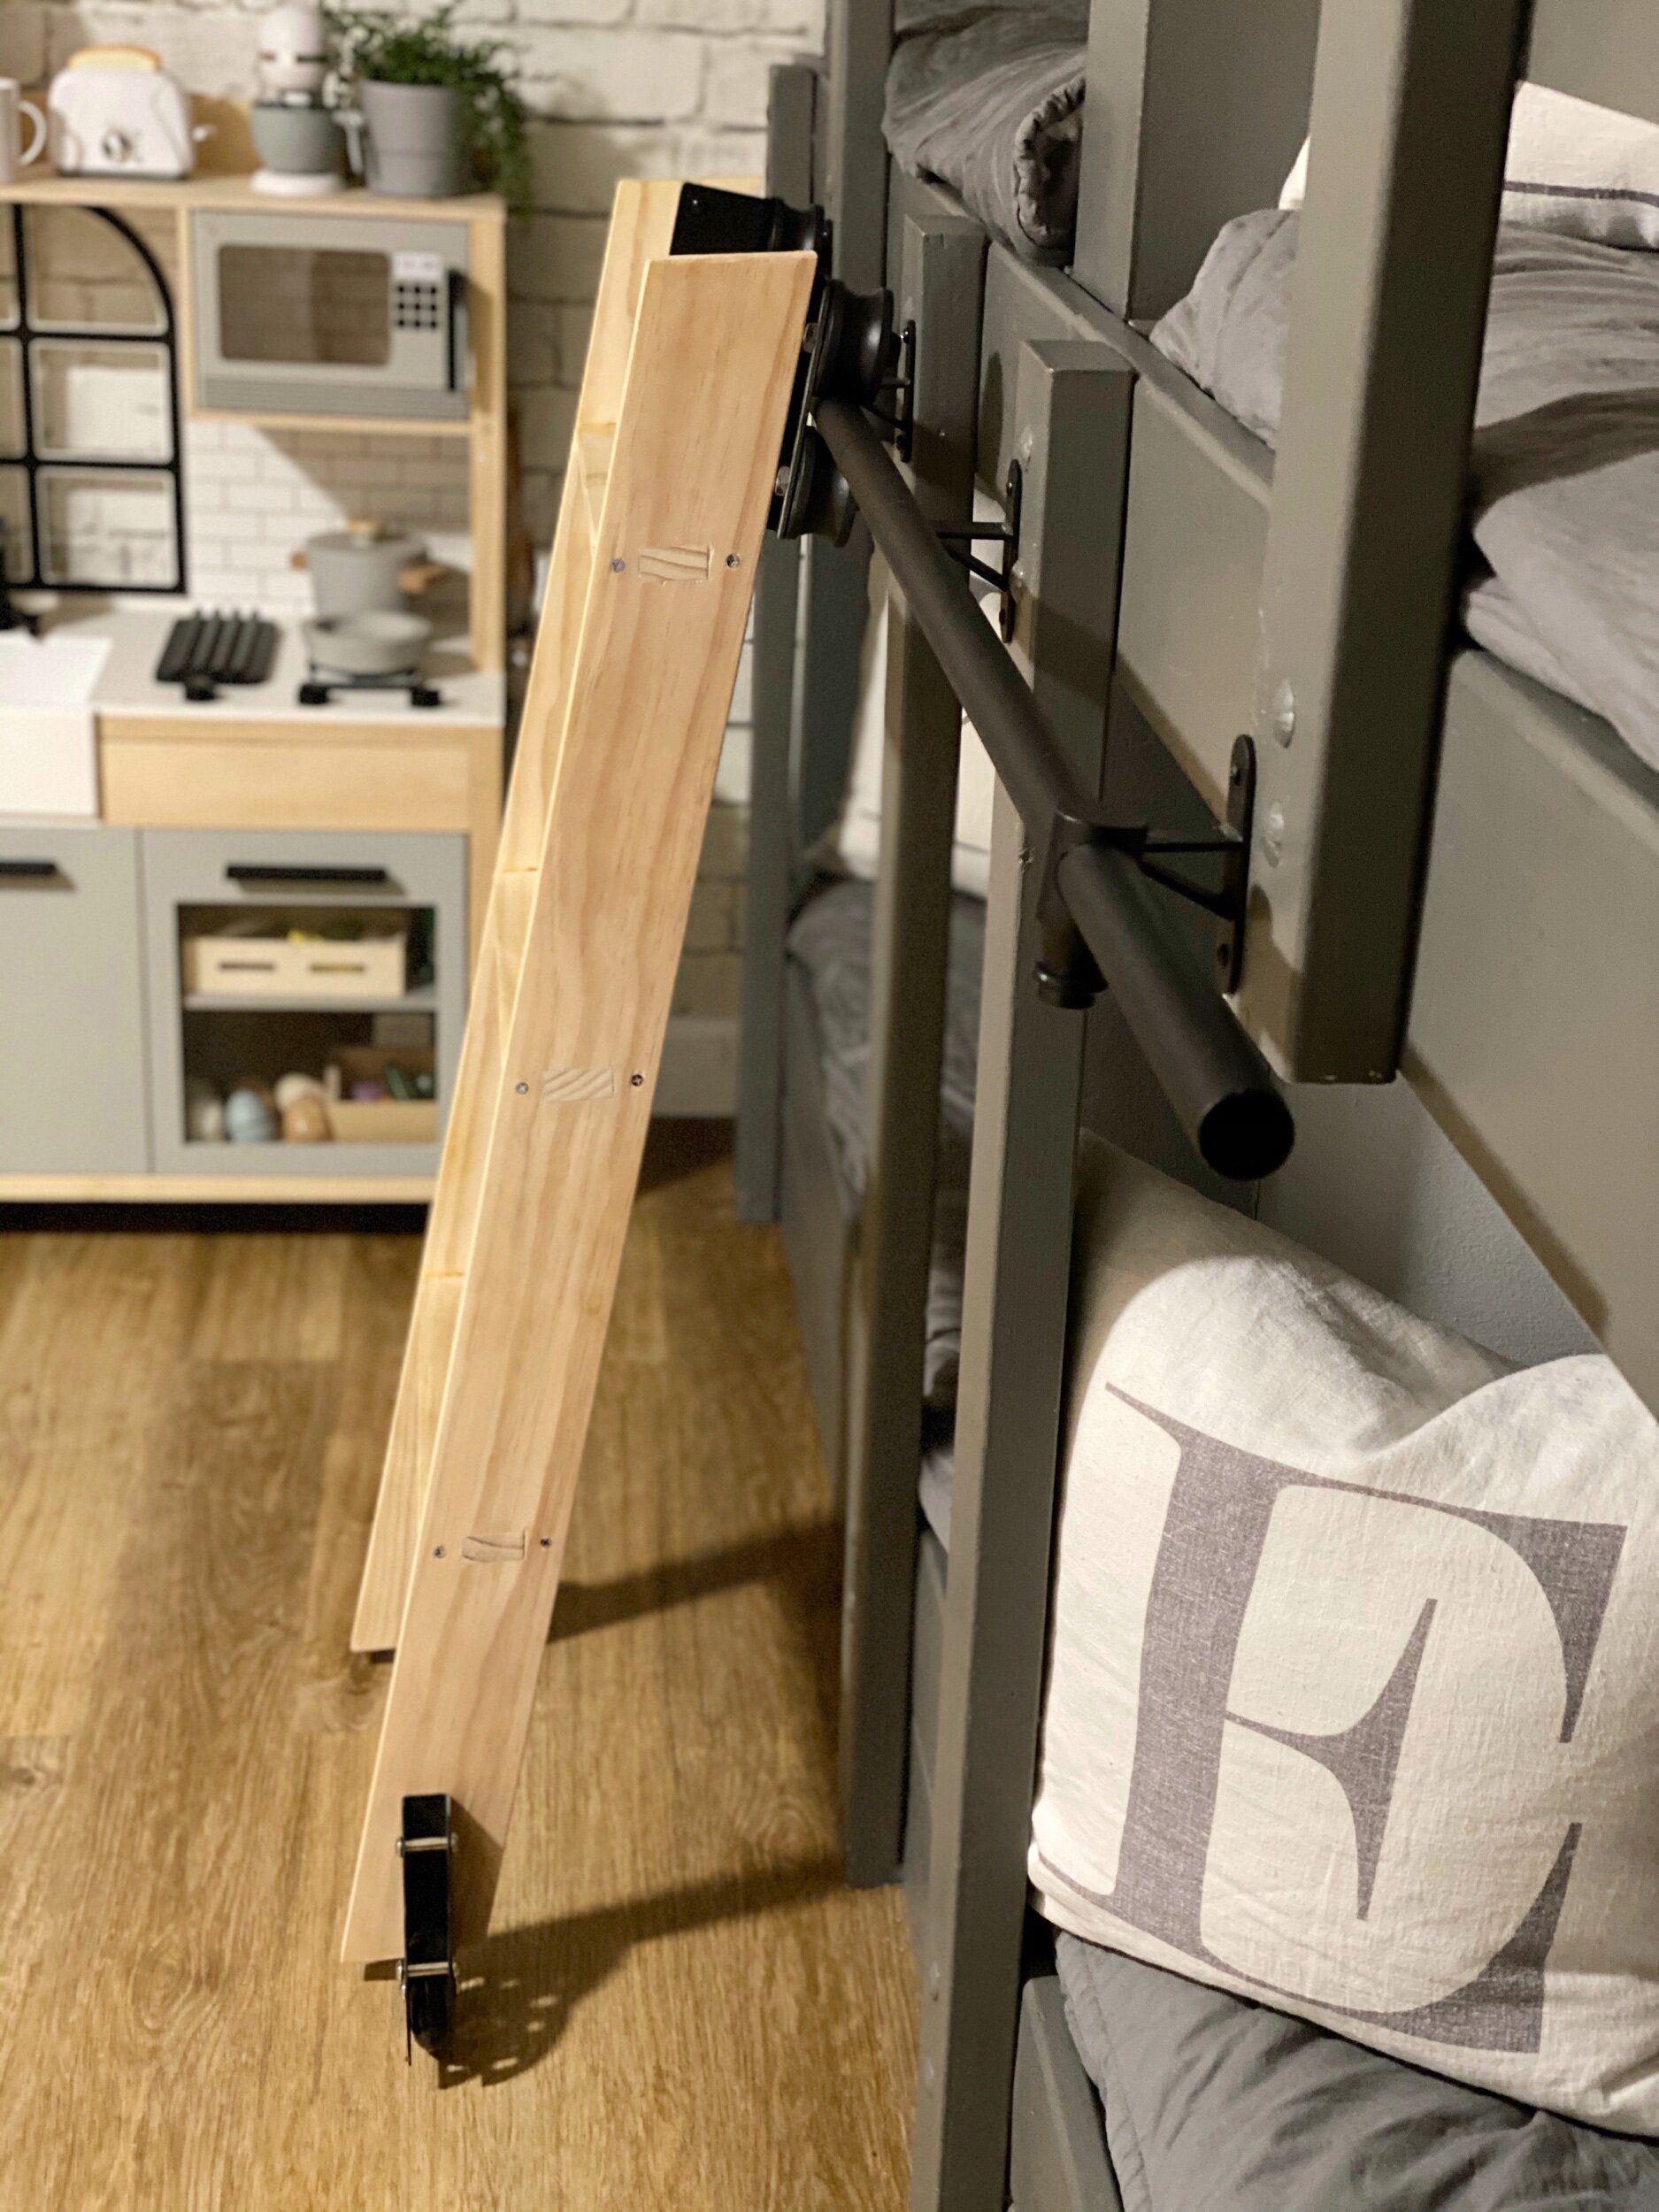
After the wood was cut, it was time to figure out where we wanted the bar and we attached the roller hardware.
Once the bar was attached, it was time to put the wheel on to make sure where it would all lay and it was perfect!
* Make sure you use your level.

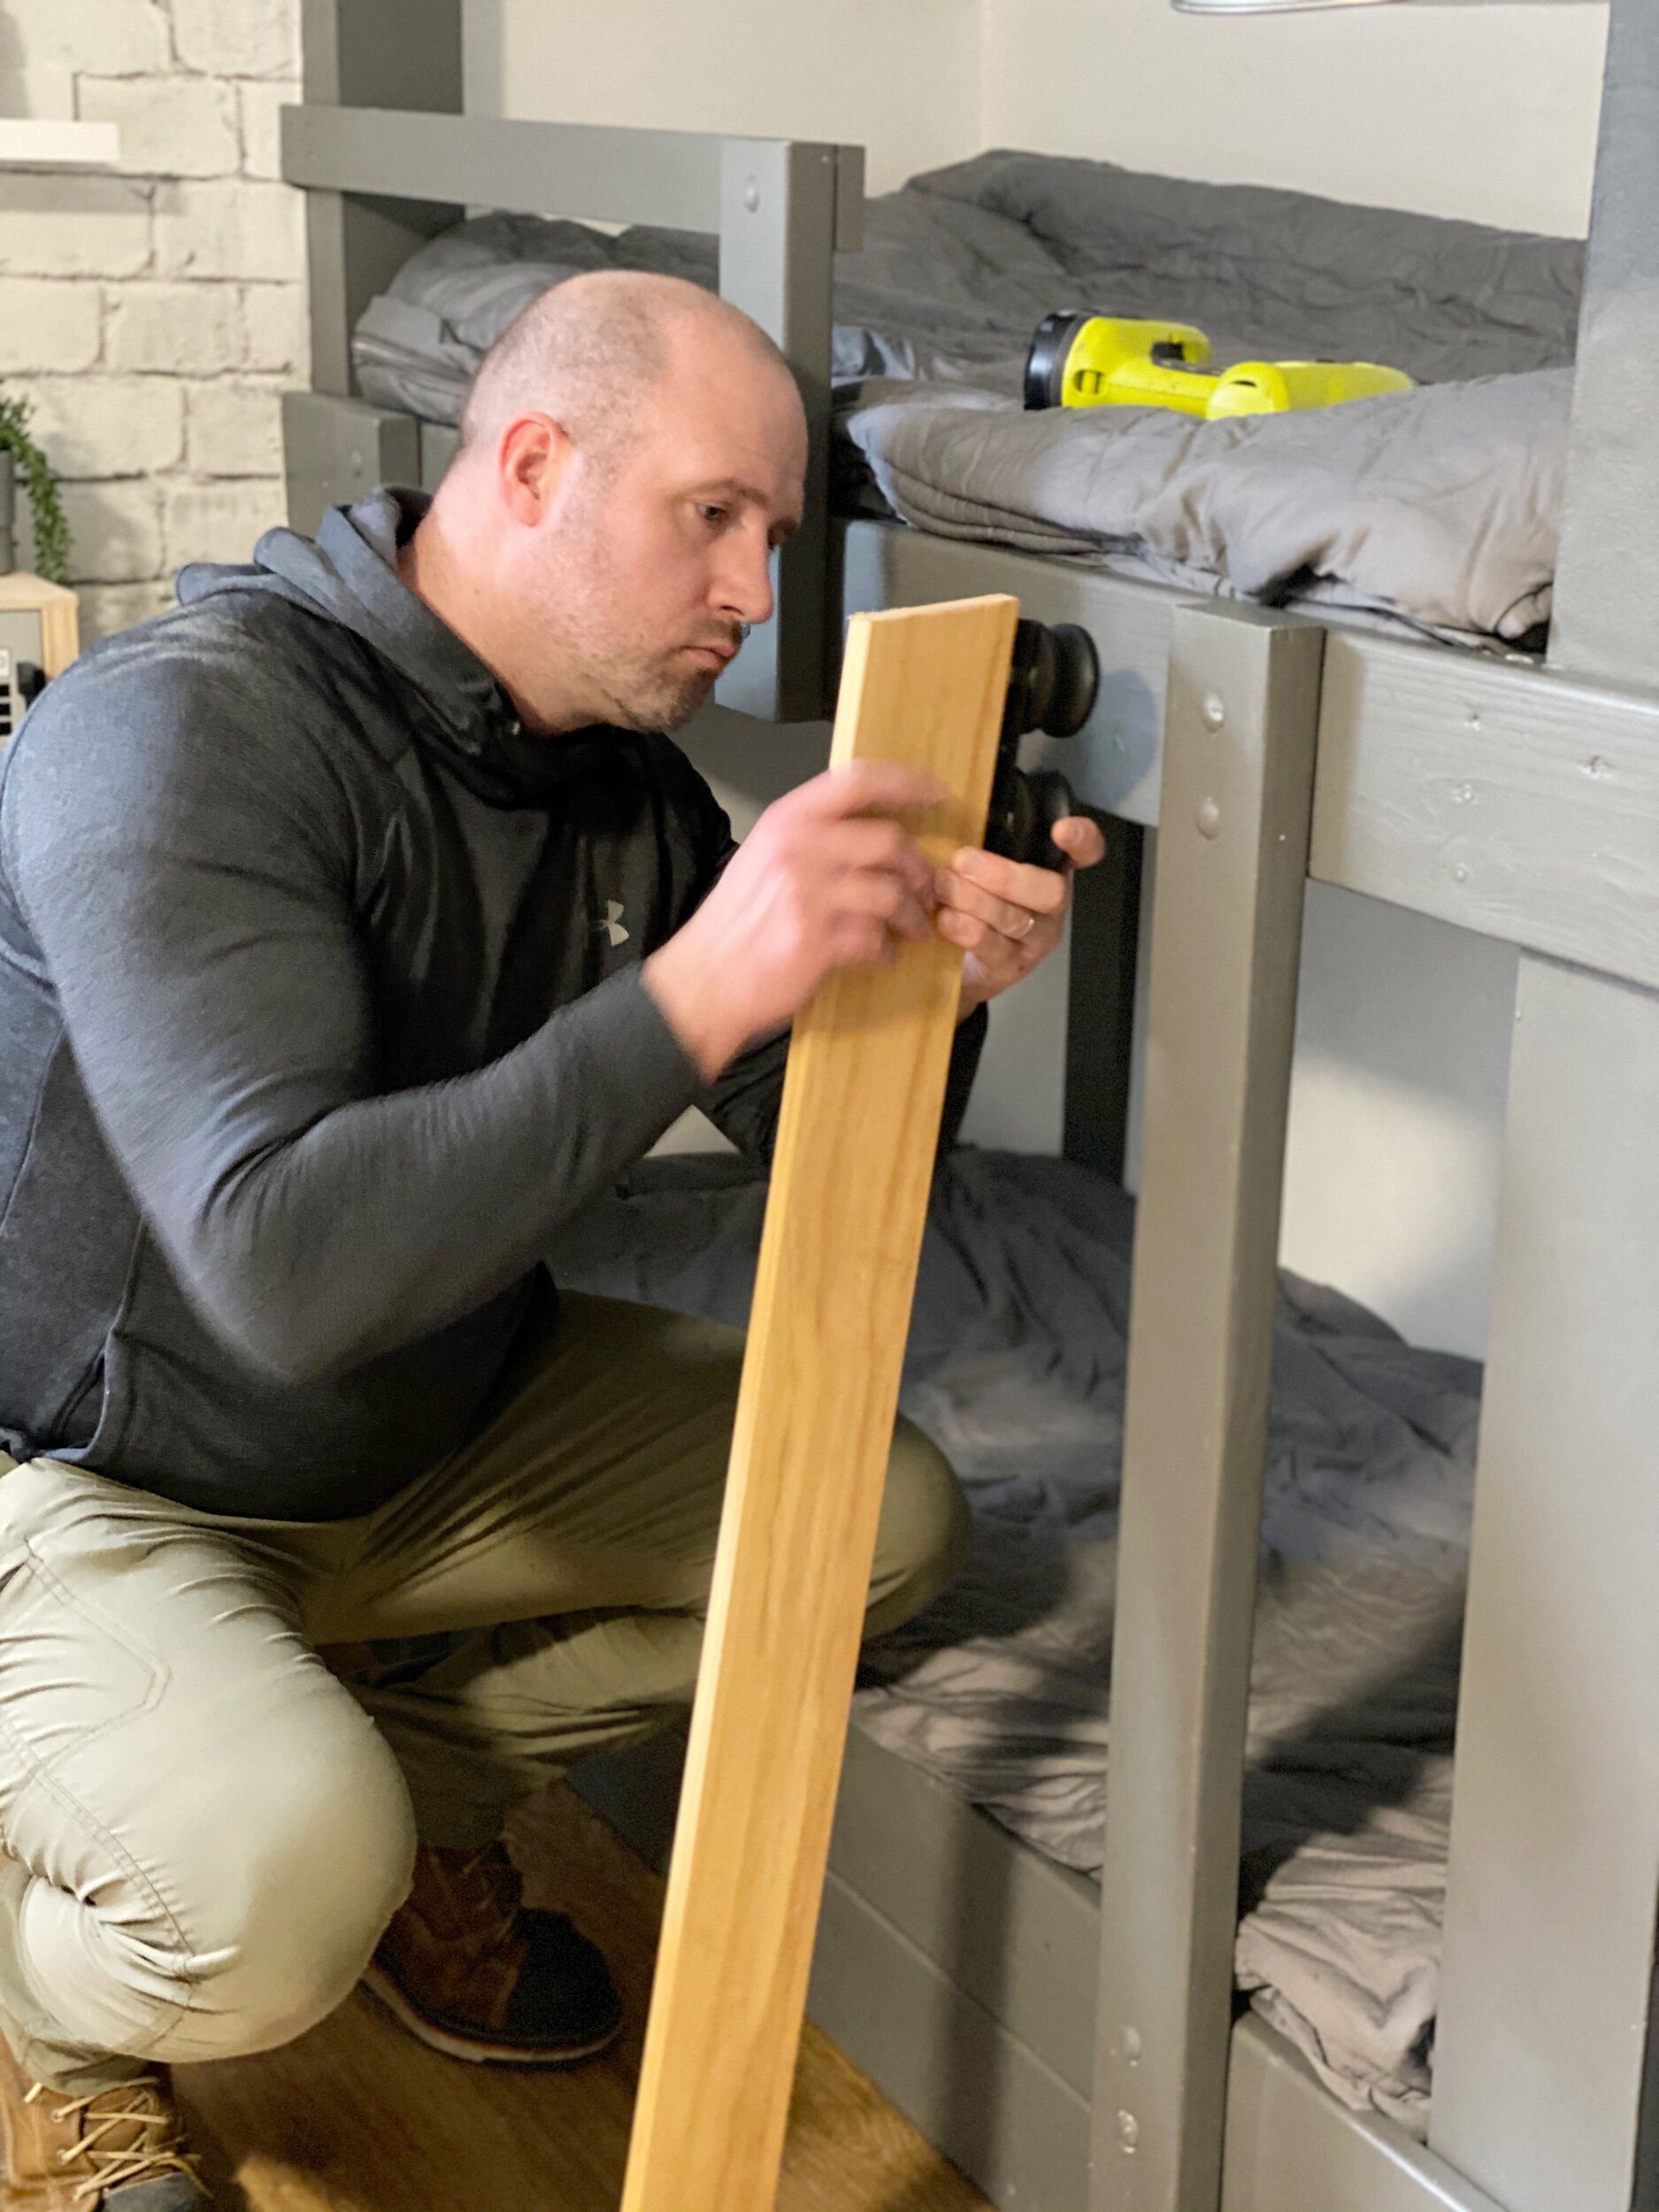
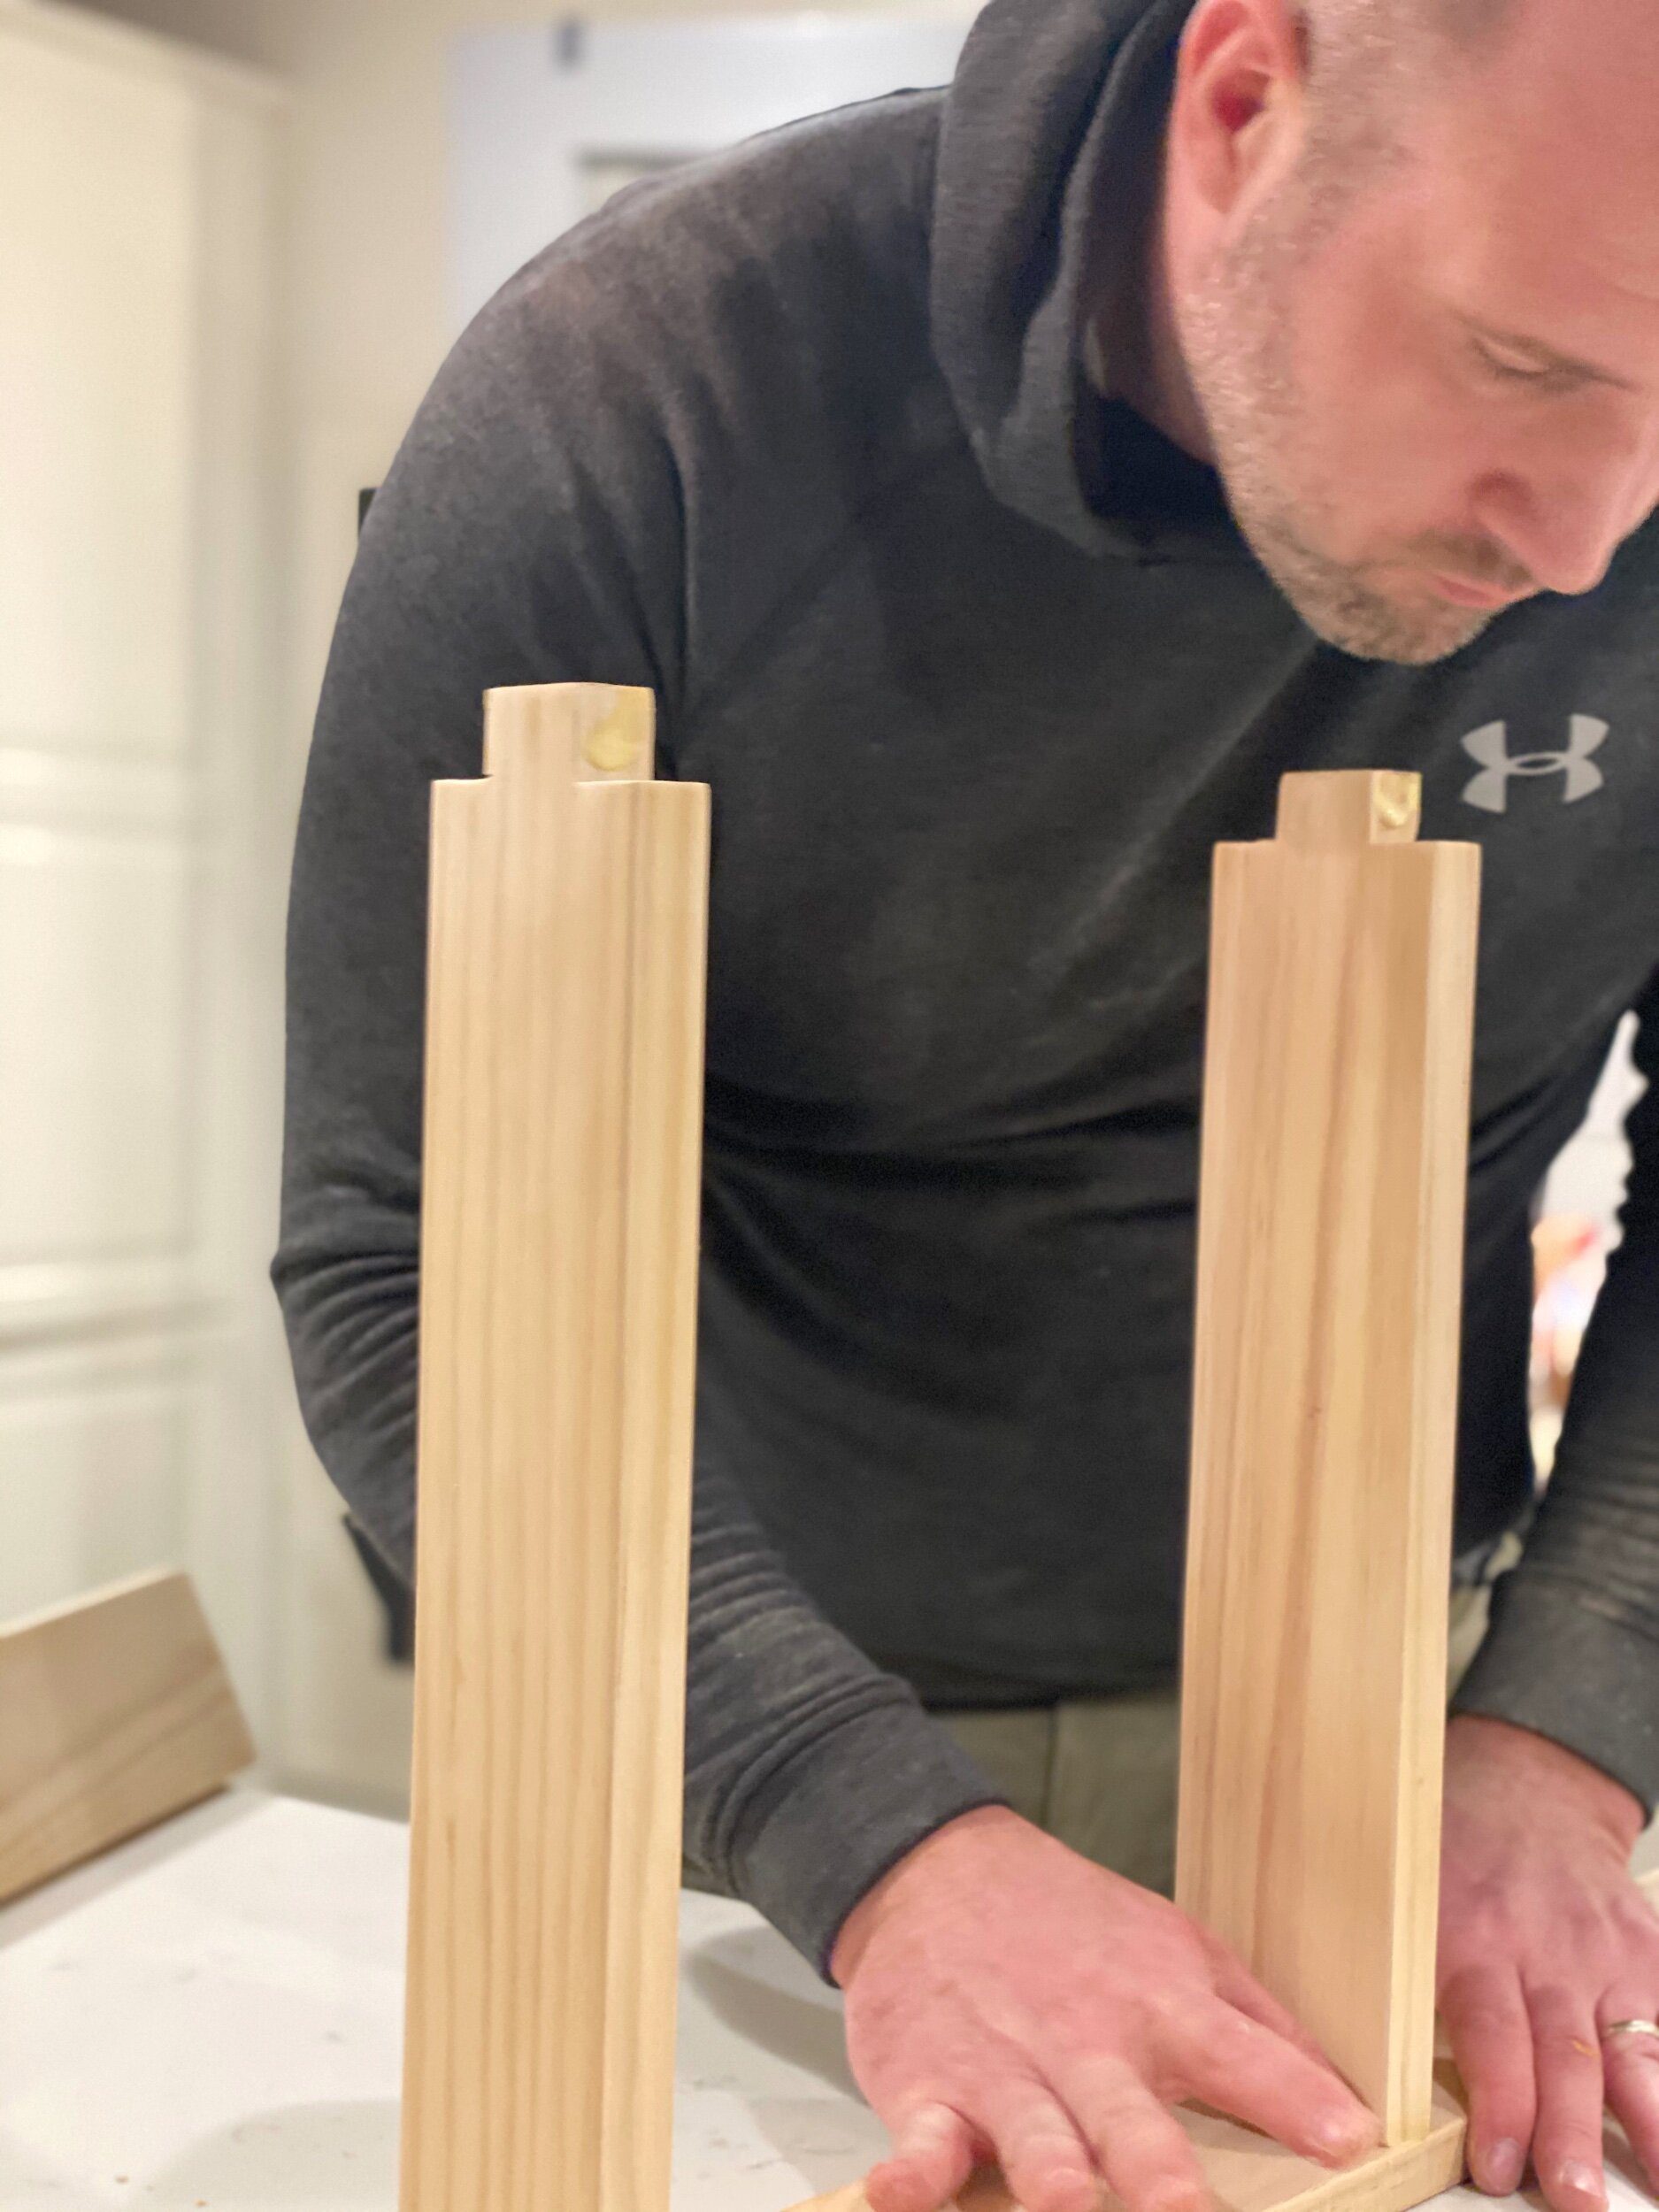
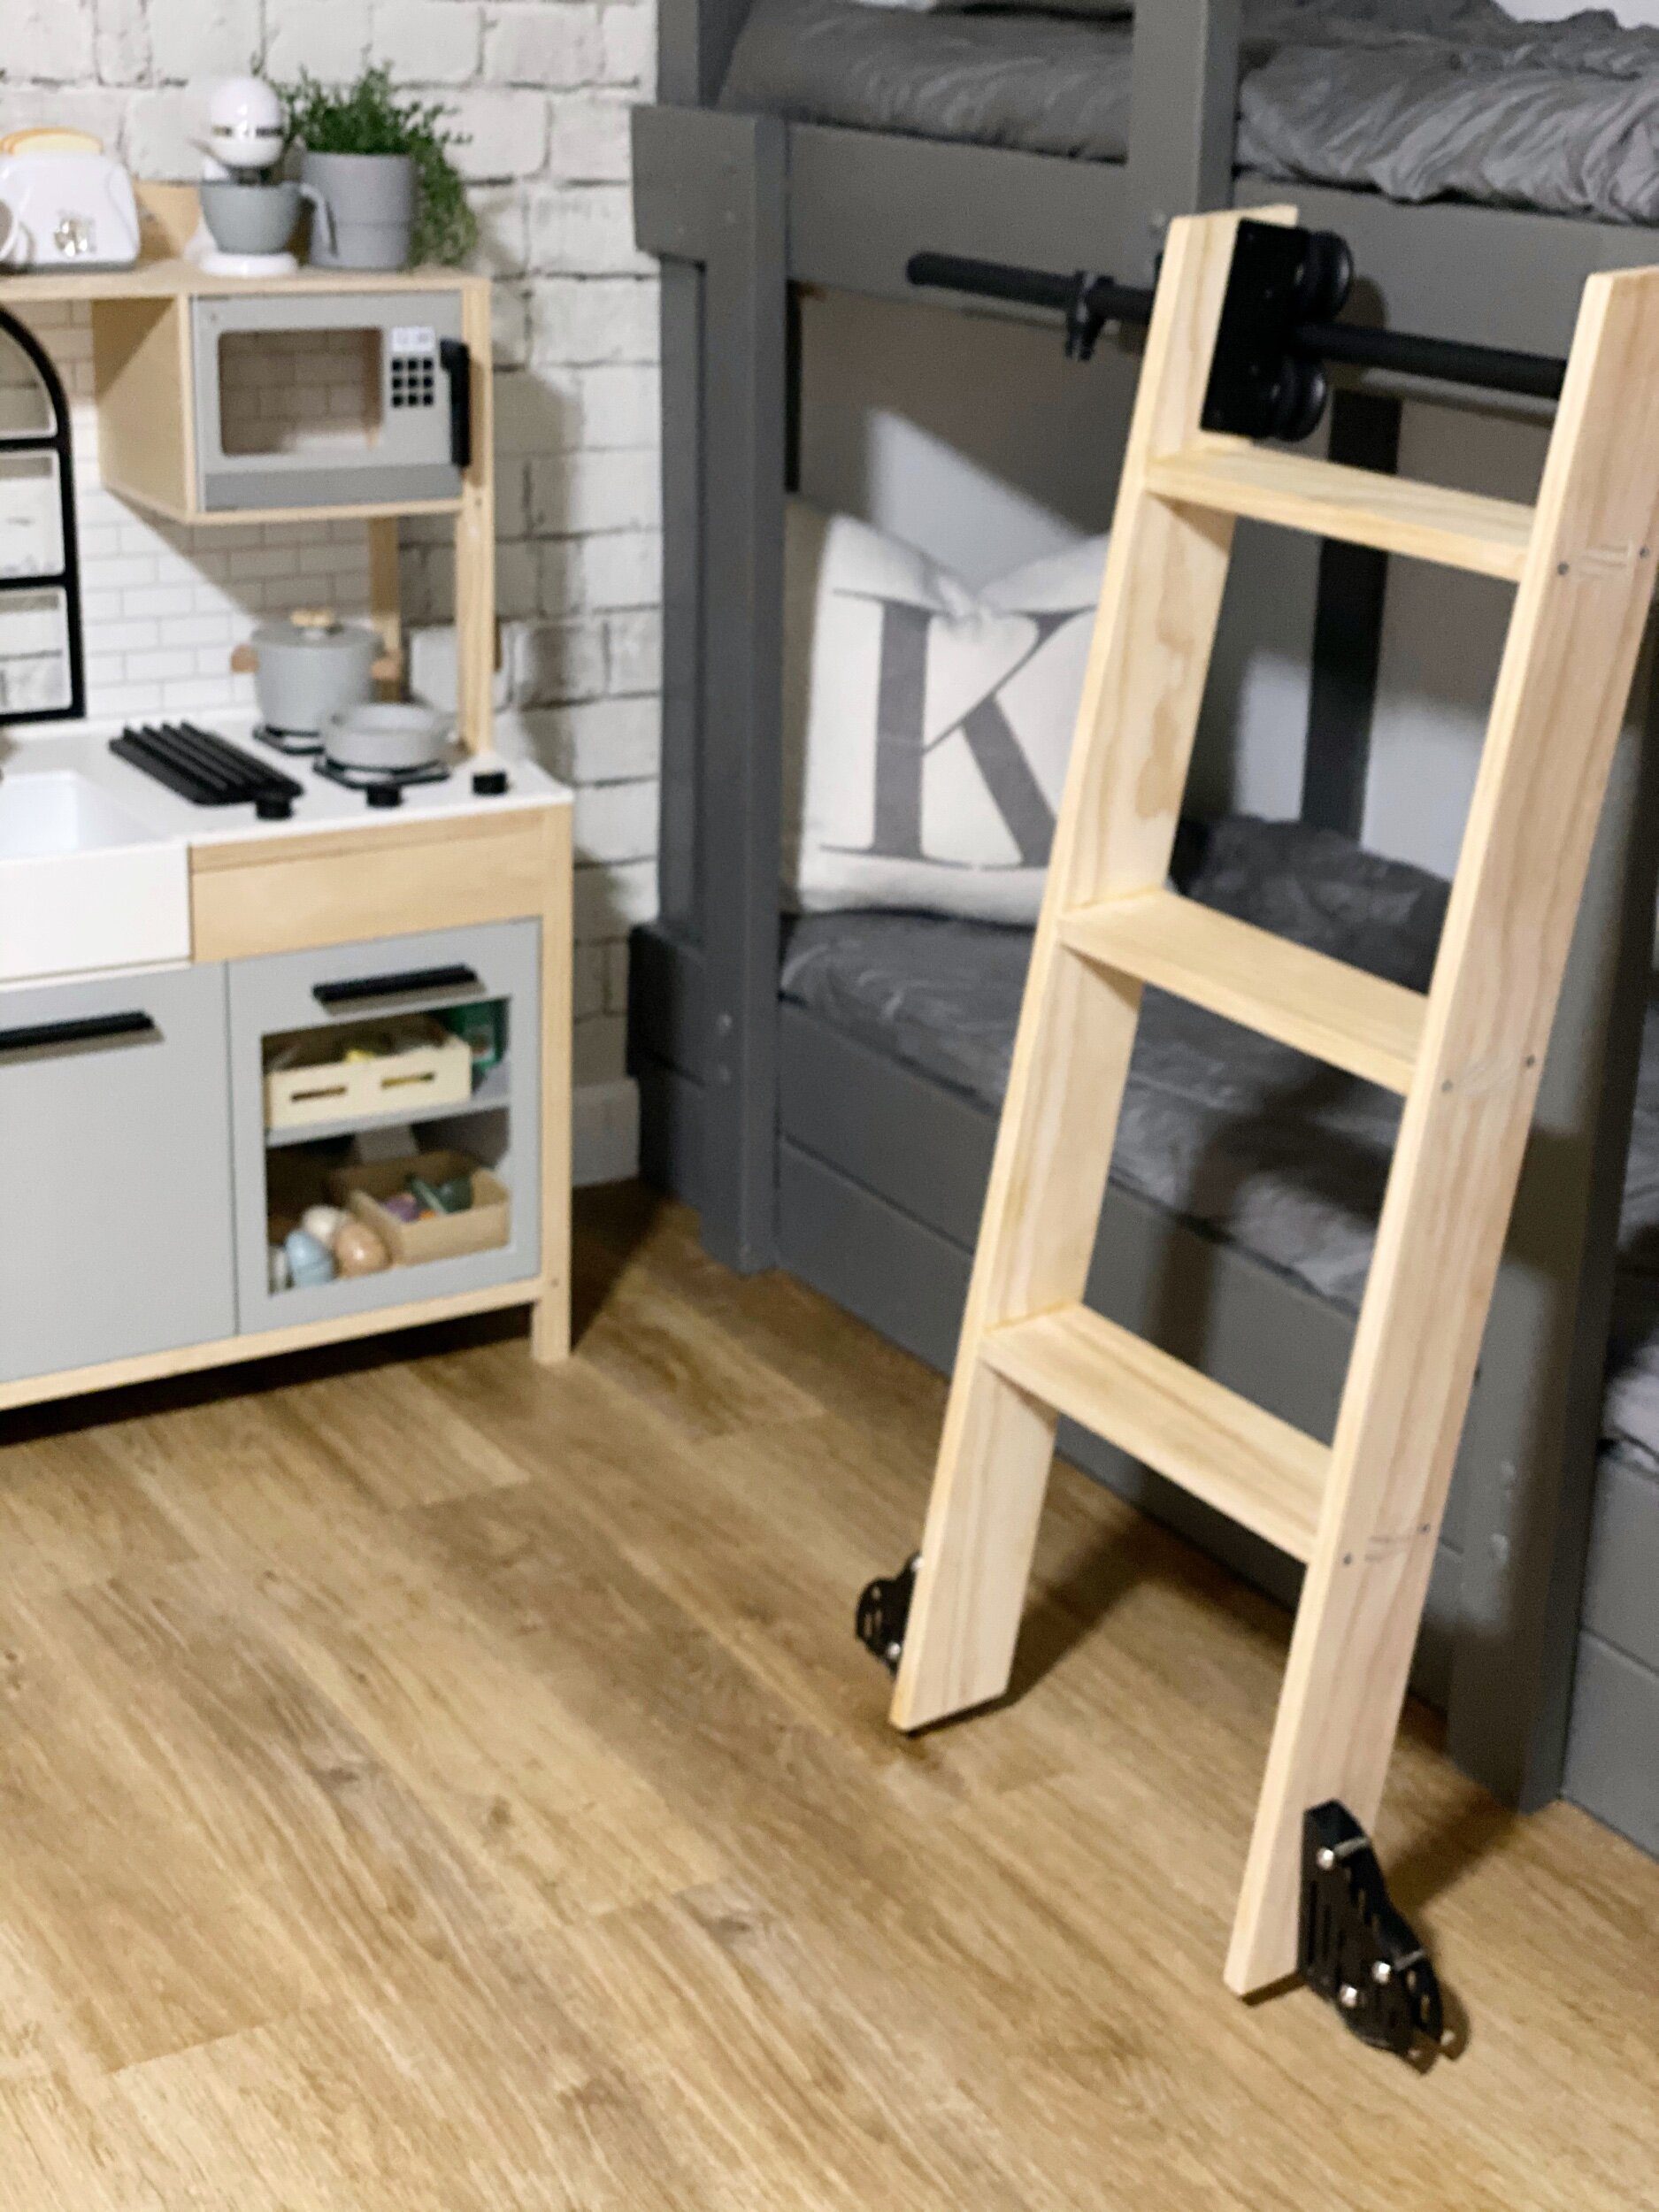
Time to add the steps on the ladder, we did them 12” apart and only did 3 since its a teeny ladder. We want this ladder to withstand 4 kiddos and all their friends so James wanted to notch it out and then add screws to ensure it will last.
Before cutting James used the carpenter pencil and made sure it would be a perfect fit!

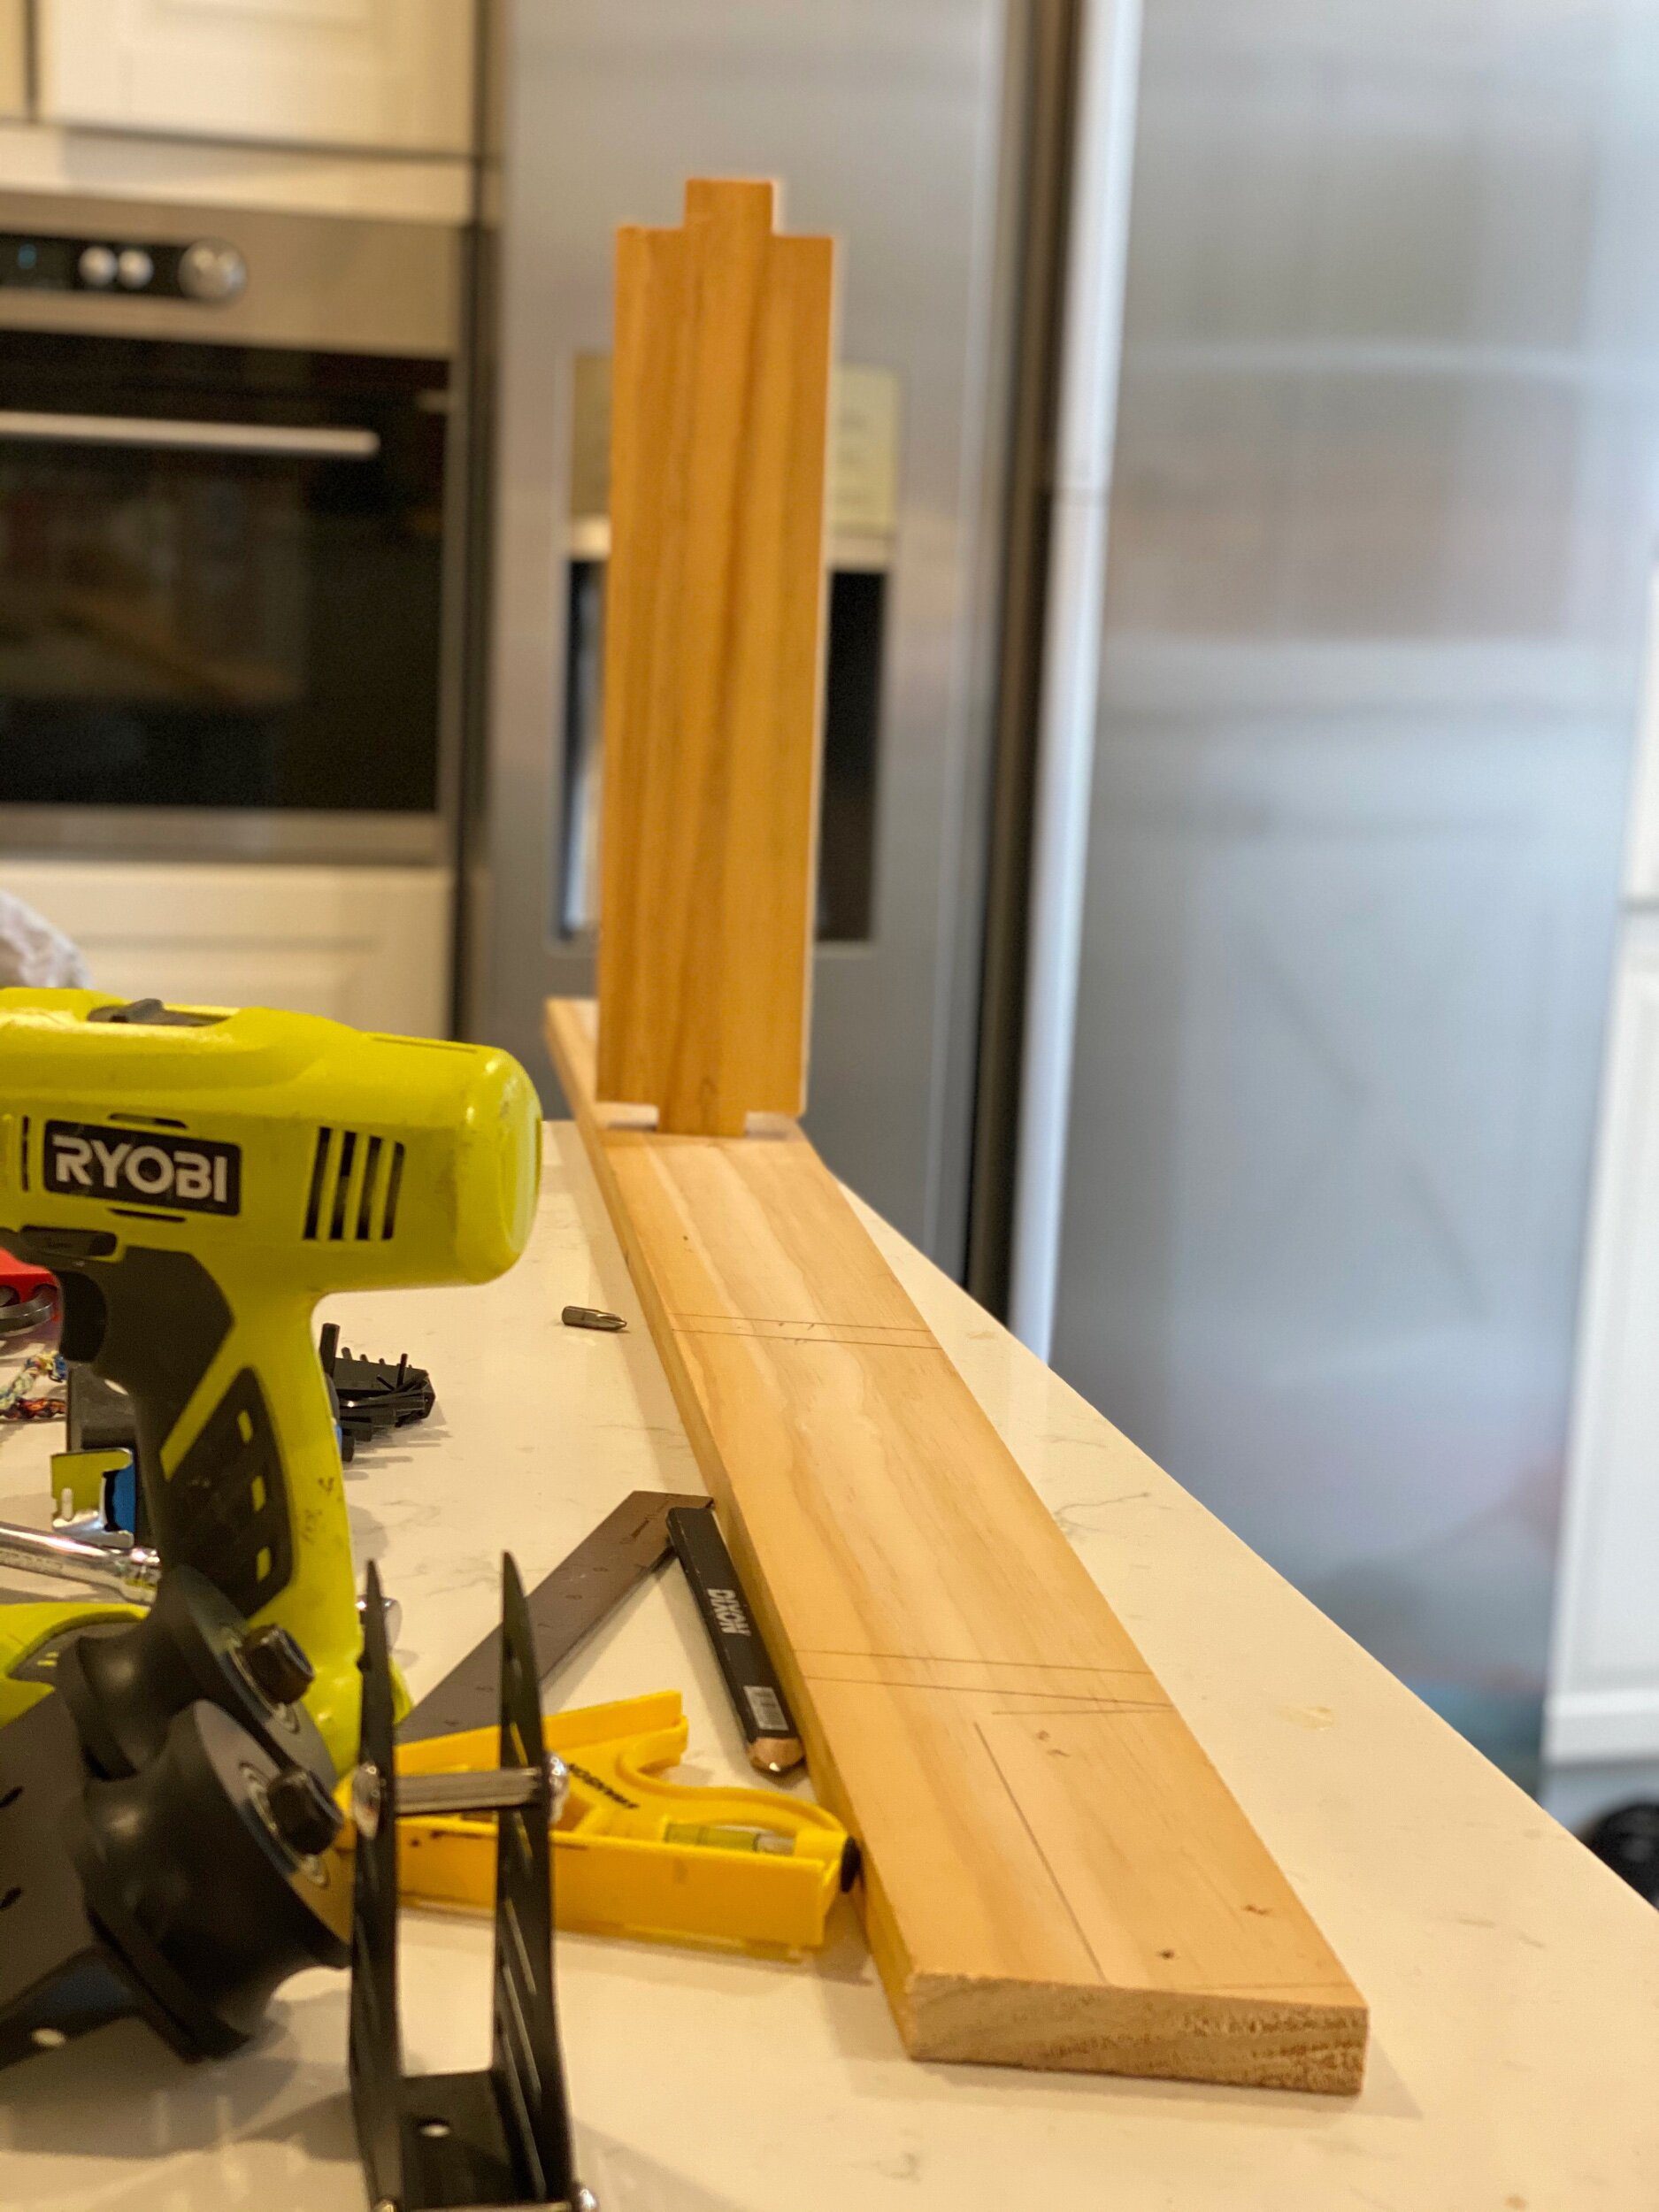
All the lines were drawn, now its time to cut!
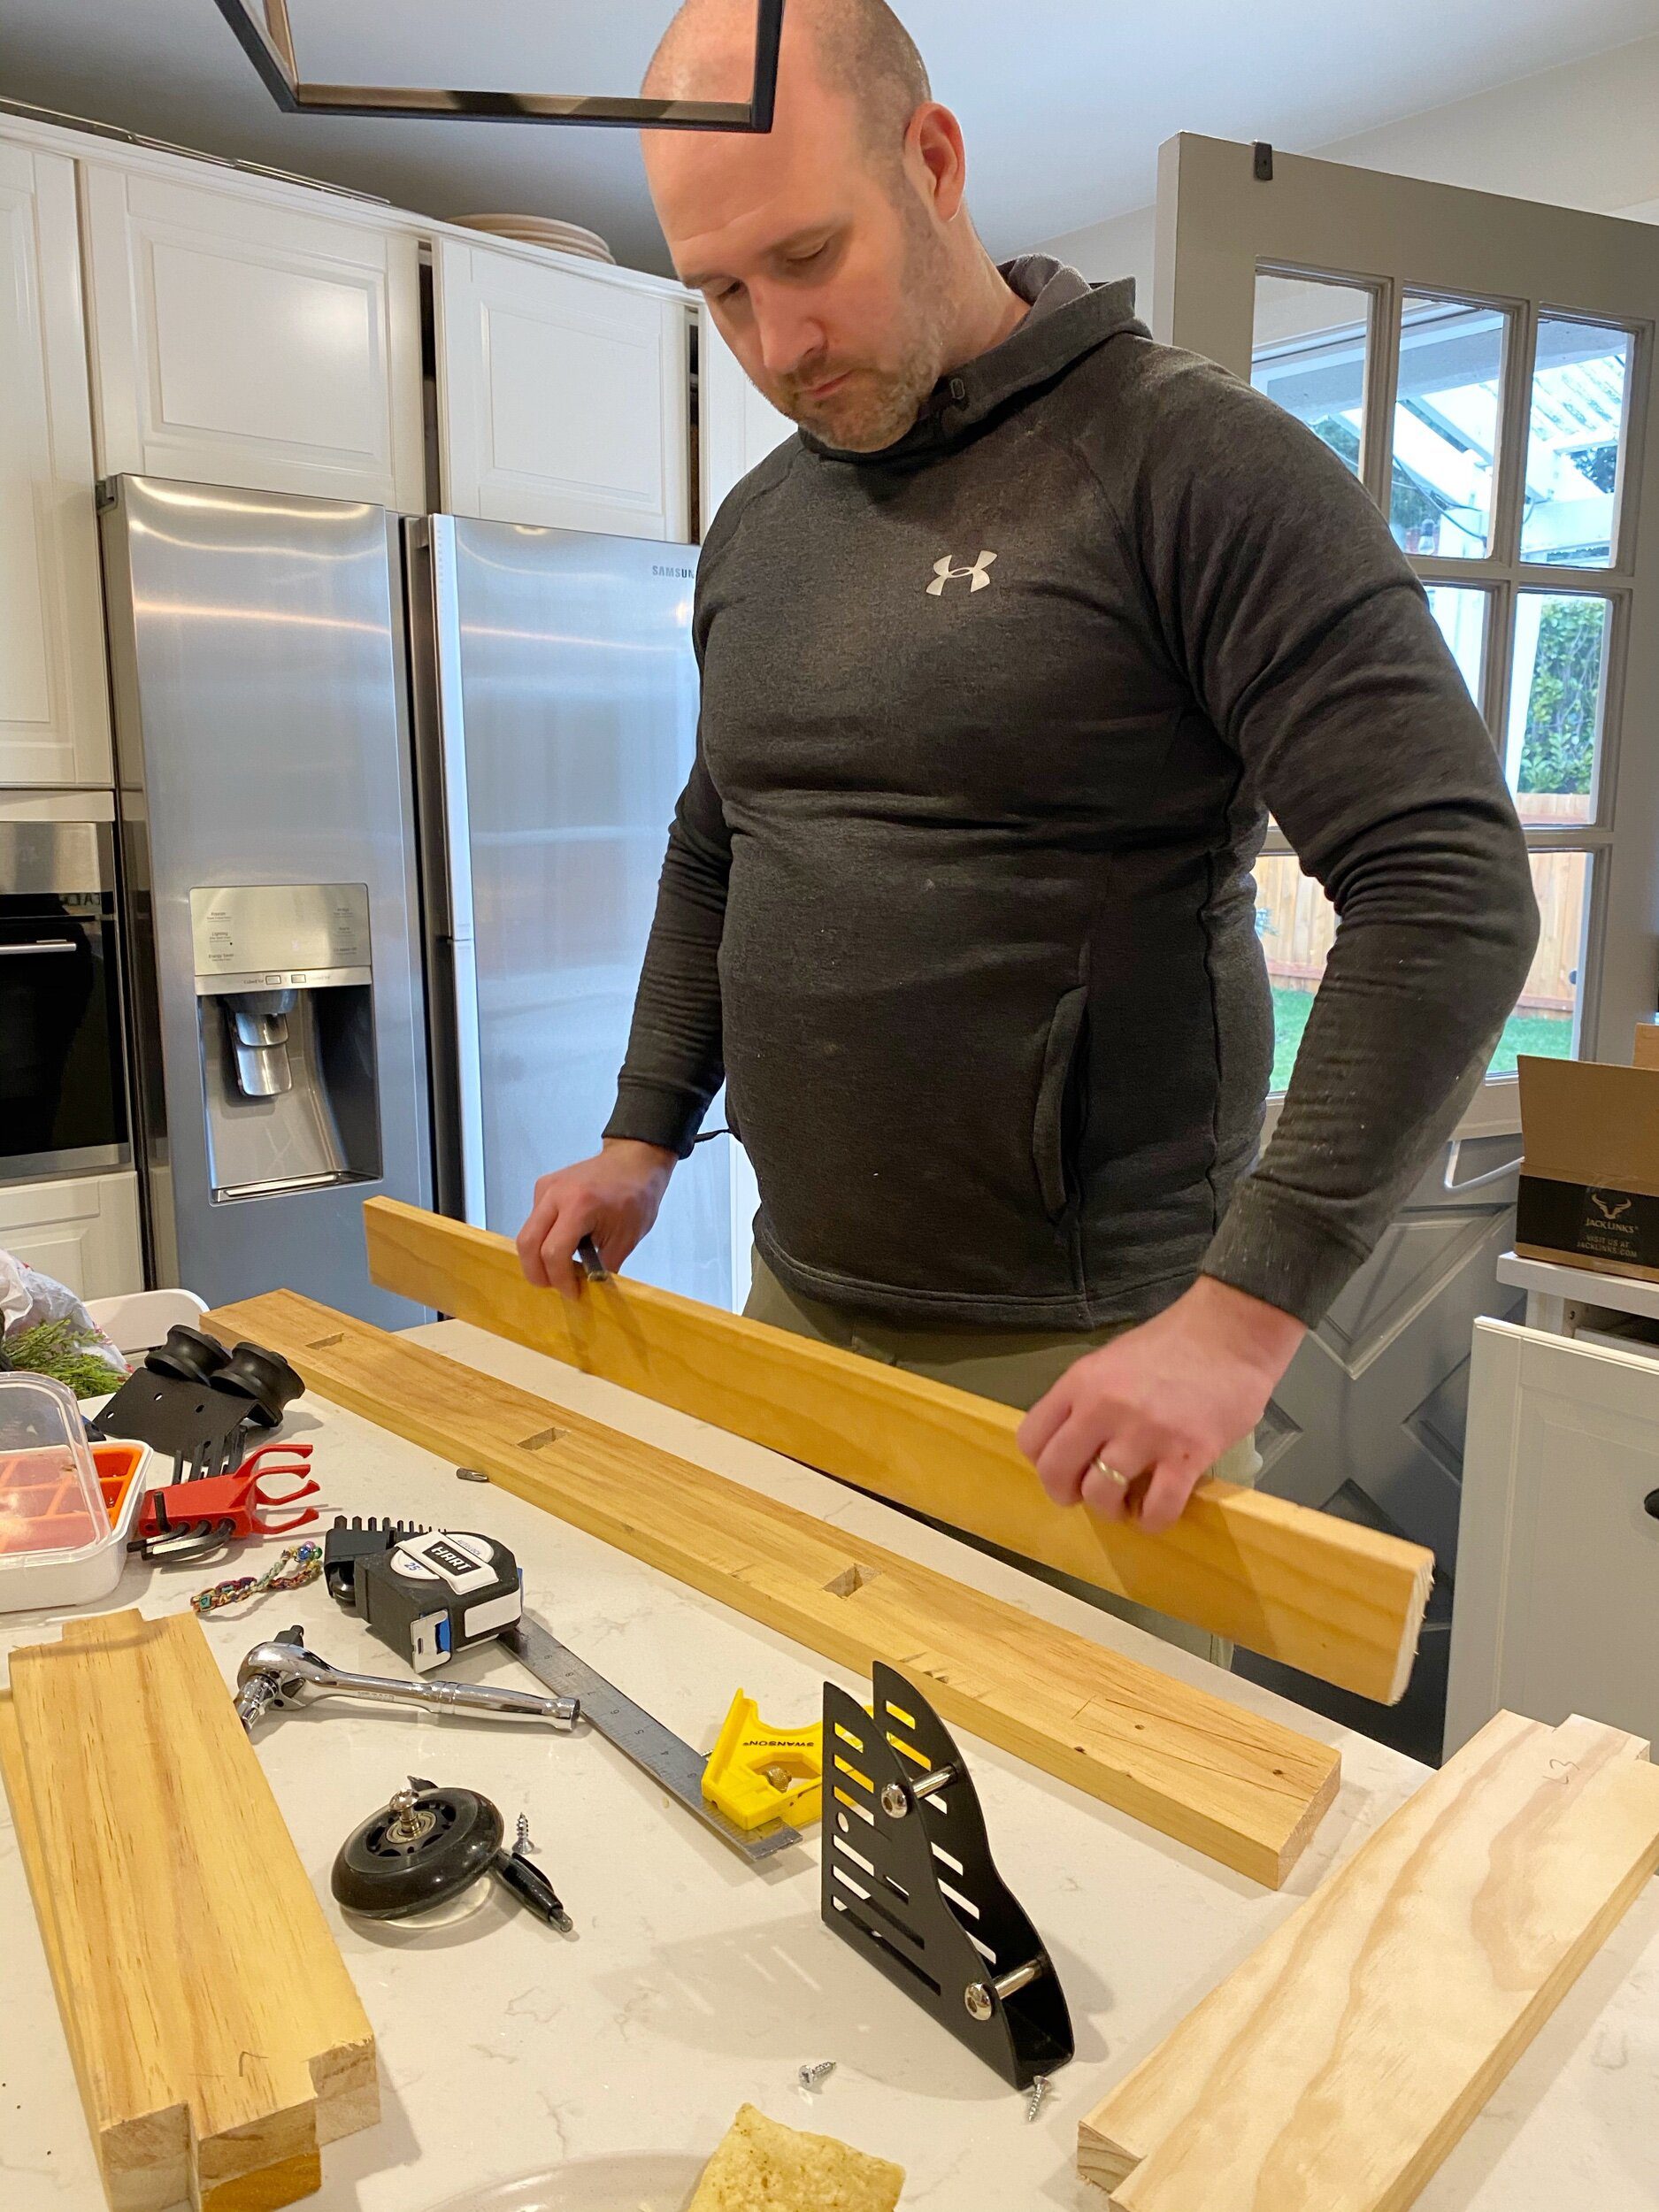

All the cutting is done, now its time to sand and put it all together.
Look how gorgeous the wood looks once sanded, it is the most perfect color.
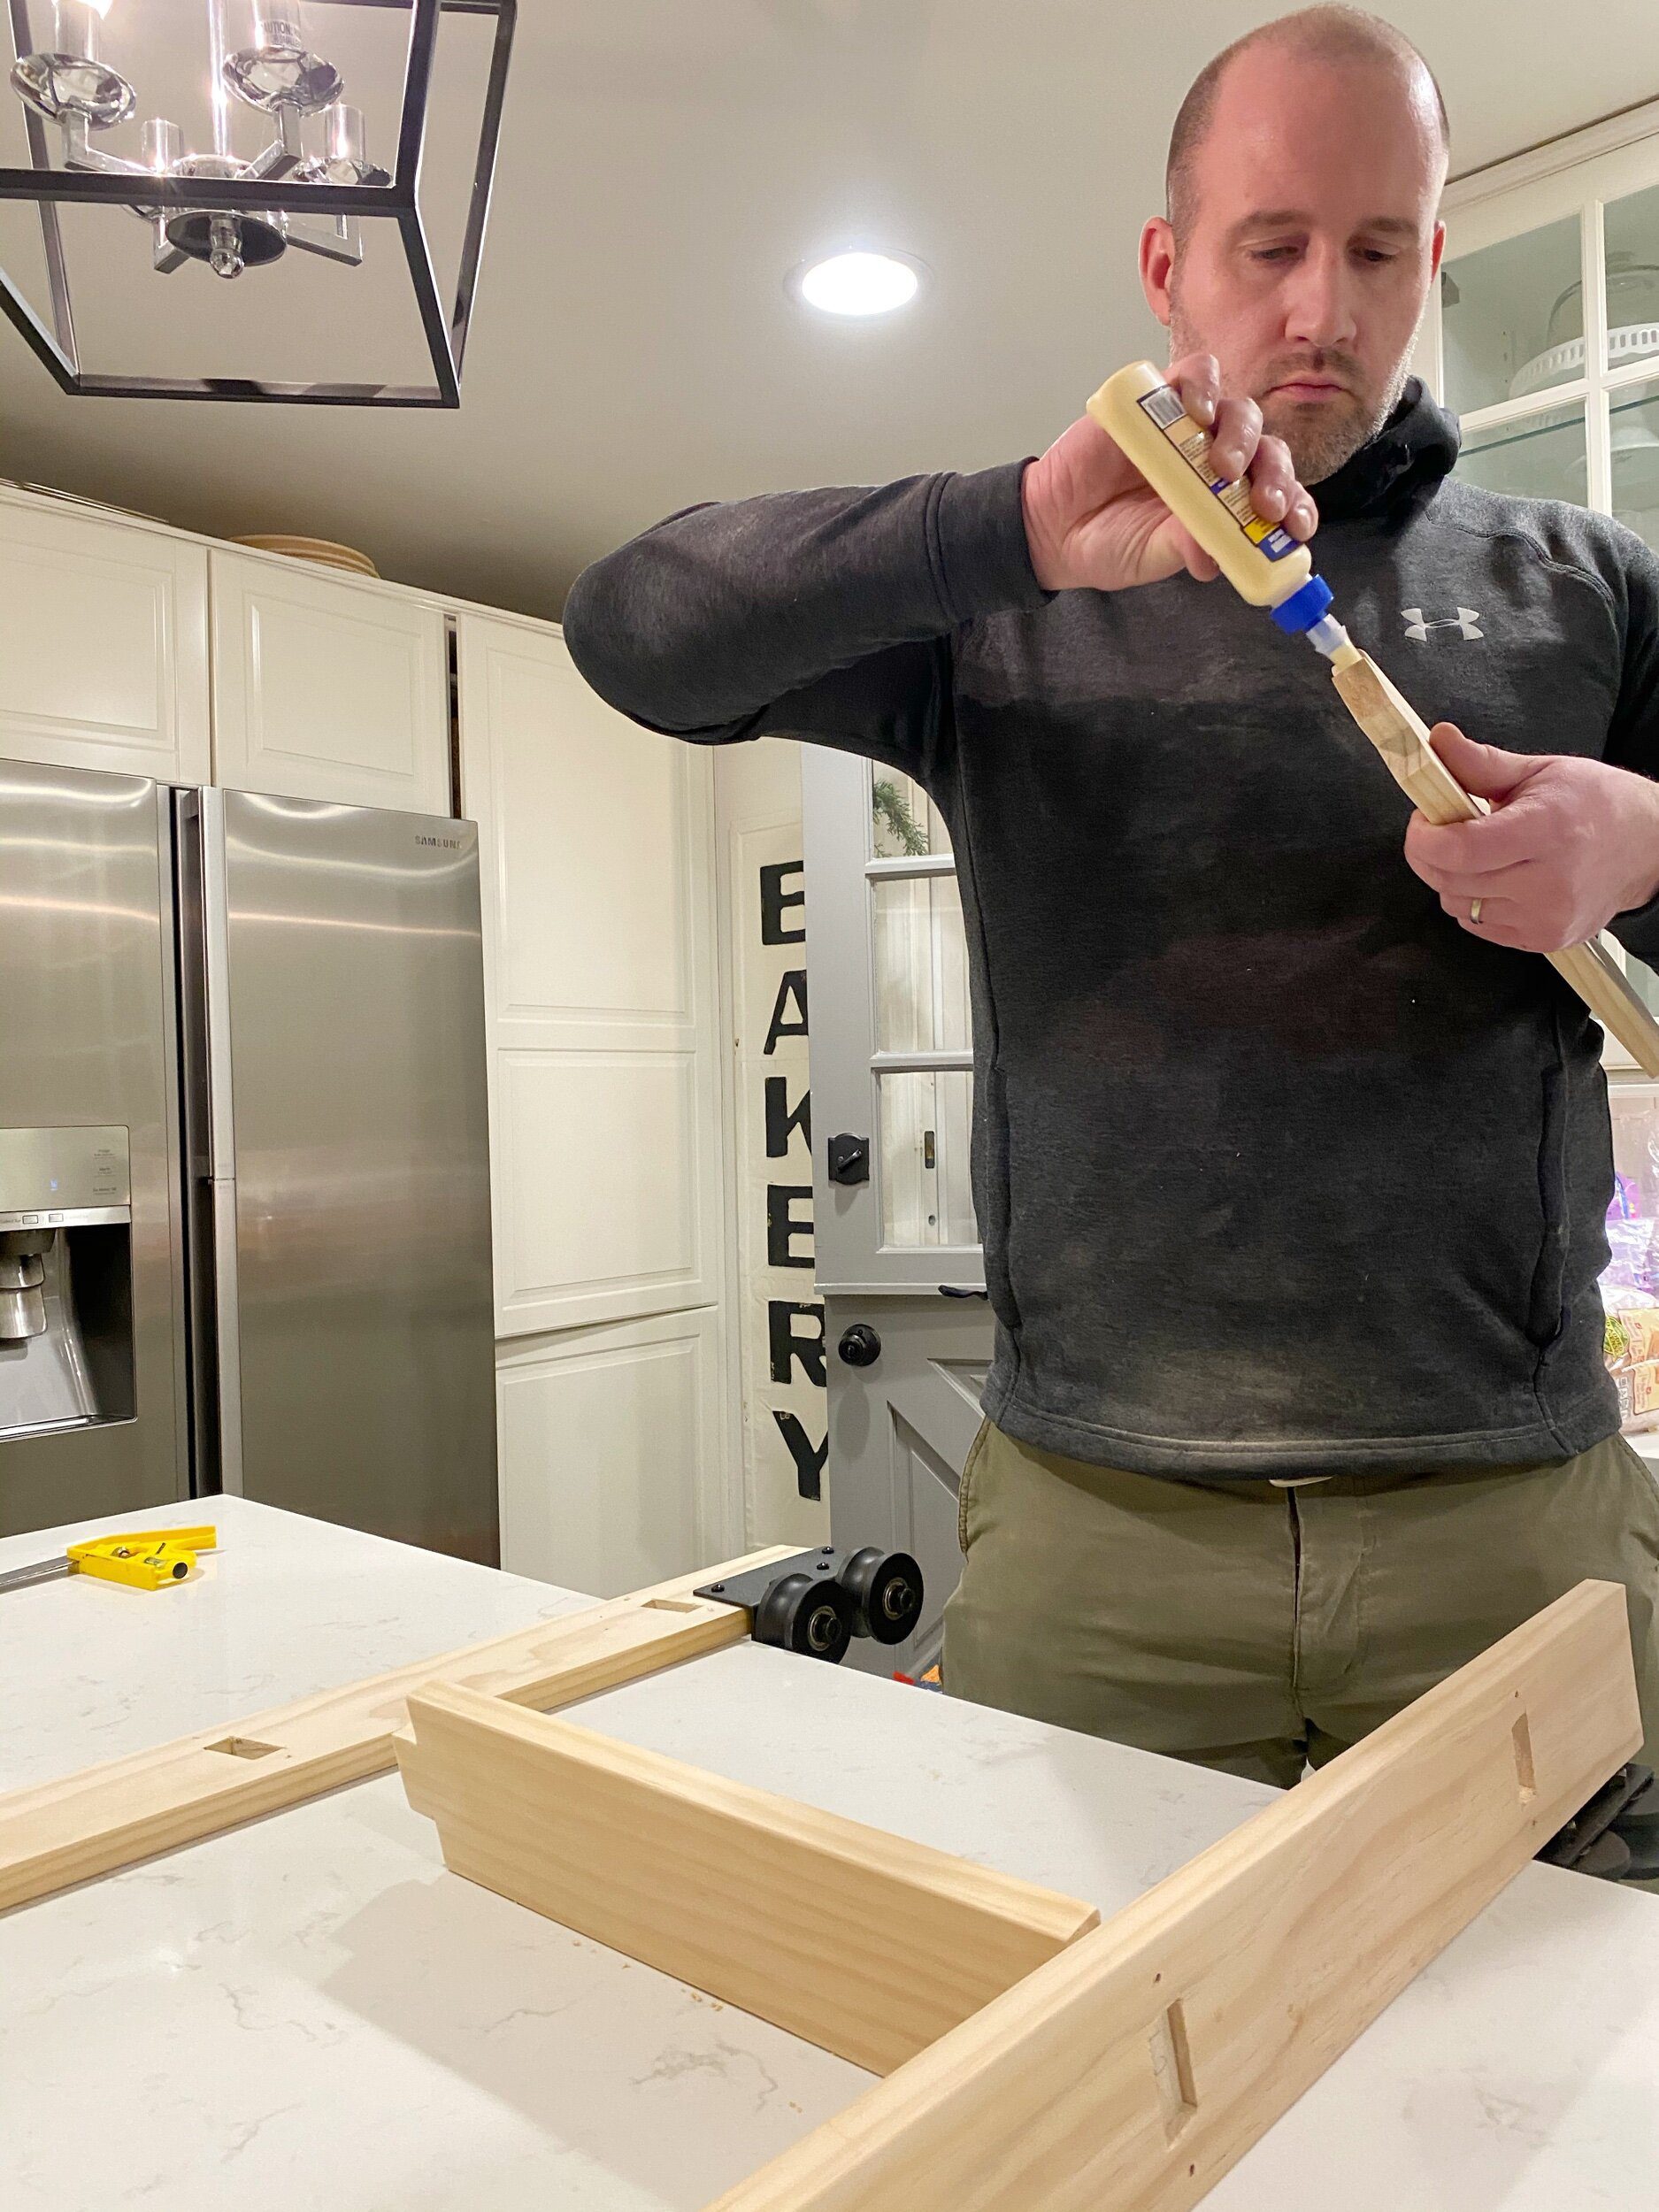

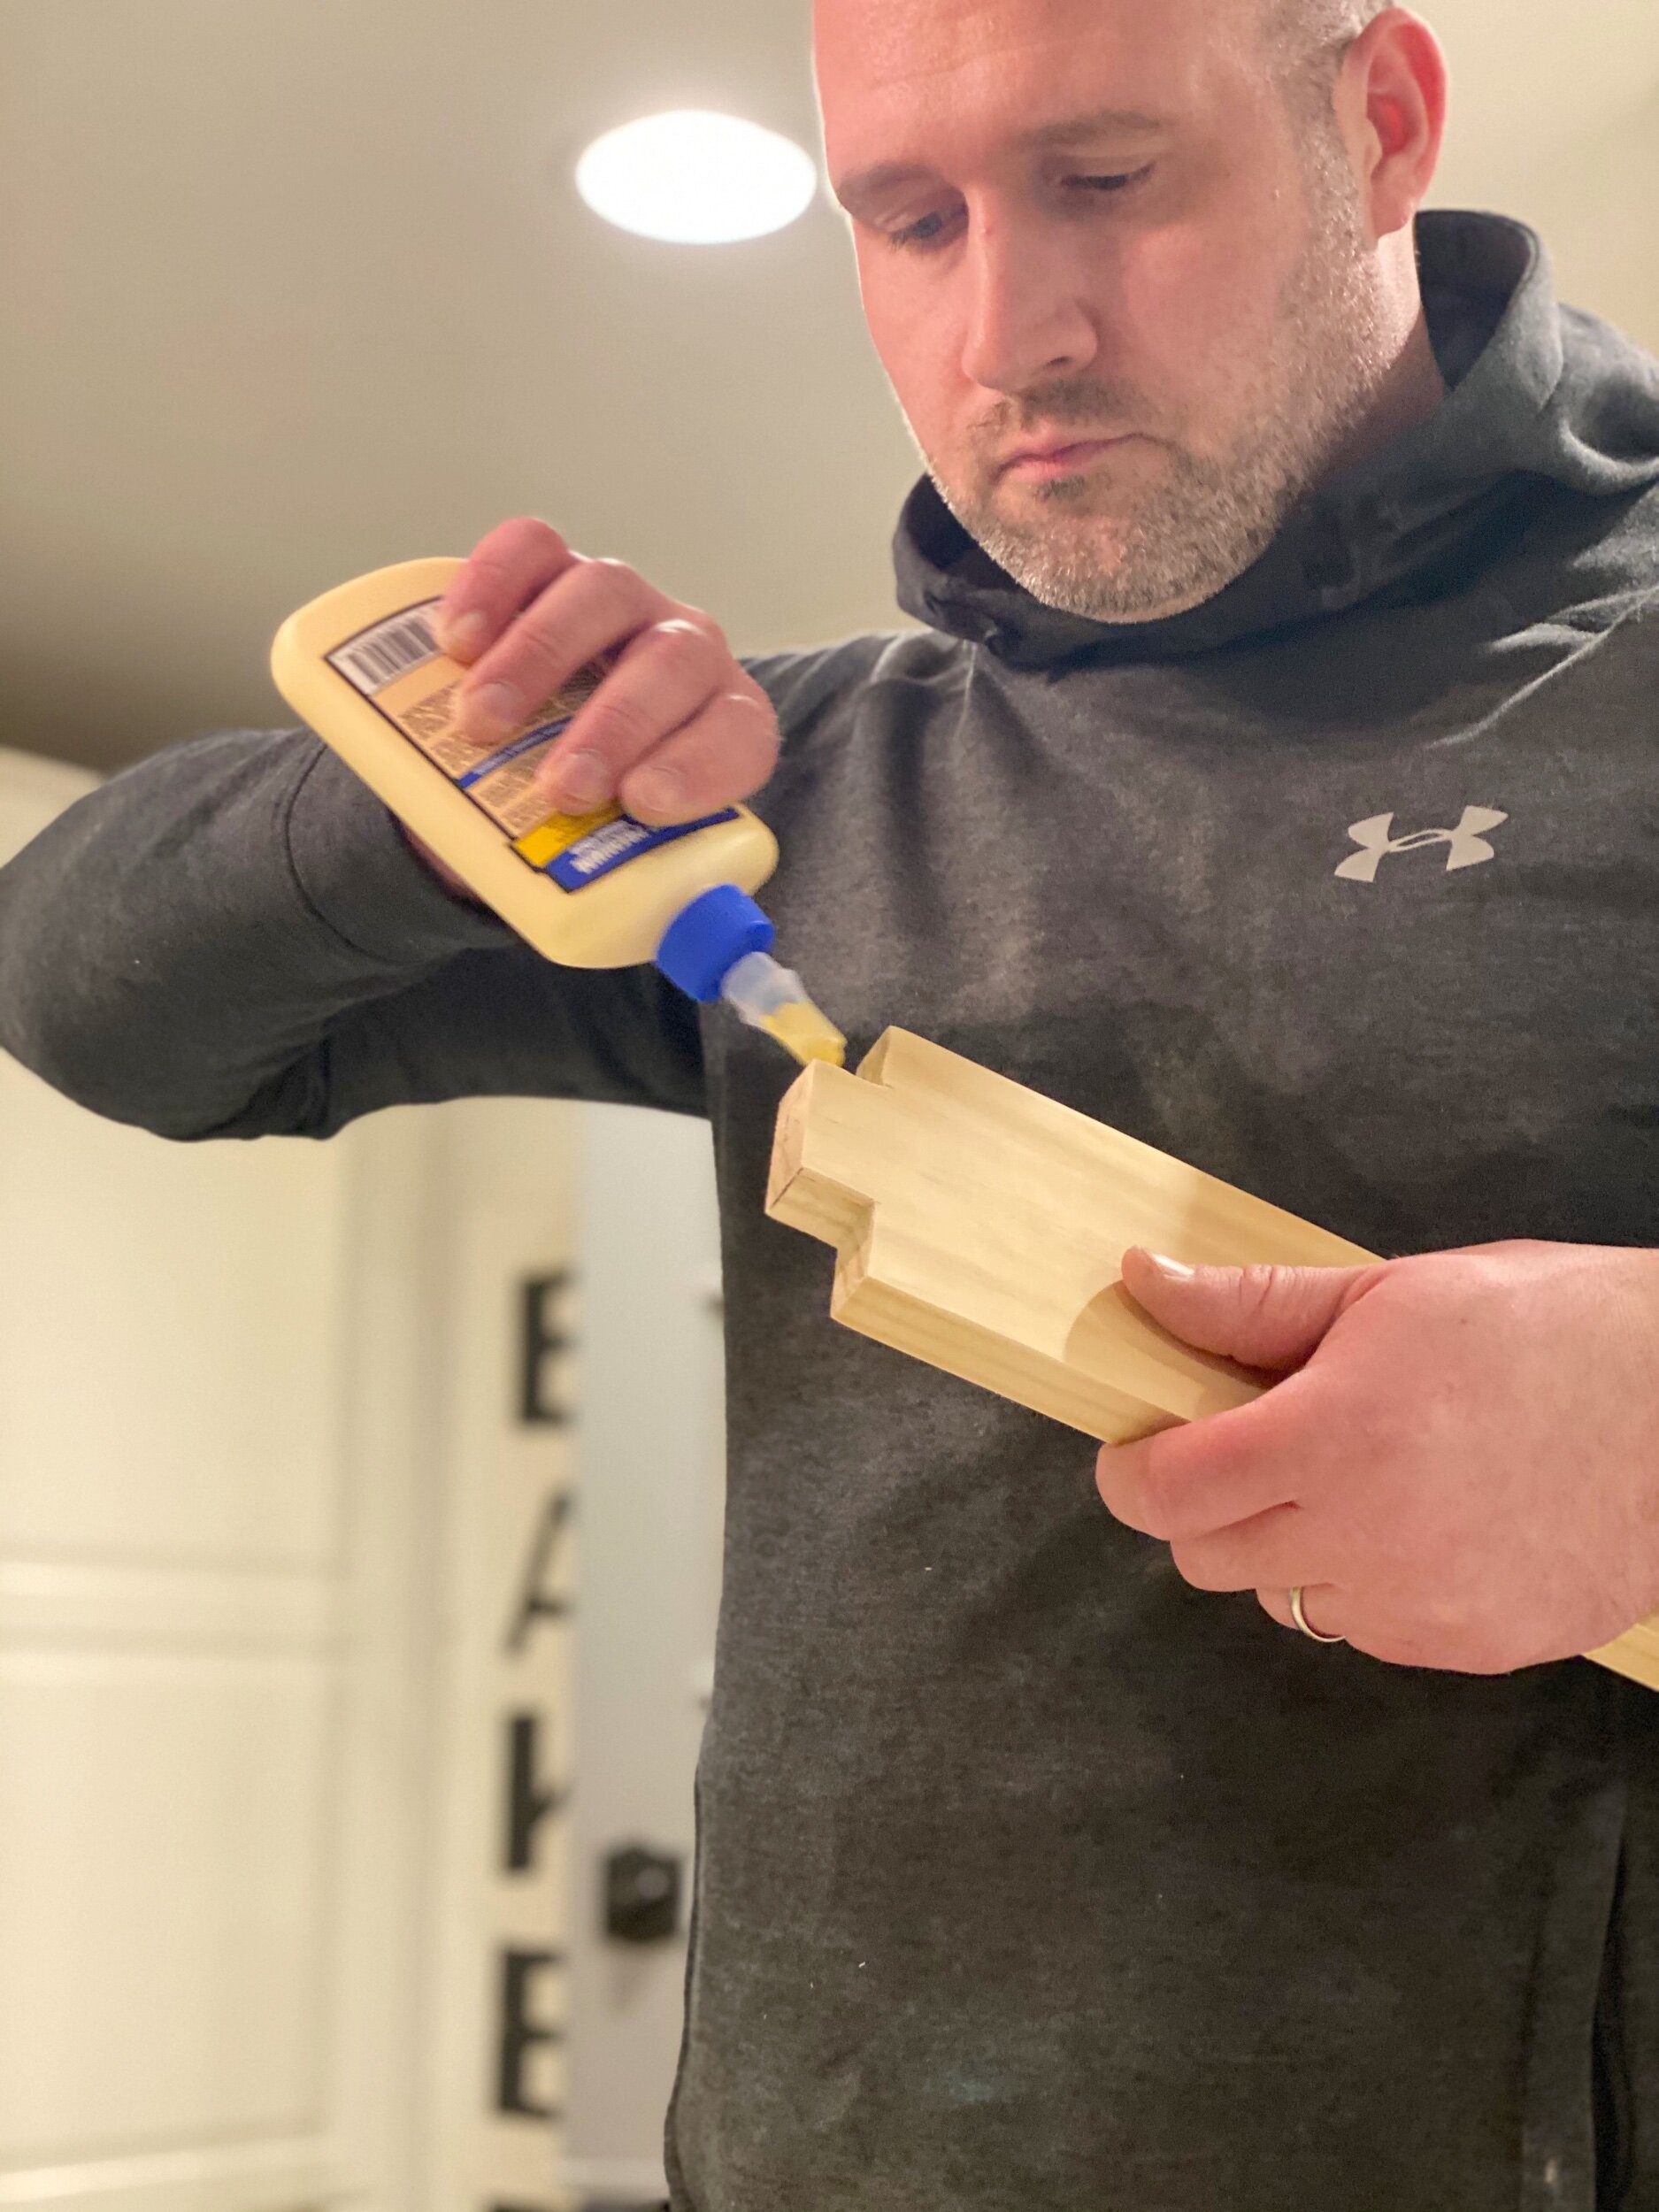
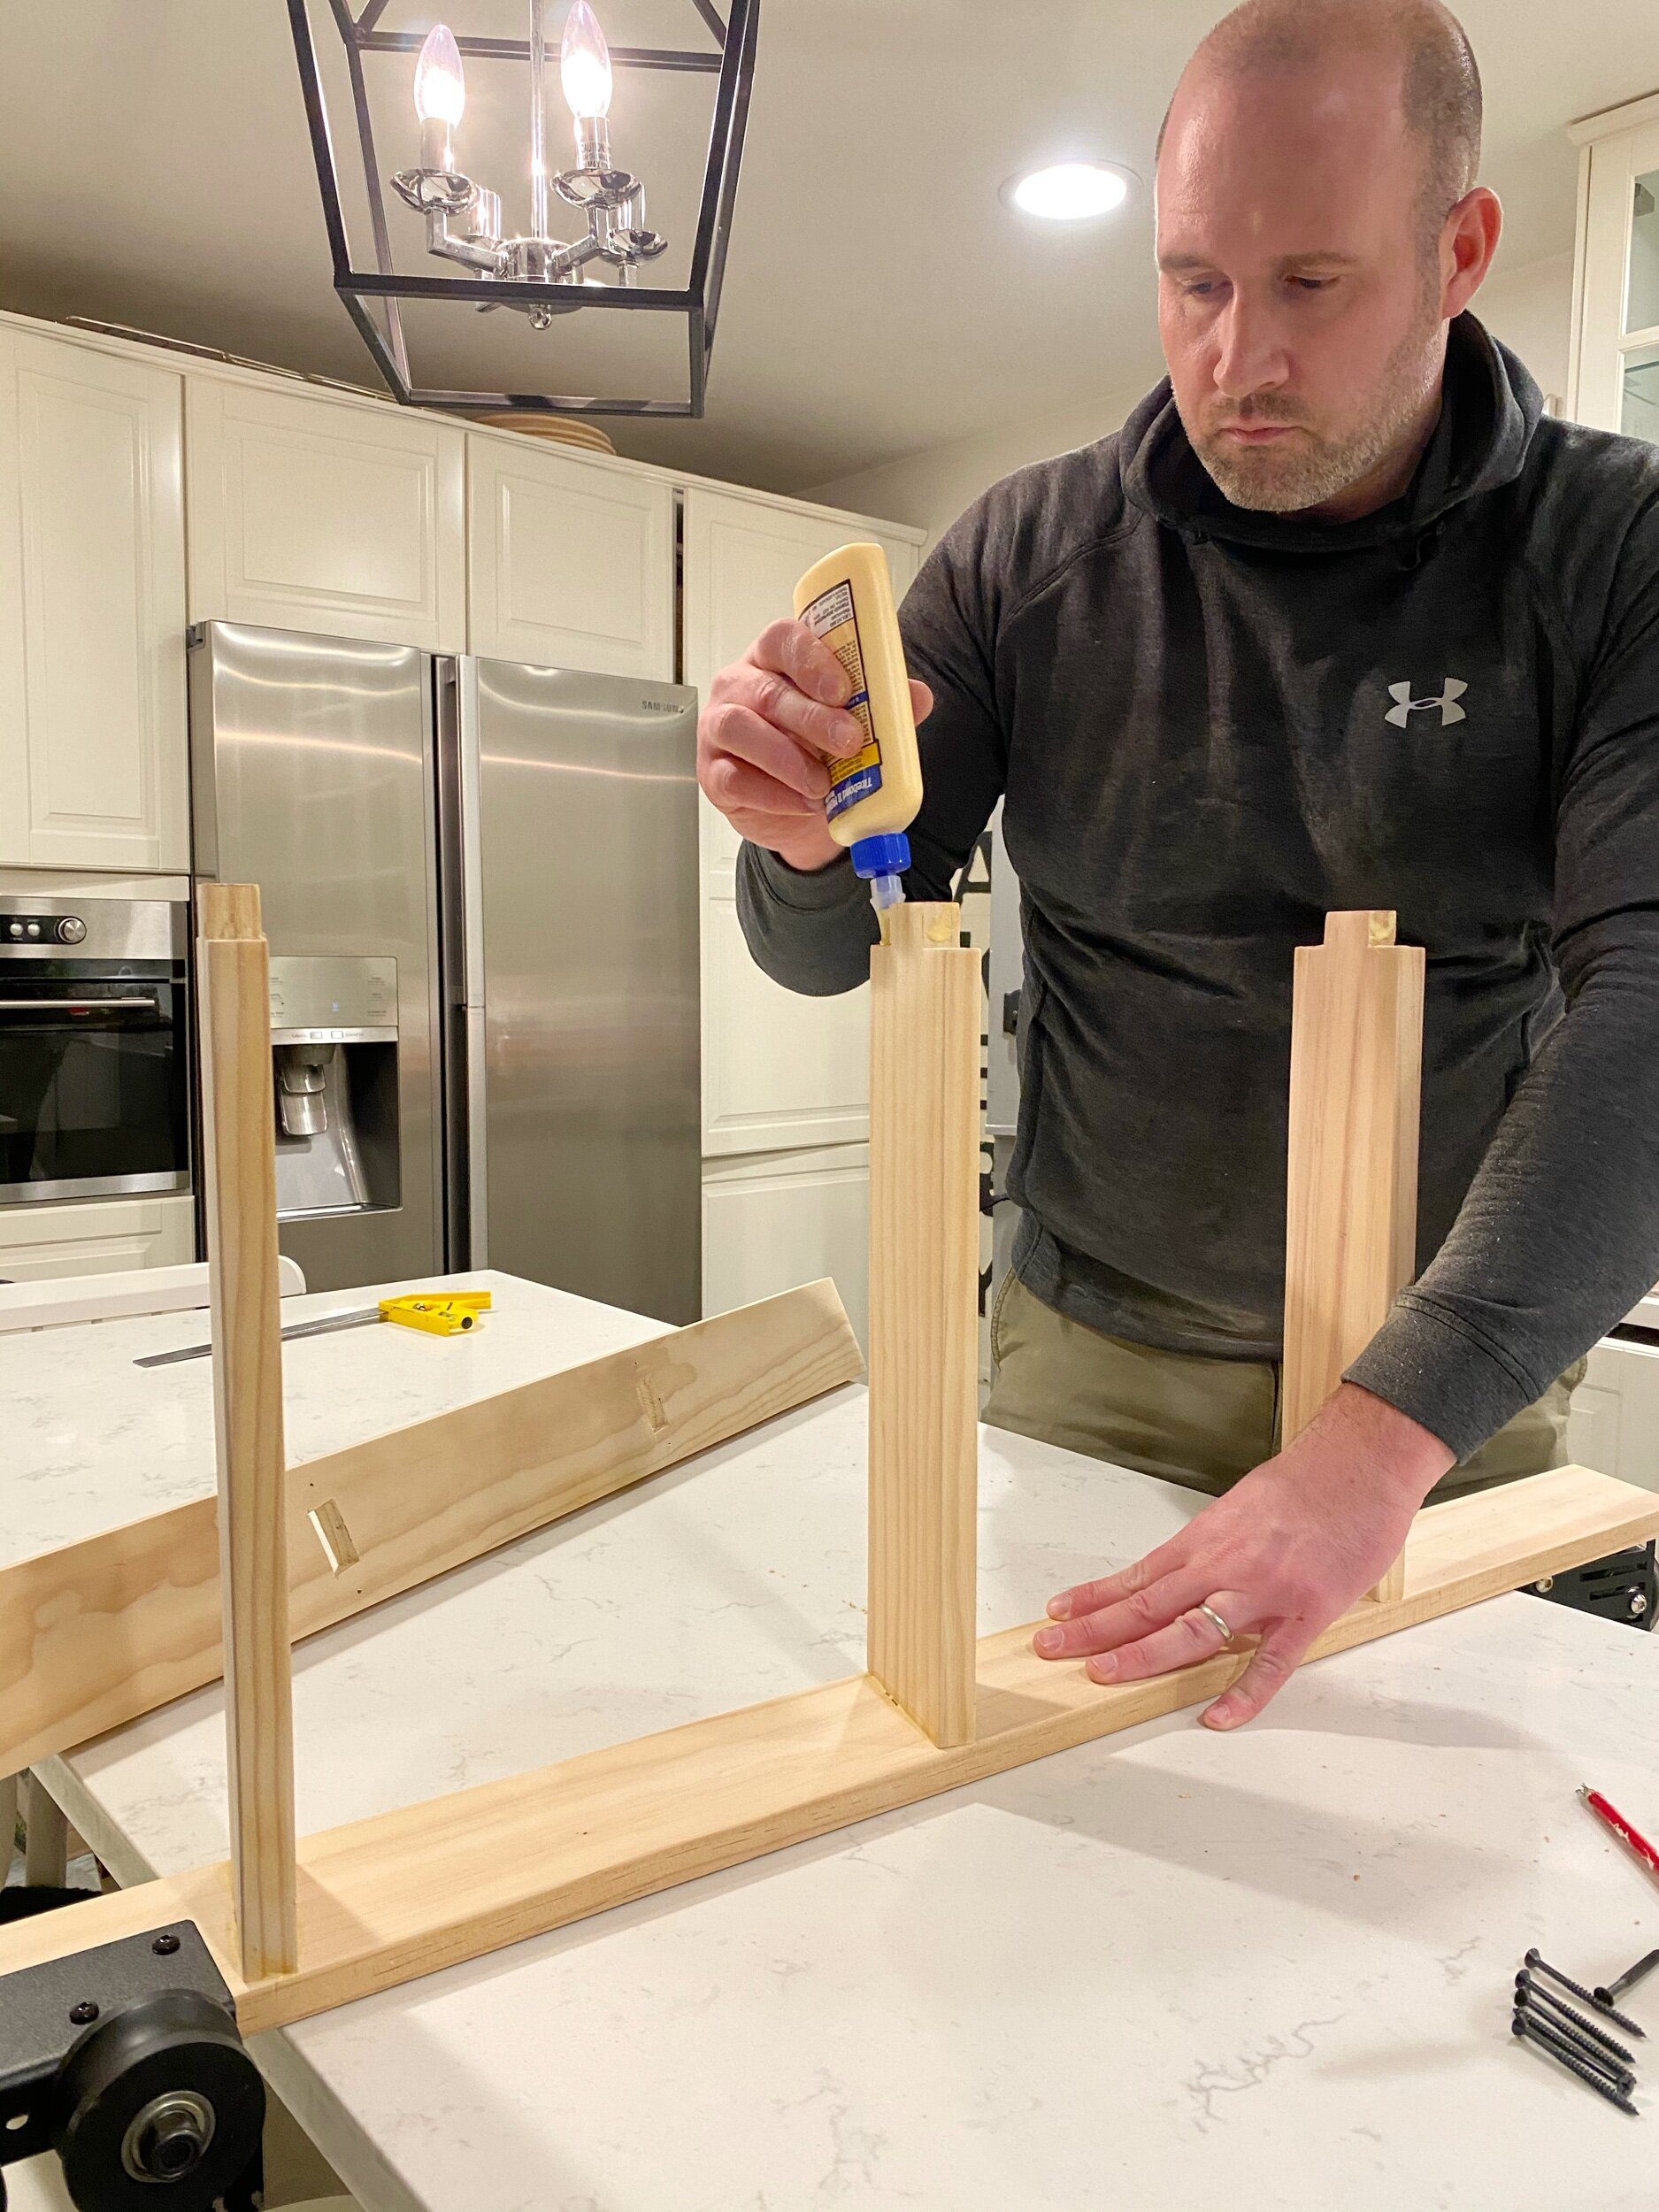
We wanted the ladder to be able to be strong, so it is time to use wood glue and then add screws. We did pre – drill for the screws so the wood wouldn’t split.


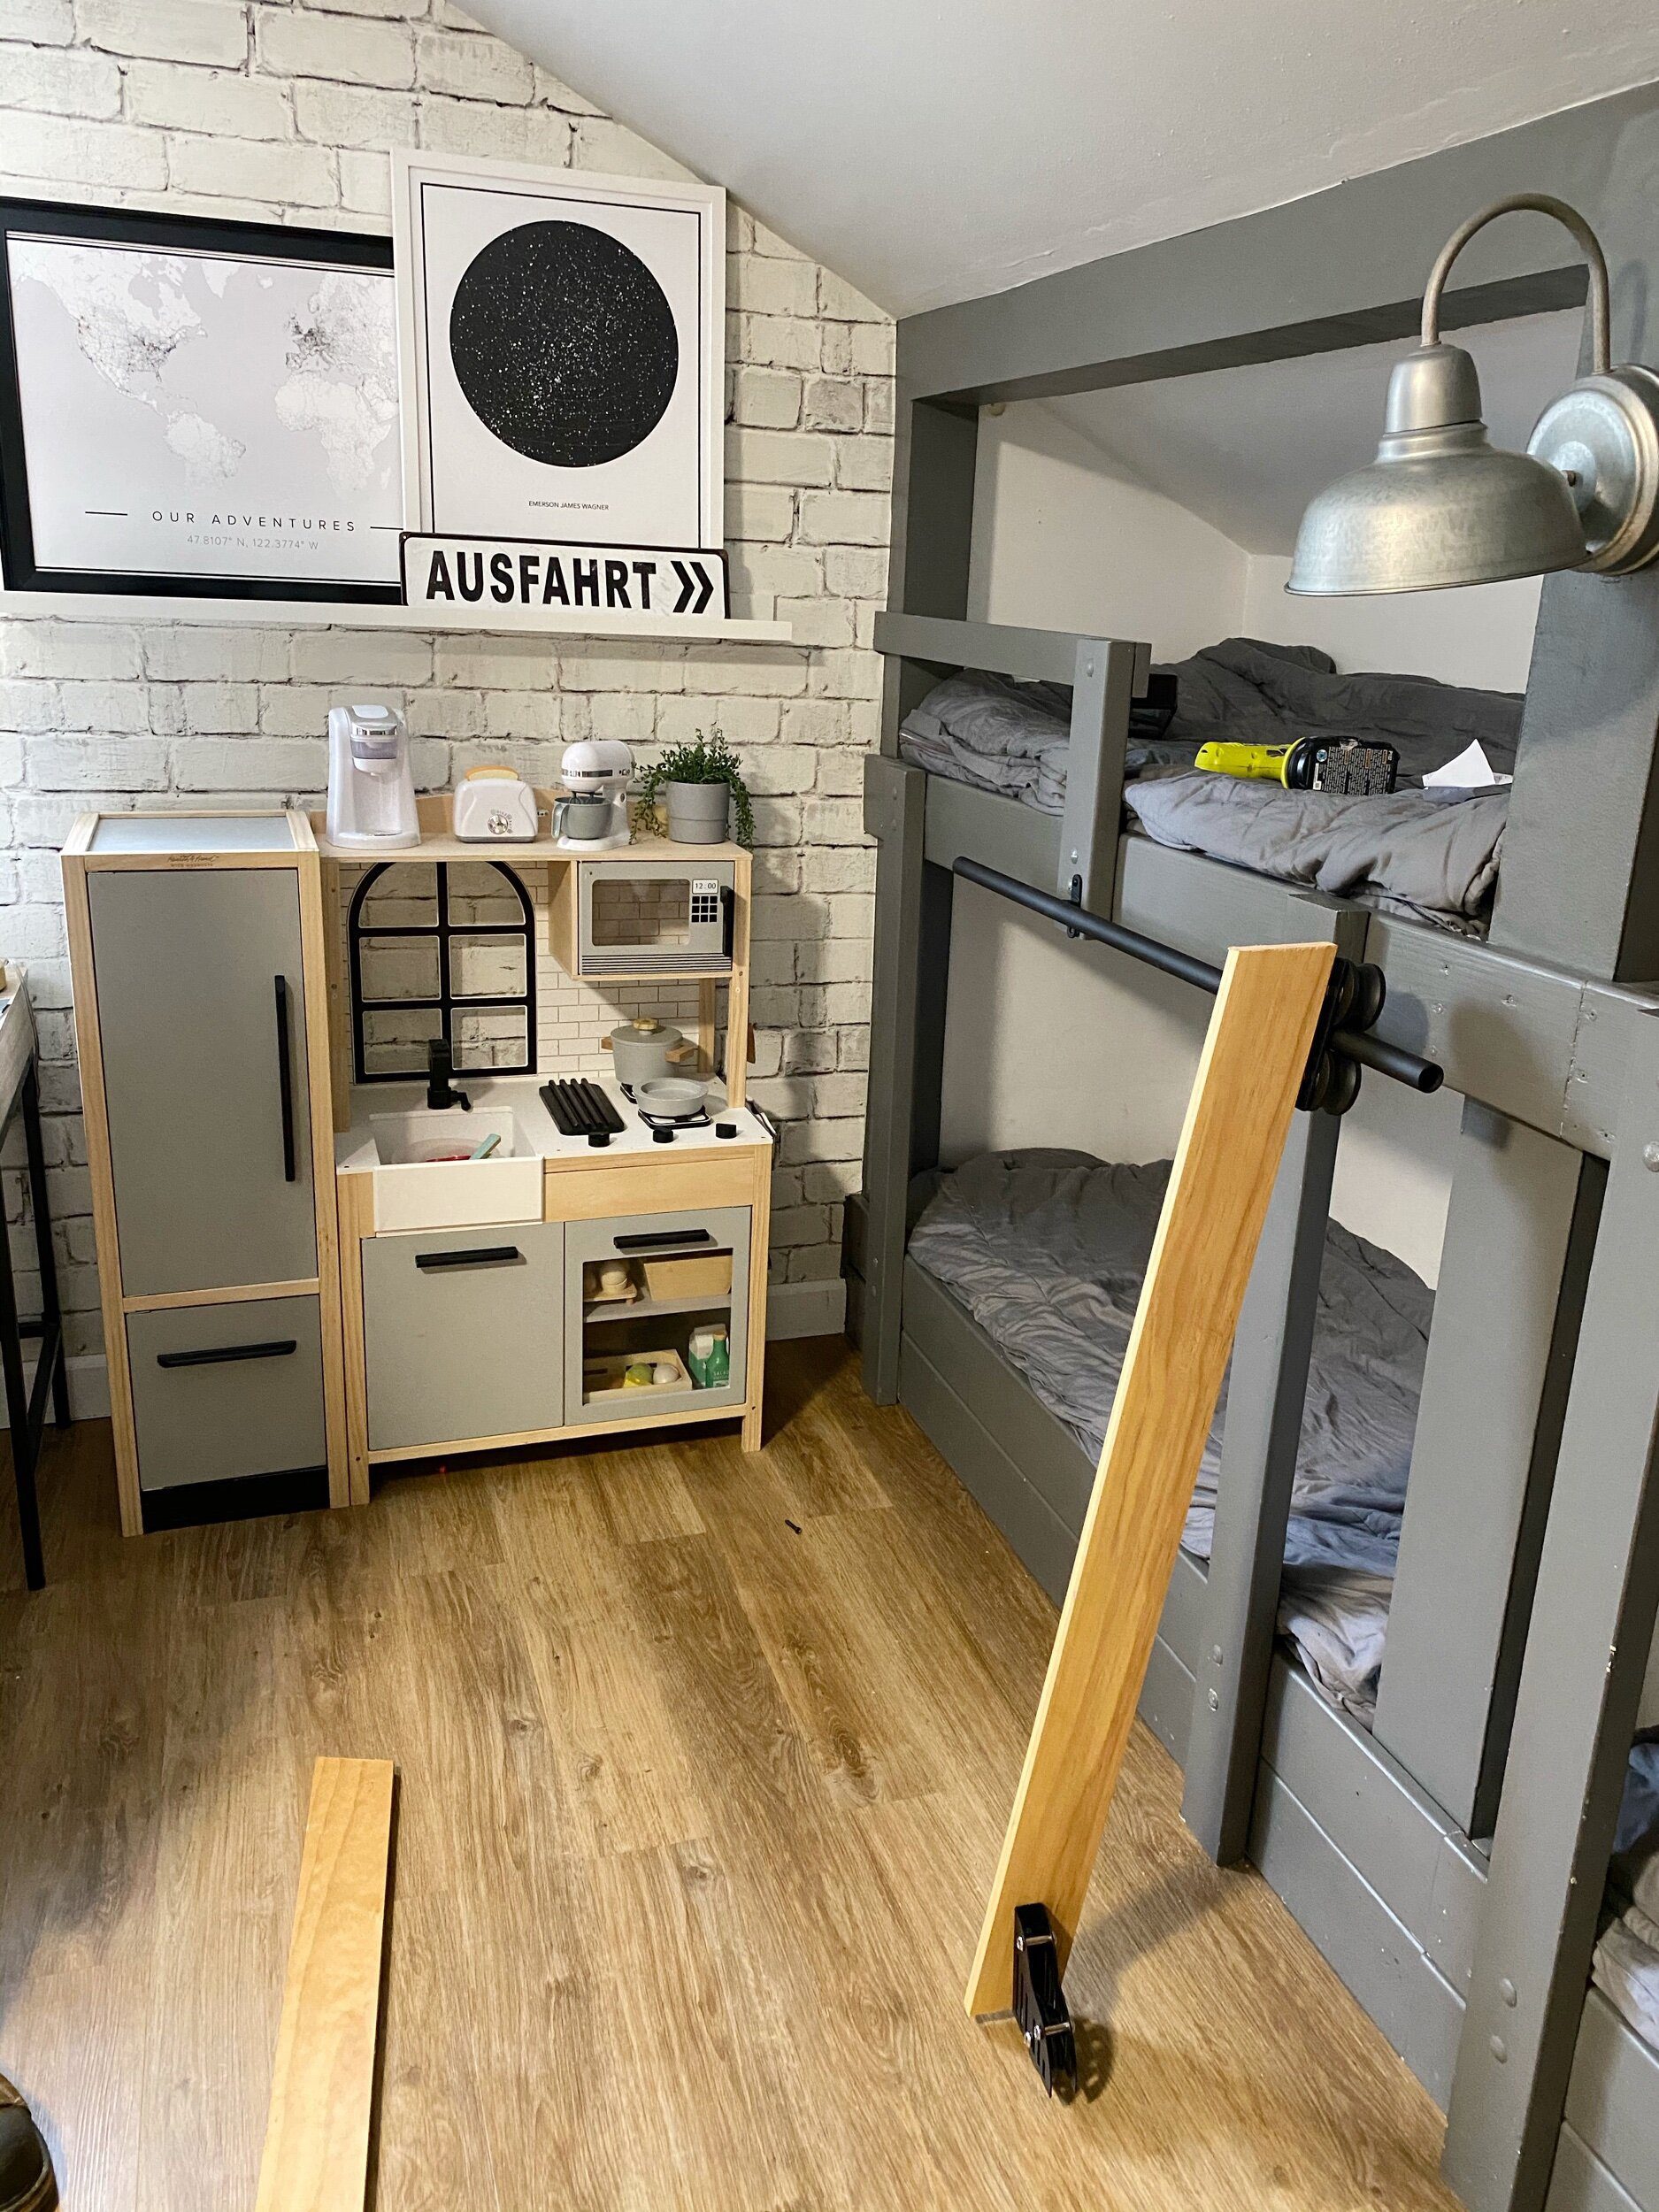
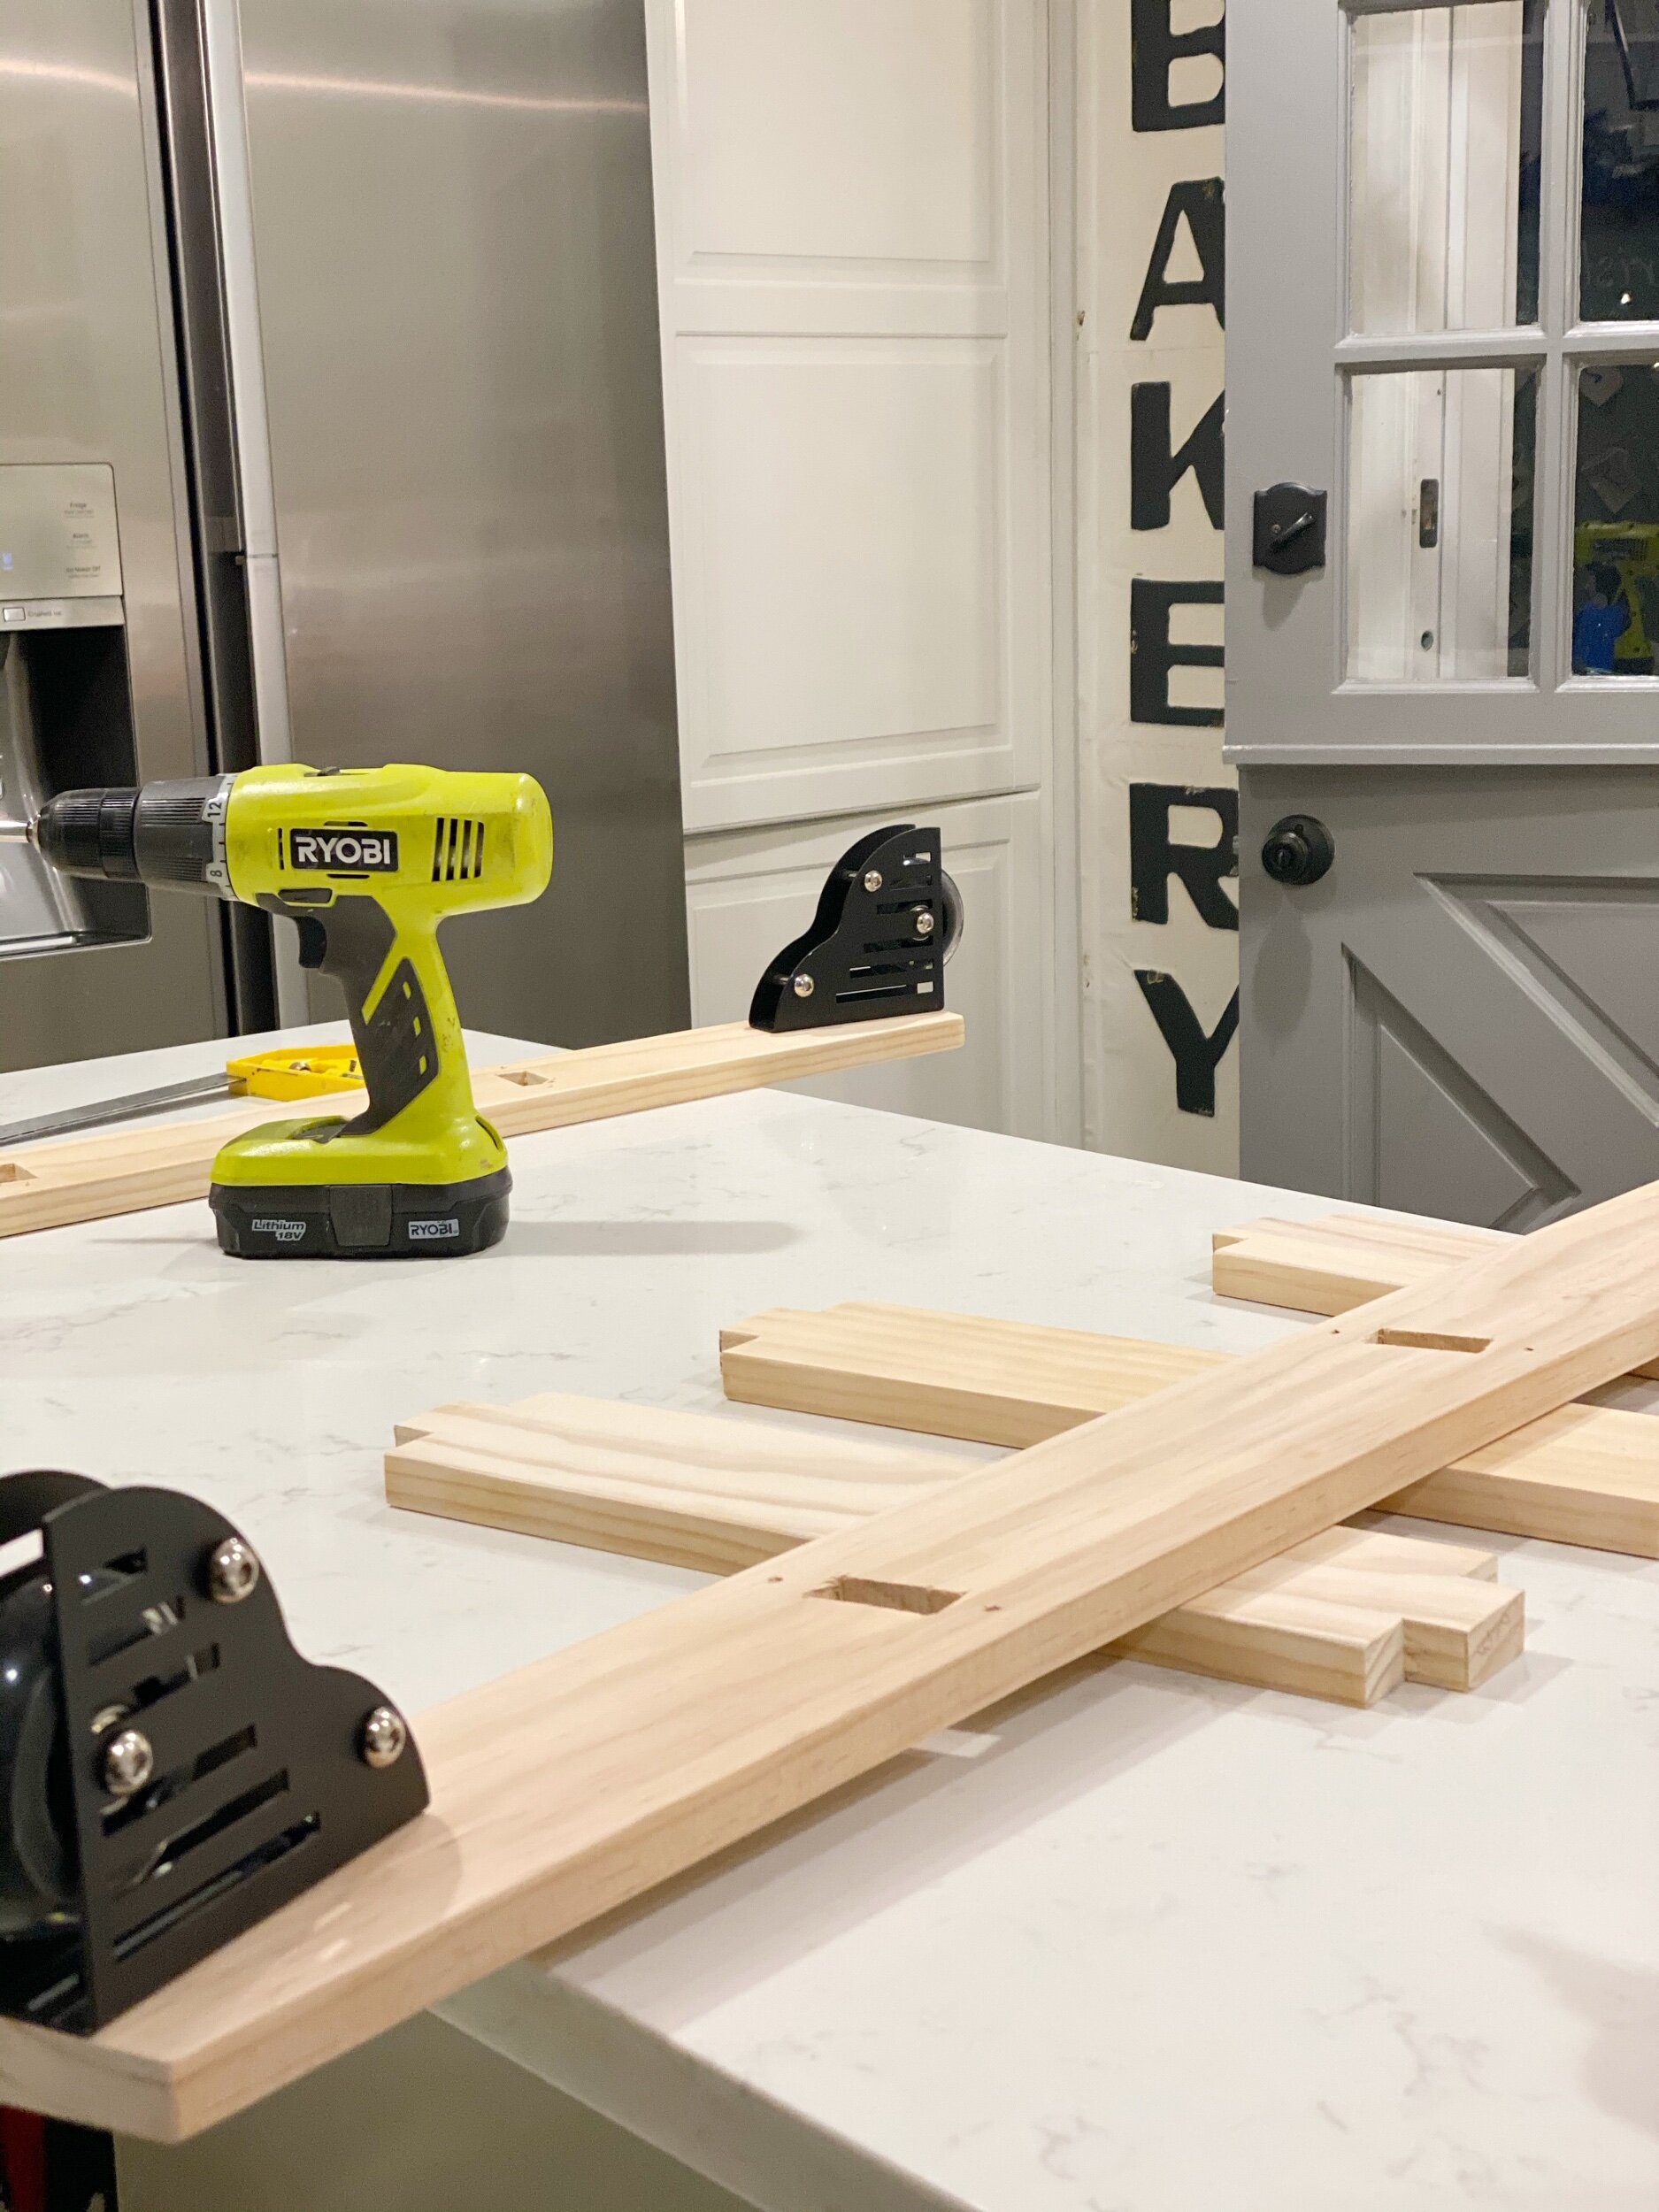
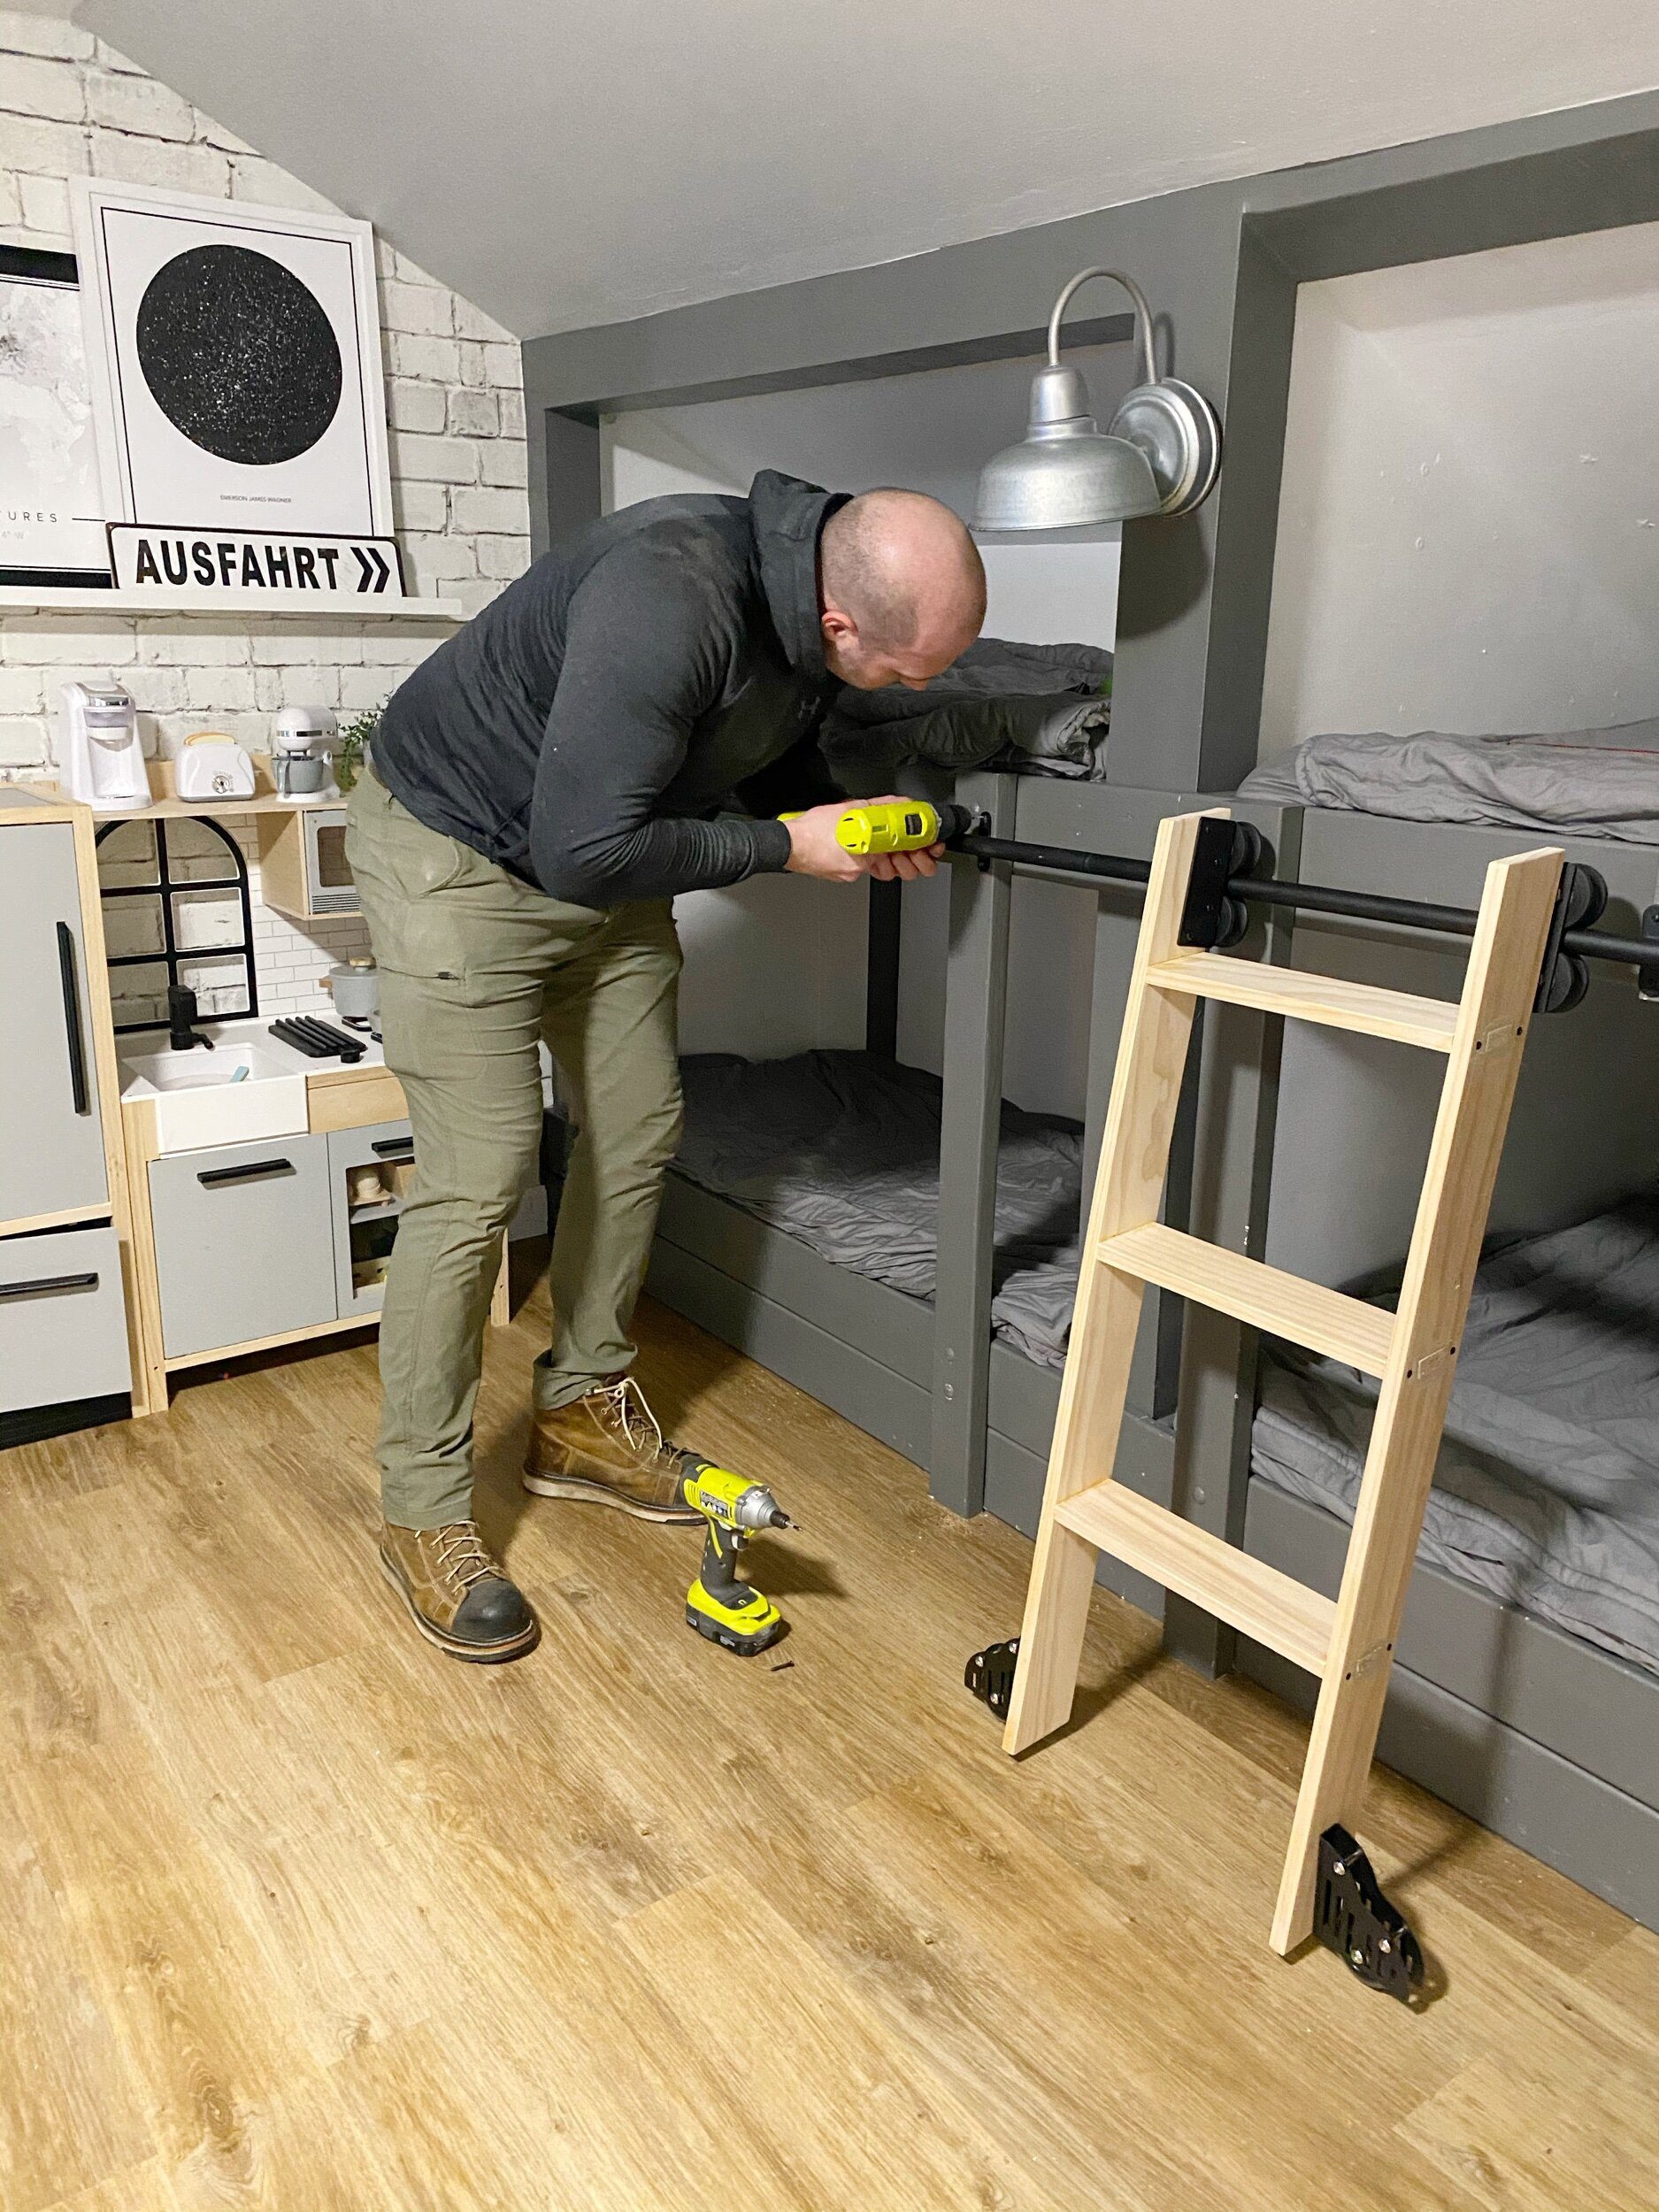
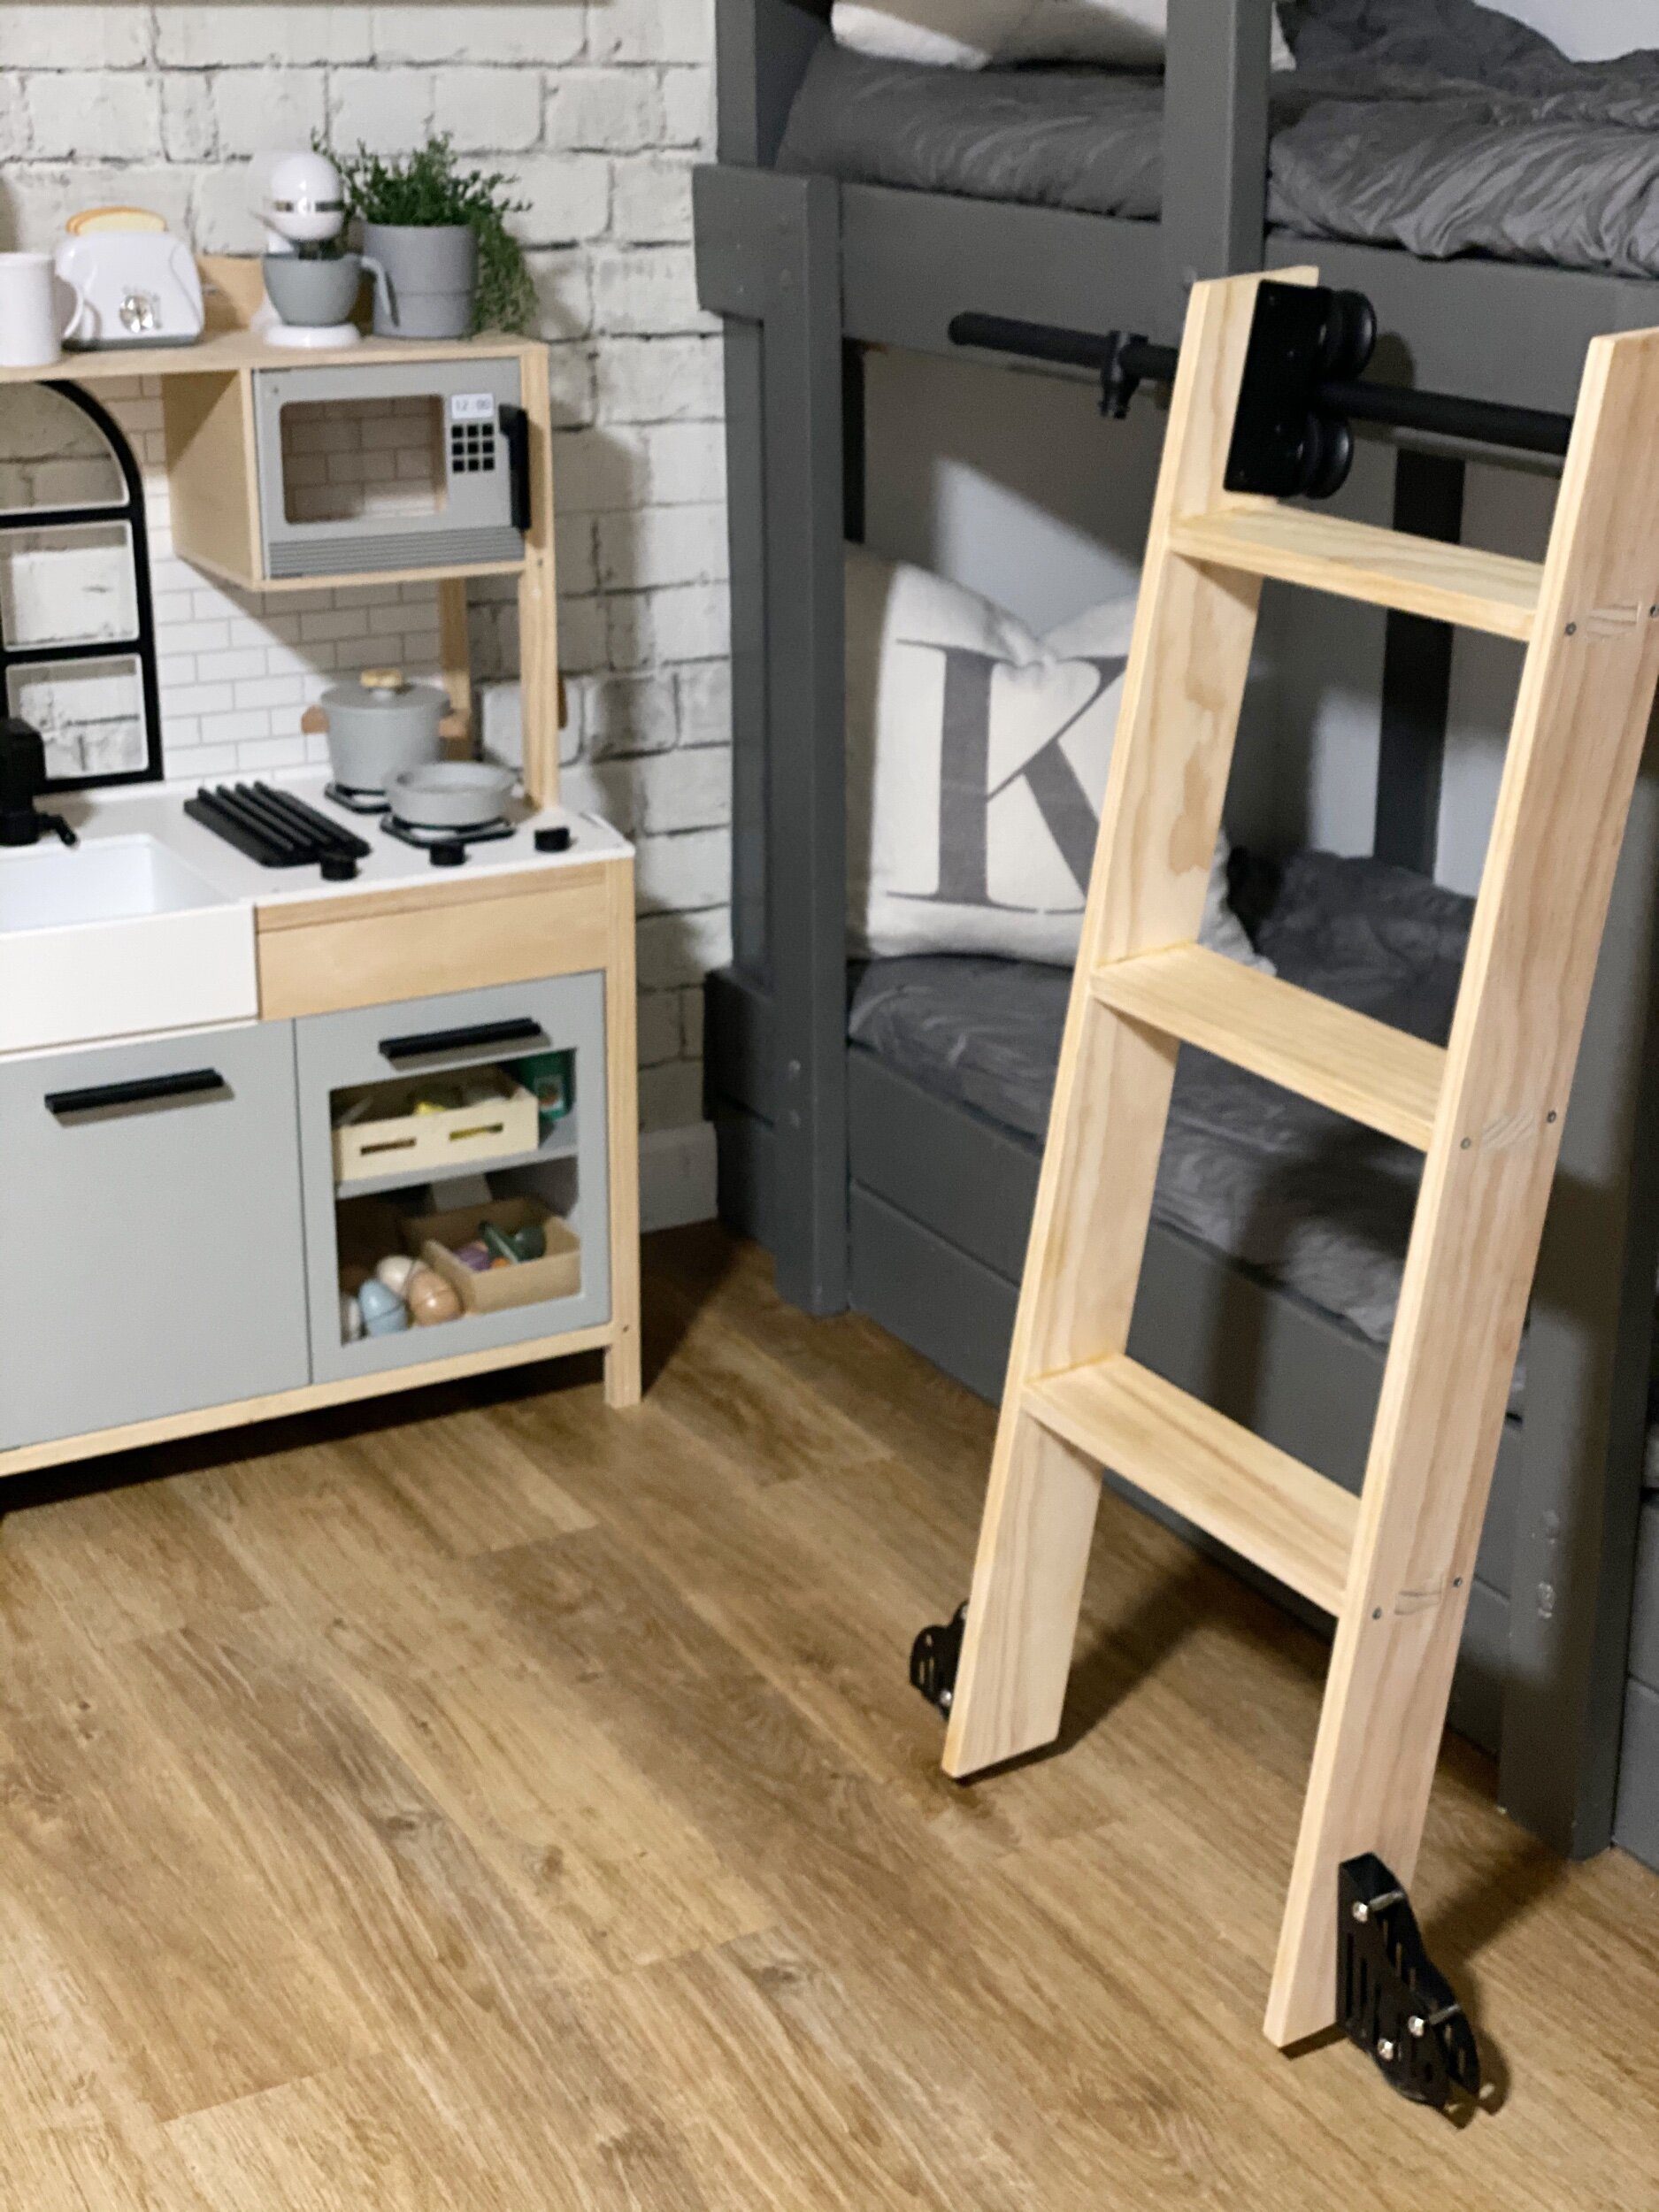
After it is all put together its time to finish the tracks for the ladder.
Oliver was so excited to see it all coming together he can’t wait for it to be done.

We added the extension on the bar and now its time to trim down the extension piece and sand the ladder one more time.
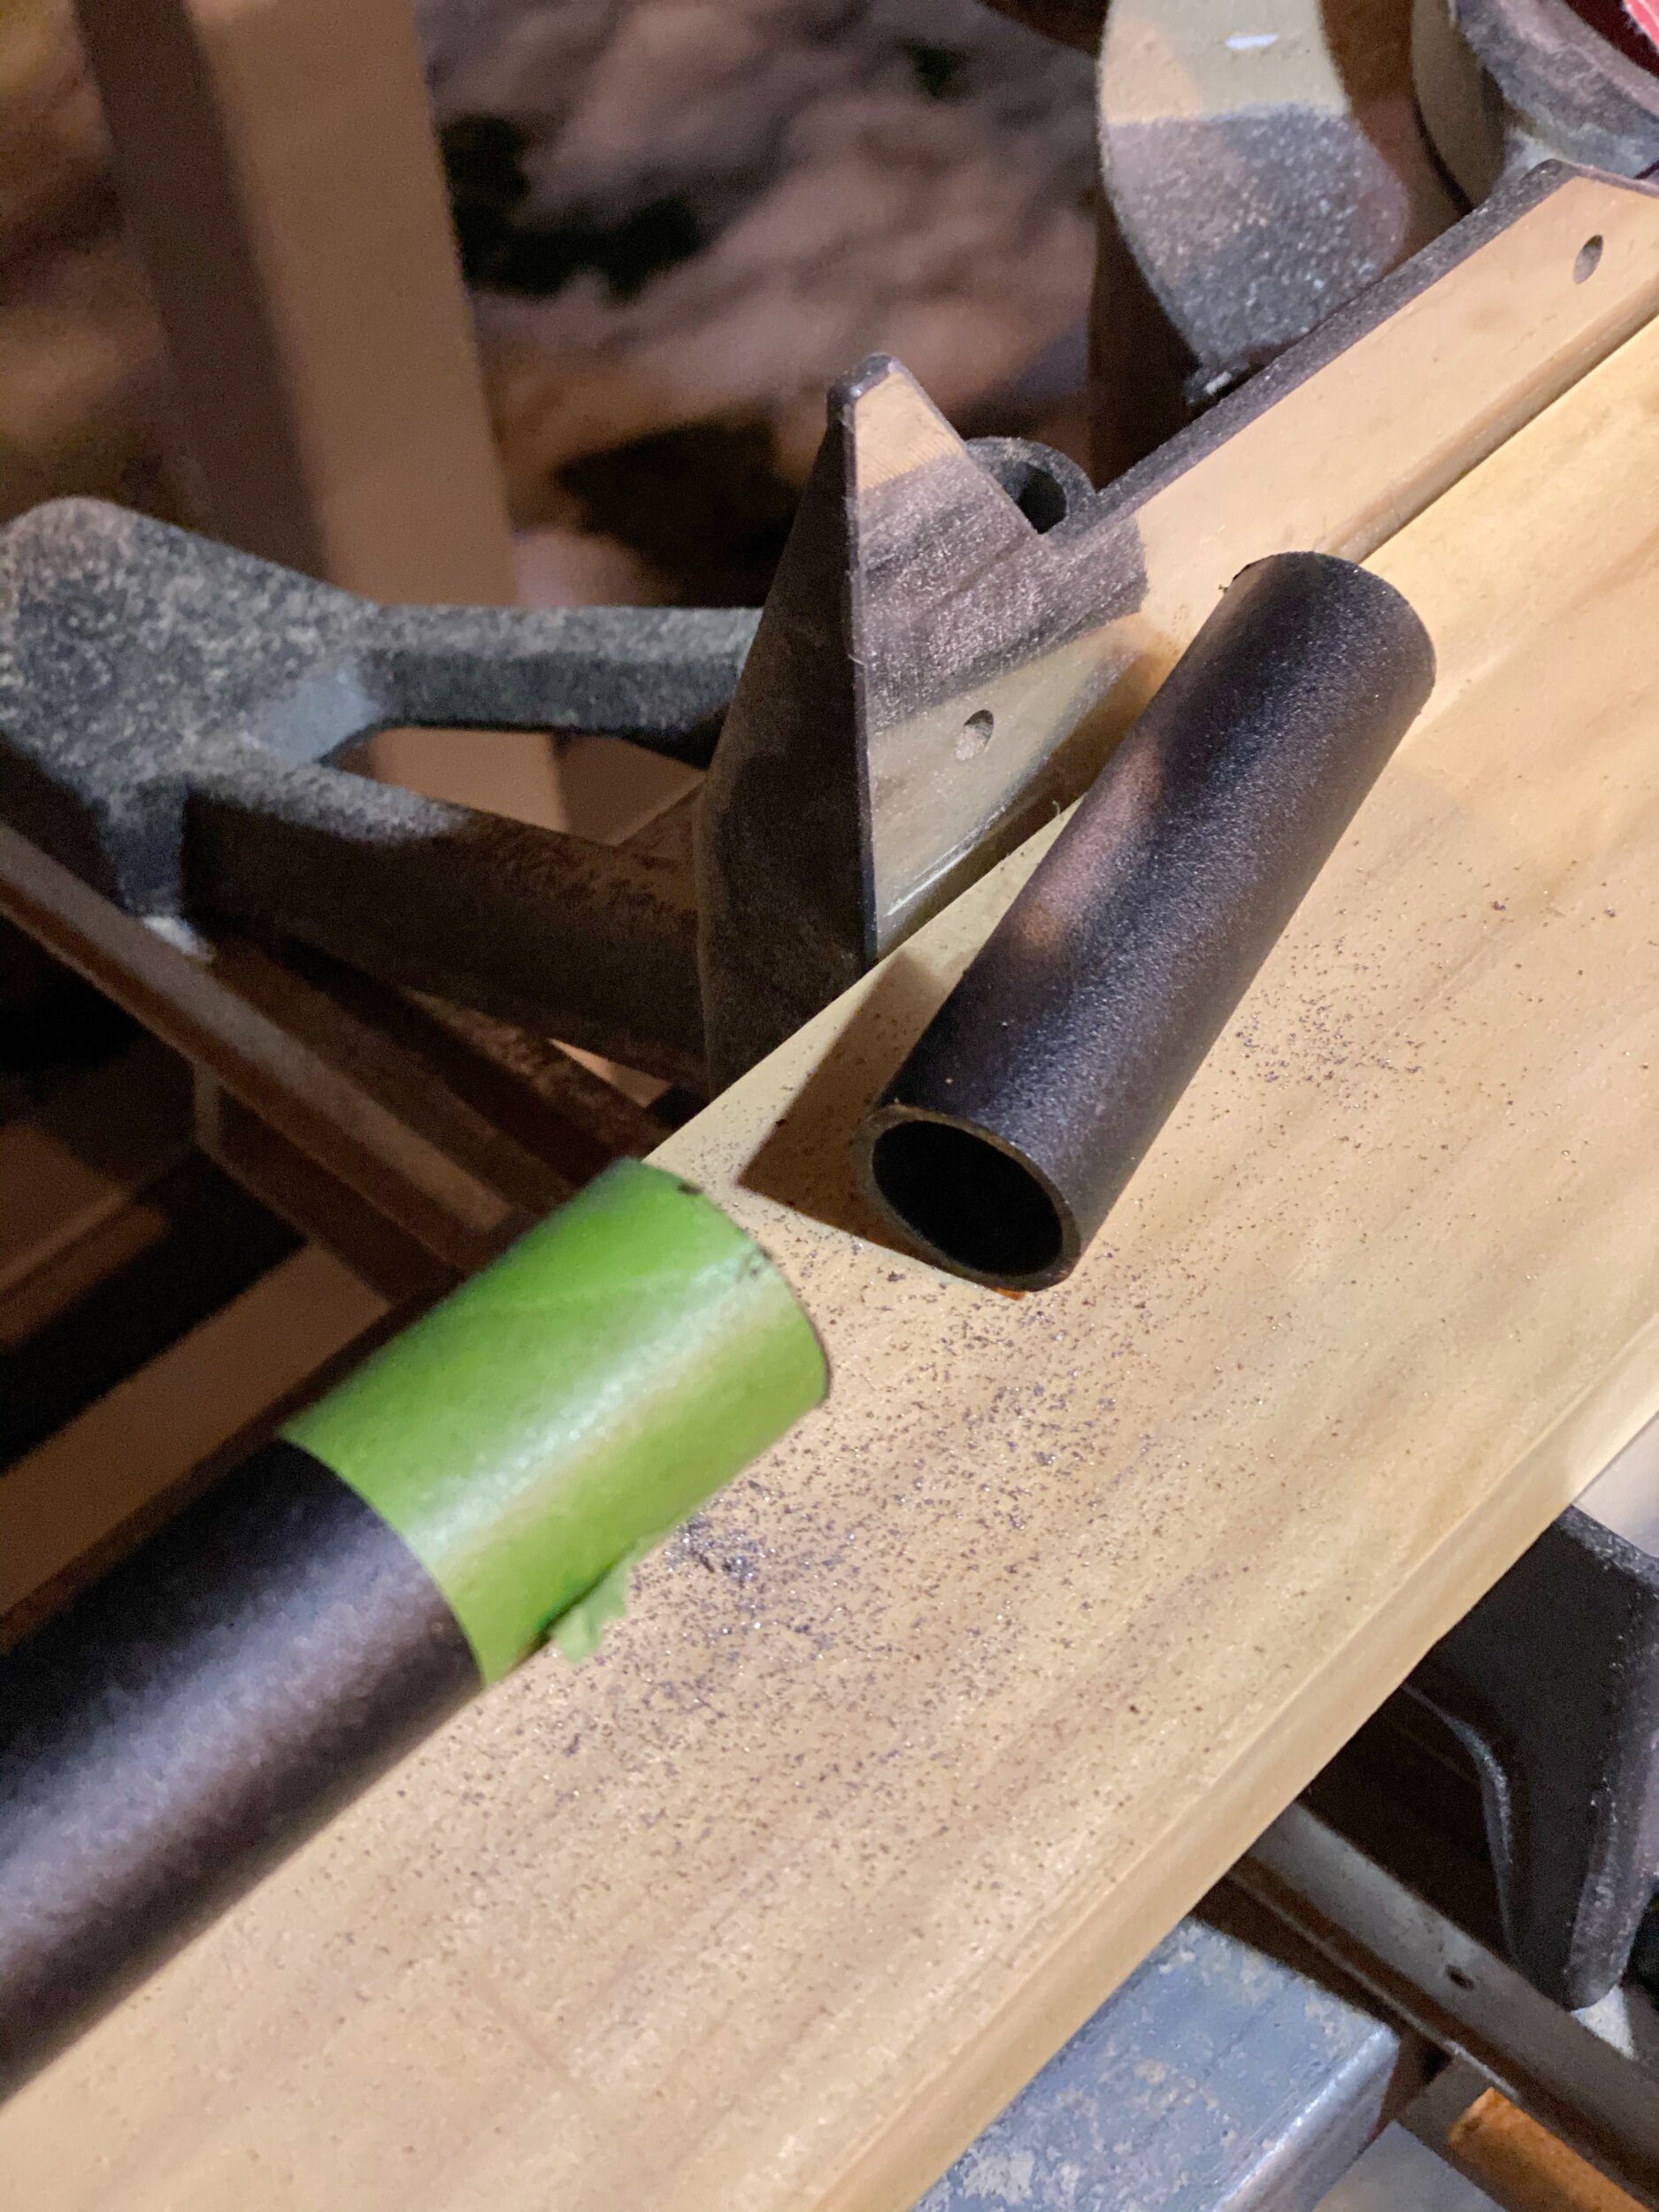
We had to cut the extension bar, James taped it off where we needed it and then used a hack saw to cut it.

Time to bring out that level one more time and put everything into place.

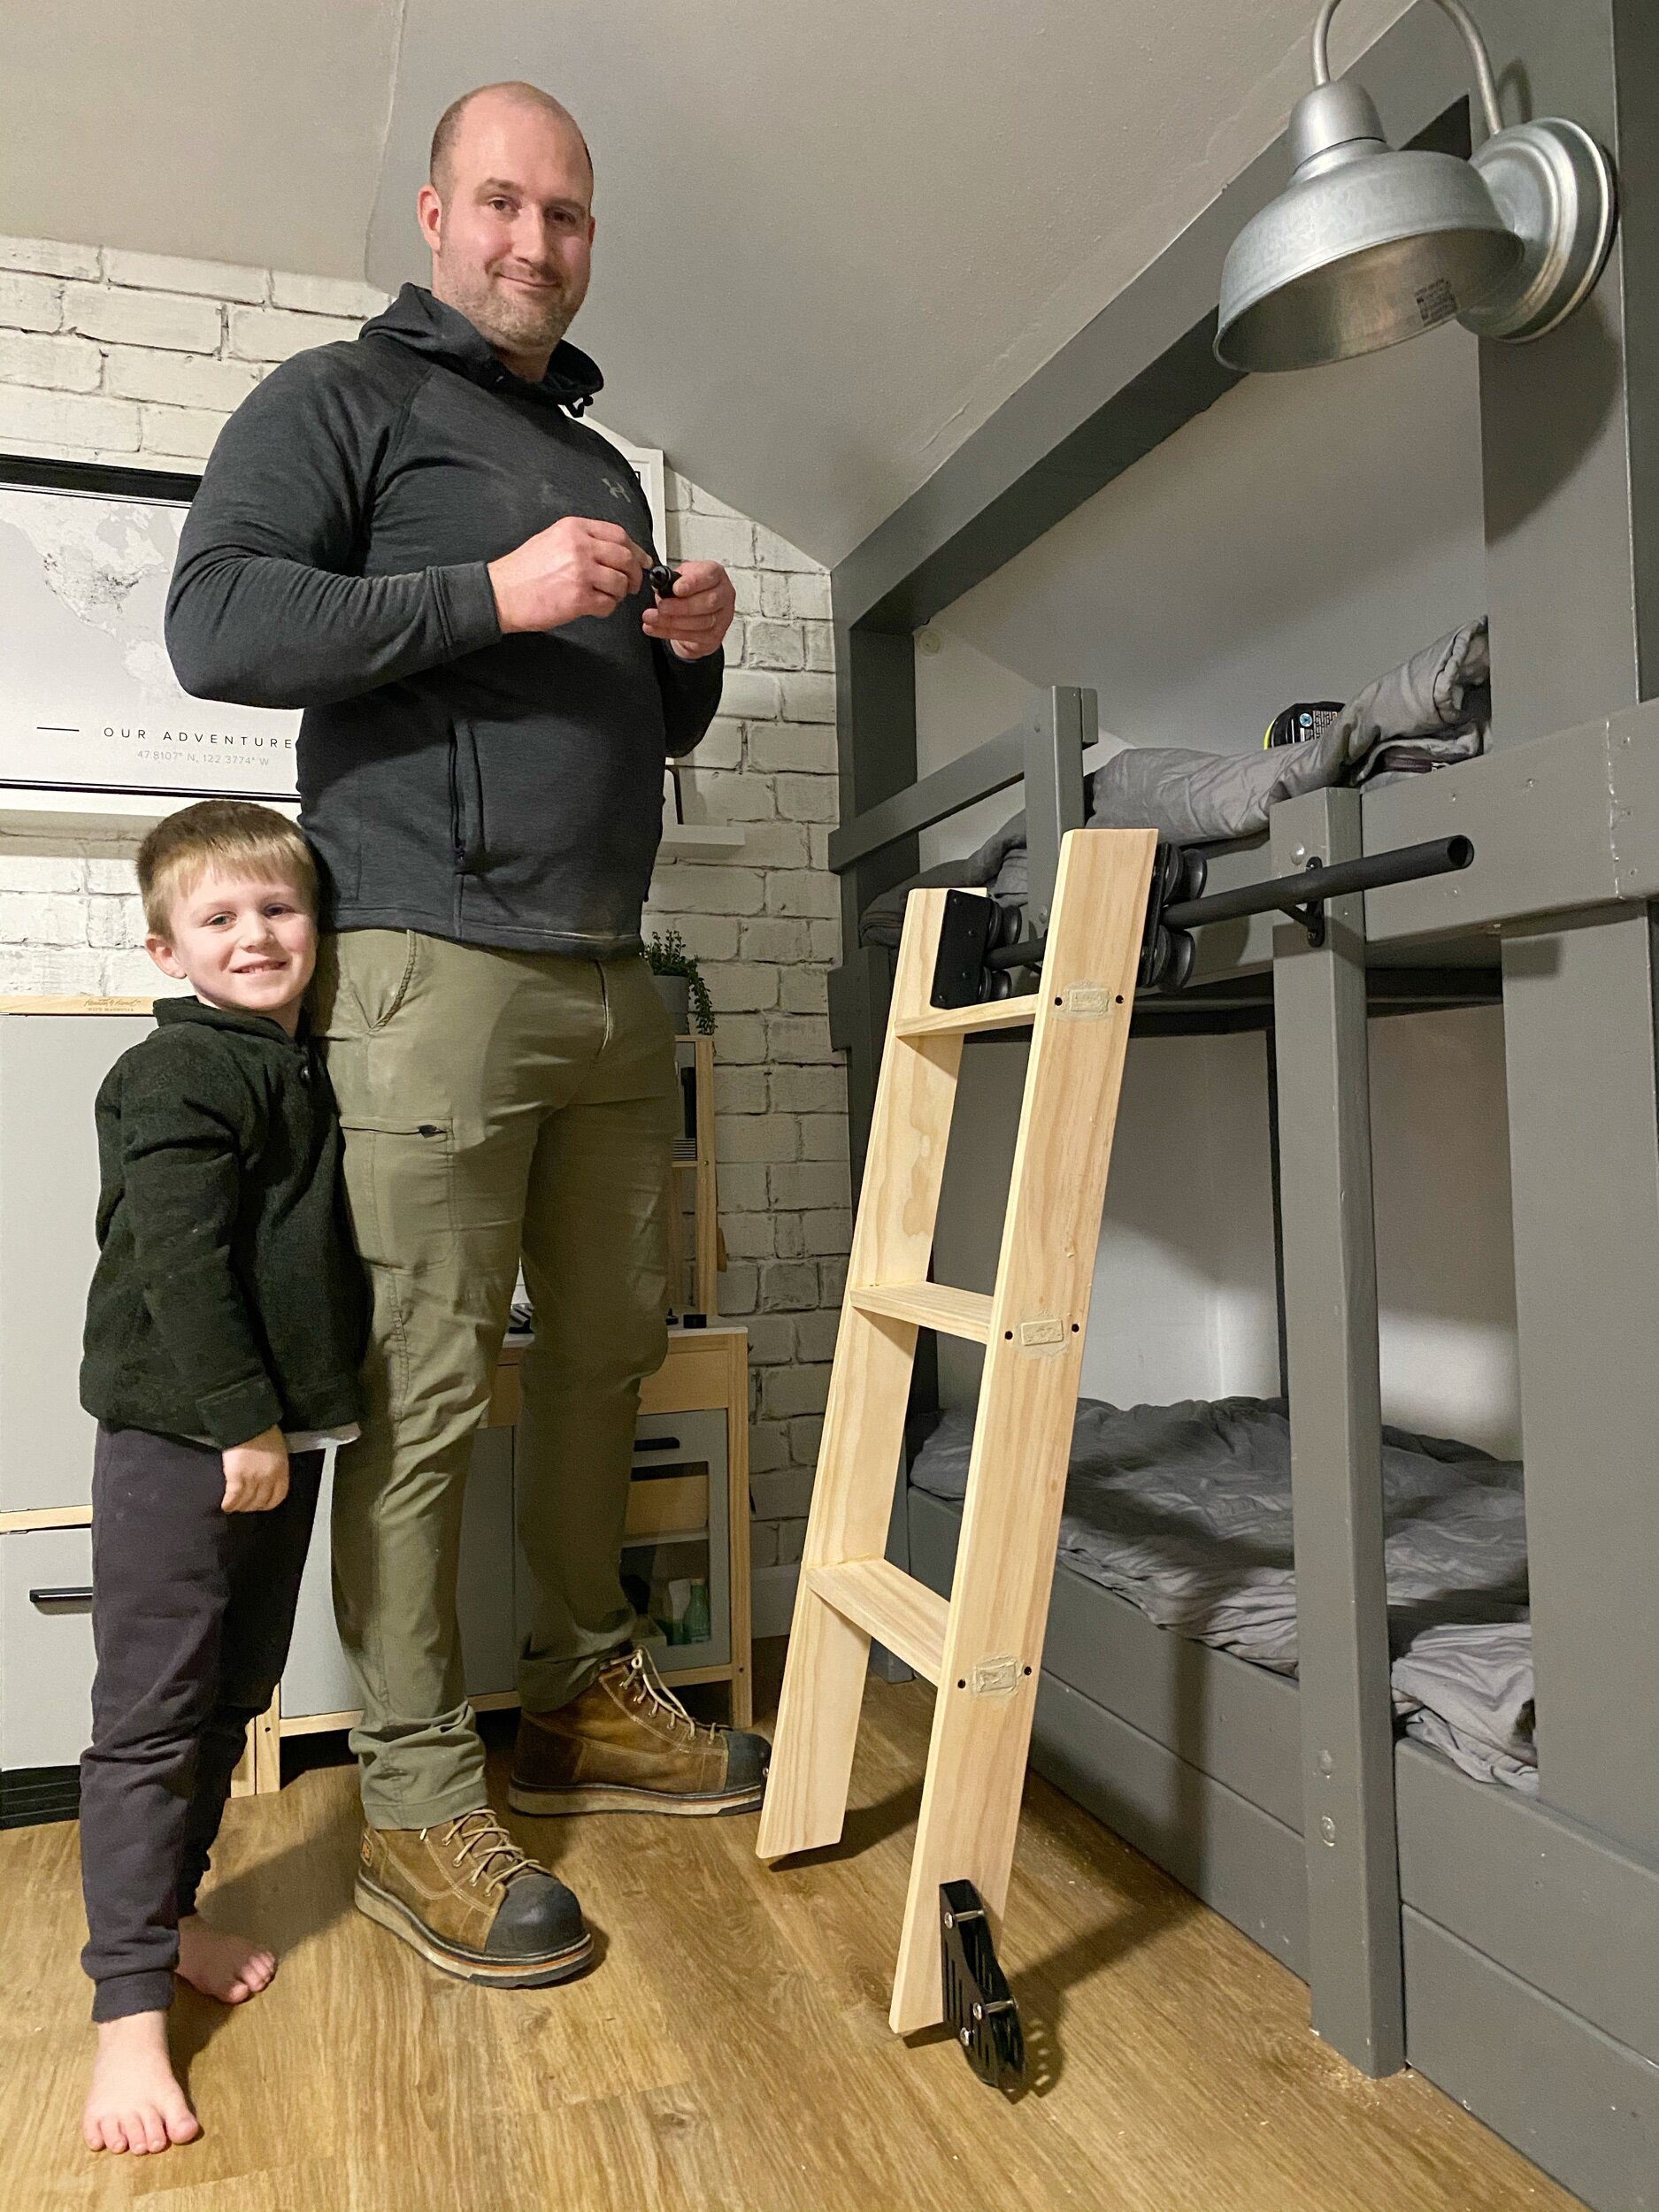
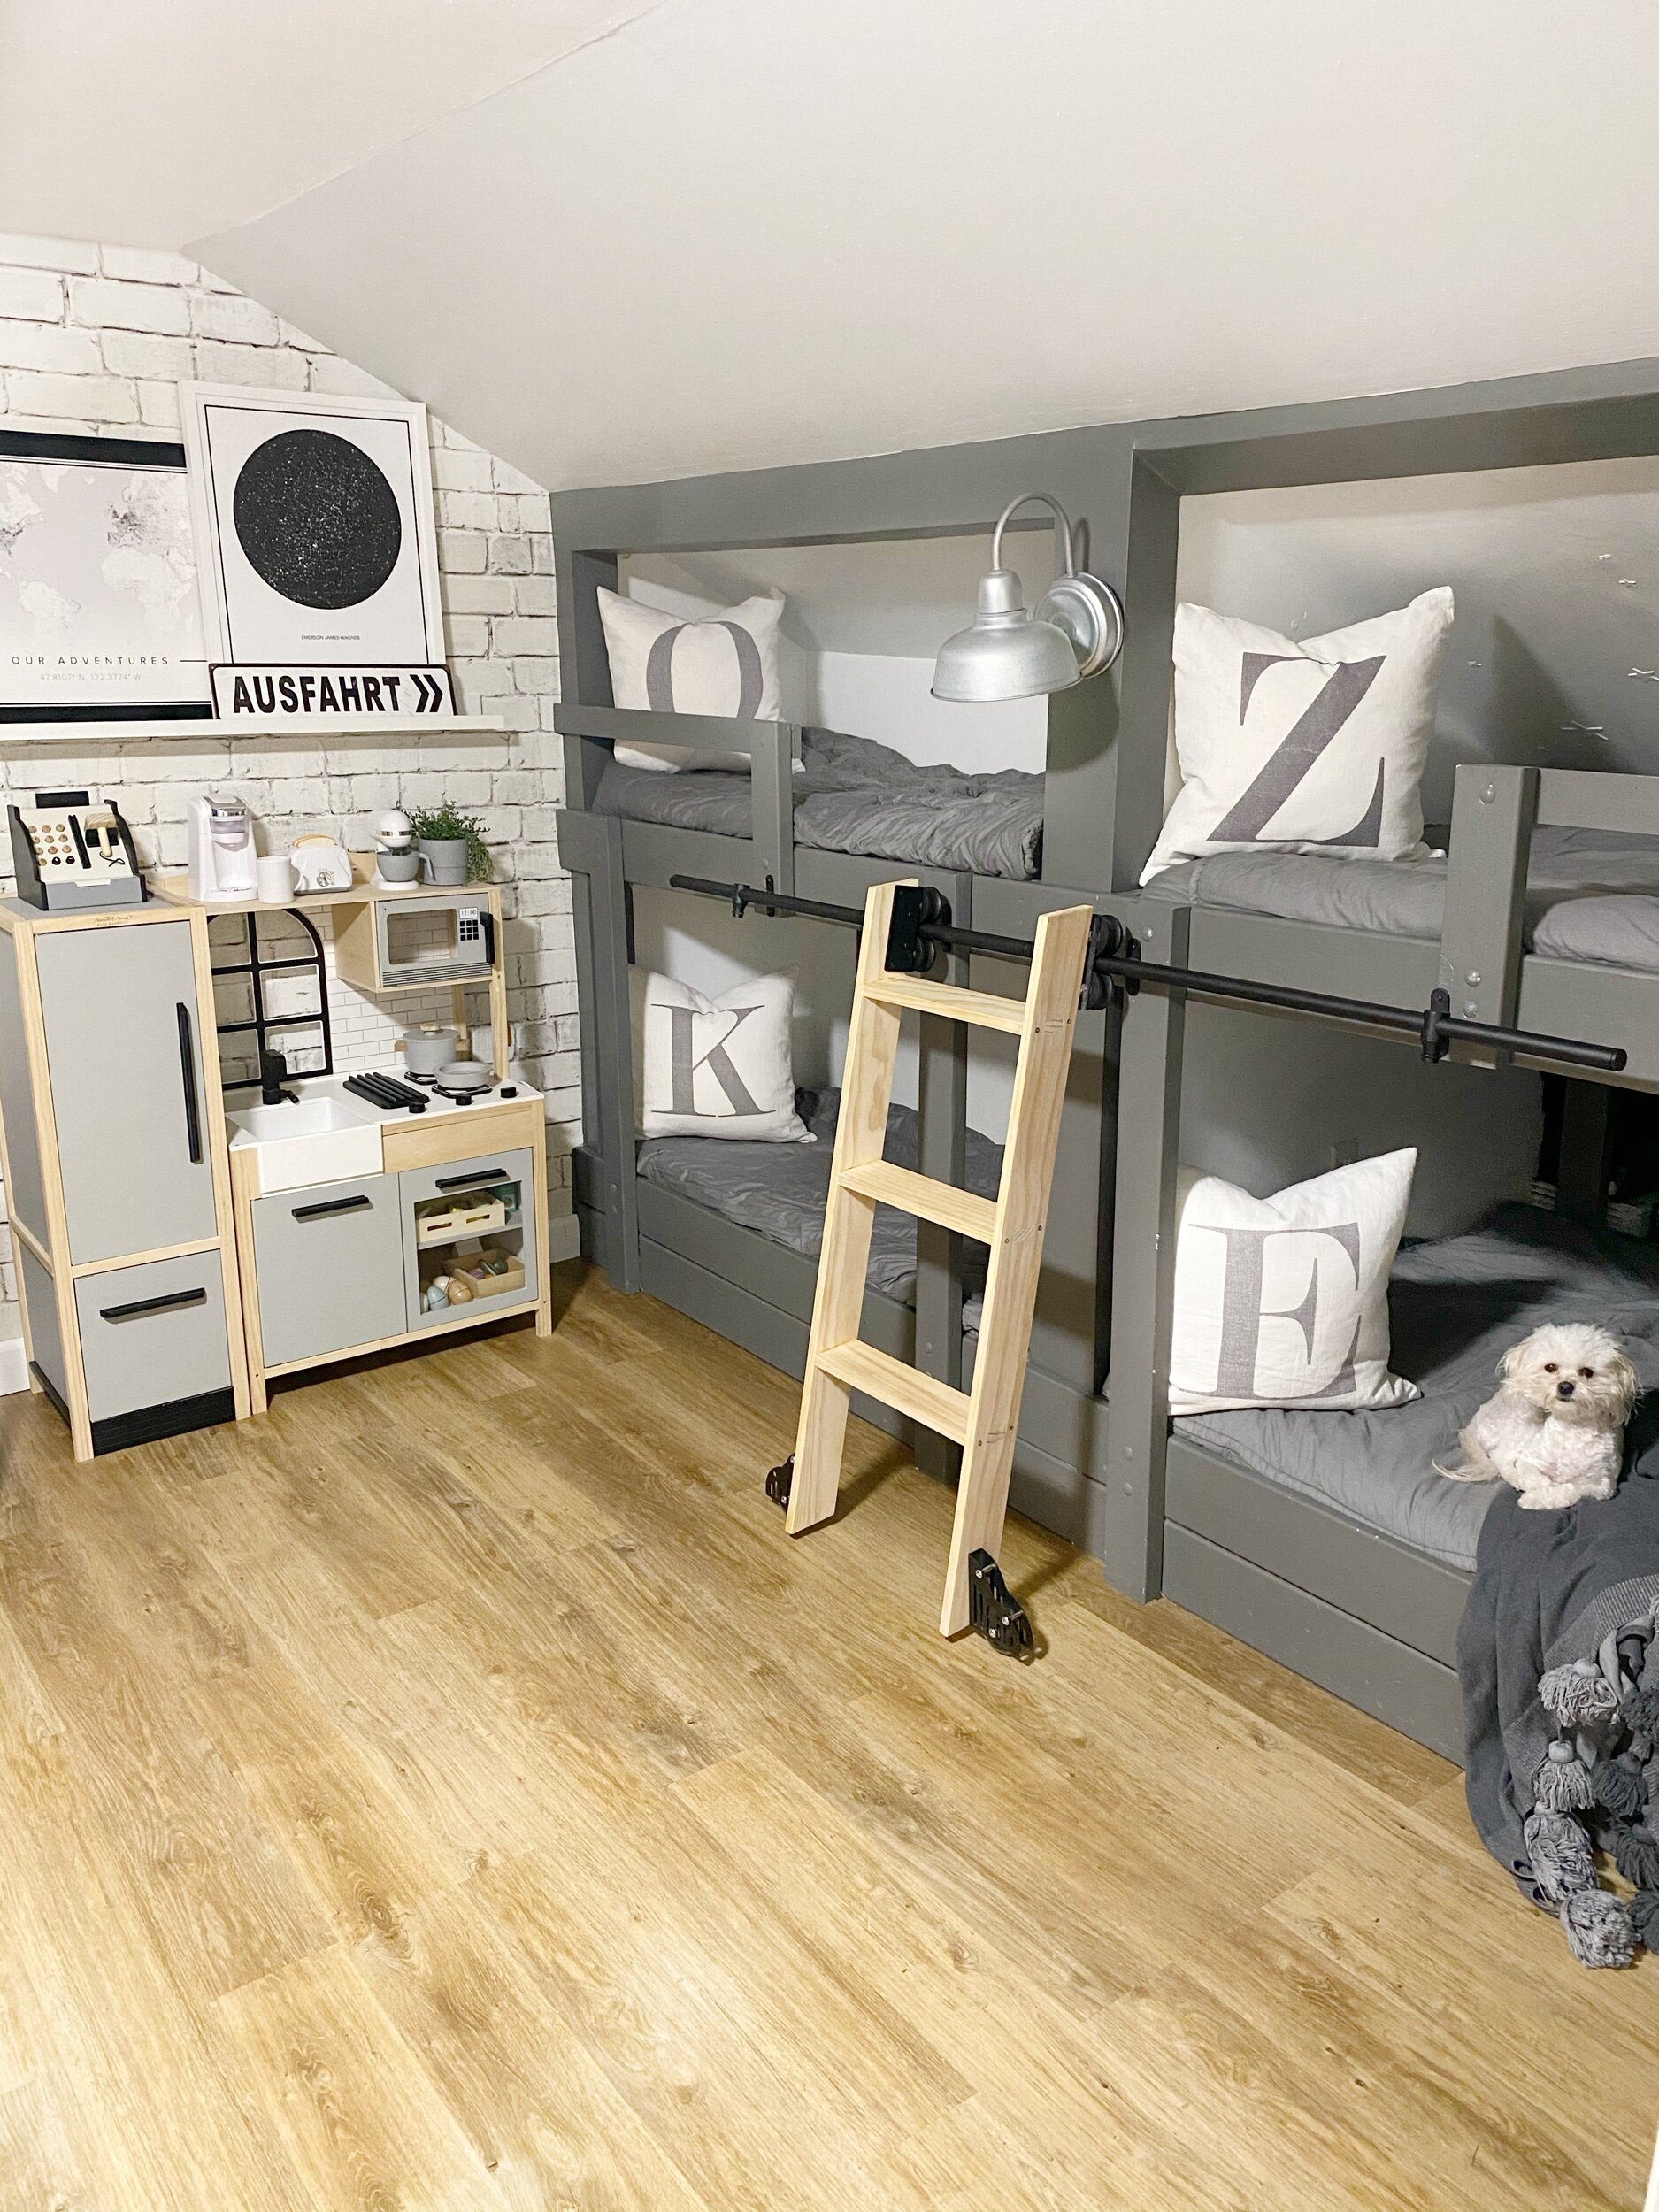
Now that the finishing touches are done, its time for the kids to enjoy! Let me share a few photos of it all complete.
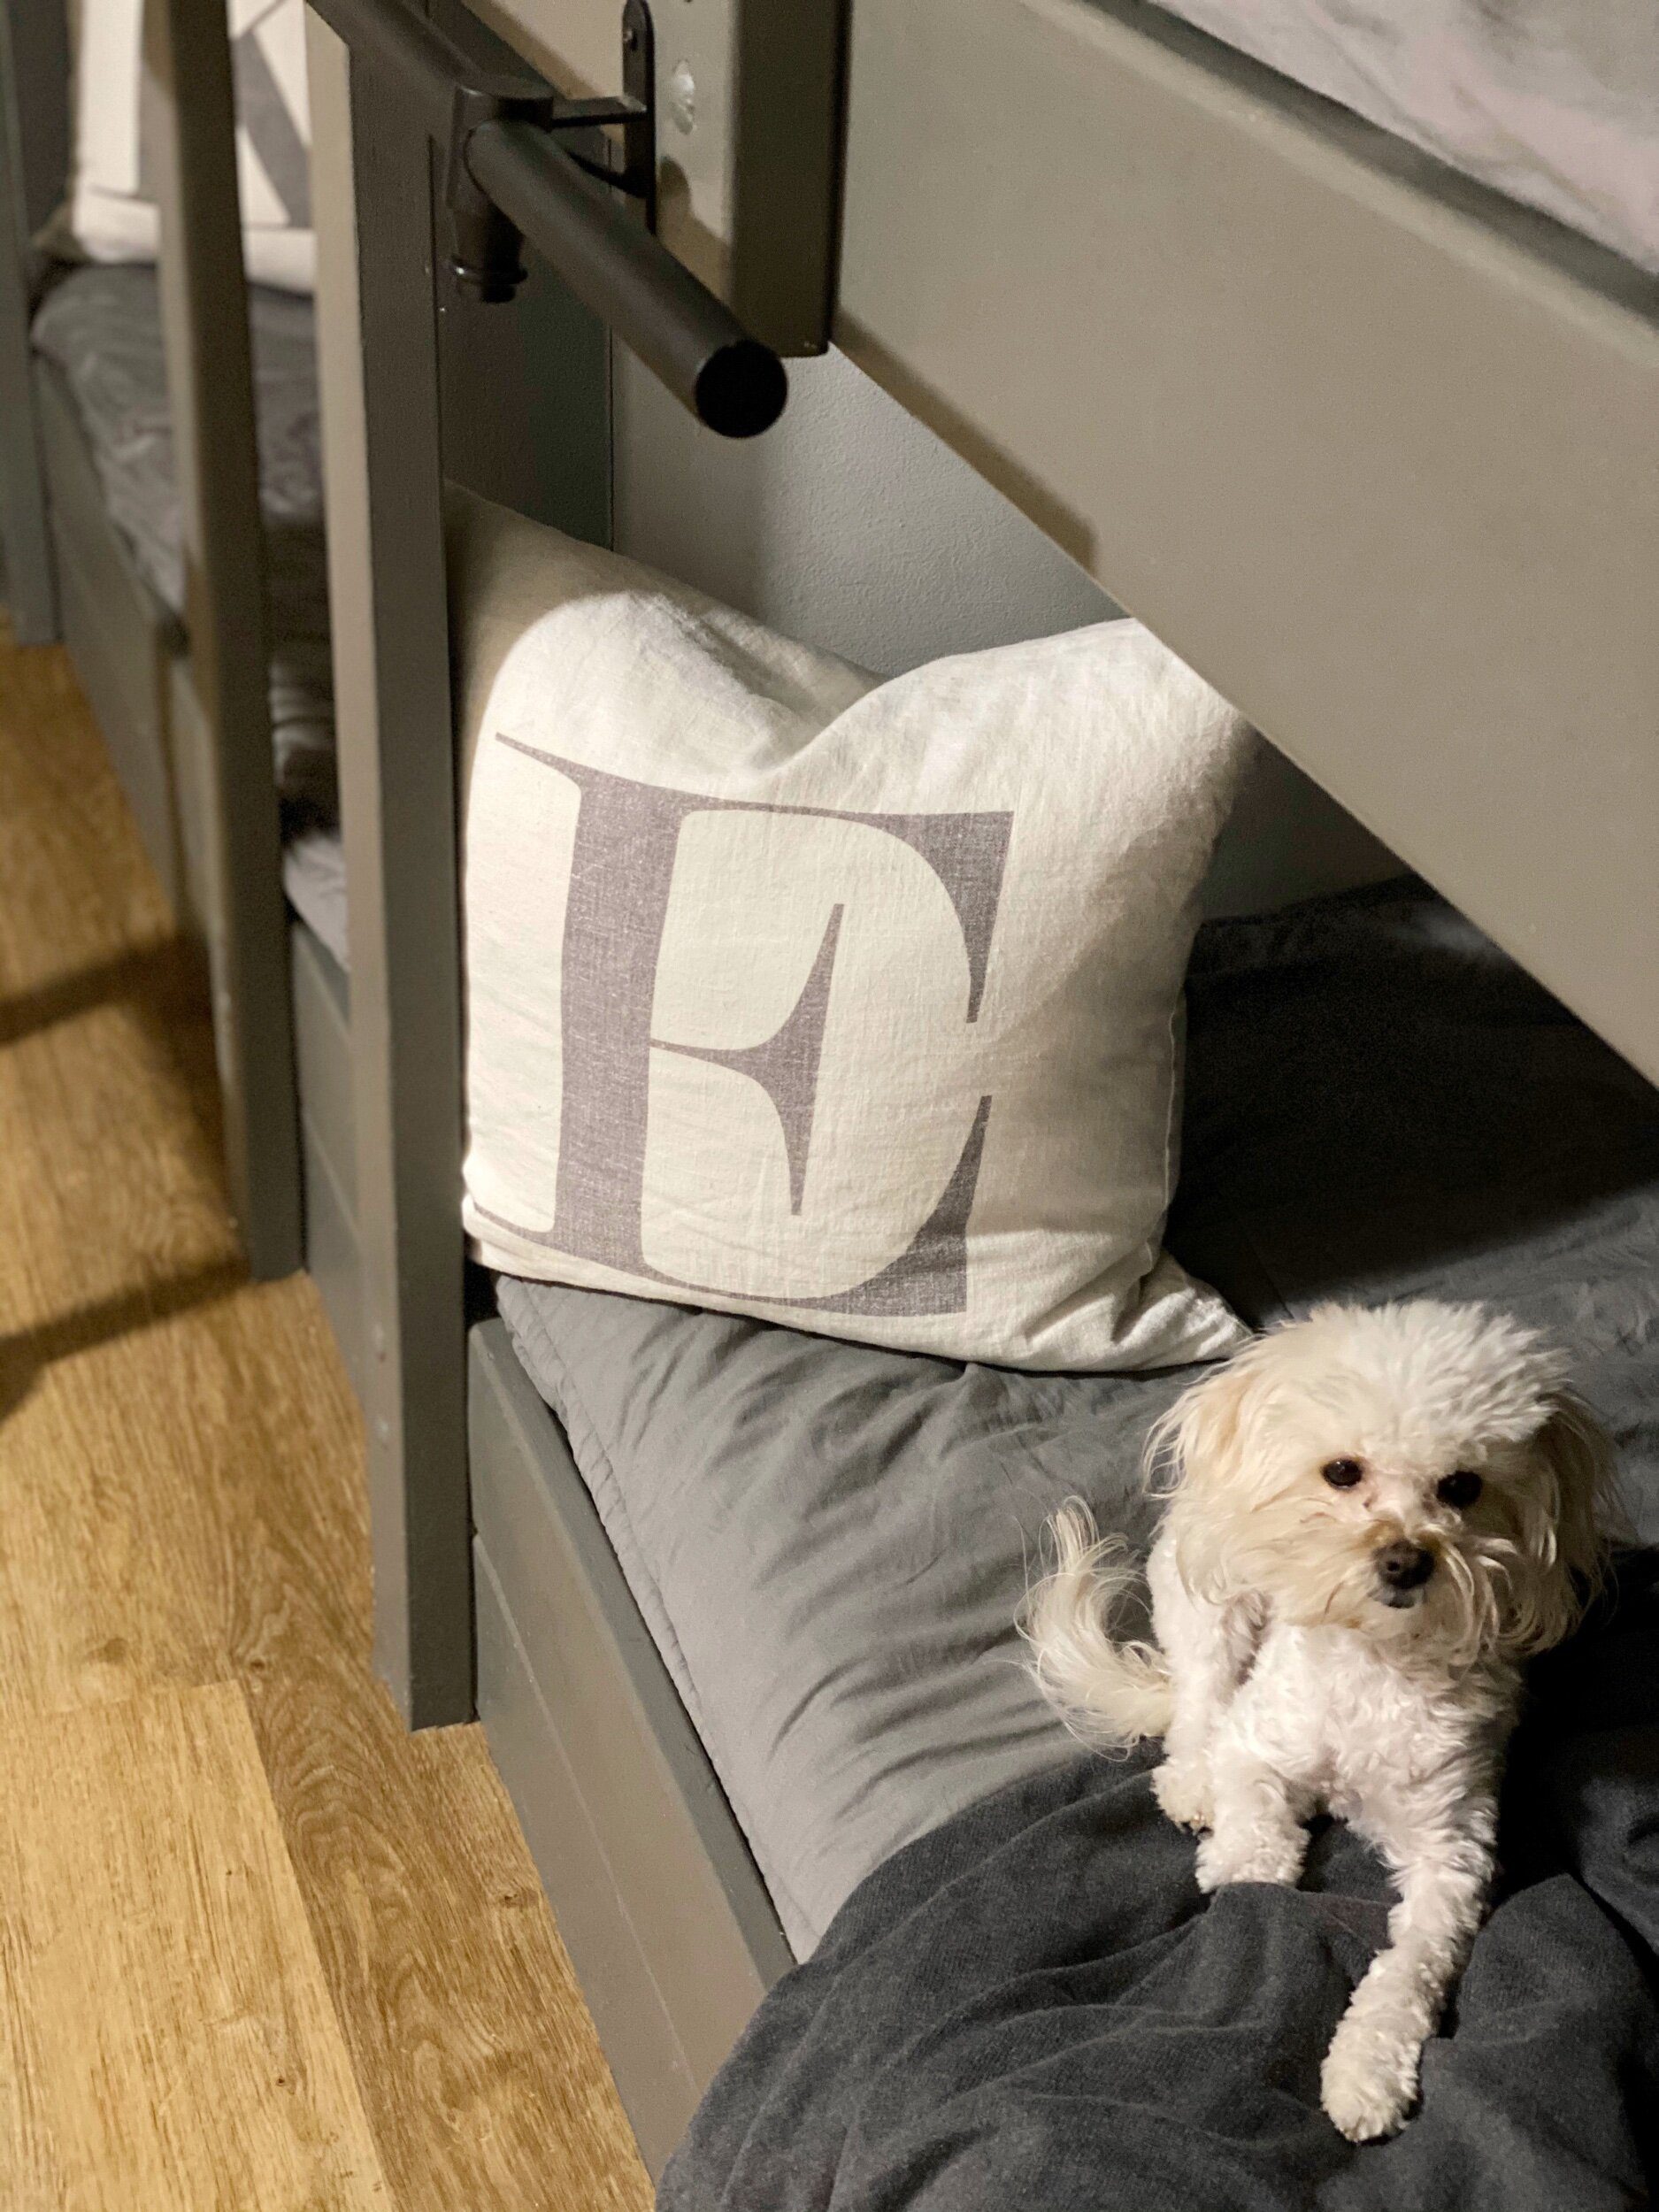
Daisy wanted to try out the ladder, while she couldn’t get up there she sure enjoyed the bed.

We have always wanted a library ladder and while this one is miniature its just perfect for us, and hopefully this helped you be able to make one to fit your home.
I love that this will last till the boys outgrow it, and I am sure we will have something else in store!
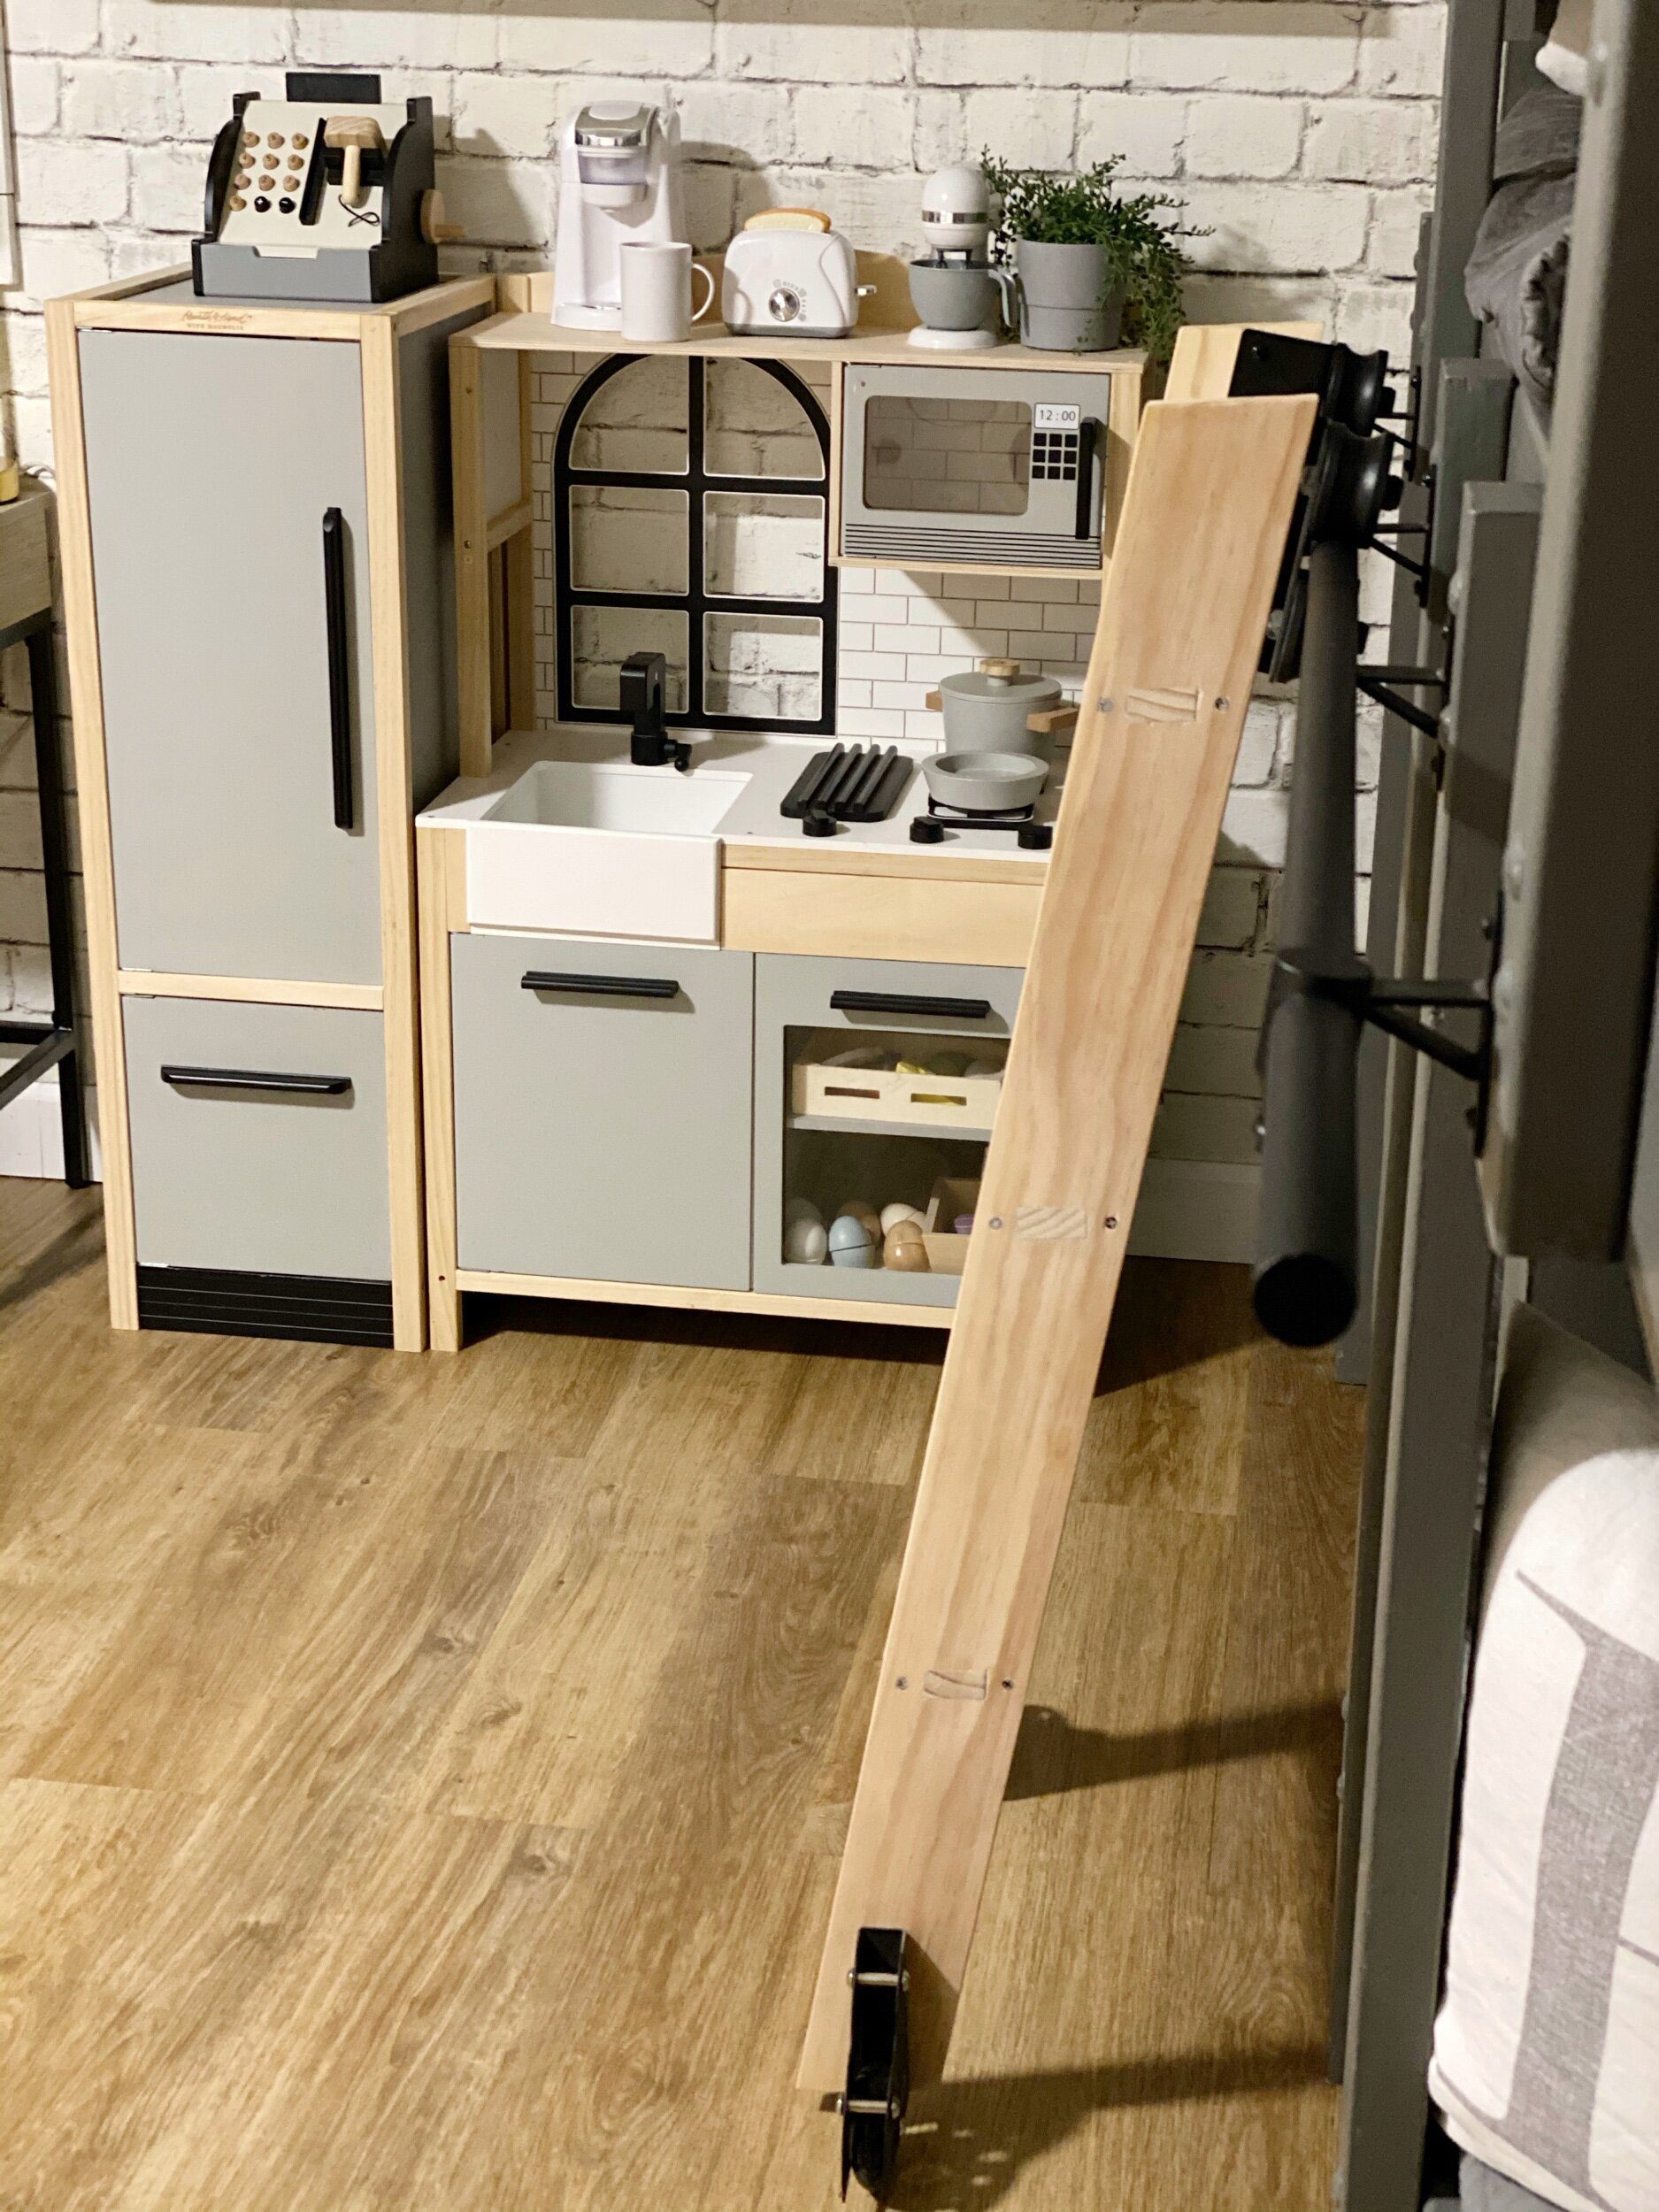
I can’t believe how the wood matches their play kitchen so well.

I hope you enjoyed seeing the process, let me know what other questions you have below.
Sources :
I have placed all the links below, you can click on each item.
Library Ladder Hardware
Library Ladder Extension
Library Ladder Ready Made
Kitchen
Beddys Bedding
Custom Mattress
Flooring from Lumber Liquidators Hay Bale Oak
Like this post? Save it on Pinterest. Follow me on Pinterest.


Can the ladder come assembled?
Can you get rubber plugs for the ends? I cut myself on a metal edge of my laundry rack when I lost the end piece, looks great, good work!!