New Flooring – Boys Room Refresh ProCore
New Flooring – Boys Room Refresh with ProCore! Are you ready to see this before and after? You will want to do your whole house with it!

When I first saw this ProCore Pro Elizabeth LVP I knew it was the perfect flooring for our house! What I didn’t know is that James would be convinced to do our whole house with it… he fell in love!
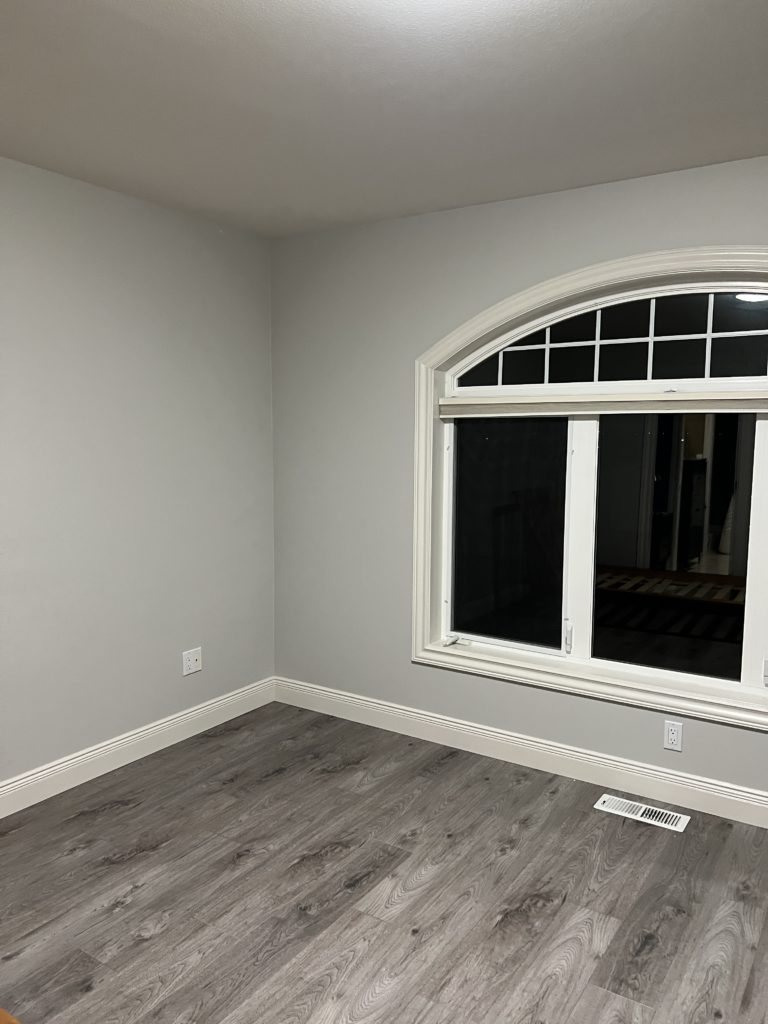
Here is where we started, the flooring was actually very nice – we were able to salvage it and actually give it to the old owners son! The paint color is so close to one of my favorites, but Emerson had a vision for his room and that was his birthday wish!


The flooring is out, and isn’t it crazy how much bigger and brighter it is with the subfloor?


All painted, and this color from Benjamin Moore – Rainy afternoon is so GORGEOUS!!! Now let’s get to the flooring for the bedroom!

When using the ProCore Elizabeth LVP you do NOT need to add an underlayment, it has one already attached to it. We did opt to do one since we have done it before and it’s just added protection and sound barrier. Like I said it isn’t needed – we don’t actually recommend this one shown here but did another room with this one and recommend it.
THINGS YOU WILL NEED FOR PROCORE LVP:
ProCore Elizabeth LVP
T square
Laser Level
Knee Pads
Flooring Pull
Cutter
Shop Vac for clean up
Pencil
Underlayment ( Not Needed)
Underlayment tape ( only needed if underlayment)
Flooring Saw ( Not needed unless doing a lot of floors)

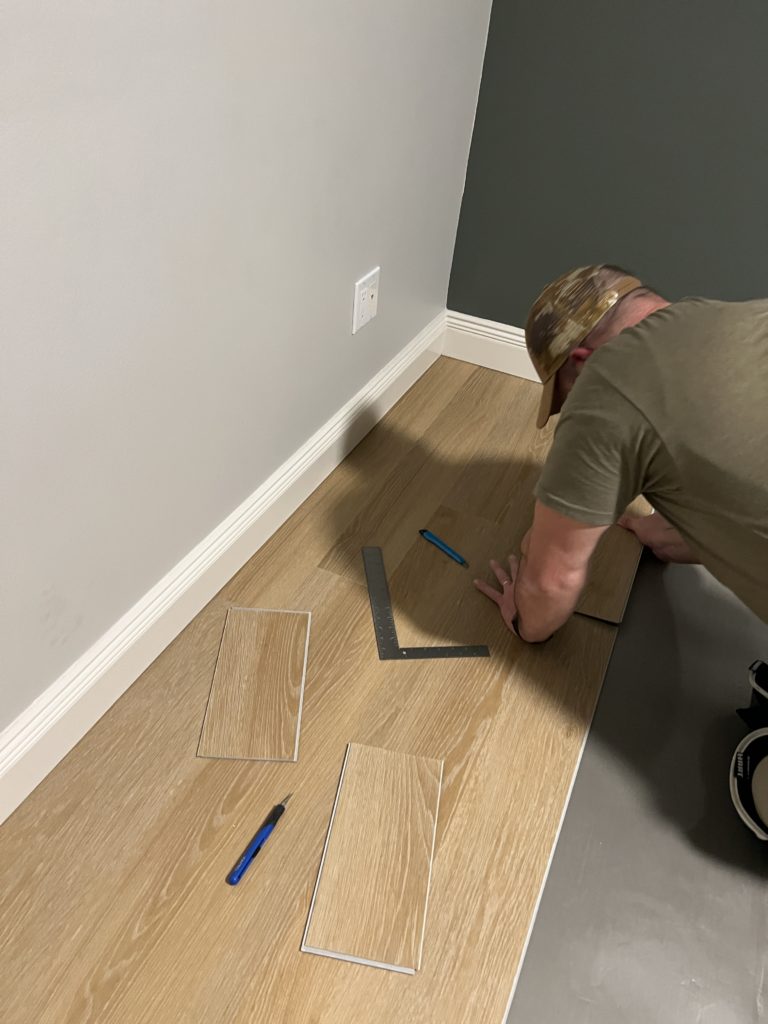
When starting its good to grab your level and make sure everything is square.

There are many ways to cut the flooring, you can use a box cutter, LVP cutter, or a special one. I have my favorite linked above!


Get in your groove, figure out your pattern and snap and use your mallet to secure! We found that you do need to hit with your mallet really good it isn’t a light tap.

Can you see these grains of the ProCore Elizabeth flooring it is so gorgeous!!


BIGGEST TIP – take off all trim. Clearly we didn’t listen to the advice, because honestly we didn’t want to take the trim off or replace it. We love the trim in this house and its not in the budget either. BUT – it makes it that much harder to install but POSSIBLE!

Once you get to the end and finish the best feeling EVER!!!

I wish this photo did this space justice! The ProCore Pro Elizabeth flooring is so beautiful.

We went for the more staggered look, in the past we have made it more planned and even but it was not the right look for us. That is the nice thing so many ways you can install.

Now that this room is complete, we only have a million more rooms to go!

You can check out this bathroom refresh and see more of this space.

This room has a few more finishing touches, here you can see it when the bed was in front of the window. Do you like this look or on the other side where we have it now?

I hope you like how this room turned out. Make sure to keep following along so you can see as we transform the rest of the house with the ProCore Pro Elizabeth flooring.
You can see the NEXT room.


Yes, Christmas is over but I had to share just because! Pin these images for later so you can save them!
Like this post? Save it on Pinterest. Follow me on Pinterest.


