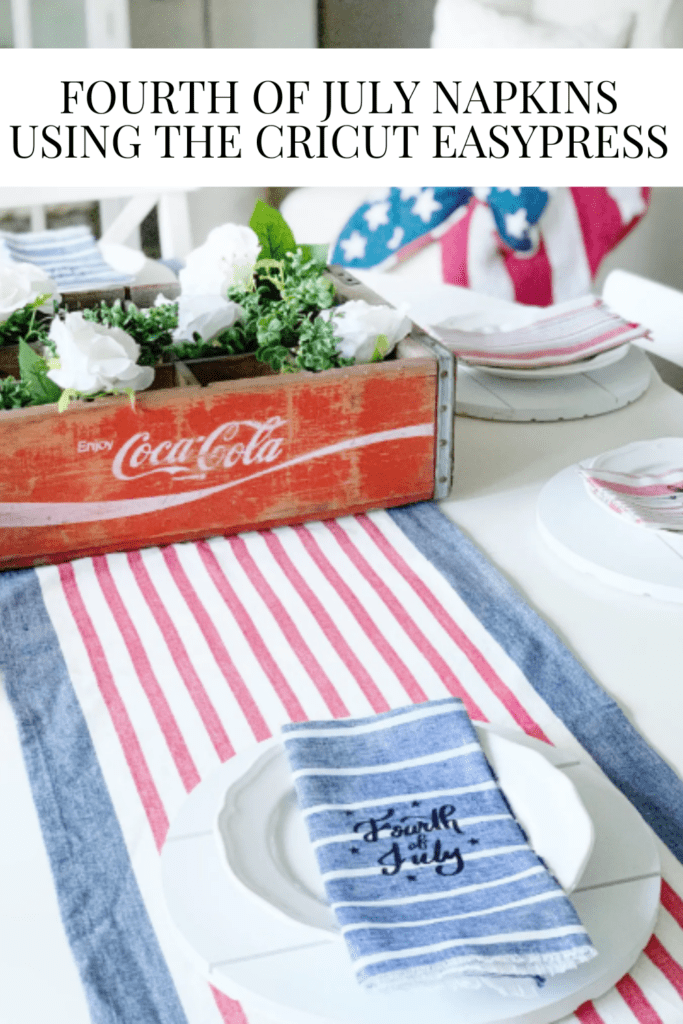
Fourth of July Napkins Using the Cricut EasyPress

I wanted to do a fun project for the Fourth of July, and thought these easy DIY napkins would be perfect with the help of my new Cricut EasyPress 2! Let me show you into my space and how I made them!
I first went shopping at JOANN and found this amazing fabric. I then cut the fabric 18×18 and then pulled the ends to fray it. It was the easiest DIY napkins, but I knew I wanted more so that is where Cricut came in!

There are so many iron on vinyls to choose from, but I thought black would be perfect. The bundle for the Cricut EasyPress did come with some but I had already purchased this.
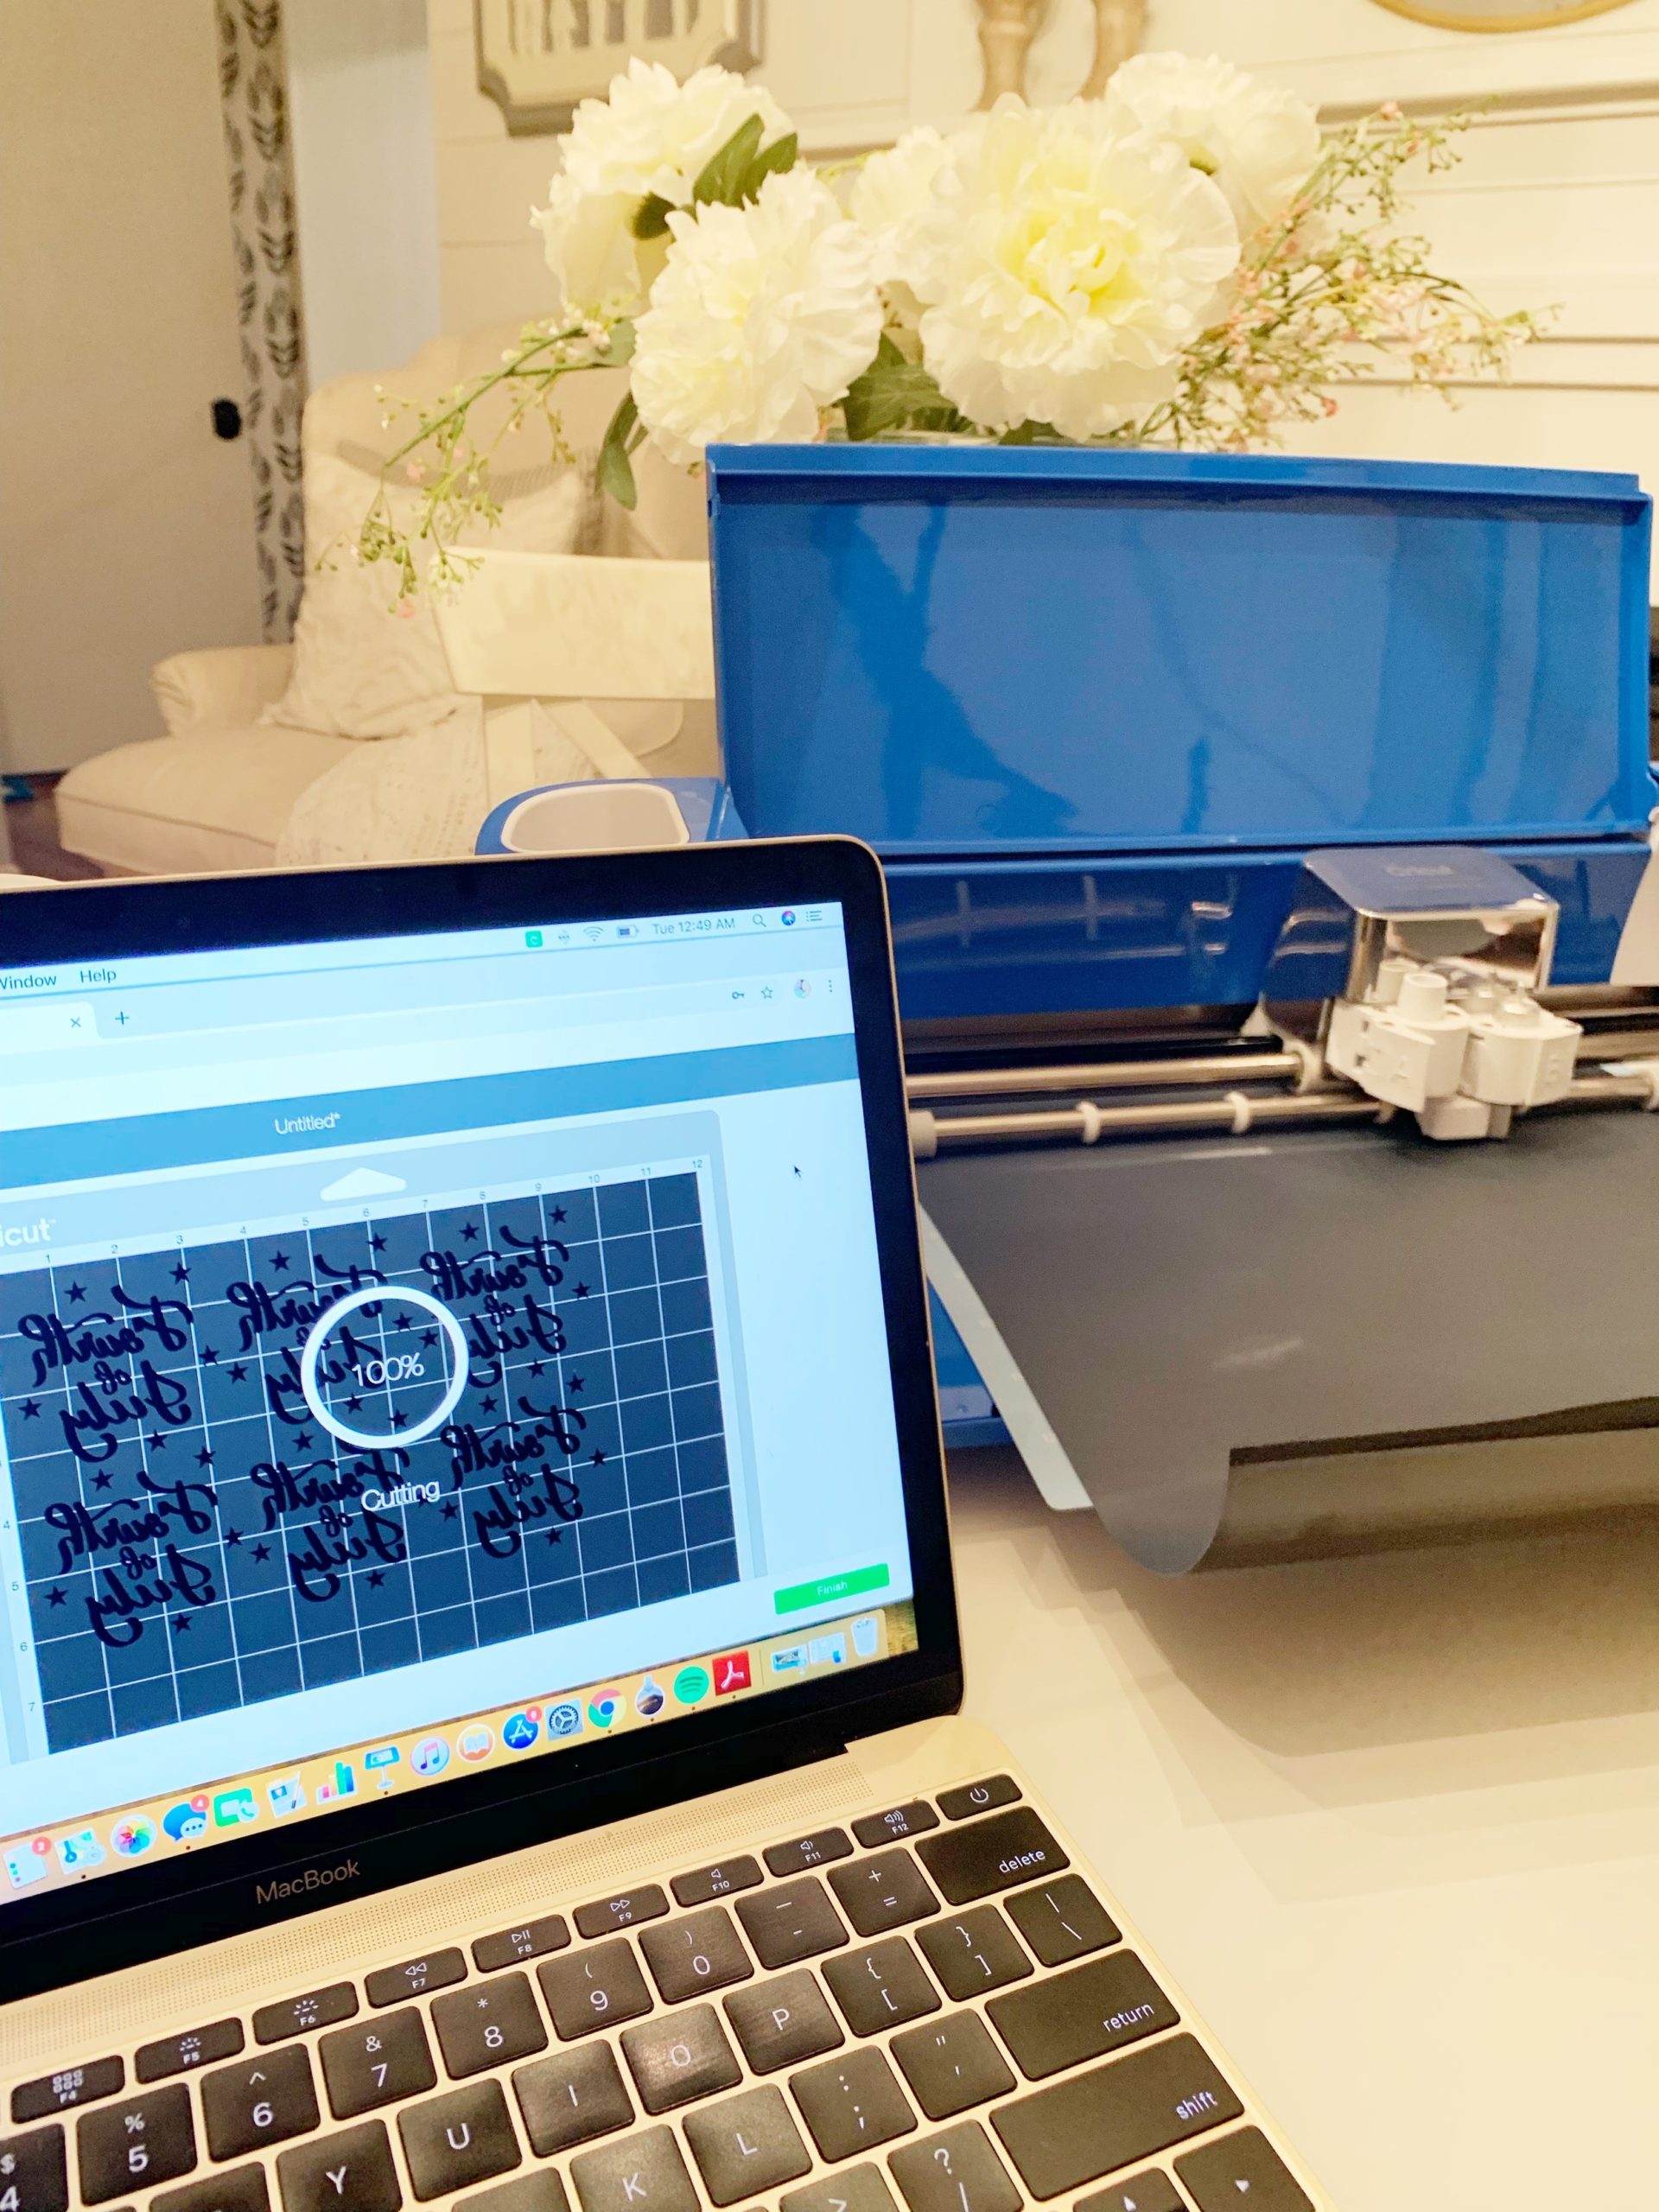
Now its time to choose your design! I found one that was already made in the Cricut shop, this made it super easy! All I had to do was pay for my design, and then duplicate it so I could fill my vinyl. Once you are done with that make sure for vinyl you press the “mirror” button and turn your dial so it comes out the right way.
* Big Tip : Make sure you have the vinyl going in the right side up! ( I cant tell you how many times I did it wrong)
Now for the fun part, watch it cut your design!
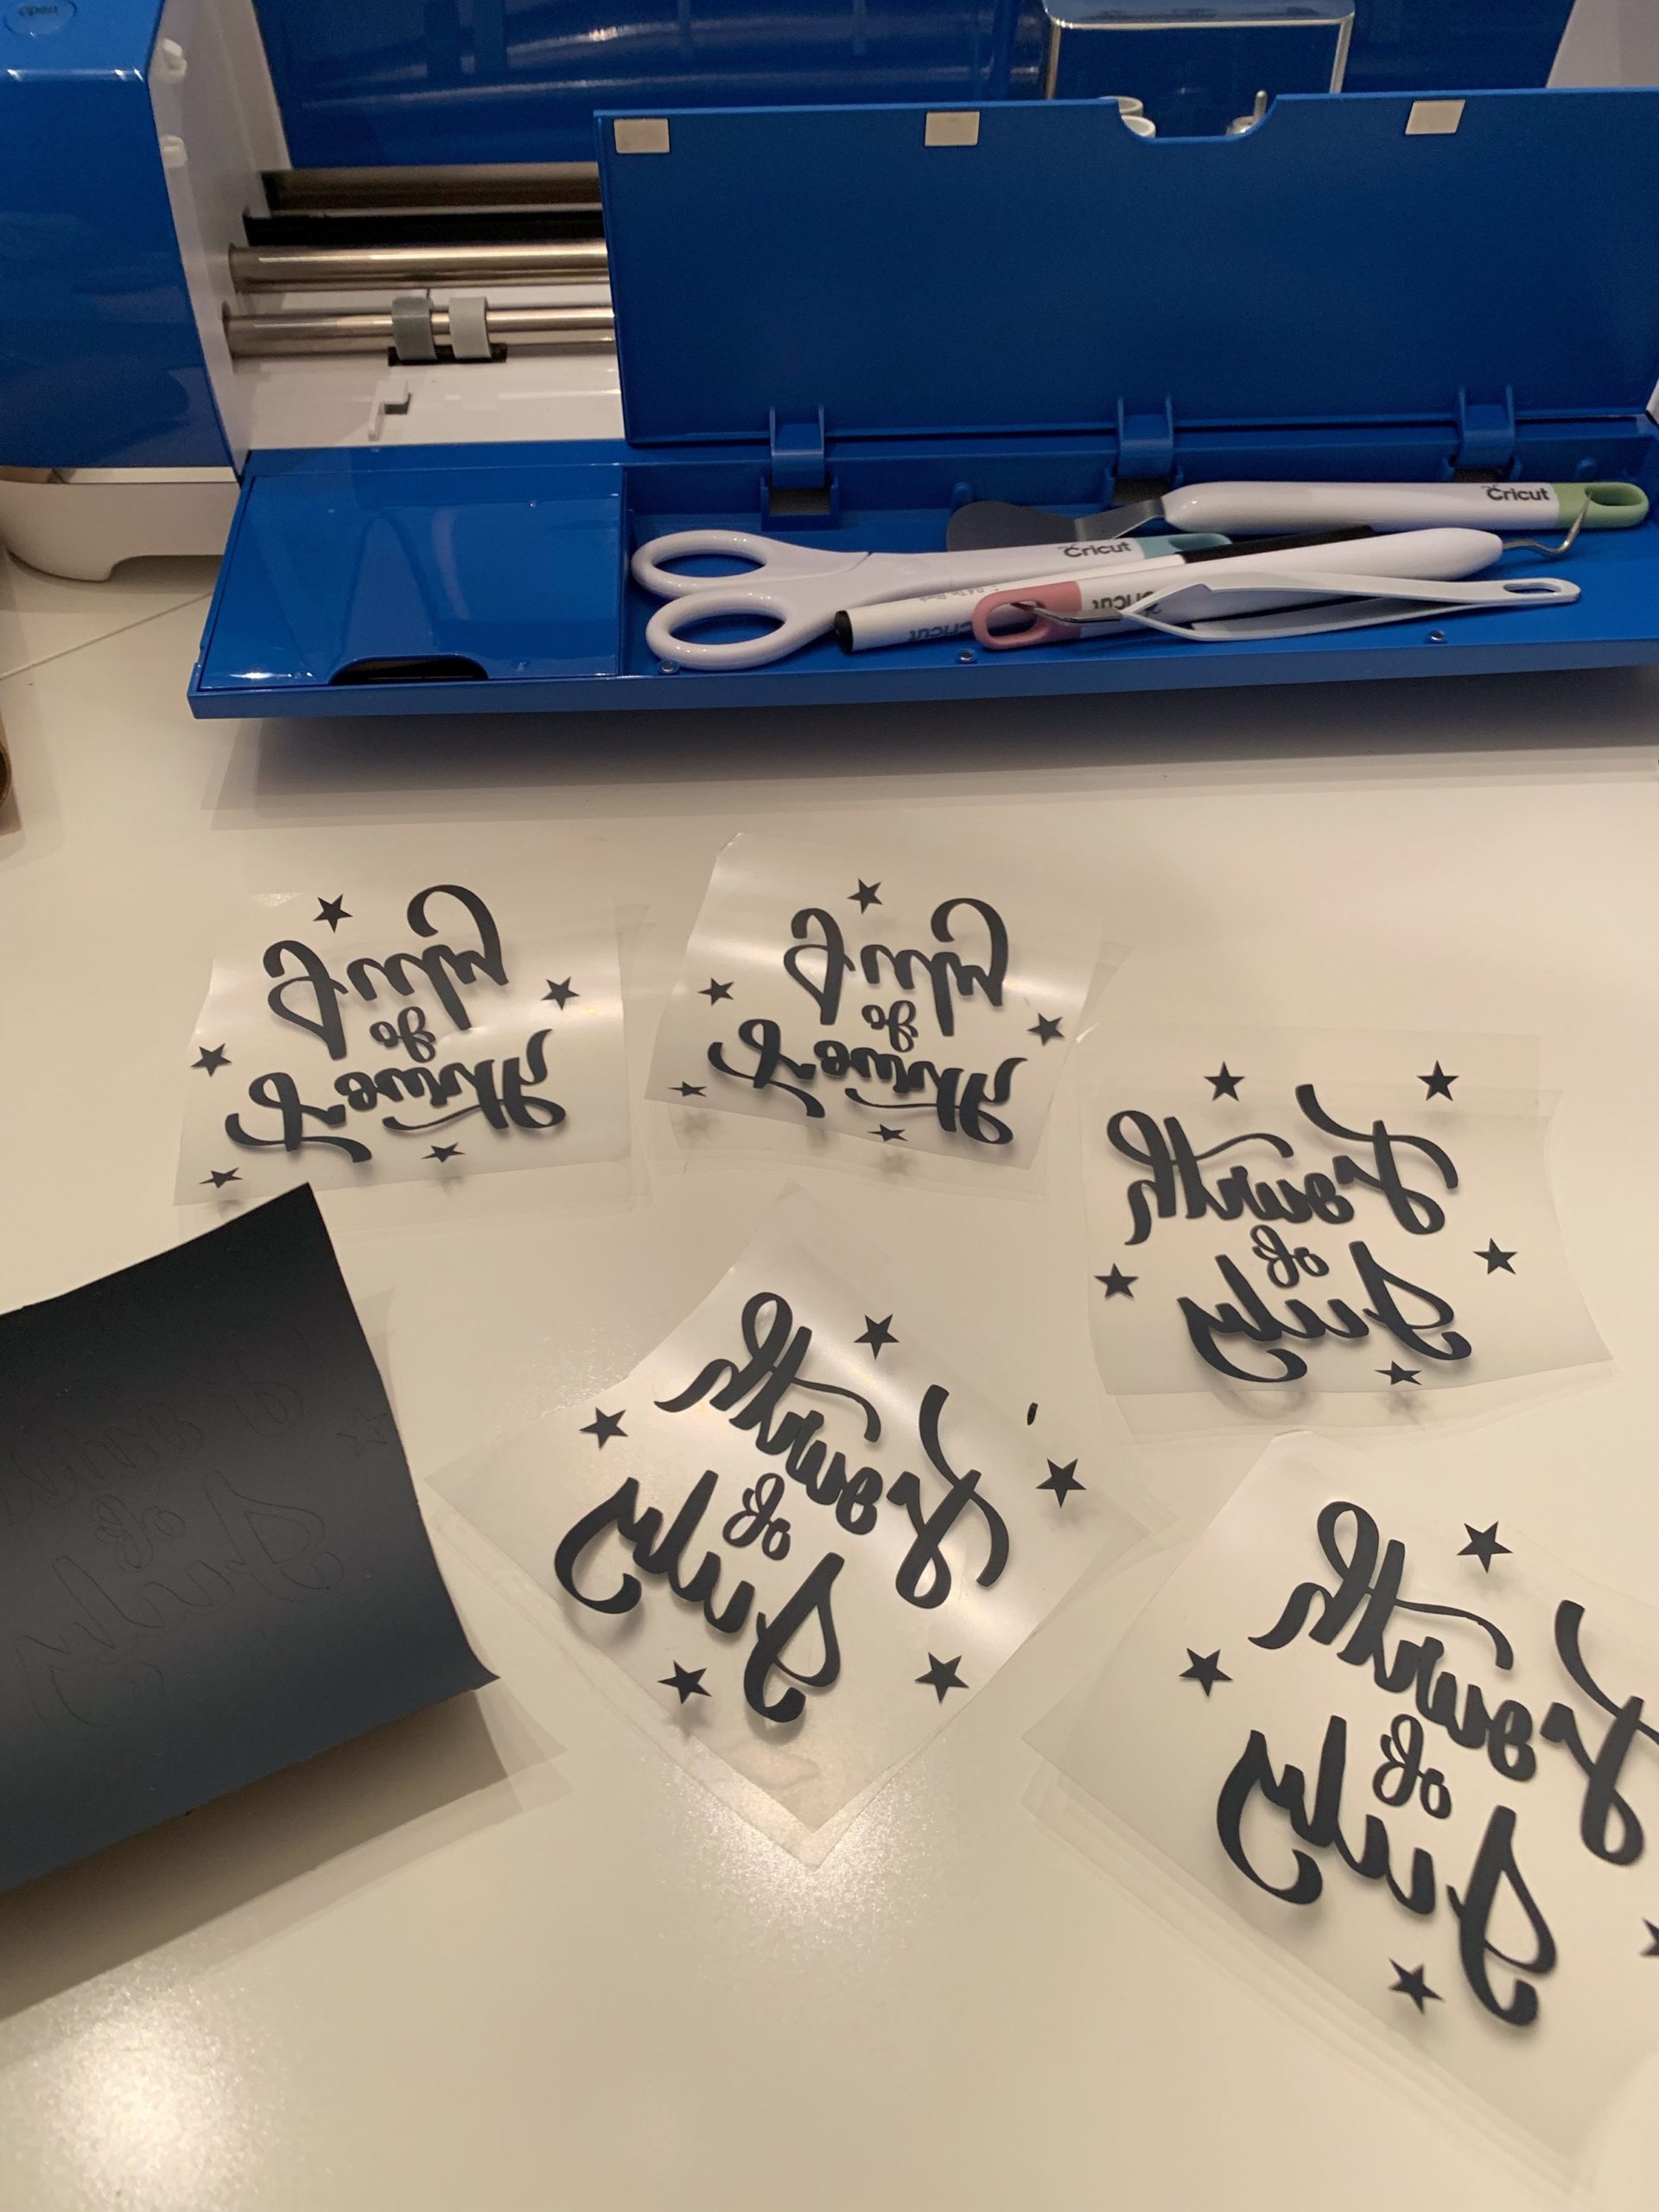
You will then need to “weed out” the wording, then it will look like this.

Before you get started the Cricut EasyPress bundle came with this pouch for your Easy Press and a vinyl letter C, this is your practice. Have they thought of everything? I think yes!
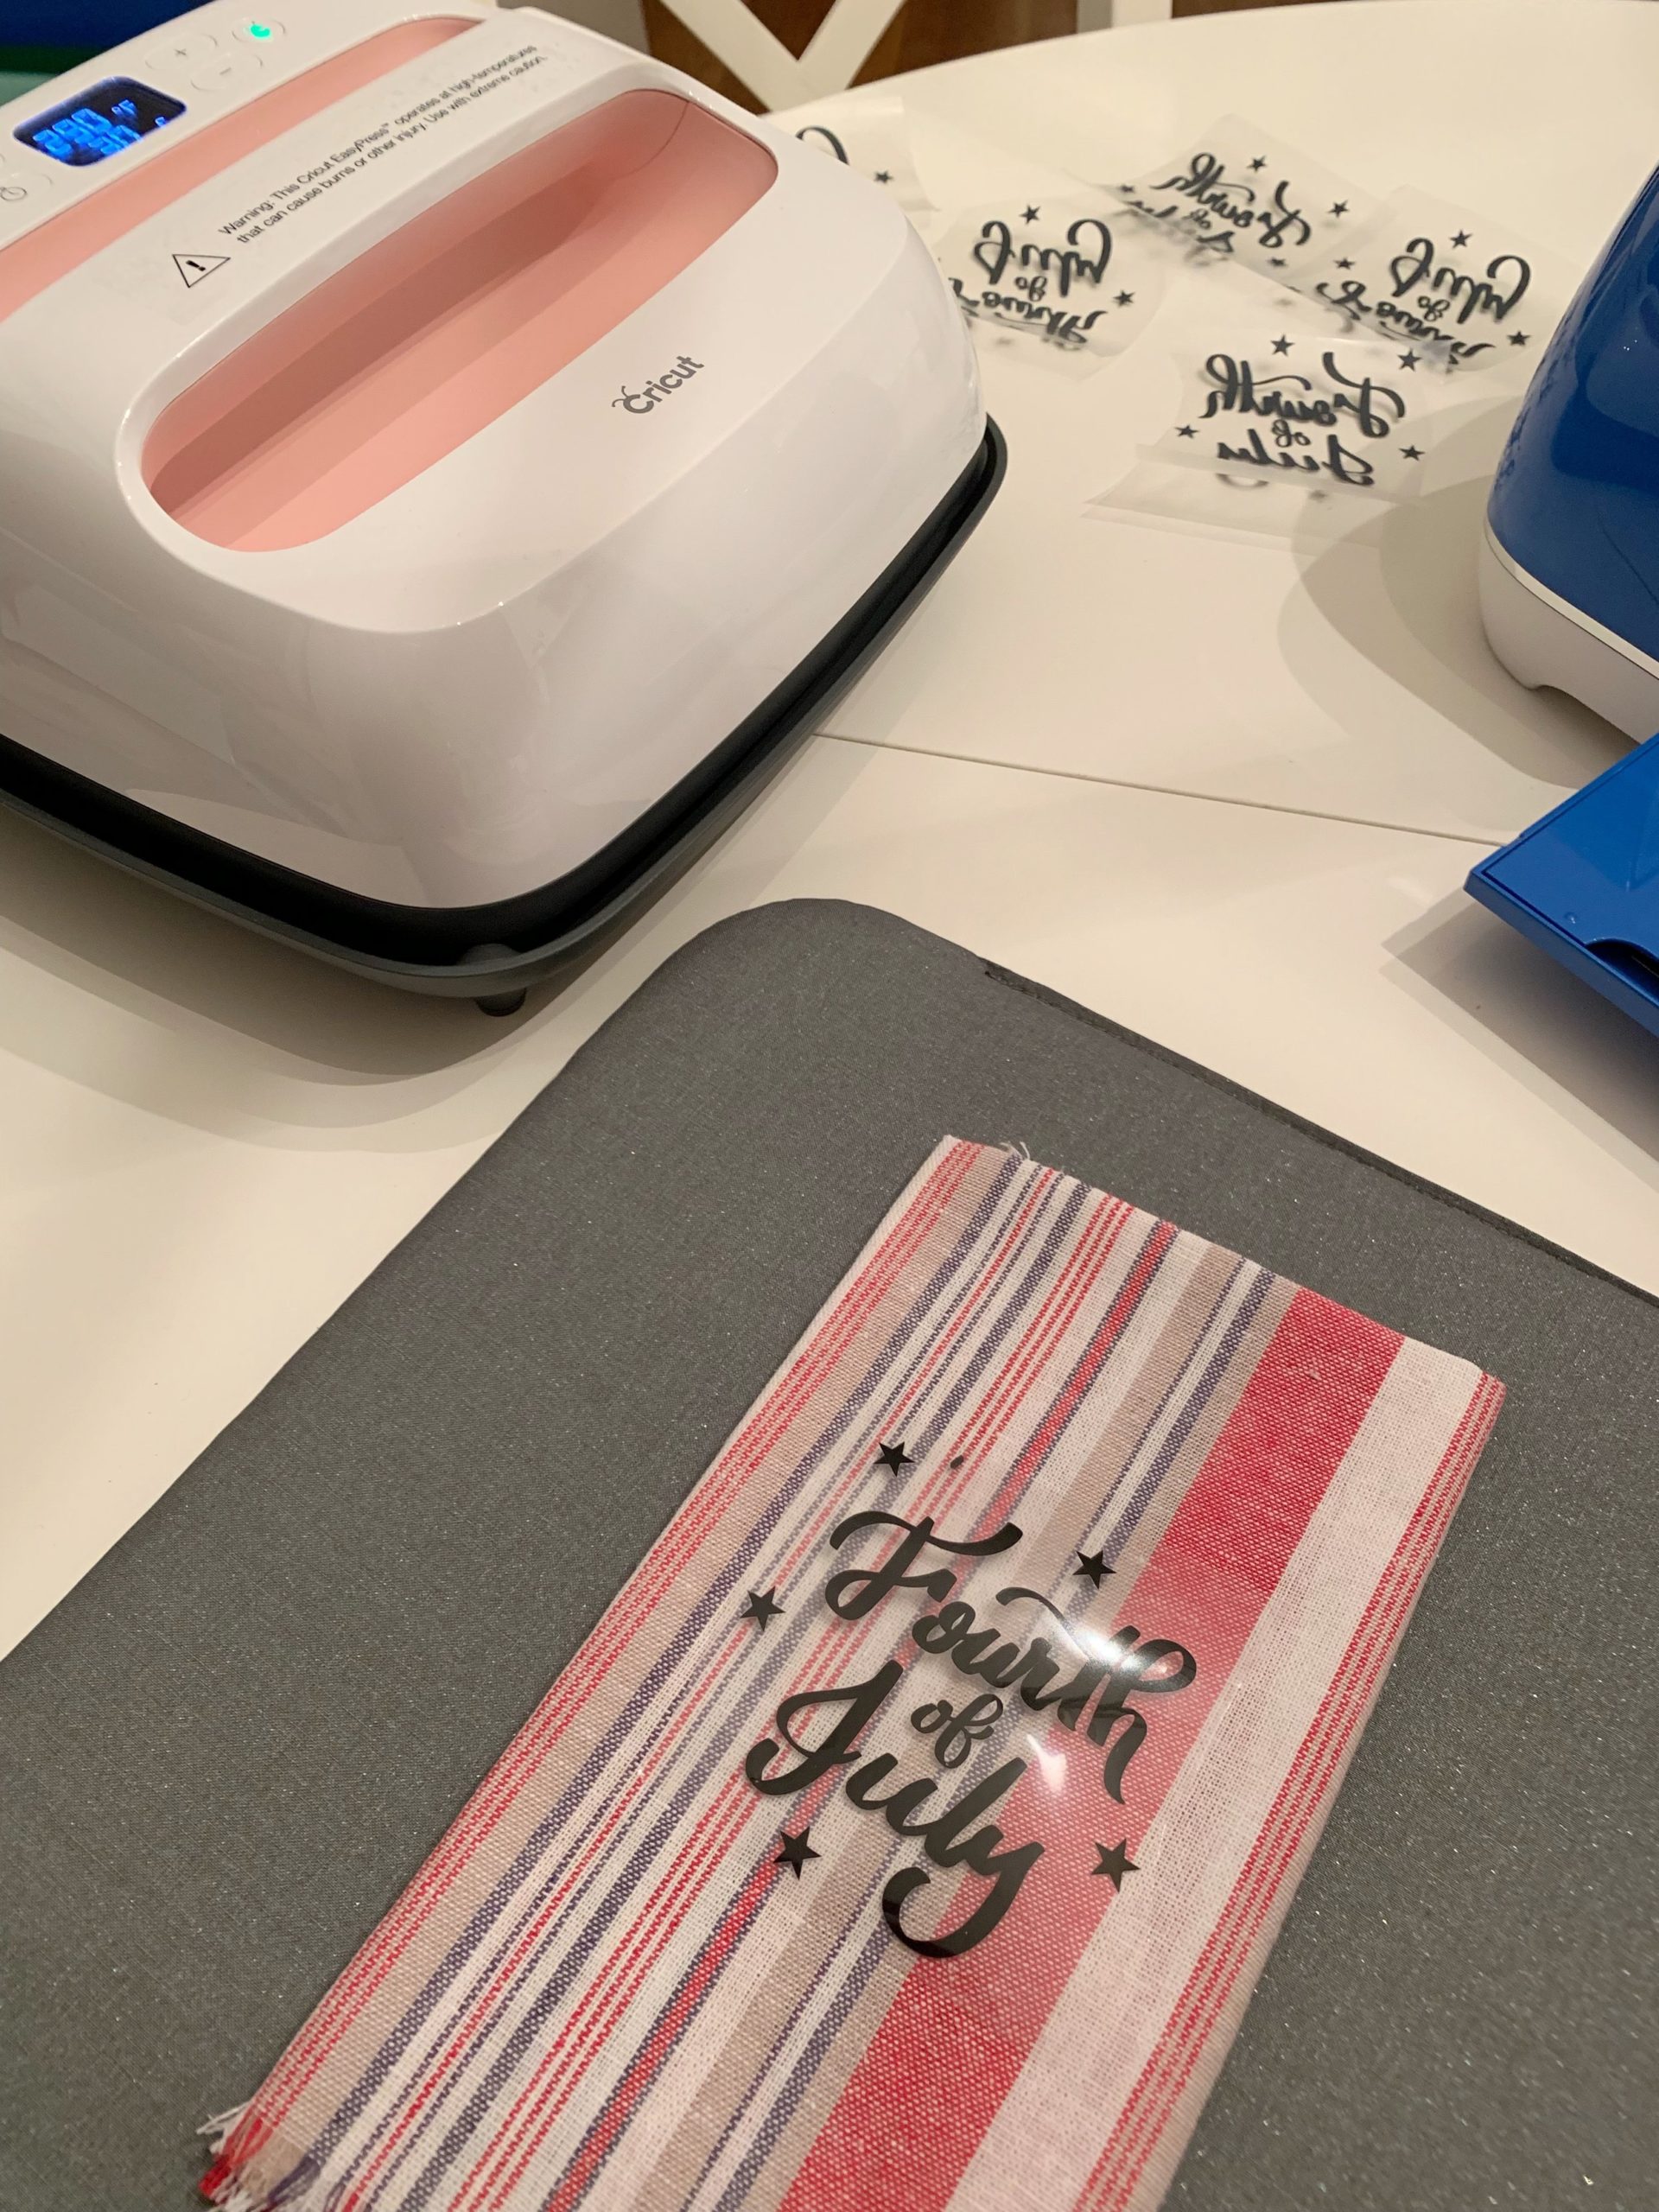
Now that you feel confident after making your pouch, its time to work on the vinyl you cut and place it on the napkins and begin.
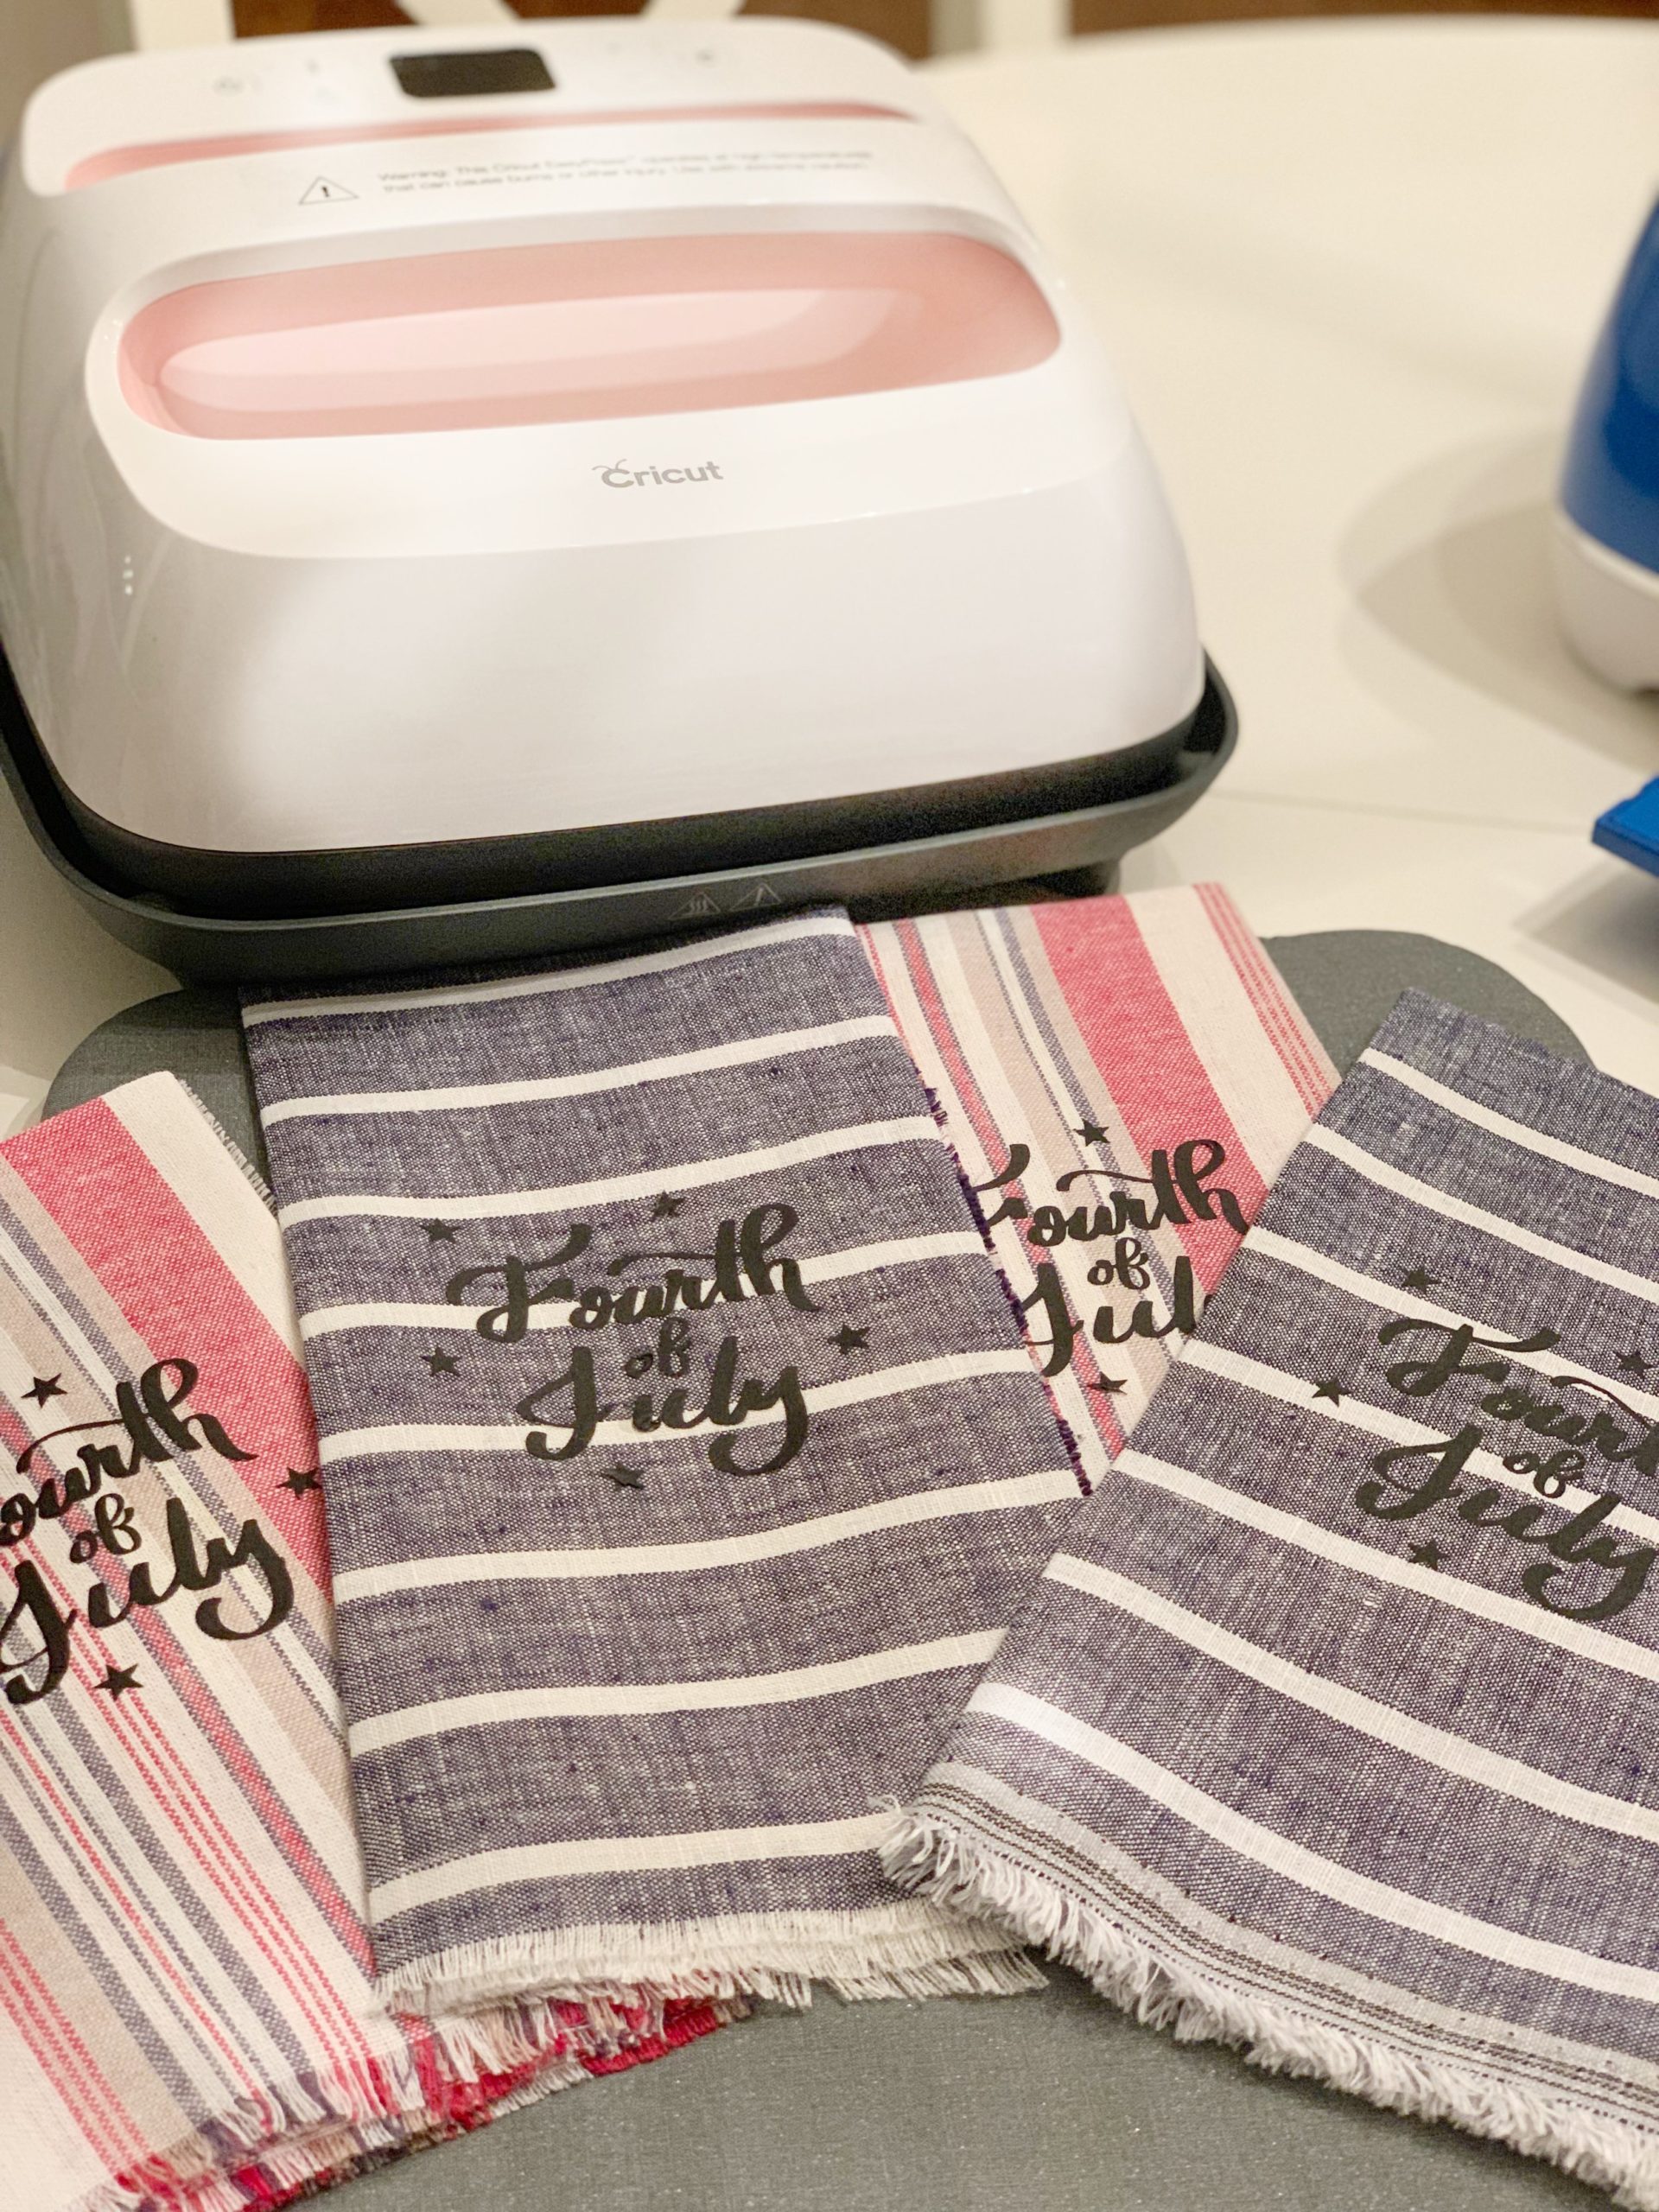
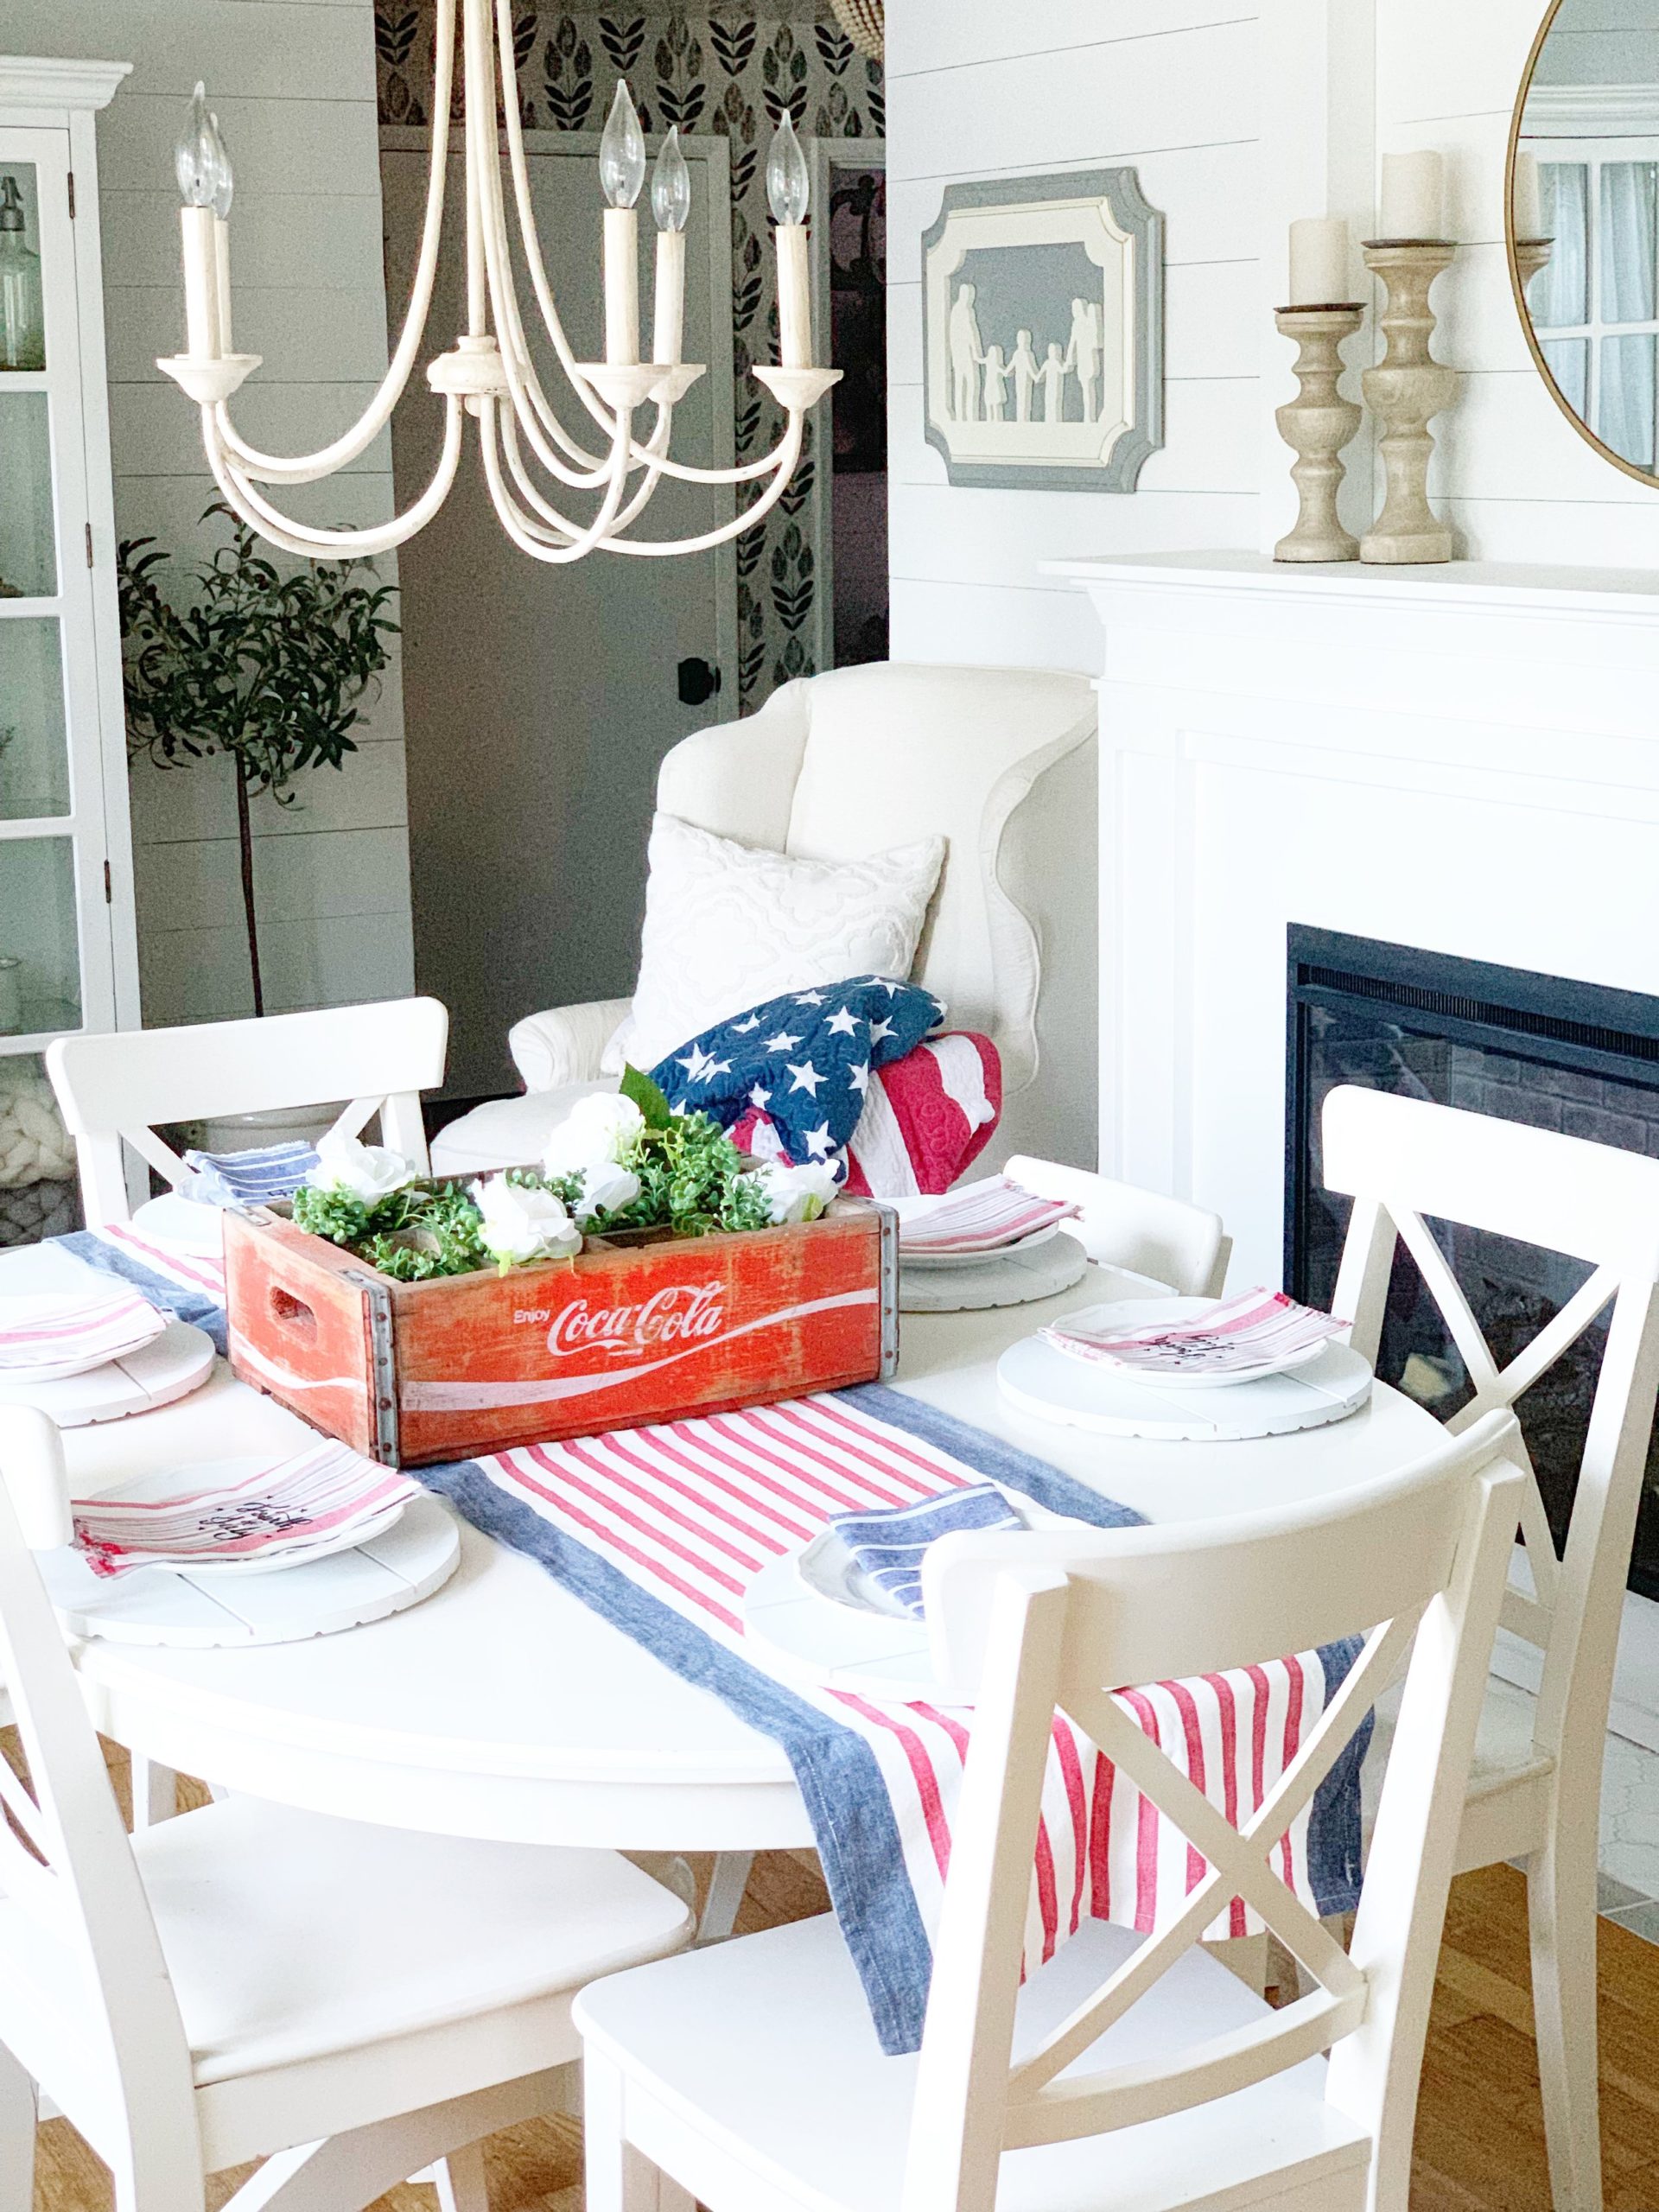
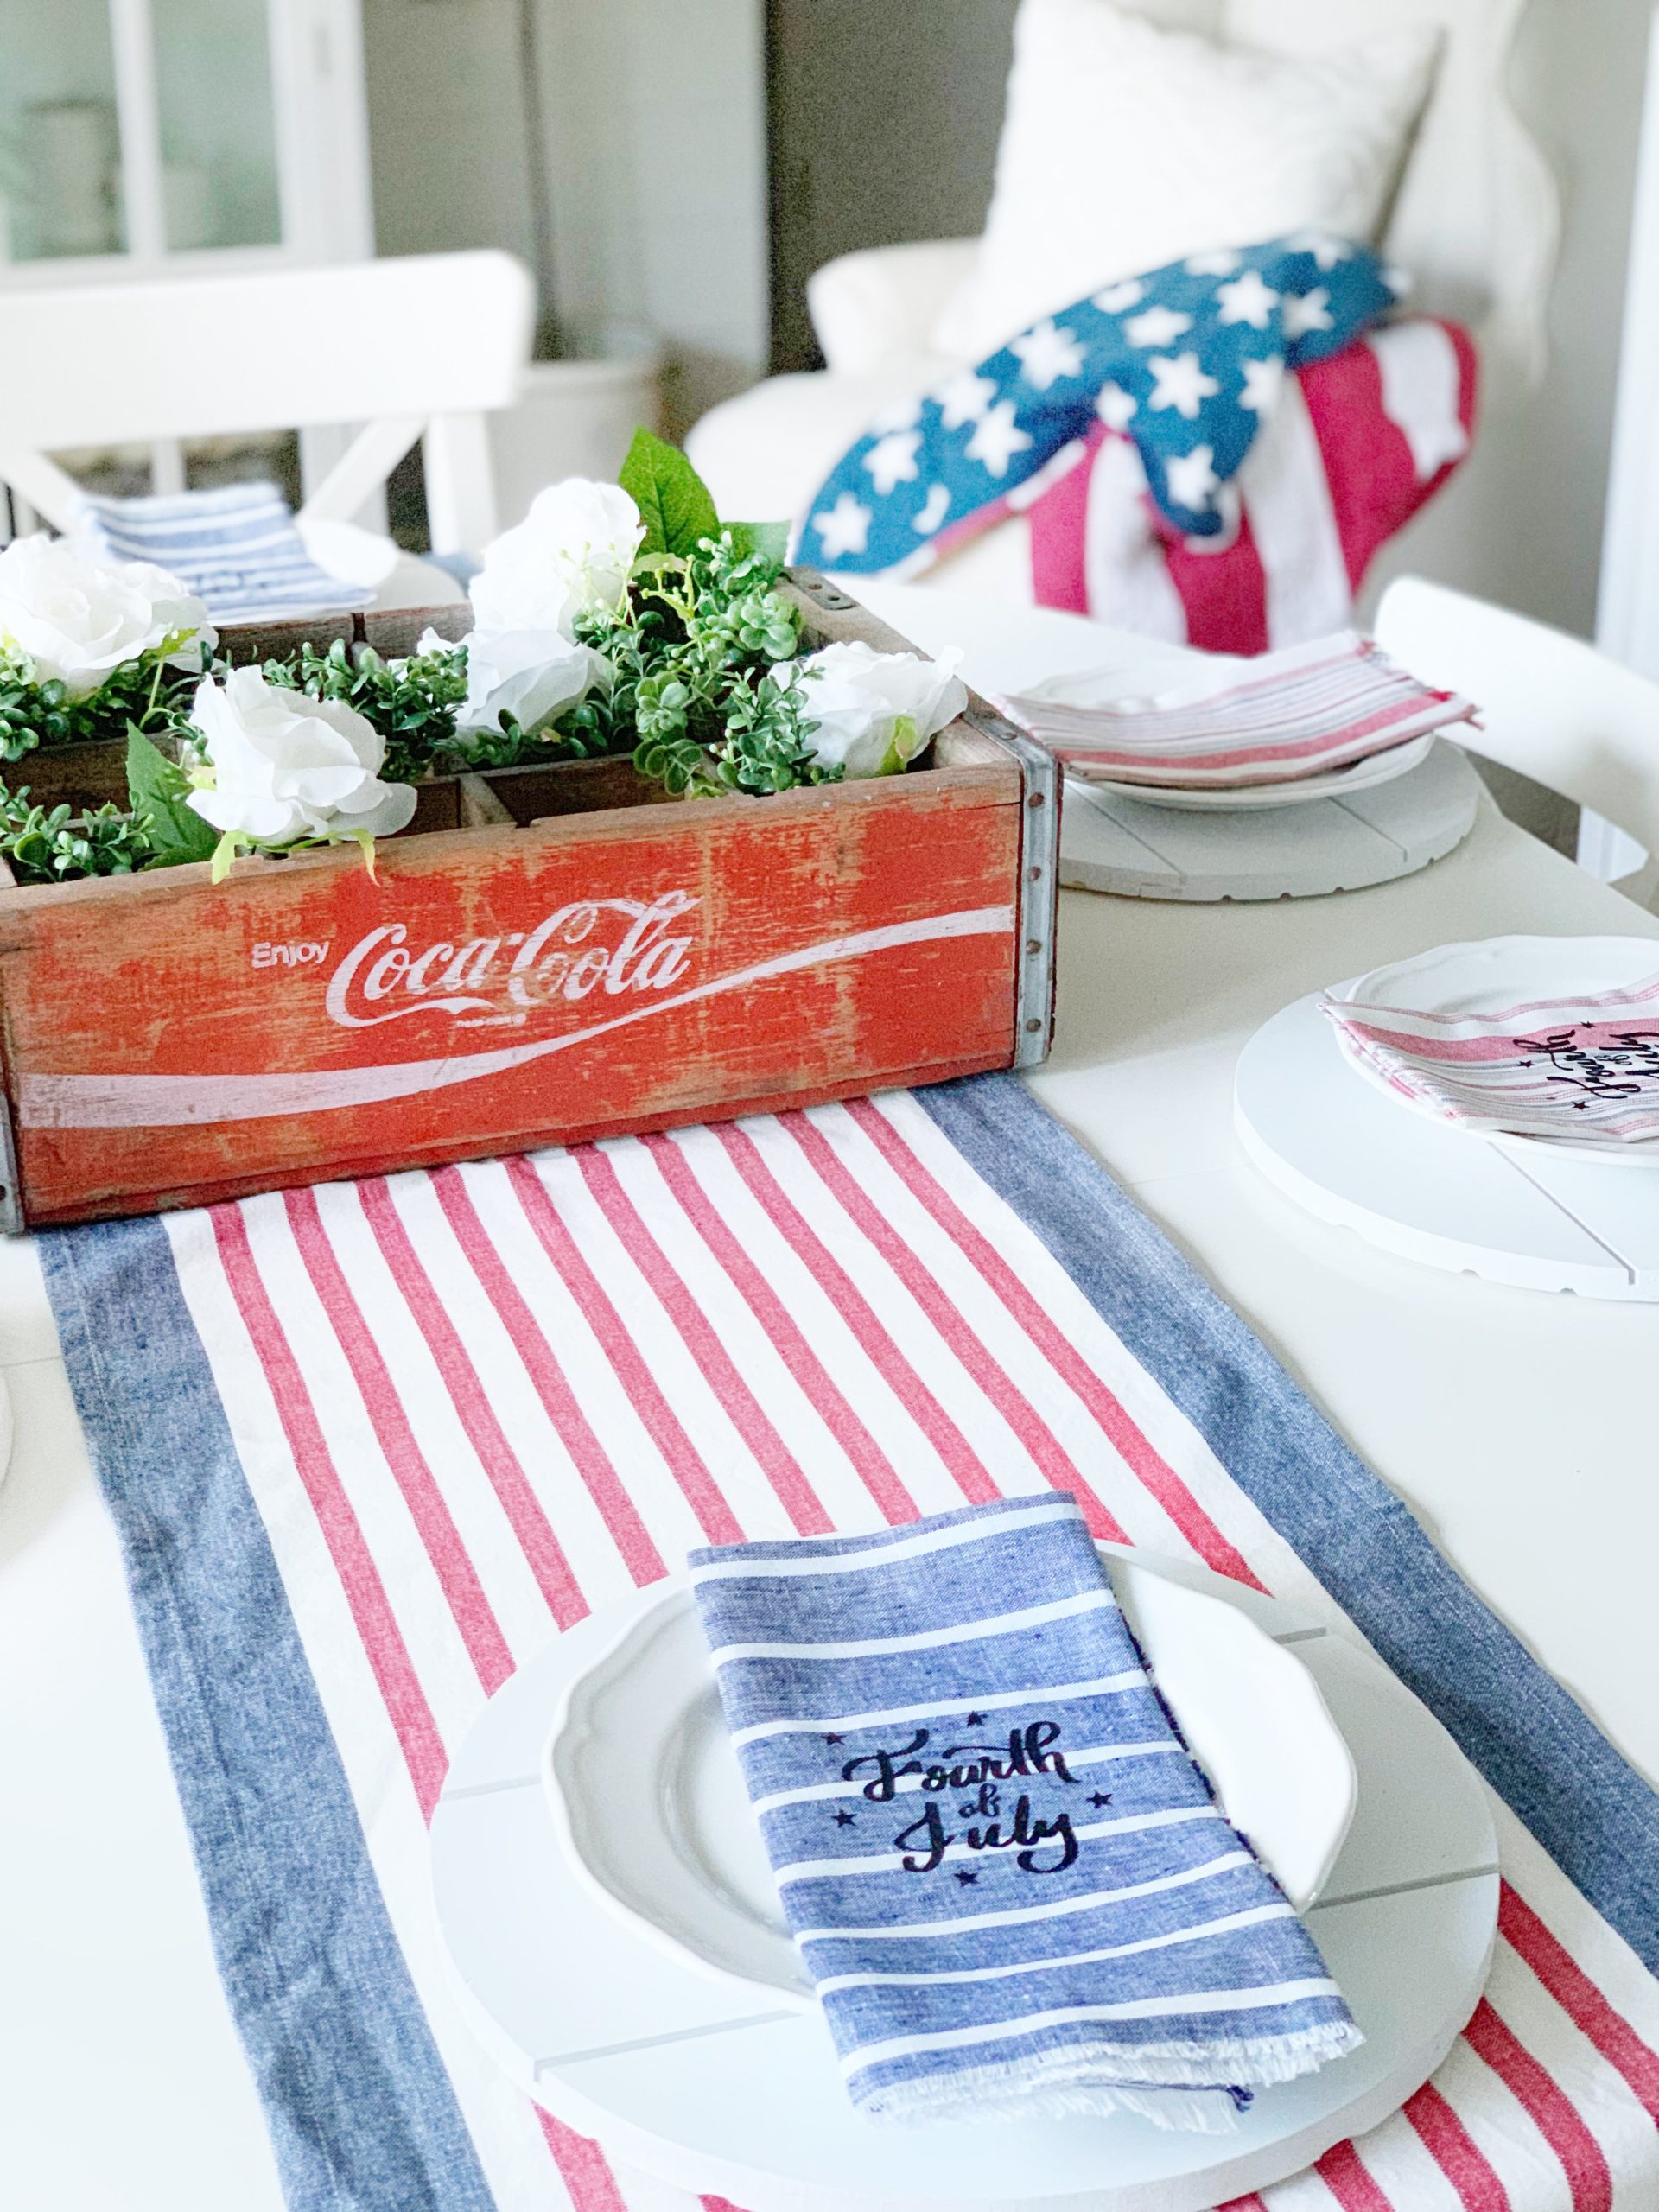
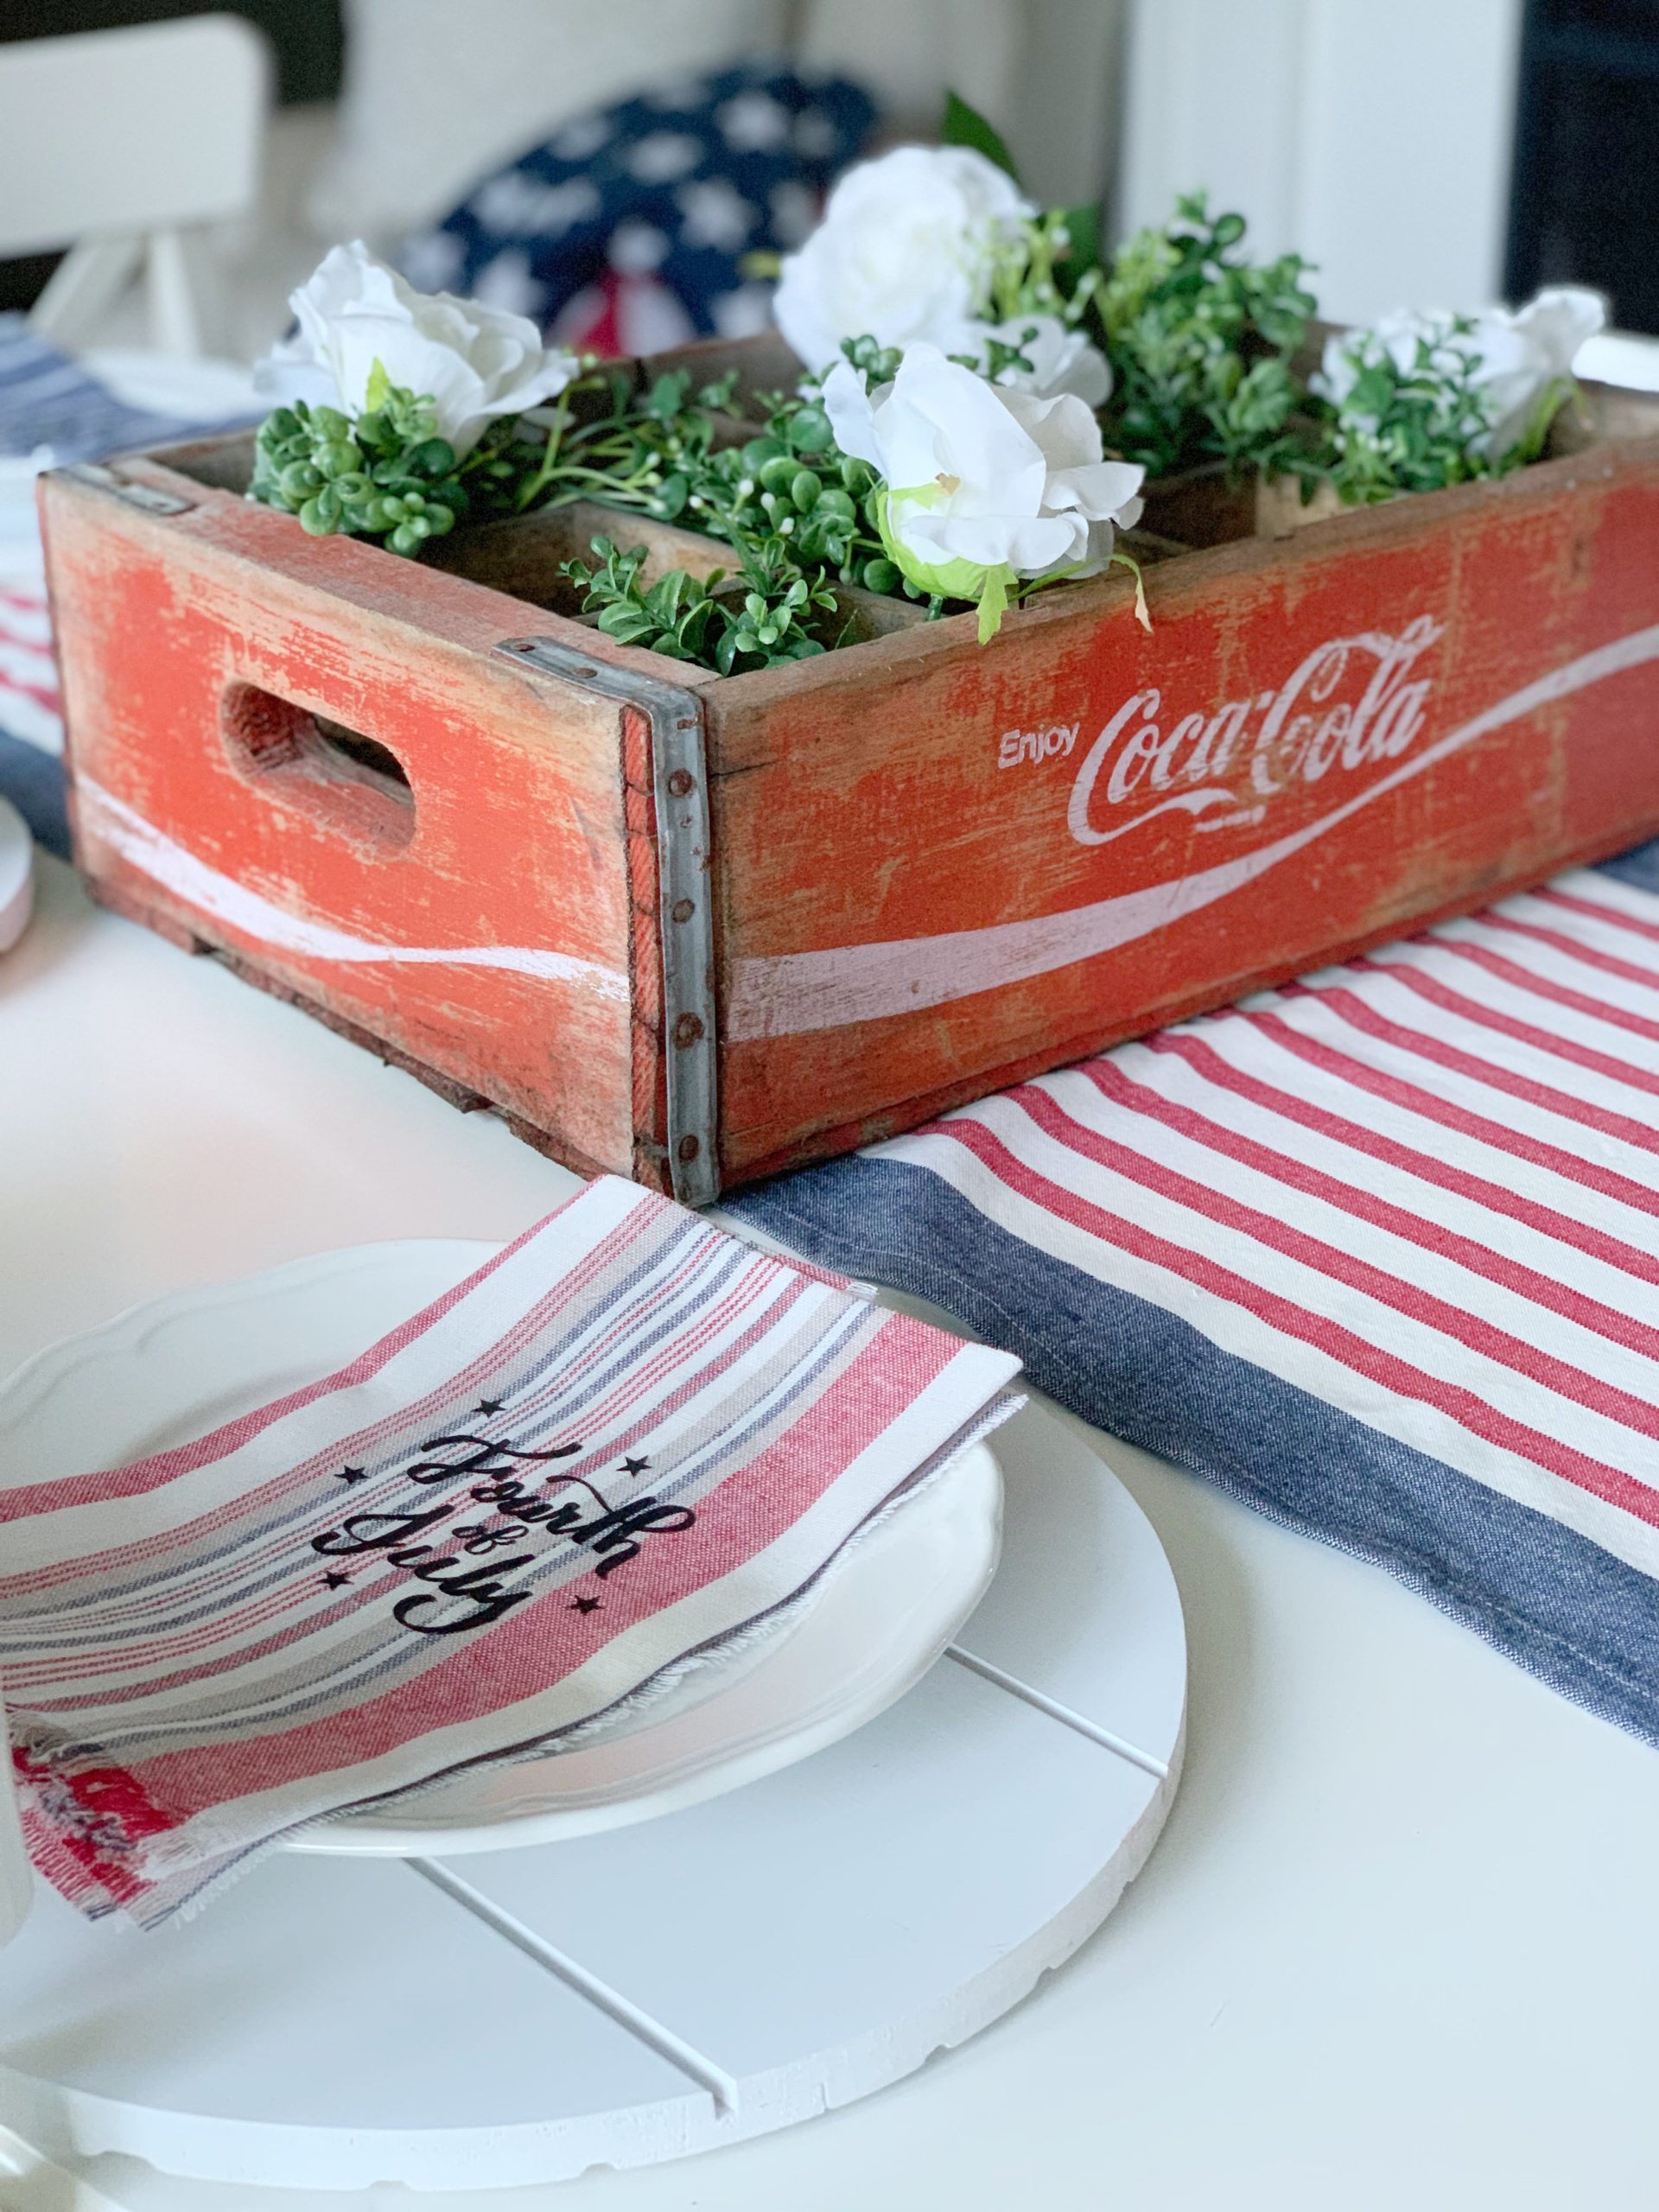
Here they are all completed, now lets style them!
*Make sure to look in the manual or in Cricut videos to see the correct temperature for your project.
This was such a fun and easy project, now I think I want to make for every holiday! we just need people to come over and maybe a few more napkins…. I better get to work!
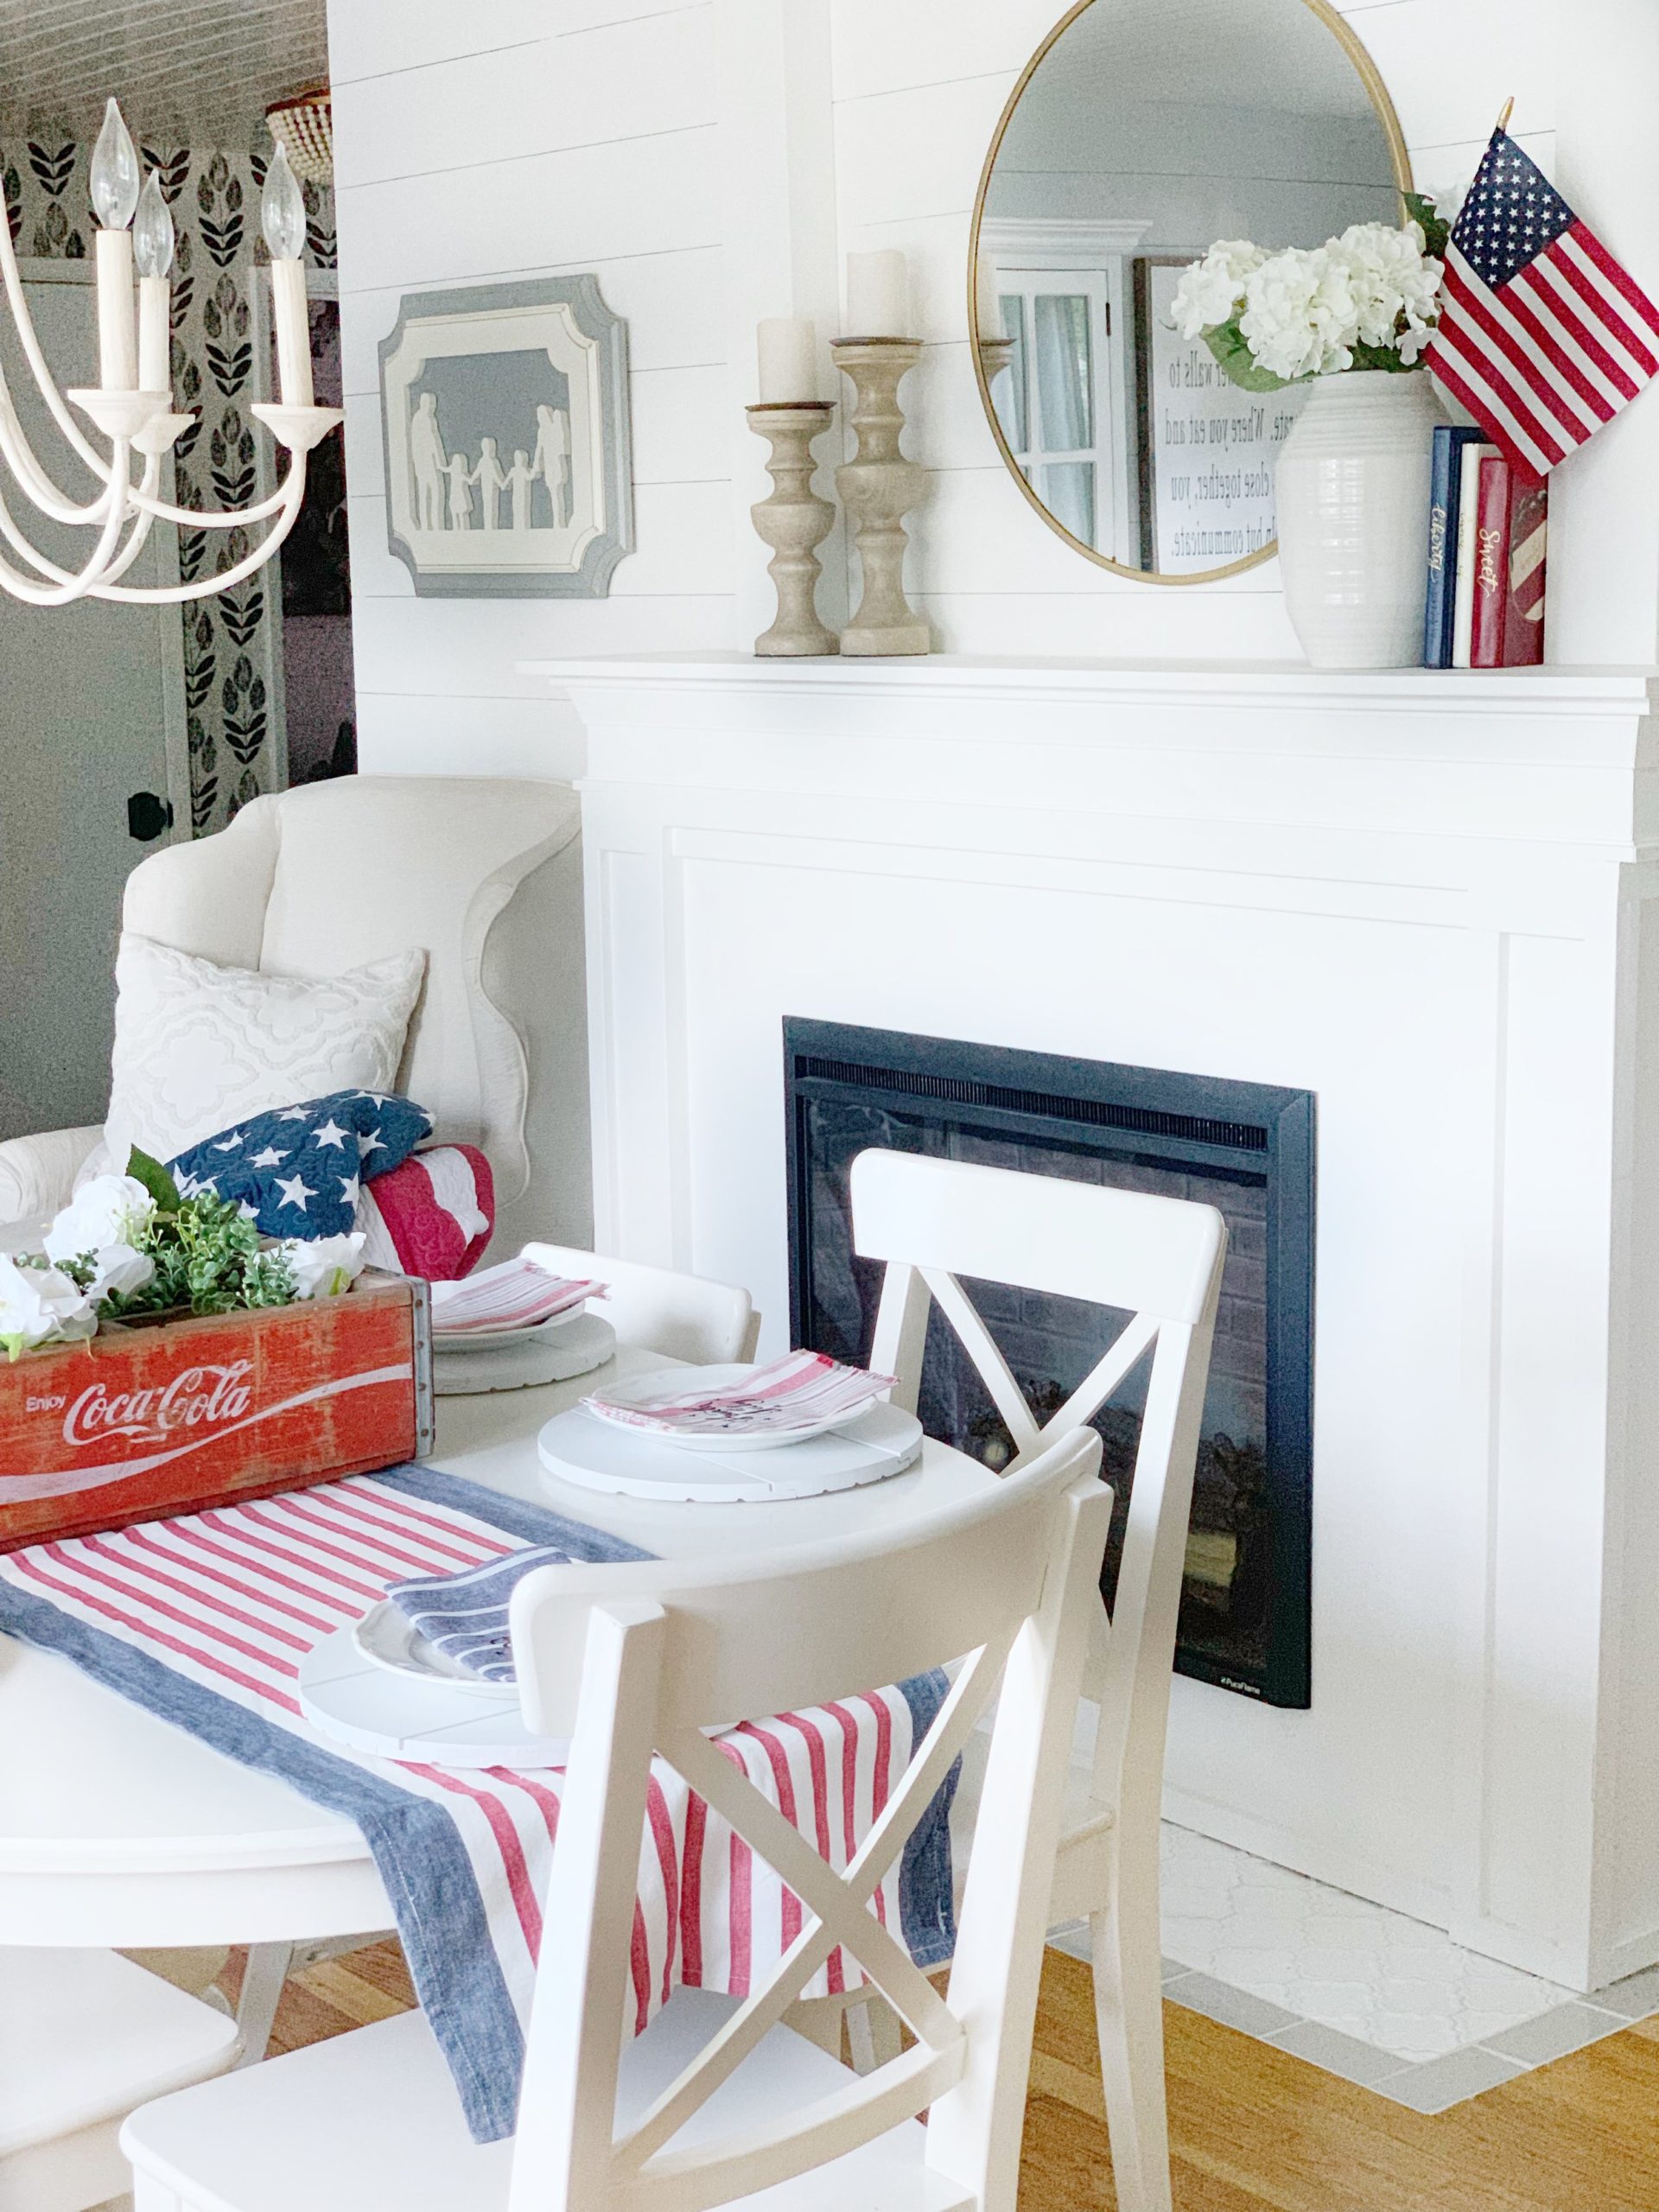
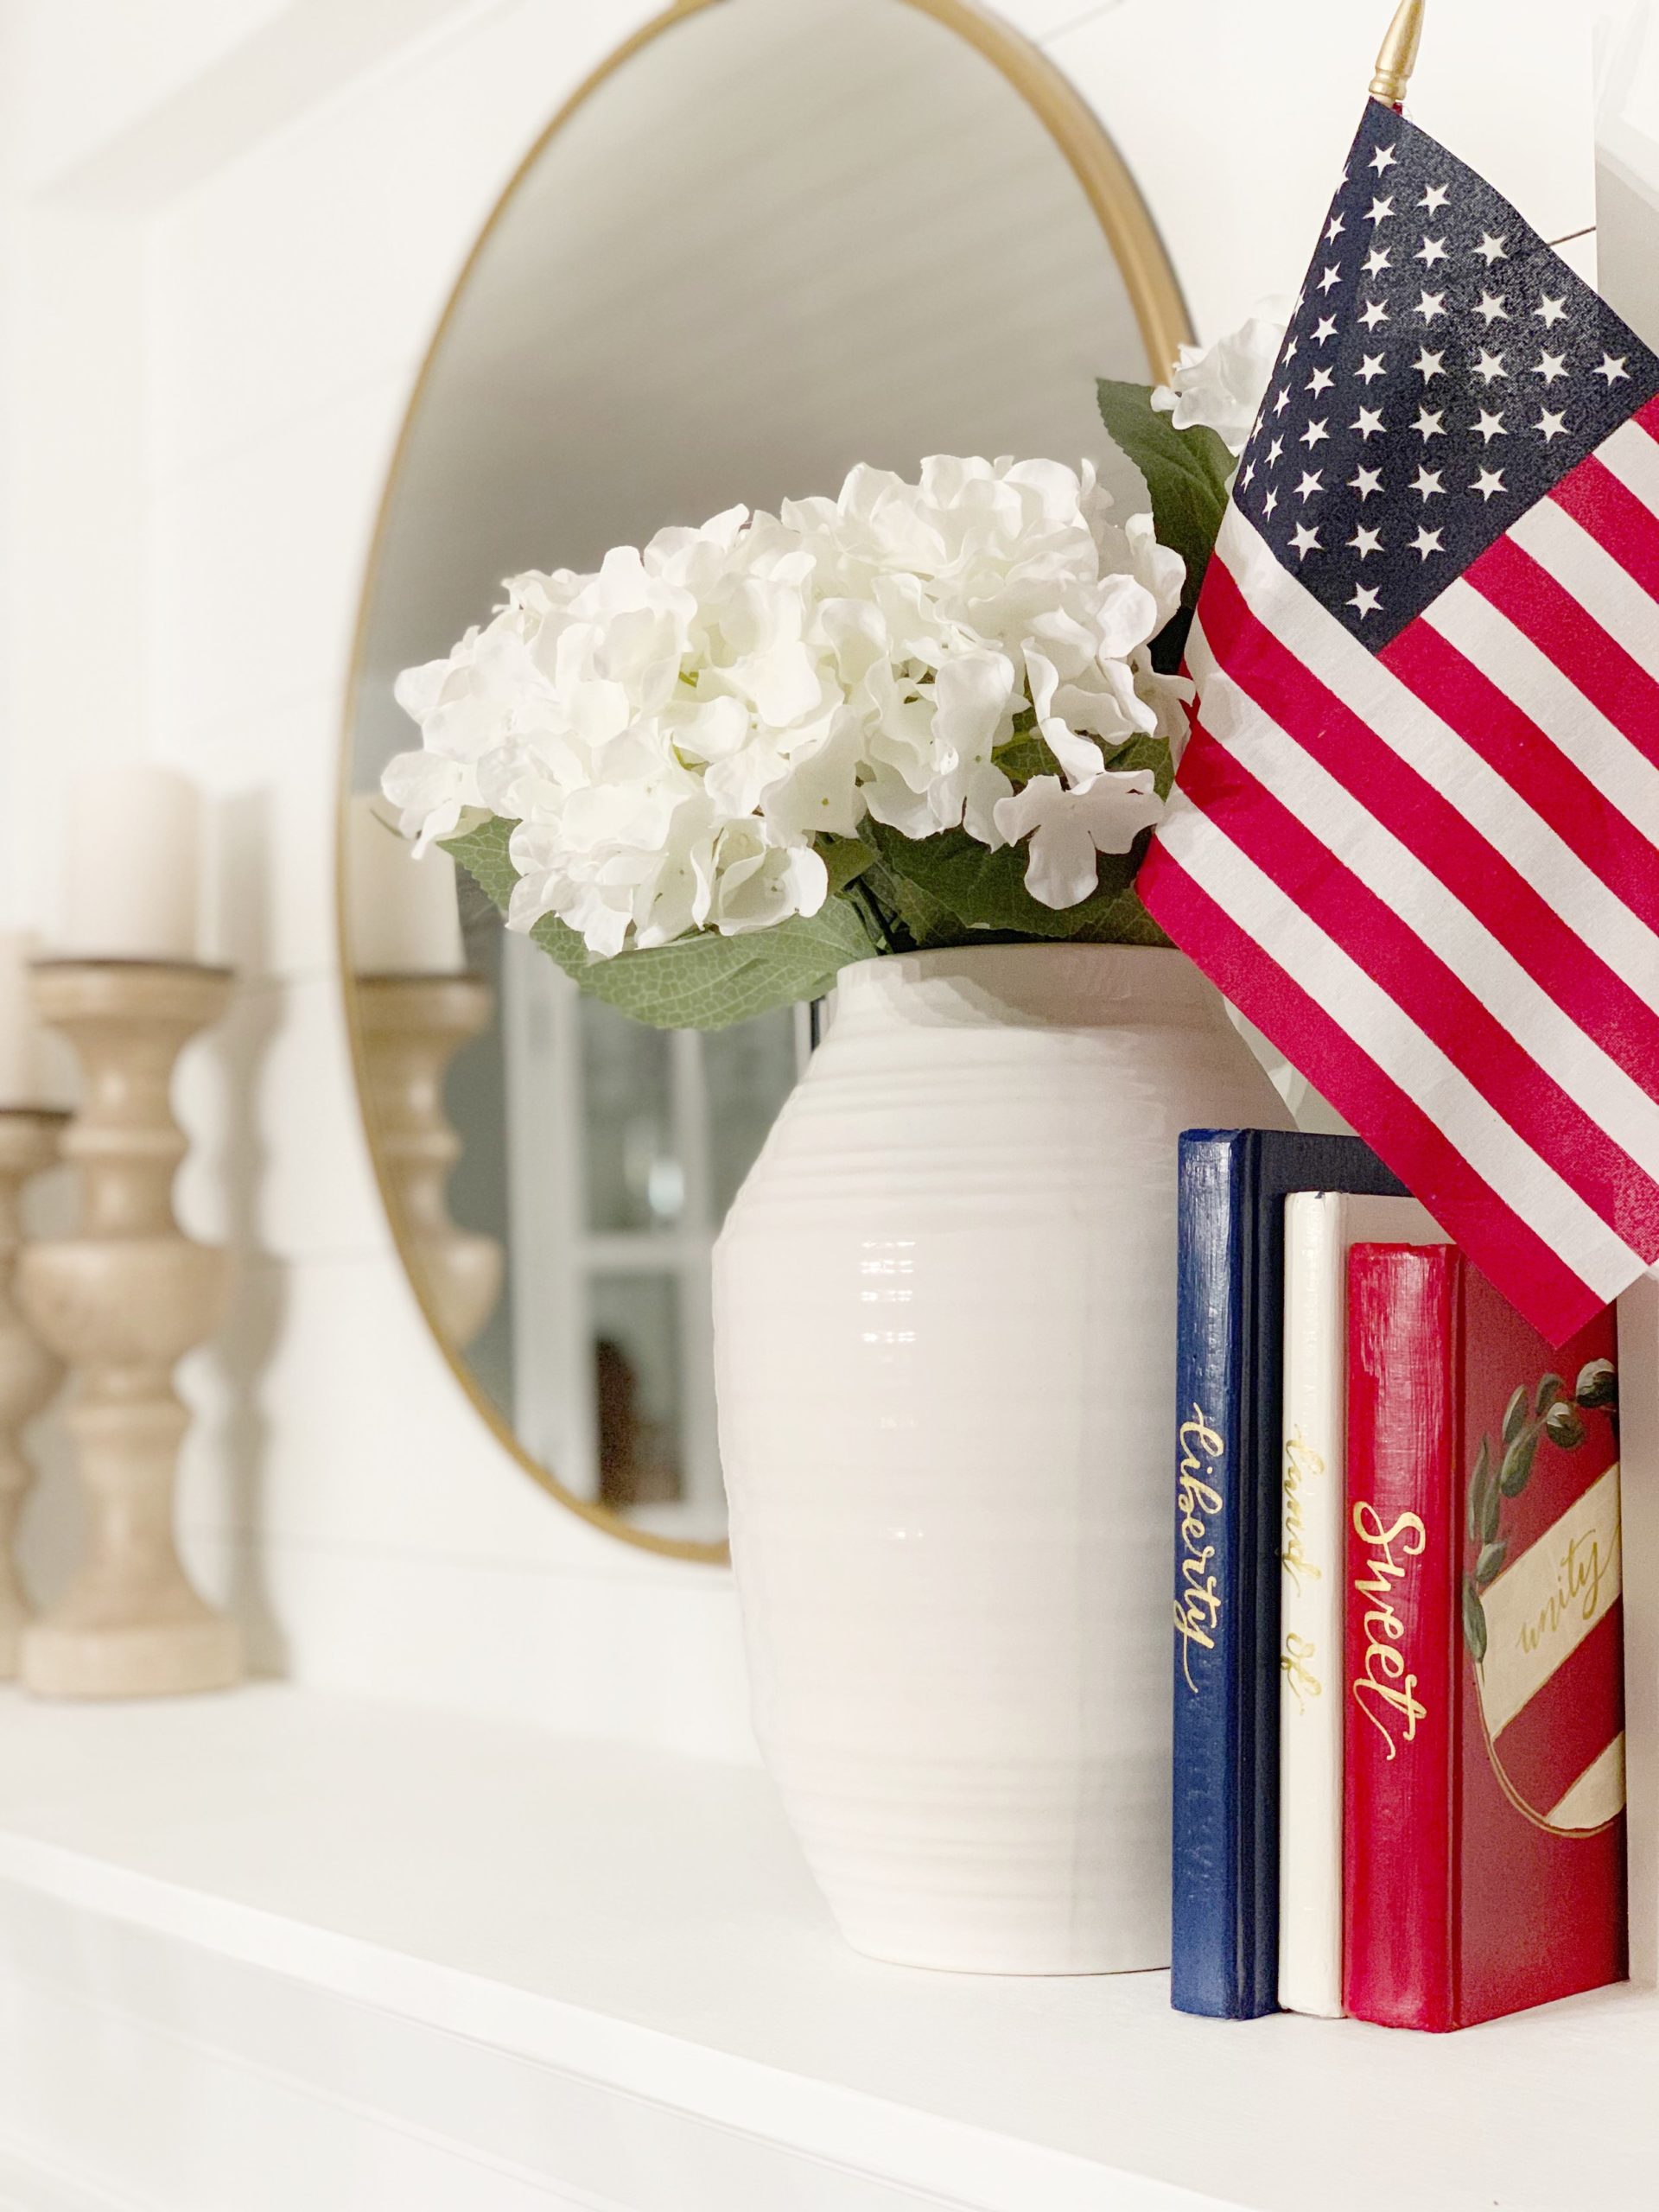
We are all ready for the Fourth of July her, are you?


You can see more of the details over on my instagram stories!
Hopefully you love seeing a sneak peek into my DIYS and this was a fun one with Cricut and JOANN. If you make this DIY I showed I would love for you to tag me on instagram or send me a message and I would love to share! Now what are you going to create?
Sources :
I have placed all the links below, you can click on each item.
Cricut EasyPress
Cricut Explore
Vinyl
Like this post? Save it on Pinterest. Follow me on Pinterest.


A good idea to decorate napkins with inscriptions. It seems everything is usually and simple, but it looks original.