DIY Gallery Wall + How to Hang It!
Come decorate with me! Today I am going to share with you how I put together our family room, a DIY gallery wall + how to hang it!

Now that you see the complete room, are you ready to see how I put it together from scratch in one day using mostly what I had at home? Then I will show you this easy DIY gallery wall tutorial!

This space has come along way, and after today it will finally feel complete – well minus redoing the ceilings … but that will come later! When I decided to cover up this odd window, and move the door everyone thought I was crazy! Hopefully this will show you that it was worth it! Now that we have a blank canvas lets decorate!
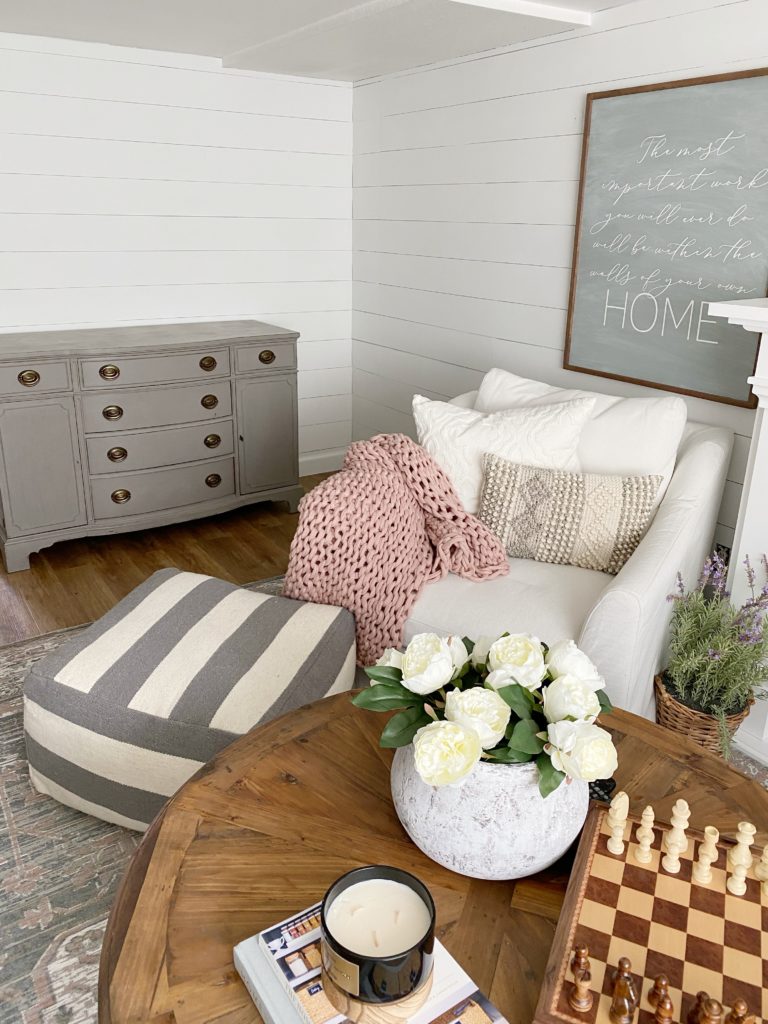

First we added this amazing buffet that I have had forever. Next we added this Mora Clock – it moves around my house, but we do have two!


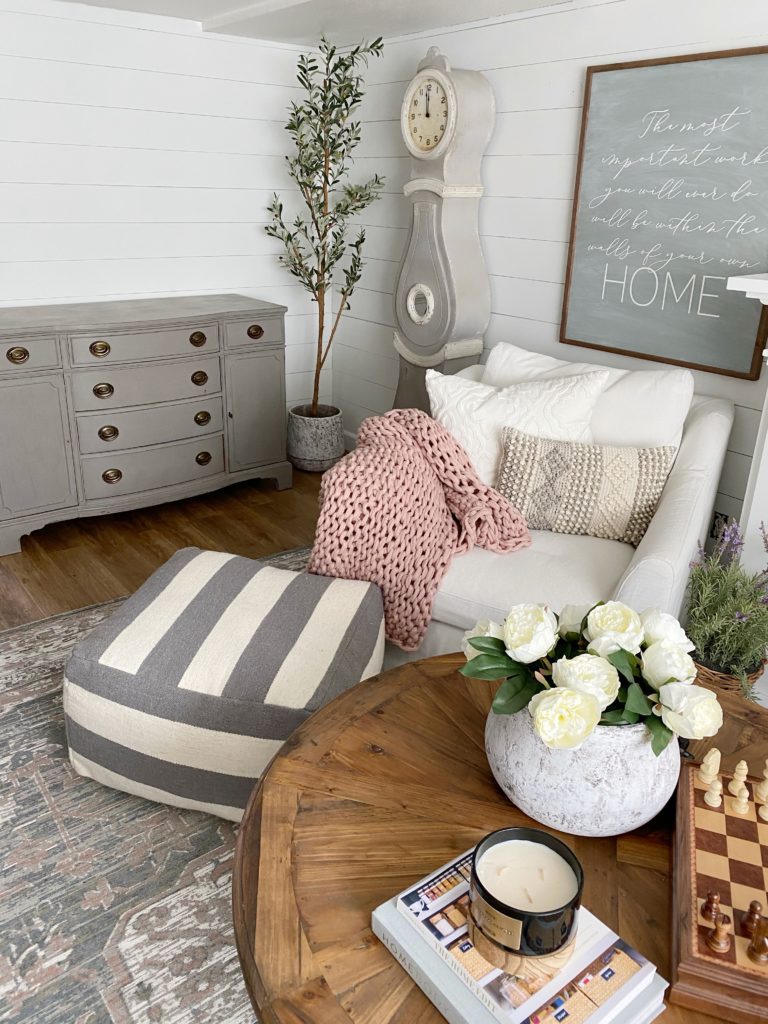

Now its time to add the pot for the olive tree, next we are going to add the olive tree, and last but not least the lamps!

DIY GALLERY WALL PRINTS
Aren’t these photos GORGEOUS! I actually ordered some prints that came in frames but once I ordered the delivery date got pushed back almost a year! Well, that wasn’t going to work so I wanted to do a little DIY! I went on etsy and found these HERE. After I ordered them, I got the download and printed them at Walgreens (they always have inexpensive prints with a coupon and good quality) – you can do anywhere that prints!

It is time to trim the botanical prints, so they will fit in the frame.
* make sure not to cut to small


Now you will put the botanical prints in the frame. Choose whatever frame that fits your home, these are from IKEA they aren’t fancy but they were inexpensive and work. I loved these from Target too!


HOW TO HANG A GALLERY WALL :
Ready to see how easy it is to hang a gallery wall??? First you will trace out your frames, we always have poster board handy with kids projects so it was what I used. Once you trace out your frame its time to cut it out.

Tape your paper in the spot where you want your frames, make sure they are even and where you want them. I like to use painters tape – even just on the back works, I added some extra so I could show you.

Now is the time to measure, to find the middle it is 6 1/2 inches to the side so I am marked it on my paper on the wall. Then you will measure from the top to where the middle of the hook is this was 2 3/4 inches.
TIP : Measure each frame just to be sure they are all the same.


Once you have your lines marked, you can drill right through the paper. When you are done marking the spot, you can either just rip the paper off or take out the screw/nail.

Here we go!! Its perfect! Now to finish the space off.

That’s it! Wasn’t that such a fun and easy project! I loved that this whole space I was able to complete in a day!
TO SHOP CLICK ON THE LINKS BELOW:
Olive Tree
Lamps
Gallery Wall Prints
Ikea 16×20 frame
Target 16×20 frame
Mora Clock
Rug
Pink Chunky Knit
White Pillow
Home – Art work
Chair
Coffee table
Home Edit Book
Home Body Book
Black candle
Flowers
Vase
Chess Set
Pouf


